You can remove green discoloration from pressure treated wood by applying a solution of oxygen bleach and water, which lifts surface mold and algae without damaging the wood fibers. This method is safe for most exterior decks and fences, provided you scrub the surface gently and rinse it thoroughly. The final result depends on the severity of the discoloration, the age of the wood, and how long the growth has been present on the surface.
Why pressure treated wood turns green
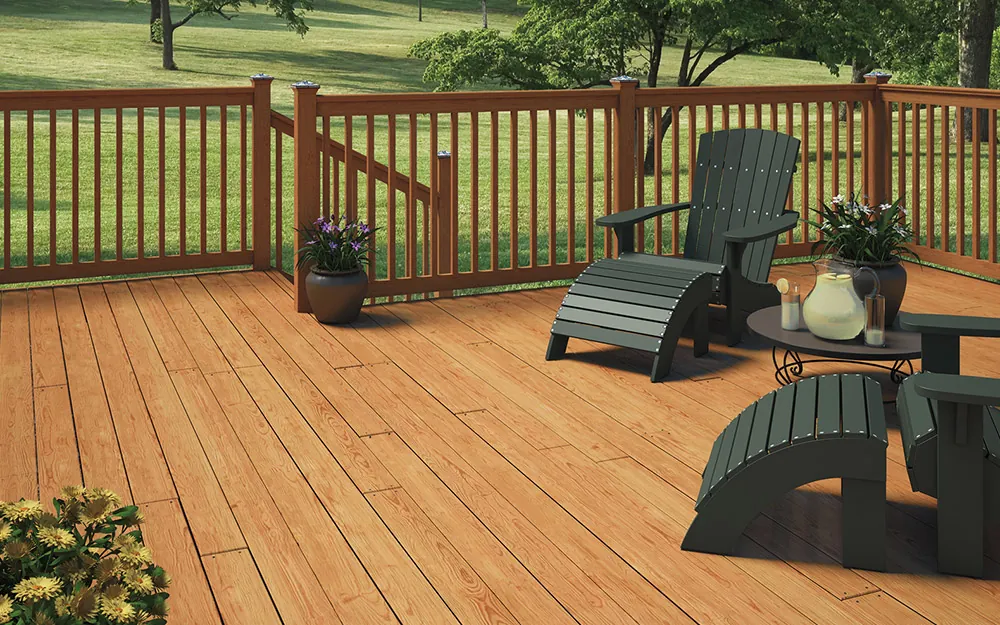
Most people who search for this information are homeowners dealing with a deck or fence that has turned a dull green or black color over the winter. This growth is typically surface mold, mildew, or algae that thrives in damp, shaded environments. You’re the right reader for this page if you have a wood structure that’s structurally sound but looks neglected due to organic buildup.
If your wood is rotting, soft to the touch, or breaking apart when you press a screwdriver into it, this cleaning method won’t solve your problem. In those cases, the wood is likely decaying and requires replacement rather than cleaning. We assume your pressure-treated lumber is at least 6 months old, as fresh wood often contains moisture or chemical treatments that need time to stabilize before you apply any cleaning agents.
Variables that change the cleaning process
The primary factor that changes the outcome is the depth of the growth; if it has penetrated deep into the wood fibers, you may need a second application of the cleaning solution. Another major factor is the concentration of the cleaner, as using too much oxygen bleach can leave a white residue that’s difficult to remove later. Most people make the mistake of using chlorine bleach, which damages the lignin in the wood and causes it to become brittle over time.
If the wood is in direct sunlight, the cleaning solution will dry too quickly; if it’s in the shade, it stays wet and works more effectively. You can determine the current state of your wood by wetting a small, hidden section with water; if the water beads up, the wood still has a factory sealant that must be stripped before the cleaner can work.
Steps to clean the wood
- Sweep the entire surface to remove loose dirt, leaves, and debris that could trap moisture under your cleaning solution.
- Mix 1 cup of oxygen bleach powder with 1 gallon of warm water in a plastic bucket, stirring until the powder is fully dissolved.
- Apply the solution to the wood using a pump sprayer or a stiff-bristled scrub brush, ensuring the surface stays wet for 15 minutes.
- Scrub the wood in the direction of the grain using a long-handled scrub brush to loosen the green growth from the pores.
- Rinse the area thoroughly with a garden hose on a medium spray setting, working from the highest point to the lowest.
- Check for any remaining green spots while the wood is still damp, as these will be easier to spot and remove now.
- Allow the wood to air dry completely for 48 hours before you apply any stain or clear water-repellent sealant.
The single judgment call that separates a professional result from a messy one is the timing of your rinse. If you let the oxygen bleach solution dry completely on the wood, the residue will lock in and create a cloudy appearance that’s very hard to scrub away.
Always work in small sections so the solution never dries before you rinse. If you have a very large deck, consider hiring a professional cleaner, as the physical labor of manual scrubbing is significant and requires specific safety gear like gloves and eye protection.
Cleaning methods at a glance
| Situation | What to do | What it takes | What to watch for |
|---|---|---|---|
| Light green tint | Oxygen bleach wash | 1-2 hours | Don’t over-scrub |
| Heavy mold buildup | Double scrub cycle | 4-6 hours | Wood fiber damage |
| Old, greyed wood | Sanding after wash | 1 full day | Splintering wood |
| Slippery surface | Immediate cleaning | 2 hours | Slip and fall |
For heavy buildup, use a stiff synthetic brush rather than wire bristles. Wire bristles leave metal fragments that rust and permanently stain the grain. If you see dark streaks appearing after a double scrub, stop immediately; you’re eroding the structural integrity of the wood fibers.
When sanding greyed wood, use 80-grit paper for the initial pass. If you start with a finer grit, you’ll clog the sandpaper instantly with dead wood cells. Always sand in the direction of the grain to avoid visible cross-hatch marks.
If the surface feels slick even after drying, check the moisture content with a meter. If it reads above 15%, the wood is still waterlogged and requires another full day of sun exposure.
Professional cleaning techniques
Proper preparation
Experienced cleaners always start by clearing the area and testing the cleaning solution on a small, hidden piece of wood. They ensure the wood is dry before applying the cleaner to allow the solution to penetrate the fibers effectively. Beginners often skip the testing phase and apply the mixture to the entire deck at once, which leads to streaks and uneven color.
The rinsing process
The key to a long-lasting clean is a thorough rinse that removes all traces of the oxygen bleach residue. If the cleaner remains in the wood, it can interfere with the curing process of future stains or sealants. Professionals use a steady, sweeping motion with the hose to lift the loosened debris, whereas beginners often use a high-pressure nozzle that can gouge the soft wood fibers.
Identifying and solving common problems
| What you notice | What it usually means | What to do first | How to stop it |
|---|---|---|---|
| White powdery film | Too much bleach used | Rinse with water | Dilute solution more |
| Wood feels soft | Rot has started | Stop cleaning now | Replace the board |
| Dark spots remain | Deep fungal growth | Repeat scrubbing | Improve drainage |
| Streaky finish | Uneven application | Lightly sand area | Use sprayer evenly |
If you press a screwdriver into the wood and it sinks deeper than an eighth of an inch, the rot has compromised the structural integrity. Don’t attempt to seal or paint over this; the moisture trapped inside will accelerate decay.
Most people mistake surface mildew for deep rot. If the wood remains firm under pressure, the issue is likely topical. You can verify this by scraping the surface with a coin. If the wood fibers flake off easily, you’re dealing with rot. If only the discoloration lifts, you’re safe to proceed with a cleaning solution.
Always test your mixture on an inconspicuous corner before covering the entire deck. If the wood color lightens significantly after drying, your bleach concentration is too high. Drop your ratio by half to prevent permanent bleaching of the natural grain.
Rules for wood maintenance
The main rule for handling pressure-treated wood is to avoid using high-pressure washers set above 1,200 PSI, as this pressure can permanently shred the soft fibers of the wood. Always consult the manufacturer’s warranty information for your specific brand of decking, as some companies void the warranty if you use harsh chemicals or excessive water pressure.
If you’re working on a deck that’s elevated more than 30 inches off the ground, you must ensure your ladder or scaffolding is stable and positioned on level ground to avoid injury. If you have any doubts about the structural integrity of your boards, stop the cleaning process and have a qualified contractor inspect the joists and fasteners underneath. Never apply sealants if the wood has a moisture content above 15%, as the trapped water will cause the finish to peel within months.
Estimating your costs
The cost of this project is primarily your time and the price of the oxygen bleach. You can expect to spend a modest amount on a container of oxygen bleach powder, which is typically enough for a standard deck. The total cost varies based on whether you already own a stiff-bristled brush and a pump sprayer.
If you need to purchase these tools, expect to add a small amount to your budget. Time is the biggest variable; a small, simple deck might take a single afternoon, while a complex, multi-level structure can take an entire weekend. If you choose to rent a power washer instead of scrubbing by hand, add a rental fee, though manual scrubbing is safer for the wood.
Keeping the deck clean
Once the wood is clean and dry, apply a high-quality, water-repellent sealant to prevent moisture from soaking into the fibers. This barrier makes it difficult for mold and algae spores to gain a foothold.
Test the protection by splashing a small amount of water on the surface. If the water beads up, the sealant remains effective. If the liquid soaks into the wood immediately, the barrier has failed and requires a fresh coat.
Most decks need this treatment periodically. However, if your deck sits in deep shade or faces constant rain, expect to re-seal annually. Neglecting this cycle leads to wood rot, which costs far more to repair than a simple gallon of sealant.
Keep the surface clear of leaves and debris throughout the autumn. Wet organic matter traps moisture against the wood, accelerating the breakdown of your sealant. If you see dark spots forming, scrub them immediately with a mild oxygen bleach solution before they penetrate the grain. Regular maintenance keeps the wood structural and prevents the expensive need for sanding or board replacement.
When to avoid this method

If your deck is covered in thick, black, or fuzzy mold that doesn’t lift after one scrub, this simple cleaning method isn’t enough. In this situation, the mold has likely moved deep into the wood structure. You must use a specialized wood restorer or consult a professional deck restoration service.
If the wood is splintering, cracking, or pulling away from the joists, don’t attempt to clean it. These are signs of structural failure that require a carpenter to fix, as cleaning will only expose the damage further. A deck that sways under your weight or has loose railings is past the point of cosmetic maintenance.
If you’re unsure about the safety of your deck, always prioritize a professional inspection over DIY cleaning. This is especially vital if the structure is aged. If you see standing water pooling on the surface after rain, the drainage is compromised. Cleaning won’t fix a slope issue and may accelerate rot by trapping more moisture underneath.
Related guides
- How to Cut a Groove in Wood With a Table Saw: Step by Step in 2026
- 10 Best Digital Tire Pressure Gauges for Accurate Readings in 2026
Frequently asked questions
Can I use chlorine bleach instead of oxygen bleach?
No, you should avoid using chlorine bleach because it strips the natural lignin from the wood and causes the fibers to become brittle and grey. Oxygen bleach is the preferred choice because it’s gentler on wood fibers and safer for the surrounding plants and soil.
How long does it take for the wood to dry?
It typically takes 48 hours for the wood to dry completely, depending on the humidity and the amount of direct sunlight it receives. You must ensure the wood is fully dry before you apply any stain or sealant to prevent trapping moisture inside the fibers.
Is it safe to use this method near my garden?
Yes, oxygen bleach is generally safe for plants, but you should still rinse the surrounding area with plenty of clean water after you finish. If you’re worried about delicate flowers, cover them with a plastic tarp while you’re cleaning to prevent the solution from splashing onto the leaves.
Why does the green return every year?
The green growth returns because the environment is damp and shaded, which provides the perfect conditions for mold and algae to grow. You can slow this down by trimming back overhanging tree branches to increase airflow and sunlight, and by keeping the deck surface clear of wet leaves and dirt.
Does the wood need to be sanded?
You don’t need to sand the wood unless it has become splintered or the previous finish is peeling off in large patches. If the wood is just dirty, a thorough scrub with an oxygen bleach solution is usually enough to restore the surface without the need for aggressive sanding.
How often should I clean the wood?
You should clean the wood whenever you notice a buildup of mold or algae, which is usually once a year in damp climates. Regular cleaning prevents the growth from becoming embedded in the wood, making it easier to maintain the appearance of your deck or fence over time.
Conclusion
Start by mixing your cleaning solution according to the instructions on the container of oxygen bleach. Once you apply it and scrub the area, look for the wood grain to become visible again as the green layer lifts. If the wood remains dark or green, stop and let it dry before deciding whether to call a professional.