
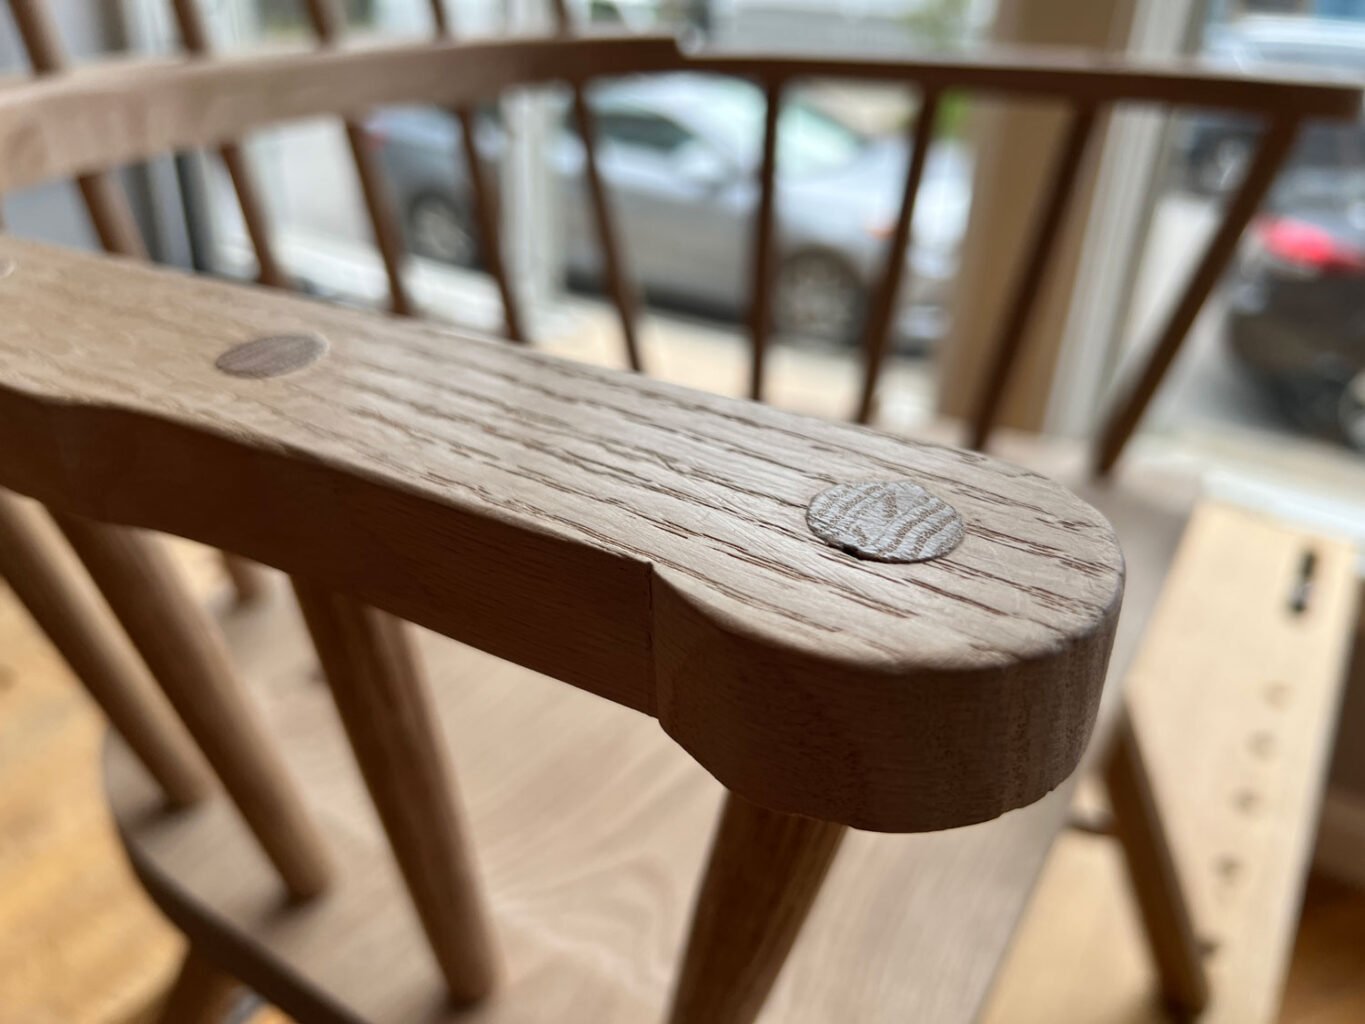
Burnishing wood involves rubbing the surface of a wooden object with a hard, smooth tool to compress the fibers and create a natural sheen.
The final result depends on the wood species you choose, the pressure you apply during the movement, and the hardness of your burnishing tool. These three variables determine whether you achieve a subtle satin glow or a deep, glass-like reflection.
Who performs wood burnishing
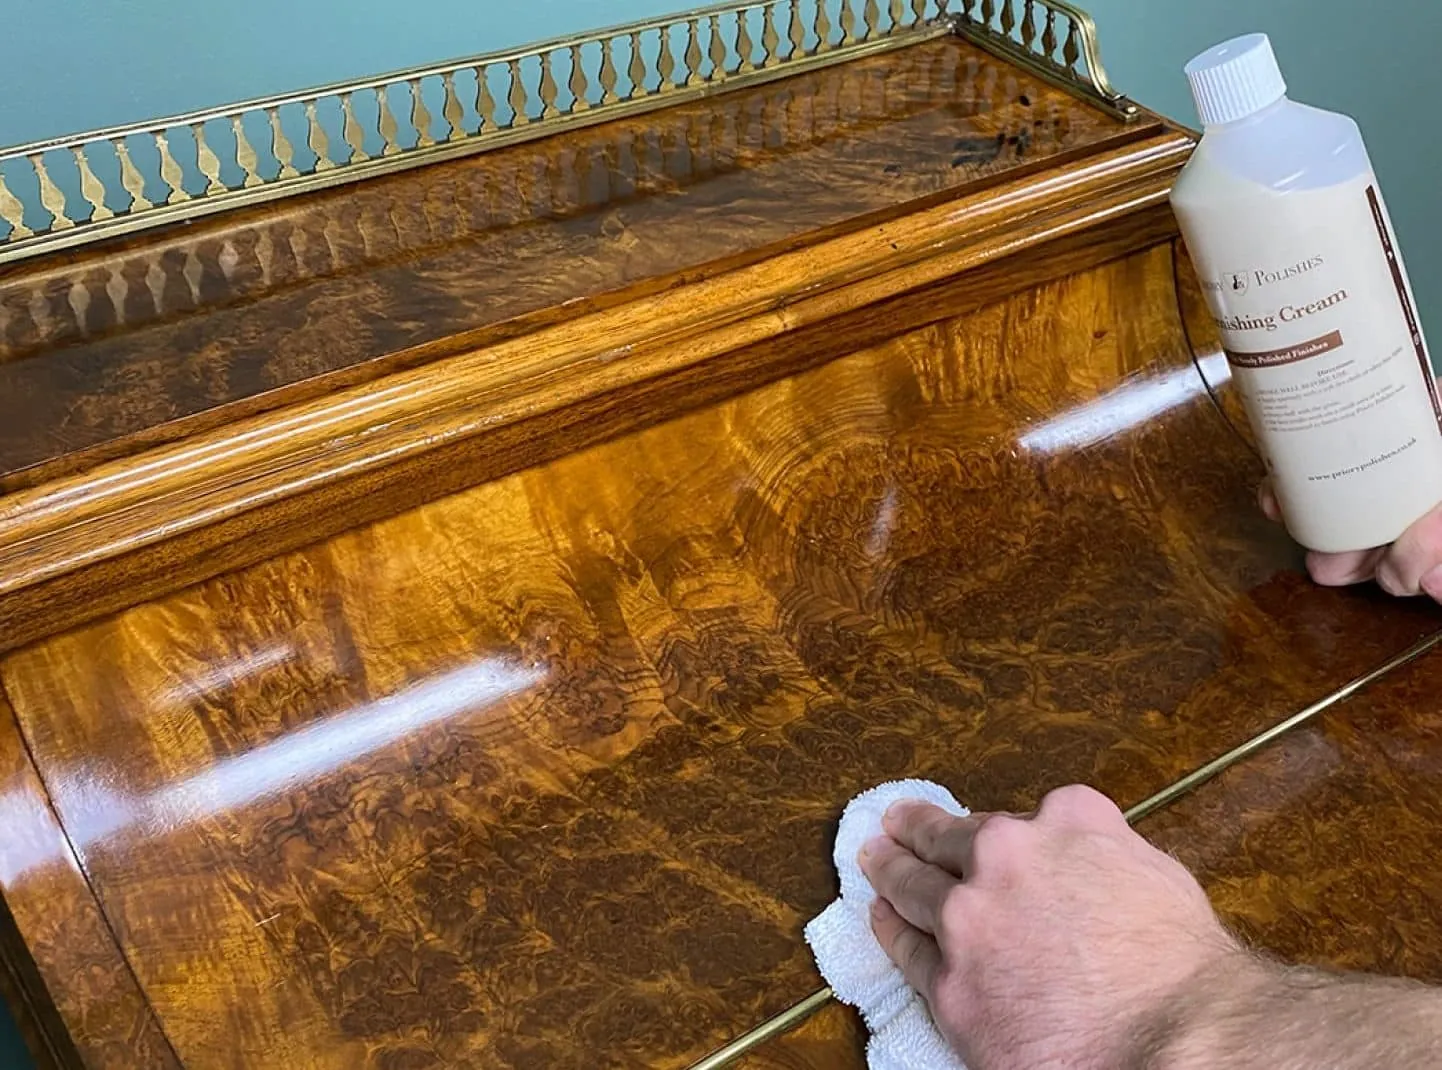
This technique is for woodworkers who want a natural, chemical-free finish on high-end furniture or small decorative items. You might use it on a hand-carved spoon, a wooden box, or a decorative bowl made from dense hardwoods. It works best on tight-grained woods like maple, boxwood, or cherry, which respond well to compression.
This method isn’t for people working with soft, porous woods like pine or cedar. These woods have large, open cells that crush unevenly under pressure rather than smoothing out. If you’re using a soft wood, you’ll likely struggle to get a consistent shine and may end up with visible dents. This article assumes you’re working with kiln-dried, seasoned hardwoods that can handle the physical force needed to compress the surface fibers effectively.
Factors that change the result
The hardness of the wood species is the most important factor. If you use a very dense wood, it will take longer to burnish, but the resulting shine will be more durable and reflective. You can check the density of your wood by looking up the Janka hardness rating for that specific species.
The shape and hardness of your burnishing tool also change how the surface reacts. A smooth, rounded steel or glass tool works best for creating a uniform shine. If your tool has sharp edges, it will leave tracks rather than a smooth surface. Always ensure your tool is perfectly clean, as any trapped dust will scratch the wood.
The amount of pressure you apply determines the depth of the compression. If you press too lightly, you won’t flatten the fibers enough to create a gloss. If you press too hard, you risk creating deep depressions or burn marks from the friction. You’ll know you have the right pressure when the surface begins to transition from a dull matte to a soft, consistent luster.
The moisture content of the wood is a critical variable. If the wood is too damp, the fibers will be too flexible to hold a compressed shape. Most professionals aim for a moisture content below 10% to ensure the surface stays smooth. You can measure this using a digital moisture meter, which is a standard tool for woodworkers checking their stock before finishing.
Steps for a smooth finish
- Sand your workpiece up to a 400-grit finish to remove all previous tool marks.
- Wipe the surface clean with a dry, lint-free cloth to ensure no dust remains.
- Hold your burnishing tool at a 45-degree angle against the wood grain.
- Apply firm, steady pressure as you move the tool back and forth.
- Cover the same area multiple times until you see a visible change in light reflection.
- Check for missed spots by holding the wood under a bright light at an angle.
- Repeat the process on all surfaces, moving from the center toward the edges.
- Buff the final surface with a soft, clean cloth to remove any loose debris.
The difference between a professional result and a messy one is consistent pressure. If you vary your force, the shine will appear patchy and uneven. Keep your strokes overlapping slightly to maintain a uniform surface density across the entire piece.
Wood surface finishing variations
| Situation | What to do | What it takes | Watch for |
|---|---|---|---|
| Hardwood surface | Use steel tool | Moderate effort | Heat buildup |
| Tight-grained wood | Use glass tool | High effort | Uniform shine |
| Small detail work | Use small rod | High patience | Tool marks |
| Large flat panel | Use large block | High physical force | Surface waves |
| Decorative trim | Use rounded tip | Low pressure | Fiber tearing |
When working with dense hardwoods like maple or hickory, limit your stroke length to six inches to prevent friction heat from scorching the fibers. If the wood darkens under the tool, you’re moving too slowly.
For tight-grained species, glass tools provide a superior burnish but require double the pressure of steel. You know you have achieved the correct compression when the surface reflects light with a consistent, mirror-like sheen.
Avoid the common mistake of using a flat-faced block on curved trim. This inevitably causes fiber tearing at the edges, which is nearly impossible to sand out without ruining the profile. Instead, use a rounded tip and maintain a constant, light pressure.
If you’re surfacing a large panel, always use a block that spans at least one-third of the board’s total width. A tool that’s too small will create visible, rhythmic waves across the grain. If you feel the tool rocking, switch to a wider base immediately to keep the surface plane perfectly level.
How to achieve a professional finish
Preparing the surface
Preparation is the most vital part of the process. Experienced woodworkers spend more time sanding than burnishing, as any scratch left in the wood will be amplified once the surface is compressed. Start with a coarse grit and move through the stages to 400 grit, ensuring you remove all cross-grain scratches before you ever touch the surface with a burnishing tool.
Maintaining tool contact
The angle of your tool is what separates a smooth finish from a damaged one. Keep the tool flat or at a consistent angle to avoid digging into the wood fibers. When you work on curved parts, switch to a smaller, round-tipped tool to follow the shape of the wood without creating flat spots. You must move the tool constantly to prevent friction heat, which can discolor the wood.
Common surface issues
| What you notice | What it usually means | What to do first | How to stop it |
|---|---|---|---|
| Dark burn marks | Too much friction | Sand area smooth | Use less pressure |
| Visible scratches | Sanding was incomplete | Resand with 220 | Clean tool better |
| Dull patches | Uneven compression | Burnish area again | Apply steady force |
| Surface dents | Tool edge was sharp | Lightly sand flat | Use rounded tool |
| Patchy luster | Inconsistent speed | Buff entire piece | Maintain steady rhythm |
Burn marks often signal that you’re lingering too long on a single point. If the wood feels hot to the touch, you have already compromised the fibers.
Scratches appearing after finishing usually stem from skipping a grit level. Never jump from 80 to 220 grit, as the finer paper can’t remove the deep valleys left by the coarse one. Always move through the sequence incrementally to ensure total surface uniformity.
Dull patches indicate the finish absorbed unevenly due to varying wood density. If the surface looks thirsty in specific spots, apply a thin sealer coat before your final finish. This stops the wood from soaking up material inconsistently.
Finally, avoid the common mistake of pressing harder to fix a blemish. Extra force almost always creates a deeper depression rather than leveling the surrounding area. If the surface doesn’t respond to light sanding, step back and check your tool alignment.
Rules for wood safety
Working with wood requires attention to safety standards, especially when creating fine dust. According to the Occupational Safety and Health Administration, you should always use a proper dust collection system or a respirator when sanding to avoid inhaling particles. If you’re working in a home shop, ensure your workspace is well-ventilated to keep airborne debris levels low.
Use an N95-rated respirator at minimum. A standard cloth mask won’t filter the microscopic particles that lodge deep in your lungs. If you can see the dust settling on your workbench, you’re already breathing it.
Never attempt to burnish wood that has been treated with chemical preservatives, as the heat from the friction can release harmful vapors. If you’re uncertain about the treatment history of a piece of reclaimed wood, don’t use heat or friction-based finishing methods on it.
Always wear eye protection. Small splinters can fly off during the hand-finishing process, and a single stray fragment can cause permanent corneal damage. If you wear prescription glasses, add side shields to ensure full coverage.
The cost of a polished look
The cost of burnishing is almost entirely measured in time and physical effort. Unlike using a chemical wax or oil, this process requires no expensive materials, but it demands patience. You’ll spend roughly 10 to 20 minutes of active labor for every square foot of surface area. If you’re working on a large table, the time commitment increases significantly.
The primary cost factor is the hardness of the wood species you choose. Oak or maple will take significantly longer to compress than cherry, simply because the cell structure is more resistant to your tool. If you’re on a tight schedule, choose a wood with a lower Janka rating to reduce the effort required to reach your desired shine.
Maintaining the burnished surface
Once you have achieved your shine, the surface is relatively low-maintenance. Wipe the wood down with a dry cloth periodically to remove dust, which can act like sandpaper over time. If the luster starts to fade after months of use, you can simply re-burnish the affected areas.
You don’t need to strip the finish or use harsh cleaners to restore the shine. If you notice a dull spot, apply a tiny amount of natural wax to the area and re-burnish with your tool. This will re-compress the fibers and bring the shine back without requiring a full refinish of the object.
Avoid using damp cloths or water-based sprays on burnished wood. Moisture causes the compressed fibers to swell, effectively undoing the compaction that created your sheen in the first place. If you accidentally spill liquid, blot it immediately with a paper towel rather than wiping.
If the wood feels tacky to the touch, you have likely applied too much wax. Use a clean, lint-free cloth to buff away the excess until the resistance disappears. A proper burnished finish should feel smooth, not waxy or slick.
When to avoid this method
Don’t use burnishing on outdoor furniture, as the compressed fibers will swell when exposed to rain or high humidity. The finish won’t be waterproof and will likely become blotchy or crack as the wood expands and contracts. For outdoor pieces, use an exterior-grade oil or varnish that protects the wood from moisture.
Don’t try to burnish softwoods like pine, as the fibers will crush rather than polish. If you need a high-gloss finish on softwoods, use a sanding sealer followed by a hard wax or lacquer. Attempting to force a burnish on soft wood will only ruin the surface and require you to sand away the damage.
Test your wood with a fingernail before starting. If you can leave a visible indentation with light pressure, the material is too soft to hold a burnished edge. You’ll only create a dull, bruised depression instead of a shine.
Avoid this technique on any piece intended for high-traffic areas where water spills are common. Even a spilled glass of water can cause the compressed grain to lift and ruin the sheen instantly.
Related guides
Frequently asked questions
How long does the shine last?
The shine lasts for many years if you keep the wood in a stable, indoor environment. You can refresh the appearance at any time by lightly rubbing the surface with your tool if it starts to look dull from regular handling.
Is it safe to burnish food-safe items?
It’s safe to burnish items like spoons or bowls because you aren’t adding any chemicals to the wood. You’re only changing the physical structure of the surface, which makes it ideal for kitchenware that will touch food.
Can I use a metal spoon to burnish?
You can use a smooth, high-quality stainless steel spoon to burnish smaller wooden objects. Ensure the edge of the spoon is perfectly smooth, as any small burr or scratch on the metal will transfer directly onto your wooden surface.
Why does my wood turn dark?
The wood turns dark because you’re generating too much heat through friction. You must move the tool faster and apply less pressure to prevent the wood from scorching as you work on the surface.
What is the best wood to start with?
Cherry is the best wood to start with because it has a tight grain and is relatively easy to compress. It responds quickly to a steel burnisher, allowing you to see results within just a few minutes of steady practice.
Does the wood grain matter?
The wood grain matters because straight-grained wood is much easier to burnish than wood with wild or irregular patterns. Complex grain structures can cause the tool to catch or tear the surface fibers if you aren’t very careful.
Conclusion
Start by practicing on a small piece of scrap hardwood to get a feel for the required pressure. You’ll know the technique is working when the dull sanded surface begins to reflect light clearly. If the wood begins to feel warm to the touch, stop immediately and let it cool down before continuing.