
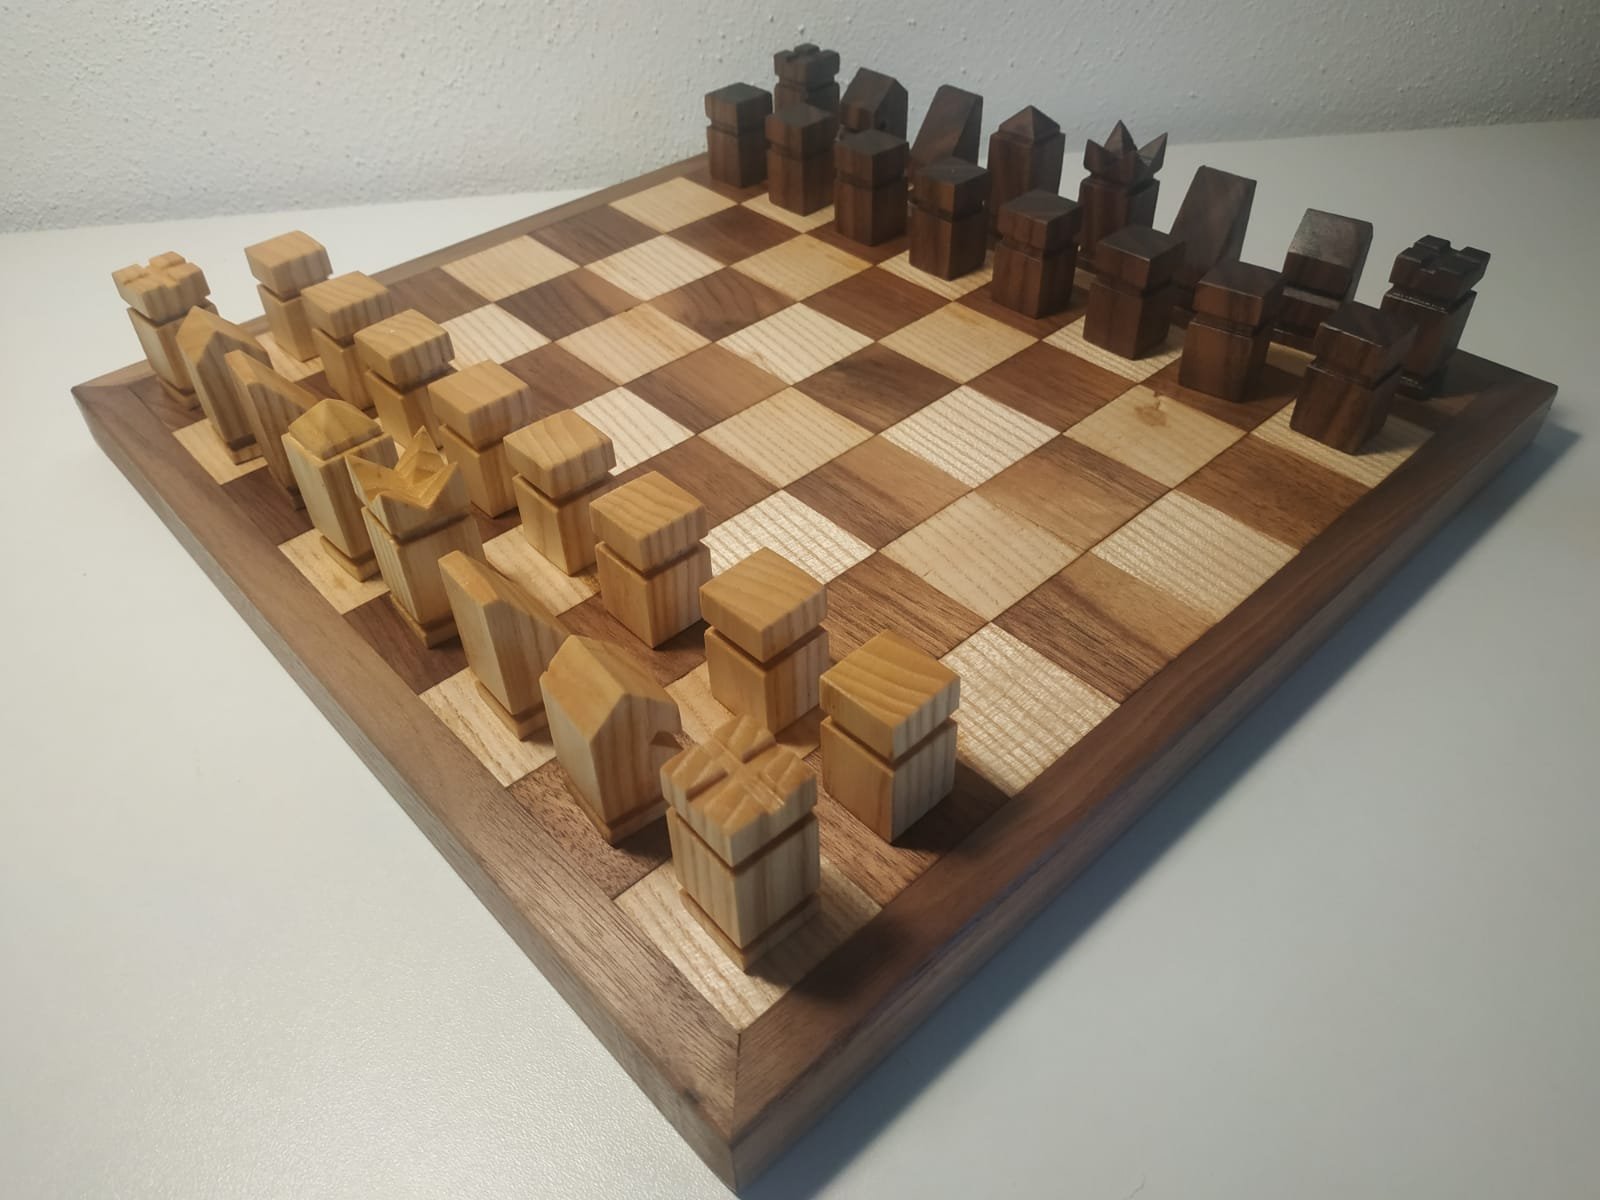
Making wooden chess pieces without a lathe requires patient shaping with hand tools like chisels, rasps, and a coping saw. A full set takes 20 to 30 hours of labor. Expect to spend between $50 and $100 on quality hardwoods and basic tools.
Tools to make wooden chess pieces
You must have these items ready before you begin carving to ensure your pieces match in size and style. Use this table as your guide for gathering the necessary supplies.
| Item | How much | Why it’s needed | A substitute |
|---|---|---|---|
| Hardwood blocks | 32 pieces | Provides durable material | Softwood (dents easily) |
| Coping saw | 1 tool | Cuts complex silhouettes | none — don’t swap this |
| Wood chisels | 3 sizes | Removes wood for details | none — don’t swap this |
| Wood rasp | 1 medium | Shapes curves and edges | Sandpaper (slow work) |
| C-clamp | 2 clamps | Secures wood to bench | Vise (stable holding) |
| Wood glue | 1 bottle | Joins base layers | none — don’t swap this |
| Sandpaper | 10 sheets | Smooths final surfaces | Steel wool (for finish) |
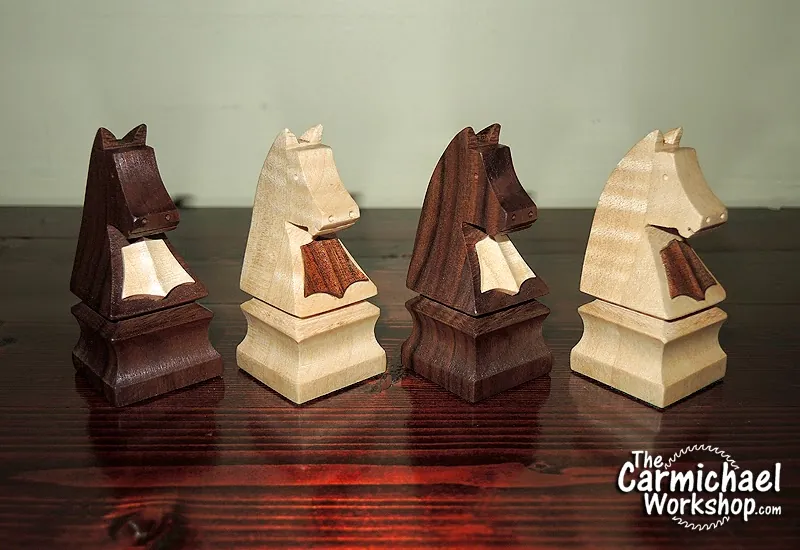
Select hardwoods like walnut or cherry to prevent your edges from crumbling under pressure. If you choose pine or poplar, your finished carvings will likely show deep, permanent indentations within weeks.
Always keep your chisels honed to a razor edge. Dull blades force you to use excessive physical strength, which inevitably leads to slips and ruined wood grain. If you can’t shave a thin curl of paper with your chisel, stop and sharpen it before touching your project.
Use your C-clamps to secure the wood to the edge of your workbench, ensuring there’s enough clearance underneath for the coping saw blade to pass through. This placement offers the most structural support and prevents the vibration that causes uneven cuts. If your wood moves while you saw, your silhouettes won’t align when you stack them. If you’re working on a small scale, prioritize a 4-inch clamp to maintain a low profile that won’t obstruct your blade path.
Preparing Your Workspace
Clear a sturdy workbench and secure it to the floor or wall to prevent wobbling while you carve. A bench that shifts even a fraction of an inch can turn a precise detail into a ruined project.
Cover the floor with a heavy canvas drop cloth to catch wood shavings. A clean workspace prevents you from losing small, finished pieces in the debris. If you’re carving in a shared room, use a dedicated tray to keep your tools and offcuts contained.
Switch off any nearby fans to keep dust from blowing into your eyes while you work with sharp edges. If you wear glasses, ensure they’re impact-rated rather than standard prescription lenses.
The most common mistake is failing to draw a center line on every block, which causes pieces to look lopsided. Always mark your center points before making your first cut. If you’re carving a symmetrical figure, draw these lines on all four sides of the wood. This simple step acts as your map, ensuring your proportions remain balanced as you remove material.
Step-by-Step Carving Process
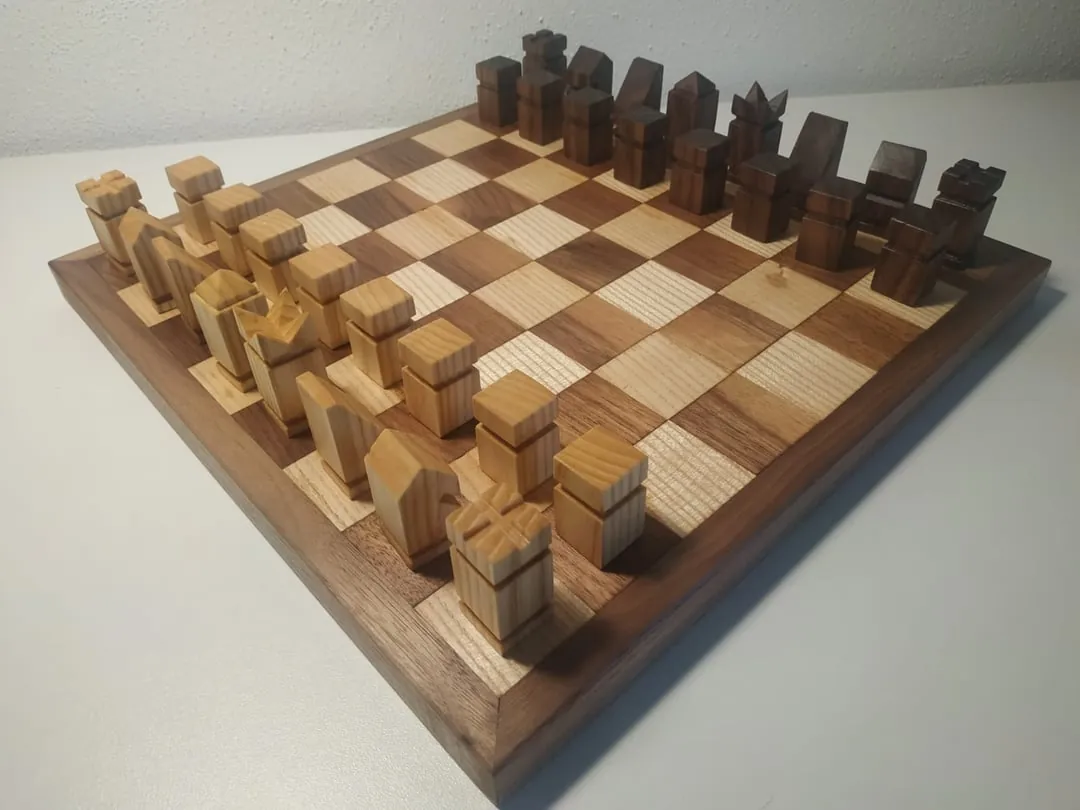
- Cut your hardwood blocks into 32 individual cubes that measure 1.5 inches tall and 1.25 inches wide for pawns, or 3 inches tall for larger pieces. Use a square ruler to ensure all sides are perfectly flat before you begin.
- Draw your desired silhouette on two adjacent sides of each block using a pencil. Keep your designs simple, focusing on basic geometric shapes rather than intricate faces, as detail is hard to maintain without a lathe.
- Secure your first block to the workbench using a C-clamp, ensuring the wood doesn’t move when you apply pressure. Use a coping saw to cut along the lines you drew on the first side of the block, removing the largest chunks of waste wood.
- Rotate the piece 90 degrees, re-clamp it, and cut the silhouette on the second side to define the basic profile. You should now see the rough shape of your chess piece emerging from the square block.
- Use a medium-grit wood rasp to round over the sharp corners left by the saw. Work slowly and check your progress every 30 seconds to ensure you don’t remove too much wood from the narrowest parts of the piece.
- Switch to a small wood chisel to carve finer details, such as the cross on the king or the notches on the bishop. Always carve away from your body and keep your fingers behind the sharp edge of the blade to avoid accidental cuts.
- Sand the entire surface of each piece using 120-grit sandpaper, moving in the direction of the wood grain to remove rasp marks. If you notice deep scratches, use a lower grit paper first, then finish with 220-grit for a smooth, professional feel.
- Apply a light coat of food-safe mineral oil to the finished wood to protect it from moisture and bring out the natural color. Wipe off any excess oil with a clean cloth and let the pieces dry for 12 hours before using them on your board.
Checking Your Finished Pieces
Success is measured by the stability of the pieces and the consistency of their design. A well-made piece stands perfectly flat on the board without wobbling when you nudge it.
If a piece tips over or rocks back and forth, you must sand the base until it sits level on a flat surface. You can check the level by placing the piece on a glass table or a mirror, where any gap between the base and the surface will be immediately visible.
If you find that your pieces are different heights, you may need a second round of refinement. Use a block of wood with sandpaper taped to it to sand the bases of all pieces simultaneously. By pressing the pieces against the flat sanding block, you ensure that every piece is the same height. If the wood grain looks fuzzy, it means your sandpaper is worn out; replace it with a fresh sheet to get a crisp, clean finish.
Many makers make the mistake of sanding on a soft workbench, which rounds the edges of the base and creates a pivot point. Always use a dead-flat surface like a granite plate or a piece of plate glass to back your sandpaper.
If you’re working with oily hardwoods, clean the base with mineral spirits before the final check. If the piece still rocks, the wood may have internal tension; in that case, you may need to re-flatten the base or accept that the piece won’t sit perfectly level.
Troubleshooting Common Issues
| What happened | Why | What to do |
|---|---|---|
| Wood splits | Too much pressure | Use sharper tools |
| Uneven shape | Misaligned template | Trace lines carefully |
| Wobbly base | Uneven sanding | Sand on flat surface |
| Rough texture | Dull sandpaper | Use finer grit |
| Piece breaks | Weak grain direction | Glue and clamp |
If your wood splits during a cut, you’re likely forcing the blade. A sharp blade pulls itself through the fiber, but a dull one requires heavy downward force. If you feel resistance, stop immediately. Pushing harder only increases the risk of the wood grain shattering along its weakest point.
When sanding, avoid holding the piece in your hand. Even a slight tilt creates a convex surface that will never sit flush on a table. Instead, secure a sheet of sandpaper to a granite slab or a table saw wing. Move the wood in a figure-eight pattern. This ensures even material removal across the entire footprint.
If a piece breaks, check the grain direction before applying glue. If the grain runs perpendicular to the stress point, the repair will fail again under light pressure. In these cases, reinforce the joint with a small wooden dowel or a spline to provide mechanical strength.
How Often to Maintain Pieces
You should inspect and oil your wooden chess pieces every 6 to 12 months to keep them from cracking or drying out. Two things change this interval: the humidity in your home and how often you play. If you store your pieces in a very dry room, the wood may lose moisture faster and require oiling every 6 months. Conversely, if you live in a damp climate, you might only need to check them once a year.
Always store your pieces in a wooden box or a velvet-lined bag when they aren’t in use to prevent scratches. If you notice a white, powdery film on the wood, it may indicate mold or mildew growth, which should be cleaned off before re-oiling.
Apply a thin layer of mineral oil immediately to stop the wood from becoming brittle. If you handle the pieces daily, you’ll naturally transfer skin oils to the wood, which provides some protection, but this doesn’t replace the need for periodic mineral oil treatments.
Frequently asked questions
How long does it take to finish a full set?
Completing a set of 32 pieces typically takes 20 to 30 hours using basic woodworking tools. You’ll spend about 45 minutes shaping each individual piece. Allow an extra 10 to 15 hours if you plan to include complex carvings or fine details.
Is it safe to use chisels for this project?
Using chisels is safe if you keep your hands behind the blade and always carve away from your body. Take thin shavings rather than forcing the cut to maintain control. Sharpen your blade frequently if the wood becomes difficult to cut.
What happens if I make a mistake while carving?
You can fix mistakes by gluing a matching piece of wood into the gap and re-shaping it once dry. If you remove too much wood, you may need to sand the other pieces to match the new size. Avoid deep repairs near the base.
How do I know if the wood is dry enough?
Wood is dry enough for crafting when a moisture meter reads below 12 percent. If you lack a meter, look for end-grain cracks or a heavy, cold feel to identify excess moisture. Using wet wood causes warping and shrinking that ruins your finished work.
Does the type of wood matter for chess pieces?
Dense hardwoods like walnut or maple are best because they hold detail and resist dents better than softwoods. Choose wood with a tight, consistent grain for durability. Maple is ideal for beginners because it’s easy to carve and finishes well with oil.
How do I keep the pieces from sliding?
Prevent pieces from sliding by gluing a thin layer of felt or cork to the bottom of each base. Cut the material to match the base diameter and trim the edges once the glue is dry. This also protects your chessboard from scratches.
Can I paint my wooden pieces?
You can paint your pieces if you apply a wood primer first to ensure proper adhesion. Use acrylic craft paint and seal it with a clear polyurethane spray to prevent chipping. Always test your paint on scrap wood before applying it to your set.
Conclusion
Creating your own set is a rewarding way to practice woodworking skills while building something you can use for years. By working slowly and focusing on the consistency of your shapes, you’ll end up with a set that looks and feels like a professional product. Take your time with the final sanding, as this step makes the biggest difference in how the pieces feel in your hand during a game.