

You can effectively manage how to stop sap from coming out of wood by sealing the surface with a high-quality shellac-based primer or by heat-treating the board to crystallize the remaining resin. These methods work best on softwoods like pine, which often leak sap years after being cut.
The success of these repairs depends on the moisture content of the timber and the depth of the resin pockets. If you’re working with green wood, the sap will continue to flow regardless of the surface finish.
Why you must stop wood sap
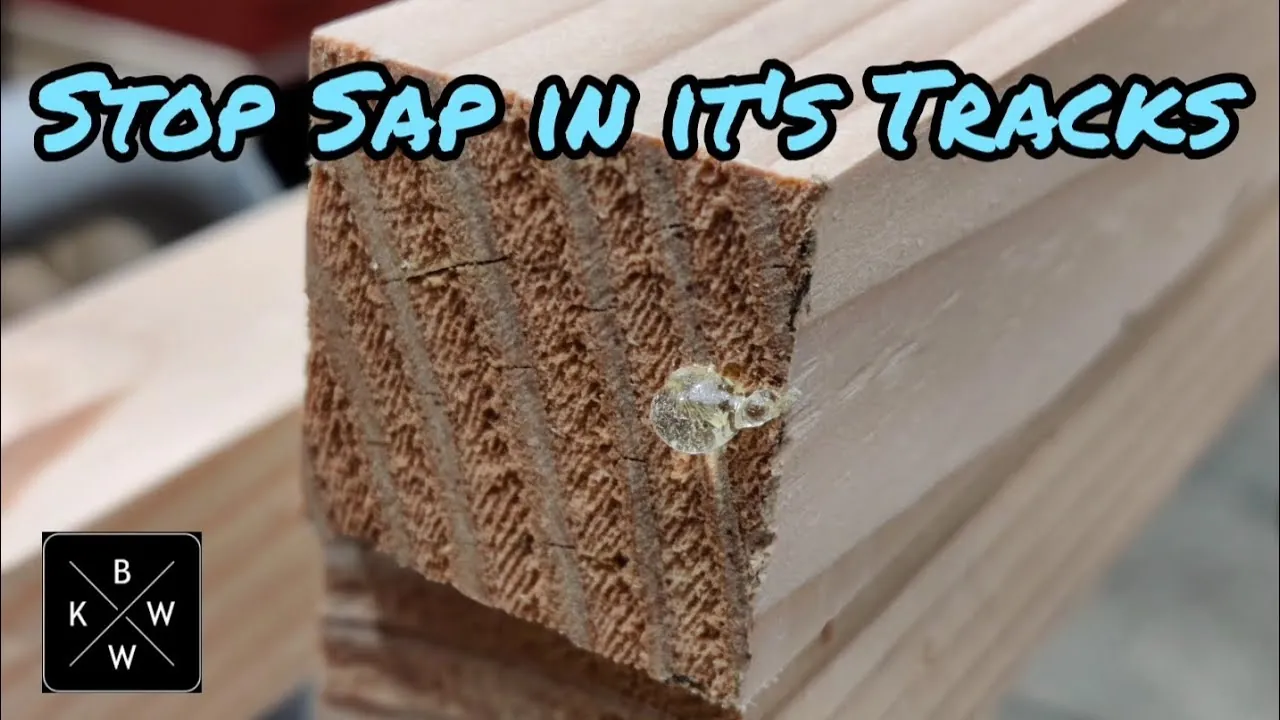
This guide is for homeowners and hobbyists working with raw or stained softwood lumber that shows sticky, amber-colored resin beads on the surface. These readers usually have finished walls, trim, or furniture that feels tacky to the touch or creates ugly spots under paint. This page serves those who need to stop active weeping on indoor projects.
If you’re dealing with exterior cedar or pine siding, you should consult a professional contractor, as outdoor weather cycles change how wood behaves. This article assumes you’re working on interior surfaces where you can control the temperature and humidity. If your wood is still dripping liquid resin, these instructions won’t provide a permanent fix, as the wood needs a professional kiln-drying process to stabilize.
Variables affecting resin flow
The amount of sap in a board changes based on the tree species, the season of harvest, and how the lumber was dried. Pine, spruce, and fir contain the most resin and are the most likely to leak. You can check your wood by looking for dark, translucent knots or streaks that feel slightly soft when pressed with a fingernail.
Temperature is the main driver of sap movement. If you place a piece of wood near a radiator or in direct sunlight, the heat thins the resin and forces it to the surface. You can test for hidden pockets by placing the wood in a warm room for 24 hours; if beads appear, the wood isn’t yet stable.
The thickness of the wood also matters. Thinner boards lose moisture and stabilize faster than thick beams. People often make the mistake of painting over sap before it has stopped flowing. This traps the moisture, which eventually bubbles through the paint, forcing you to sand and repaint the entire area later.
Steps to seal leaking wood
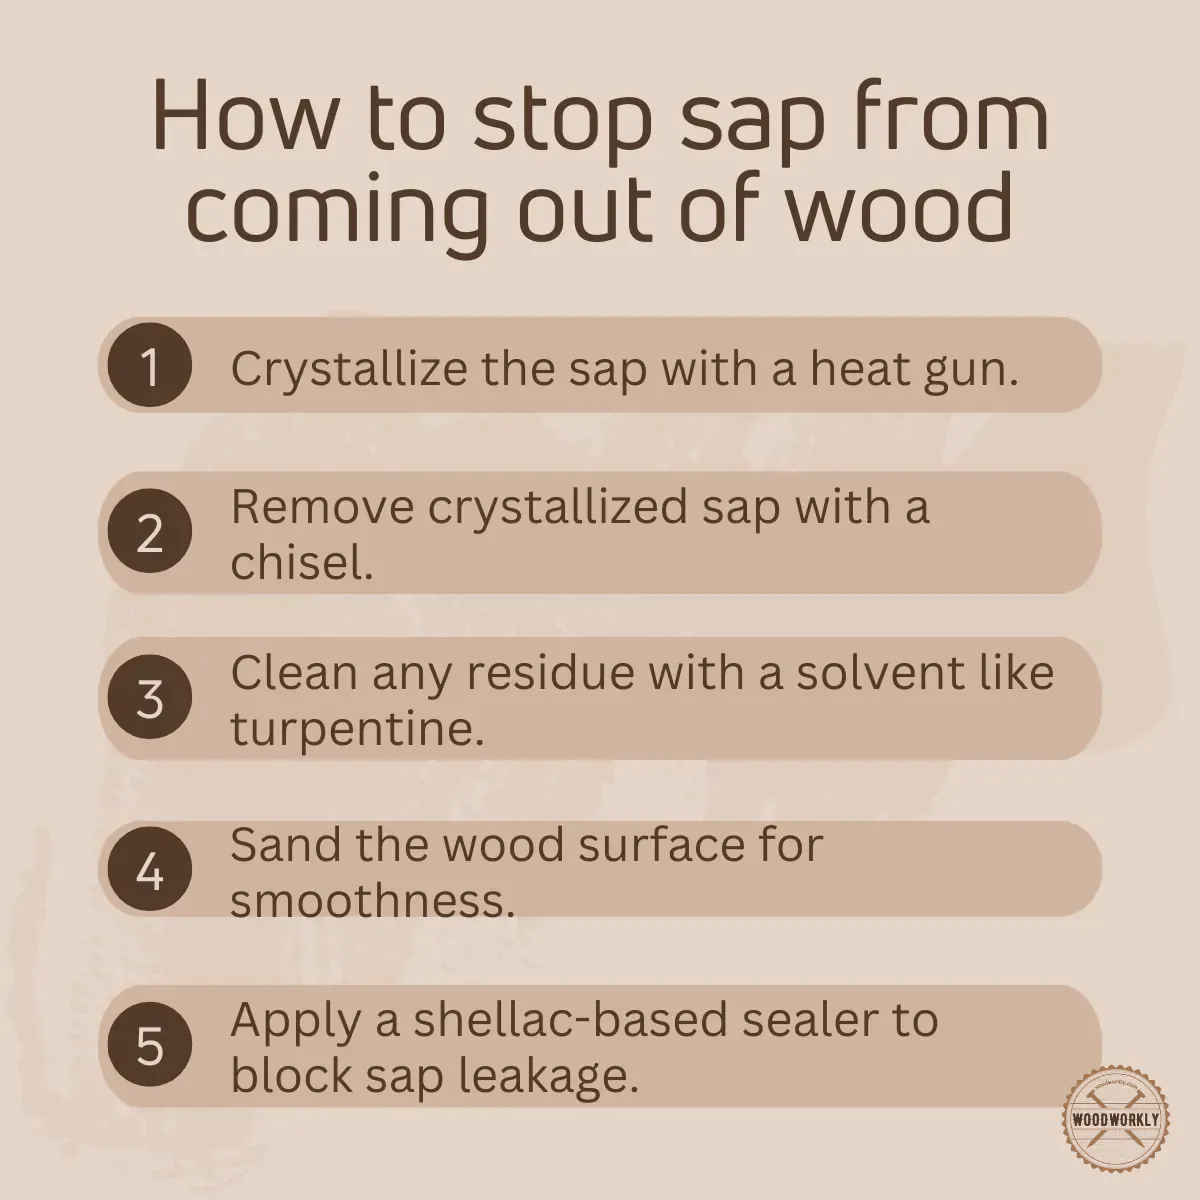
- Clean the surface with a clean cloth dampened with denatured alcohol to remove any sticky residue from the wood fibers.
- Use a sharp chisel to scrape away any hardened resin beads that are protruding above the surface.
- Lightly sand the area with 150-grit sandpaper to open the pores of the wood and create a smooth profile.
- Apply a thin coat of a shellac-based primer over the knots and resin streaks, as this acts as a barrier against bleeding.
- Allow the primer to dry for at least one hour, or until it’s no longer tacky to the touch.
- Check for any yellowing or bleed-through; if you see color changes, apply a second coat of the same primer.
- Paint or stain the wood once the barrier is completely dry and the surface feels uniform.
The judgment call here is knowing when to stop scraping. If you dig too deep into a knot, you might create a hole that requires wood filler. A job done well leaves the knot level with the surrounding wood without removing the structural integrity of the knot itself.
Resin management comparison
| Situation | Action | Effort Required | What to Watch |
|---|---|---|---|
| Minor surface spots | Scrape and prime | Low | Re-bleeding |
| Large active knots | Heat and seal | Medium | Wood splitting |
| Green, wet lumber | Kiln dry | High | Warping |
| Finished furniture | Strip and seal | High | Color matching |
| Exterior siding | Consult pro | Medium | Weather exposure |
For minor surface spots, use a sharp cabinet scraper to remove the resin before applying a shellac-based primer. If you skip the primer, the resin will migrate through your topcoat within six months, ruining the finish.
When dealing with large, active knots, apply a heat gun until the resin liquifies, then wipe it clean with denatured alcohol. If you skip this step, the trapped resin will expand in summer heat and crack your paint. Stop heating the moment the wood surface feels hot to the touch; exceeding 150 degrees Fahrenheit risks permanent fiber damage.
If your lumber moisture content exceeds 19 percent, don’t attempt to seal it. The moisture will force the resin out regardless of your sealant choice, causing the finish to bubble and peel. In this case, you must kiln dry the boards to reach equilibrium moisture content.
For finished furniture, check for a waxy residue by rubbing the spot with mineral spirits. If the rag turns yellow, you have a wax-based finish that requires a full chemical strip. If the rag stays clean, you can often spot-sand and apply a dewaxed shellac barrier to lock the resin in place. Always test a hidden area first to ensure the new sealant adheres to the existing chemistry.
Quality results versus common errors
Proper preparation techniques
Experienced woodworkers always test their boards for resin pockets before applying any finish. They look for dark, heavy grain patterns that indicate high oil content. By identifying these areas early, they can spot-treat the wood with a sealing primer before the final color coat goes on. This prevents the “ghosting” effect where knots show through white paint after a few months.
Mistakes to avoid
Beginners often try to cover sap by applying extra layers of thick paint. This is a mistake because paint doesn’t stop the chemical reaction of the resin; it only hides it temporarily. The pressure from the moving sap will eventually break the paint film. Another common error is using a water-based primer, which doesn’t block resin as effectively as a shellac-based product.
Managing sap issues
| What you notice | What it means | What to do first | How to stop it |
|---|---|---|---|
| Sticky beads | Active resin | Scrape off | Apply shellac |
| Yellow stains | Bleeding | Clean surface | Prime knots |
| Tacky paint | Poor seal | Sand down | Use barrier |
| Dark streaks | High sap | Heat treat | Remove wood |
| Soft knots | Deep pockets | Drill/fill | Seal deeply |
Standards for wood finishing
The USDA Forest Products Laboratory notes that shellac is the most reliable material for sealing knots in softwoods to prevent resin bleed. This is because shellac is alcohol-soluble and forms a hard, non-porous film that resin can’t easily penetrate.
Always verify the drying times on your specific product label, as humidity levels can change the window for re-coating. If you’re working in a space with high moisture, you must ensure the wood is acclimated to the room’s temperature for at least 48 hours before you start sealing.
Most professionals make the mistake of applying shellac too thickly, which causes the finish to crack under the pressure of expanding sap. Aim for two thin, translucent coats rather than one heavy layer. If the knot is larger than a silver dollar, treat it with a dedicated knot-sealer primer instead of standard shellac. This prevents the resin from eventually breaking through the surface tension of the film.
The cost of wood maintenance
The primary cost for this repair is your time and the price of a small can of shellac-based primer. This primer is quite inexpensive compared to the cost of replacing the wood, depending on the brand and local hardware store prices. You can check current pricing at major home improvement retailers online.
The effort involved is low, but rushing the drying process is the most expensive mistake you can make. If you apply the topcoat before the primer fully cures, the solvents will reactivate the base layer. This creates a gummy, uneven finish that forces you to strip the wood and repeat the entire process from scratch.
To avoid this, use the fingernail test. Press your nail firmly into an inconspicuous area of the primed wood after the manufacturer’s recommended wait time. If the primer leaves a dent or feels soft, wait another two hours.
If the wood is older or has been previously stained, apply a second thin coat rather than one heavy layer. A heavy coat often pools in the grain, leading to long-term peeling that requires professional sanding to correct. If the surface feels tacky after four hours, the ambient humidity is likely too high; move the piece to a climate-controlled room to ensure proper bonding.
Keeping wood stable over time
Once the wood is sealed, keep it away from extreme heat sources. Radiators and direct sunlight accelerate the release of internal resins, which can force their way through even the best primers. If you notice a new spot, don’t panic. It simply means there was a deep pocket that took time to reach the surface.
Sand that small area with 150-grit paper, apply a fresh dab of shellac-based primer, and touch up the paint. Shellac is the only reliable barrier here because it chemically seals the sap rather than just covering it.
If you find that the entire board is weeping, the wood may have been installed before it was properly dried at the mill. You can test this by checking the moisture content with a digital meter. If the reading stays above 15 percent in a climate-controlled room, the wood will never stabilize. In this case, no amount of primer will hold back the sap. You must remove the board entirely and replace it with kiln-dried stock.
People often make the mistake of using water-based primers on fresh pine, which results in recurring stains within weeks. If the sap is sticky to the touch, strip it back to raw wood before priming.
Situations requiring professional help
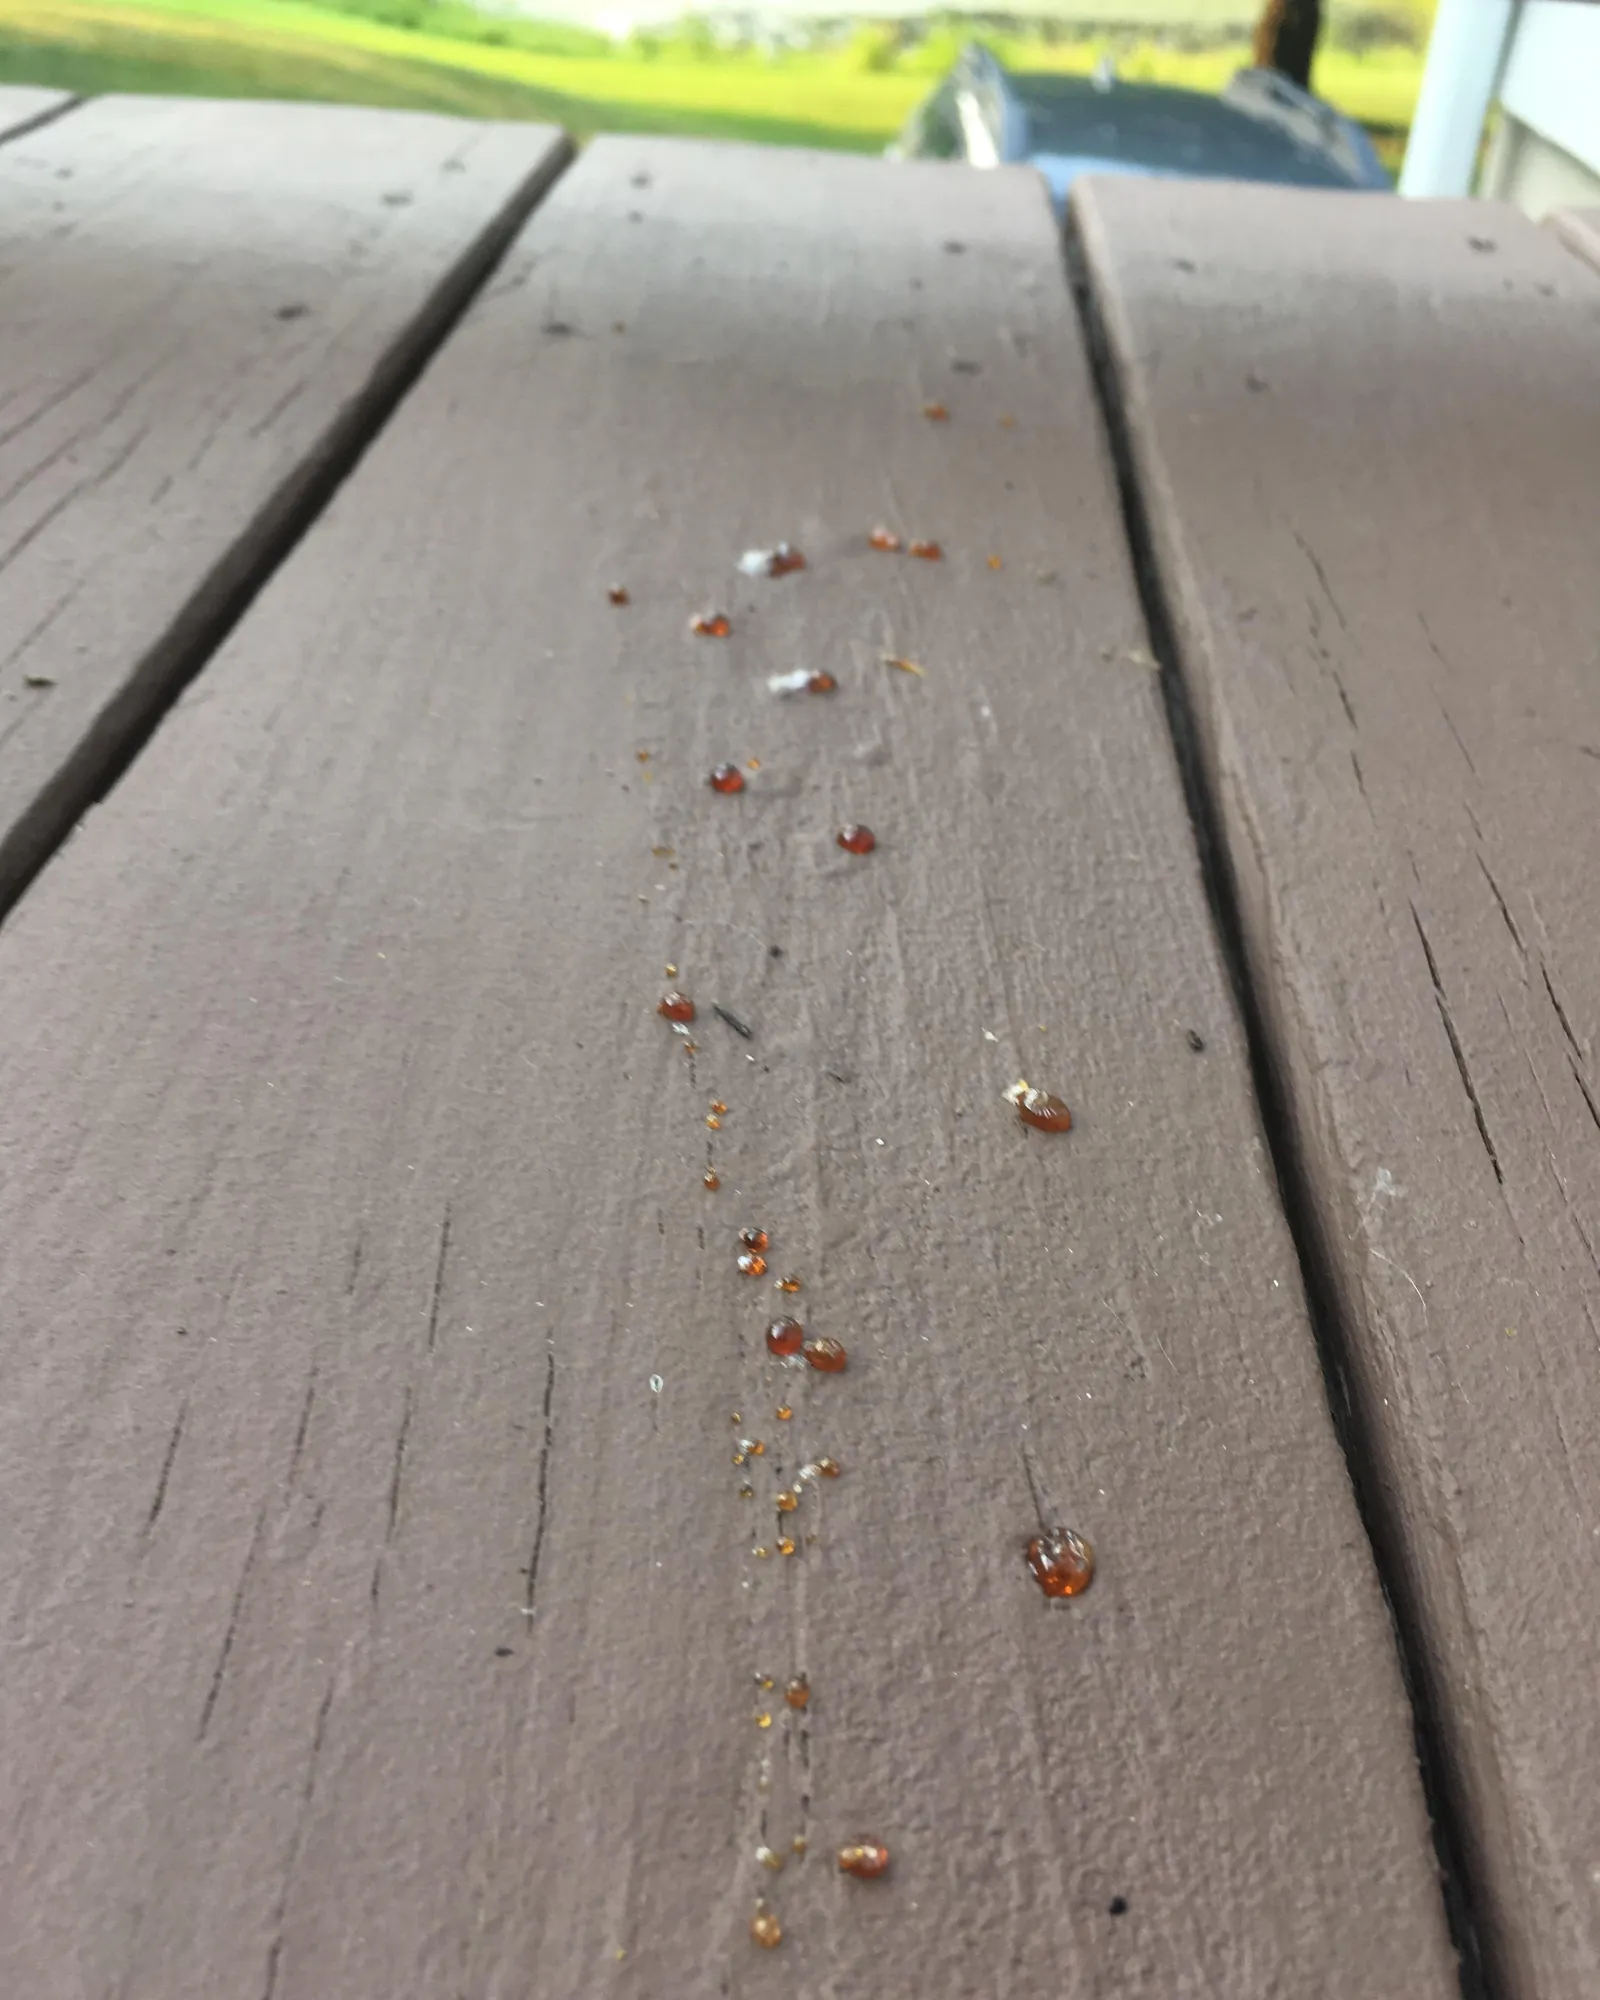
This DIY approach is meant for small knots and localized bleeding on interior wood. If you have an entire wall or a structural beam that’s constantly leaking sticky resin, this is a sign of improper drying that you can’t fix from the outside.
In these cases, you should hire a professional carpenter to replace the board or stabilize the wood with industrial heat-treatment methods. Attempting to force-dry large structural timbers with a heat gun can cause dangerous cracks and weaken the wood.
If the resin covers an area larger than a standard dinner plate, stop your repair immediately. At this scale, the sap is likely deep within the core of the timber rather than just near the surface. You’re no longer dealing with a cosmetic finish issue, but a potential structural failure.
Look for signs of soft, spongy wood around the bleed site. If you can depress the surface with your thumb, the wood has begun to rot from the internal moisture. A professional must assess whether the joist or stud still holds its load-bearing capacity.
Mistaking deep-seated rot for simple surface sap is a common error that leads to costly floor sagging or wall bowing. If the wood feels damp to the touch or emits a sour, earthy odor, don’t seal the area; call a specialist immediately to assess for structural rot. Don’t attempt to sand or seal over active decay.
Related guides
Frequently asked questions
Can I use clear coat over sap?
No, clear coat won’t stop sap from coming out of wood and will likely turn cloudy or peel when the resin hits it. You must use a pigmented shellac-based primer to create a physical barrier between the wood and the finish.
How long does it take for sap to stop leaking?
It can take several years for wood to stop weeping if it wasn’t kiln-dried properly before installation. You can speed up this process by keeping the wood in a warm, dry room to force the resin out faster.
Is it safe to leave the sap alone?
It’s safe for your health, but the sap will continue to attract dust and dirt, making the surface look messy over time. If the wood is in a high-traffic area, the sticky spots will eventually trap debris that’s hard to clean off.
What happens if I paint directly over the sap?
The sap will eventually push through the paint, causing it to bubble, crack, or turn yellow. The resin acts as a solvent that breaks down the paint’s bond, leading to a permanent, tacky blemish on your finish.
Does it matter if I use a heat gun?
Yes, using a heat gun is effective for drawing out deep sap, but you must be careful not to scorch the wood. Hold the gun at least 6 inches away and move it constantly to prevent burning the surface fibers.
Why does my pine trim keep leaking?
Pine is a resinous wood that naturally contains large amounts of sap, and it will continue to leak whenever the ambient temperature rises. If the wood wasn’t kiln-dried at the factory, these resin pockets remain liquid and move whenever the wood warms up.
Conclusion
Start by testing a small, hidden area of the wood with a heat source to see if any sap rises to the surface. If you see bubbles, proceed with the shellac primer on all knots. Stop immediately if you see deep cracks appearing in the wood, and consult a professional for structural advice.