

Yes, you can use oil based primer over latex paint, provided the surface is clean and fully dry. This combination works well if you want to block tough stains or transition to an oil-based topcoat, but you must ensure the old latex layer is stable. You should lightly sand the wall and wipe away all dust before you start your project.
Choosing the right primer for your walls
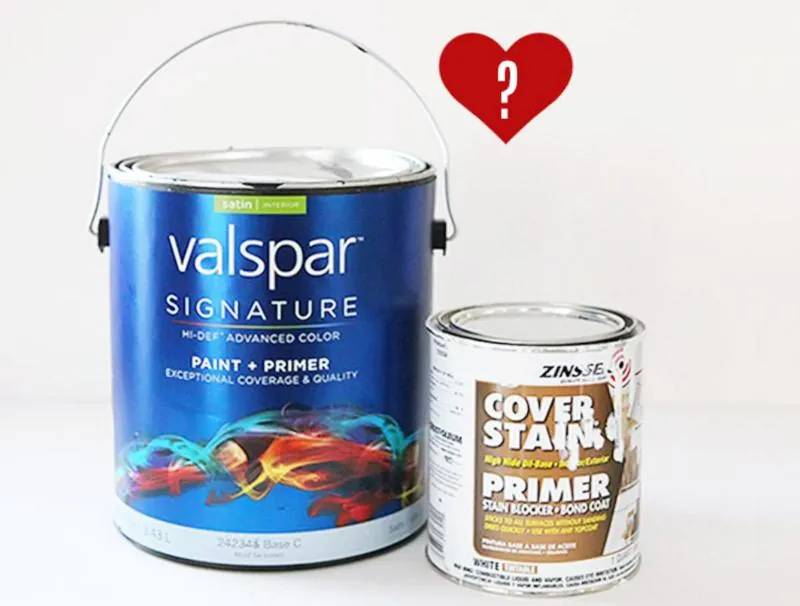
You should always match your primer to your specific situation to ensure the paint sticks properly. Using the wrong product can lead to peeling or bubbling later on.
| Your situation | Answer | Why |
|---|---|---|
| Old latex paint | Yes | Oil sticks well to sanded latex |
| High moisture areas | No | Oil primer traps water inside |
| Freshly patched drywall | Yes | It seals porous surfaces well |
| Glossy latex surface | Yes | Sanding makes it bond better |
| Flexible surfaces | No | Oil primer cracks as it moves |
If you’re painting over a stained surface, such as water damage or smoke residue, skip standard latex primers entirely. These stains will bleed through water-based products almost immediately. Use a shellac-based primer instead, as it creates a chemical barrier that locks tannins and pigments in place permanently.
When working with new drywall, avoid the common mistake of applying a single coat of cheap primer. Drywall mud is significantly more porous than the paper surrounding it. If you don’t apply two thin coats or a high-build primer, the finish paint will look dull and uneven, a flaw known as “flashing.”
If you’re unsure which surface you have, conduct a simple wipe test. Dampen a rag with denatured alcohol and rub a small, inconspicuous area. If the paint transfers to the rag, it’s latex. If the surface remains unchanged, it’s likely oil-based paint, though this test isn’t definitive for all coatings. Always prime oil-based surfaces with a bonding primer to prevent your new topcoat from sliding off during application.
Why the base layer matters
The primary requirement for this process is that the existing latex paint must be in good condition. Latex is a water-based product, while oil-based primers use mineral spirits or synthetic resins as their base. Because these two chemistries don’t naturally want to mix, the physical bond relies entirely on the condition of the surface you’re painting over.
If the current latex paint is peeling, chalky, or damaged, the oil-based primer will pull the old layers away from the wall as it dries. You must remove any loose paint and sand the surface to create a “tooth” or rough texture for the primer to grip. Run a piece of painter’s tape over the surface; if it pulls off flakes of paint when removed, you haven’t sanded enough to reach a stable substrate.
If the surface is clean and smooth, the oil-based primer acts as a strong bridge between the old paint and your new finish. Many homeowners make the mistake of skipping a light sanding on glossy latex, assuming the primer will stick regardless. This shortcut often costs a full weekend of rework when the topcoat fails to adhere and begins to bubble within months.
You should consider the environment before you start. Oil-based primers are excellent for sealing water stains, smoke damage, or wood tannins that would otherwise bleed through latex paint. However, they aren’t ideal for areas with high humidity, such as bathrooms, because they do not “breathe” as well as water-based alternatives. If the wall is damp, the trapped moisture will eventually force the primer to peel off in large sheets.
Use a simple moisture meter to check the wall before application. In these cases, the moisture has nowhere to go, leading to catastrophic failure.
If the surface is firm and dry, then apply the oil-based primer. If the surface is soft, chalky, or consistently damp, use a high-quality water-based bonding primer instead. This choice ensures the chemical structure of your base layer remains compatible with the environment of the room.
Applying oil based primer over latex paint
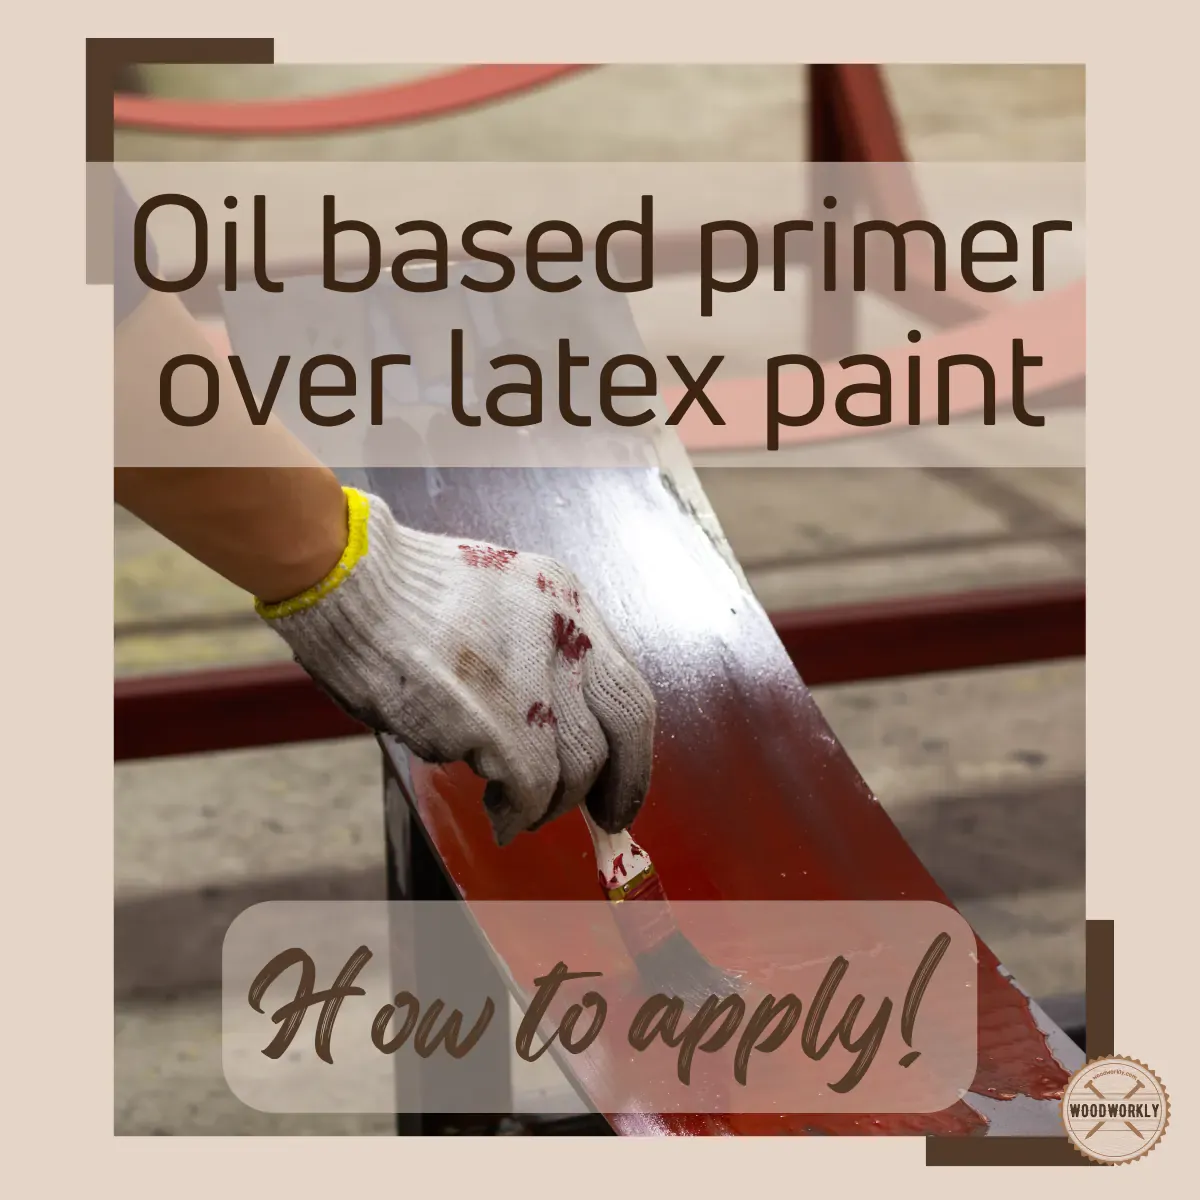
Clean the surface thoroughly. Use a mild degreaser or a mixture of water and dish soap to remove all grease, dust, and grime. A clean wall is the only way to ensure the primer sticks correctly. If you skip this, oils from fingerprints or cooking will create “fish eyes” in your new finish, where the paint beads up instead of spreading.
Sand the existing paint. Use 120-grit sandpaper to dull the sheen of the old latex. You’re looking for a matte finish across the entire area, which shows you have removed the protective gloss layer. If you’re working with high-gloss enamel, drop to 80-grit paper to cut through the harder surface, but stop once the shine disappears to avoid gouging the drywall.
Remove all sanding dust. Use a tack cloth or a damp rag to wipe the walls completely. If you leave dust behind, the primer will bond to the dust rather than the wall, leading to a weak finish that peels away within months. Check your rag; if it comes away colored, keep wiping until it stays clean.
Apply the oil-based primer. Use a high-quality synthetic brush or a nap roller to apply an even coat. You’ll know it’s applied correctly when the old color is no longer visible through the primer. If you’re covering a dark, vibrant color with a light topcoat, use a tinted primer to save yourself an extra coat of paint.
Allow for proper drying time. Follow the manufacturer instructions regarding recoat times. Most oil-based primers need at least 4 to 8 hours to dry before you can apply a topcoat. Applying the topcoat too soon traps solvents in the primer, which causes the final paint layer to crack or bubble.
The mistake that costs time and money
The most common mistake is skipping the sanding step because you believe modern primers will “stick to anything.” This is a dangerous assumption that leads to total failure within weeks. If you apply oil-based primer over a glossy, unsanded latex surface, the primer can’t penetrate the film. It sits on top of the gloss and eventually peels off in large, ugly strips when you apply the topcoat.
The cost of this error is high because you must strip the loose paint, re-sand the wall, and start the entire process over. You lose the cost of the materials and double your labor hours. To avoid this, perform the “tape test” on an inconspicuous patch.
Apply a small piece of painter’s tape firmly to the wall and pull it off quickly. If paint comes off on the tape, the surface isn’t stable enough for a new coat. If the tape comes off clean, the surface is ready for your primer.
You must also distinguish between surface types. If you’re painting over high-gloss enamel, sanding is mandatory to create “tooth” for the paint to grip. If the existing surface is matte or eggshell, a thorough cleaning with a degreaser often suffices. If you can see a sheen when light hits the wall at an angle, reach for 120-grit sandpaper immediately.
Don’t rely on liquid deglossers alone for surfaces that have been painted with oil-based products in the past. When in doubt, sand the surface until the shine is gone. A dull, scratched finish is the only guarantee that your paint will remain bonded for years rather than days.
When to stop and get help
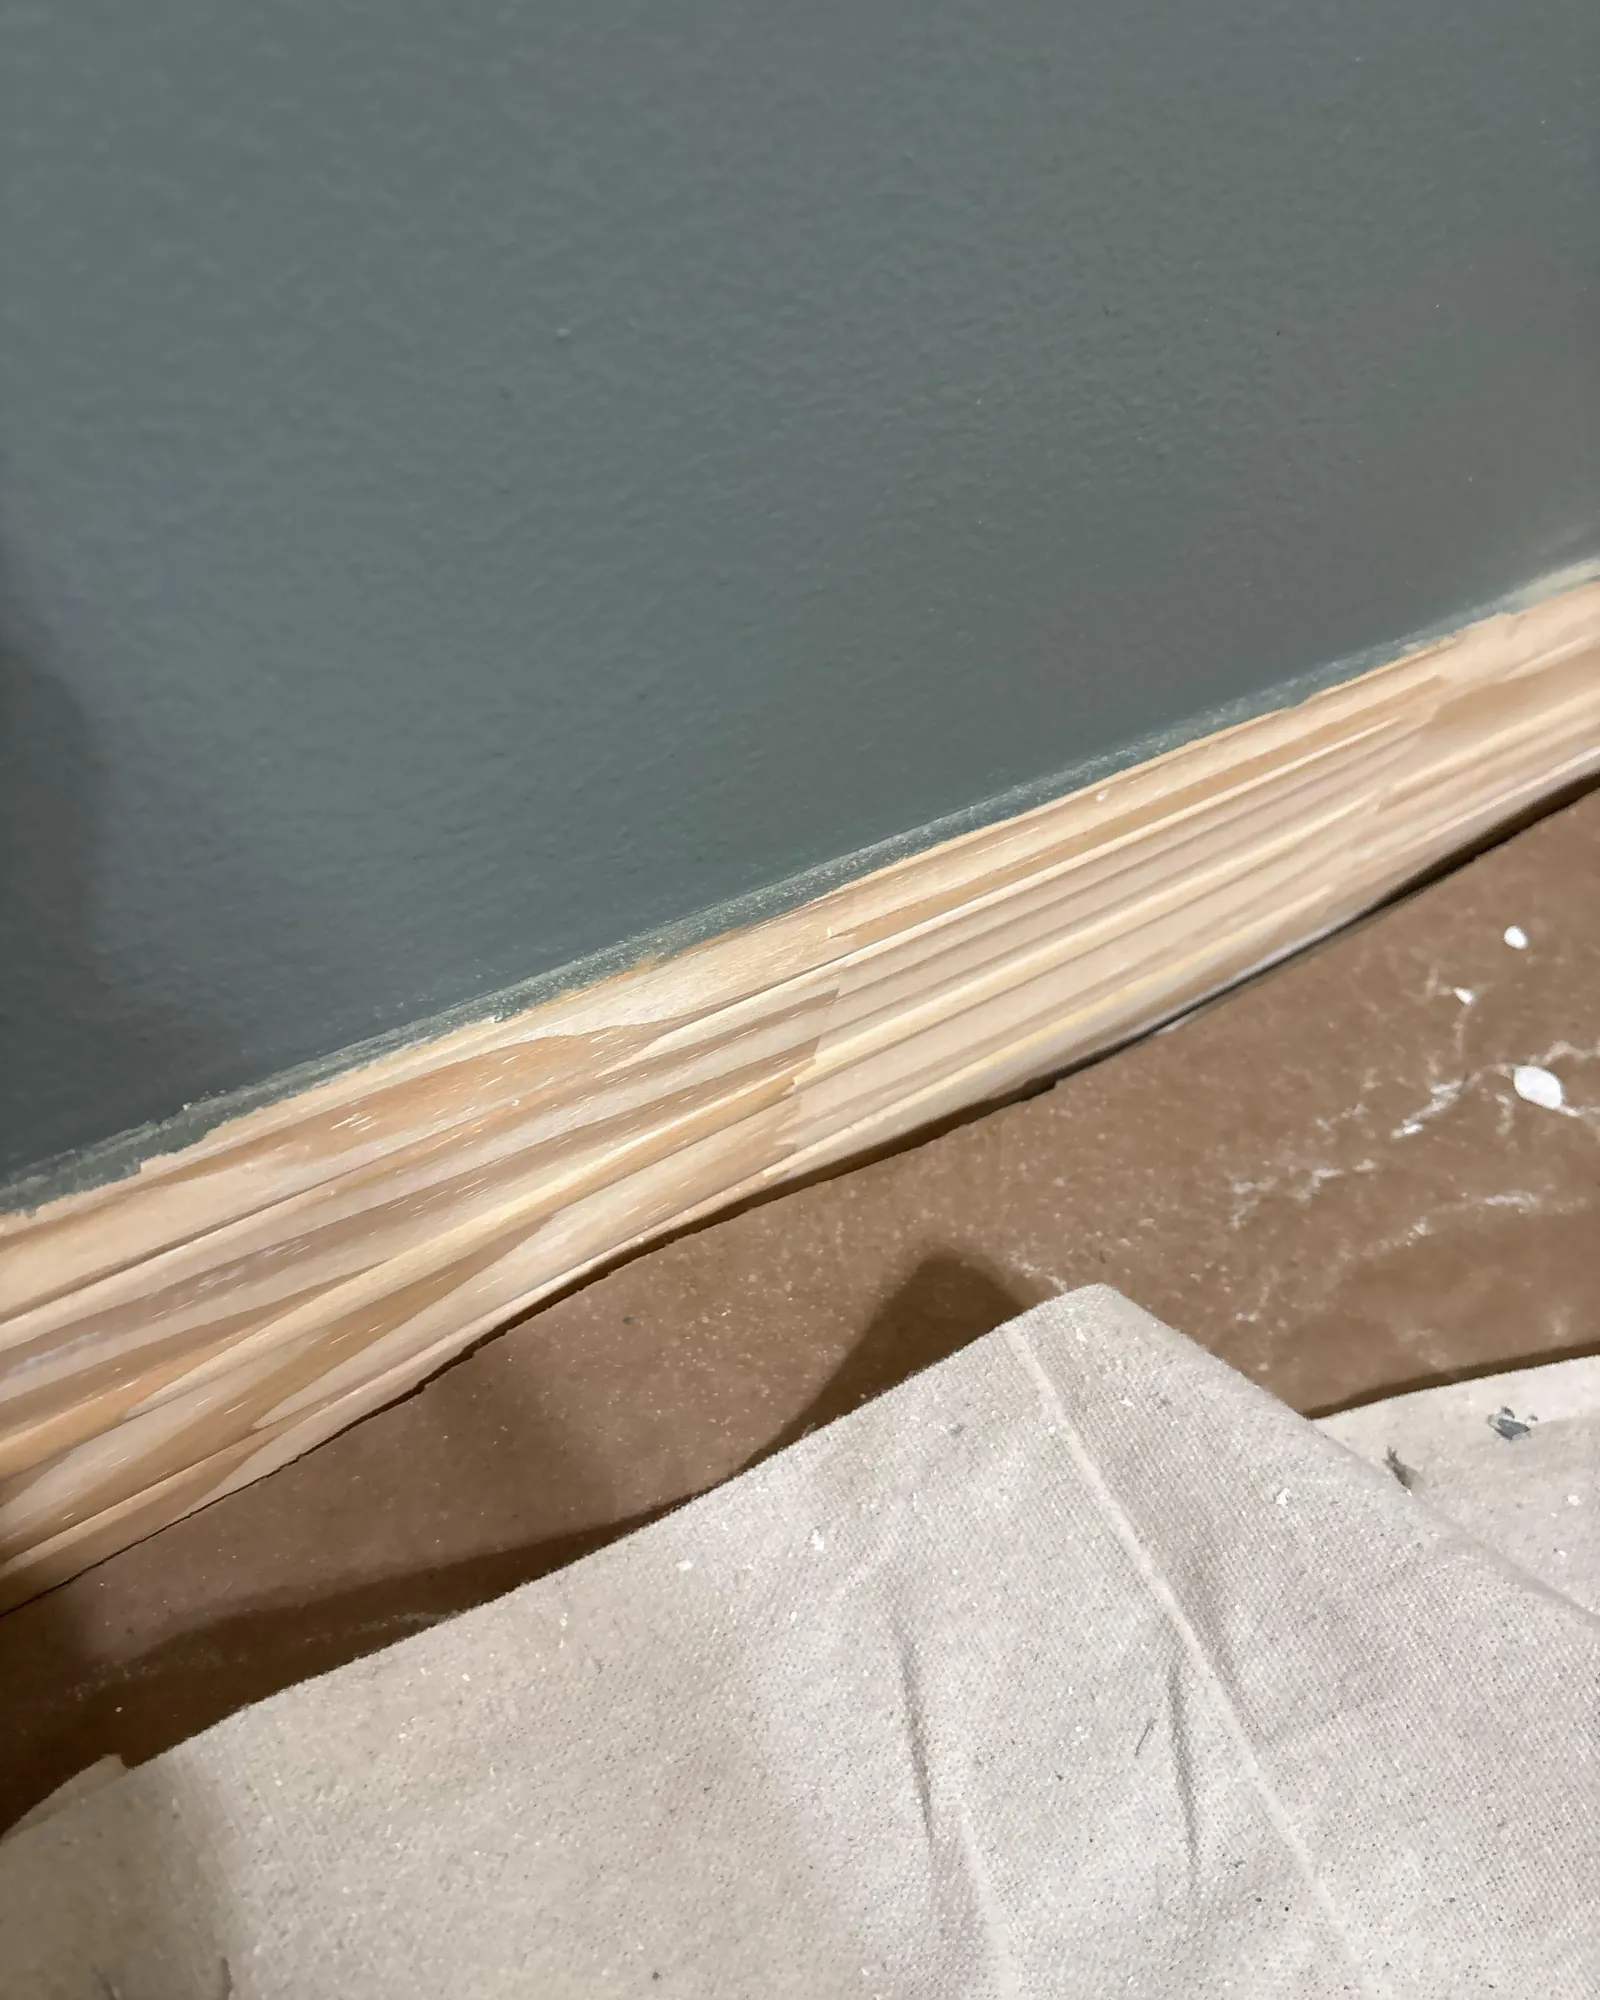
If your home was built before 1978, assume the paint contains lead. Don’t sand or scrape these surfaces yourself. Instead, hire a certified lead abatement professional to test the layers. Inhaling lead dust can cause permanent neurological damage, especially in children.
Peeling paint in large, rubbery sheets indicates a failure of the original primer or a layer of oil-based paint beneath latex. If you paint over this, the new coat will pull the old layers off within weeks. Scrape a small test patch; if the edges continue to lift, the entire wall requires chemical stripping or professional sanding to reach a stable substrate.
Persistent dampness or dark, fuzzy spots suggest a leak behind the drywall. Applying primer over these areas only traps moisture, accelerating rot and mold growth. You must identify the source of the water—whether a plumbing leak or exterior flashing failure—and replace the damaged material before picking up a brush.
For whole-house projects, the volume of volatile organic compounds (VOCs) released by oil-based primers is dangerous in unventilated spaces. If you can’t maintain a constant cross-breeze with industrial-grade fans, the fumes will cause dizziness or respiratory distress.
If you’re unsure about the substrate, apply a small amount of denatured alcohol to a rag and rub the wall. If the paint softens or comes off, it’s latex. If it remains hard, it’s likely oil-based, requiring a high-adhesion bonding primer to prevent future peeling.
Frequently asked questions
Can you use oil based primer over latex paint in a bathroom?
Avoid oil-based primer in bathrooms because it traps moisture, leading to bubbling and mold. Use a water-based bonding primer labeled for high-moisture environments instead. This allows moisture vapor to escape, keeping your finish intact. Always check the product label for “mildew resistance” before purchasing.
How long does it take for oil based primer to dry?
Most oil-based primers require 4 to 8 hours of drying time before applying a topcoat. You can verify readiness by touching an inconspicuous spot; if it feels tacky, it needs more time.
Is oil based primer better than water based?
Oil-based primer is superior for blocking stains and sealing knots, while water-based primer offers better ease of use. Choose oil-based for water stains or smoke damage. If you’re simply changing the color of a wall in good condition, water-based primer is usually sufficient for the job.
Do I need to sand before applying oil based primer?
You must sand the surface before applying oil-based primer to ensure proper adhesion. Even clean-looking paint often has a glossy finish or dust that prevents bonding. Using 120-grit sandpaper creates the necessary texture for the primer to stick, preventing the paint from peeling off later.
What happens if I use oil based primer over wet latex paint?
Never apply oil-based primer over wet latex paint, as the layers won’t bond and will cause blistering. The trapped moisture creates bubbles under the impermeable oil seal. Wait until the latex paint is completely dry, which typically takes at least 4 hours, and ensure good airflow.
Does it matter which topcoat I use after oil based primer?
You can use either latex or oil-based paint as a topcoat over cured oil-based primer. The primer creates a versatile, neutral surface that accepts both types. Check the label for a maximum topcoat window; if you wait longer than 7 days, you may need to lightly sand the surface.
Is it safe to breathe in oil based primer fumes?
Always use oil-based primer in a well-ventilated area to avoid dizziness from fumes. Open windows and use fans to move air out of the room while you work. If you’re in a small, enclosed space without windows, wear a respirator mask to protect your lungs from volatile organic compounds.
Conclusion
Begin by cleaning and sanding a small test area to ensure the surface is ready for your primer. Once you have confirmed the wall is prepared, apply a thin, even coat using a high-quality roller. Consult a professional if you notice any lifting or bubbling during this process.