
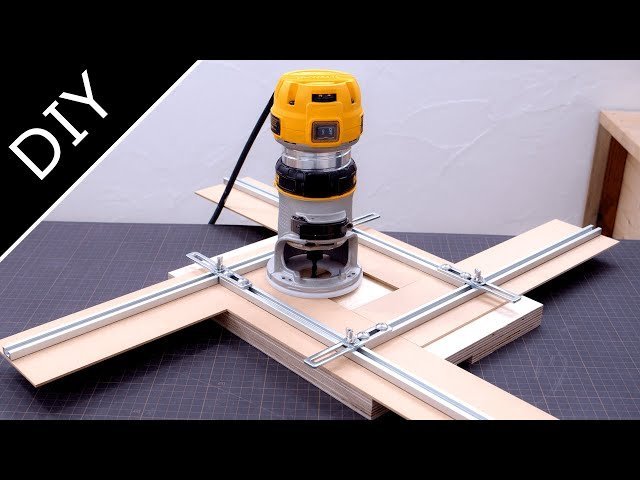
You can cut a square hole in wood with a router by using a template guide and a custom-made frame to achieve a precise result. This method uses a straight bit to follow the inside edges of a fixed jig, ensuring the corners are square and the walls are perfectly straight.
The final quality depends on the rigidity of your template and the sharpness of your router bit. If your wood is thin, you’ll need a sacrificial board underneath to prevent splintering; if it’s thick, you should make multiple passes at different depths to avoid burning the timber.
Who should cut square holes in wood
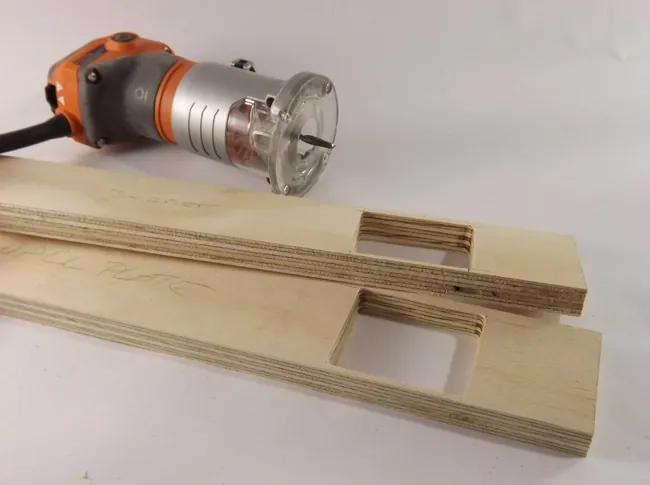
This guide serves woodworkers who have access to a plunge router and basic shop tools. You likely have a project that requires a clean, inset opening for a box, a speaker, or a recessed compartment. If you’re looking for a way to cut holes using only a jigsaw or a handheld saw, this page isn’t for you, as those tools can’t produce the same level of accuracy or clean edges.
The process assumes you have a set of straight router bits and a way to hold the workpiece firmly to your workbench. It also assumes you have basic safety equipment, as operating a router requires focus and protective gear.
If you’re new to power tools, practice on scrap wood before moving to your final project. This guide focuses on creating a hole that matches the exact dimensions of your template, which is the most reliable way to ensure a tight fit for any hardware or panels you plan to install.
Selecting your equipment and materials
The primary factor that changes the outcome is the diameter of your router bit. If your bit is too large, it can’t reach into the sharp internal corners of your square hole. You must choose a bit that’s smaller than the corner radius you desire, or you’ll have to square the corners by hand with a sharp chisel after the routing is complete.
The second factor is the thickness of your template material. A thicker template, typically 1/2 inch or 3/4 inch plywood, provides a better surface for the router base to rest on. If the template is too thin, the router may tip, causing an uneven cut.
The third factor is the speed of your feed. If you move the router too slowly, the friction will burn the wood; if you move it too quickly, the bit will tear the wood fibers. You should always test your speed on a scrap piece of the same wood species.
The final factor is the clamping setup. If your workpiece moves even a fraction of an inch, the hole will be ruined. Use heavy-duty clamps to secure both the template and the wood to your table, ensuring that the router path is clear of any metal fasteners that could damage the bit or cause a kickback.
Steps to create the square opening
- Measure your desired hole size and add the width of your router bit’s collar or guide bushing to the dimensions.
- Build a square frame using four strips of straight scrap wood that match these new dimensions.
- Screw or clamp this frame securely onto the surface of your workpiece, ensuring the corners are at a perfect 90-degree angle.
- Set your router depth to roughly 1/4 inch for the first pass to avoid putting too much pressure on the motor.
- Place the router inside the frame and press the guide bushing firmly against the inside edge of your template.
- Turn on the router and move it clockwise around the inside of the frame, letting the guide bushing do the work.
- Lower the bit by another 1/4 inch for each subsequent pass until you have cut all the way through the wood.
- Remove the frame and use a sharp bench chisel to square off any rounded corners left by the router bit.
- Sand the interior walls of the hole with 120-grit paper to remove any chatter marks from the bit.
The most important judgement call is ensuring your template frame is perfectly square before you start. Even a slight error in your frame’s geometry will be mirrored exactly in your final hole, so use a framing square to verify the corners before you make the first cut.
Comparison of cut methods
The following table shows how different approaches compare when cutting holes in wood.
| Situation | Best Method | Effort | Watch For |
|---|---|---|---|
| Thin plywood | Jigsaw | Low | Splintering |
| Large square hole | Router jig | Medium | Bit heat |
| Thick hardwood | Multiple passes | High | Tool burning |
| Small precise hole | Drill and chisel | Medium | Accuracy |
| Many identical holes | Template guide | Low | Jig wear |
If you’re cutting plywood, apply blue painter’s tape over the cut line to prevent veneer tear-out. This simple step saves hours of sanding.
When working with hardwood, never force the tool. If you smell burning wood, stop immediately. A scorched edge requires deep sanding to remove, which often ruins the dimensions of your piece.
For router work, always take shallow passes.
If you’re unsure which method fits your project, check the grain direction. If the grain is tight and interlocking, use a chisel to avoid the wandering cuts common with power tools. Always prioritize a clean entry point by scoring the perimeter with a sharp utility knife before starting your power tool.
Details that define quality
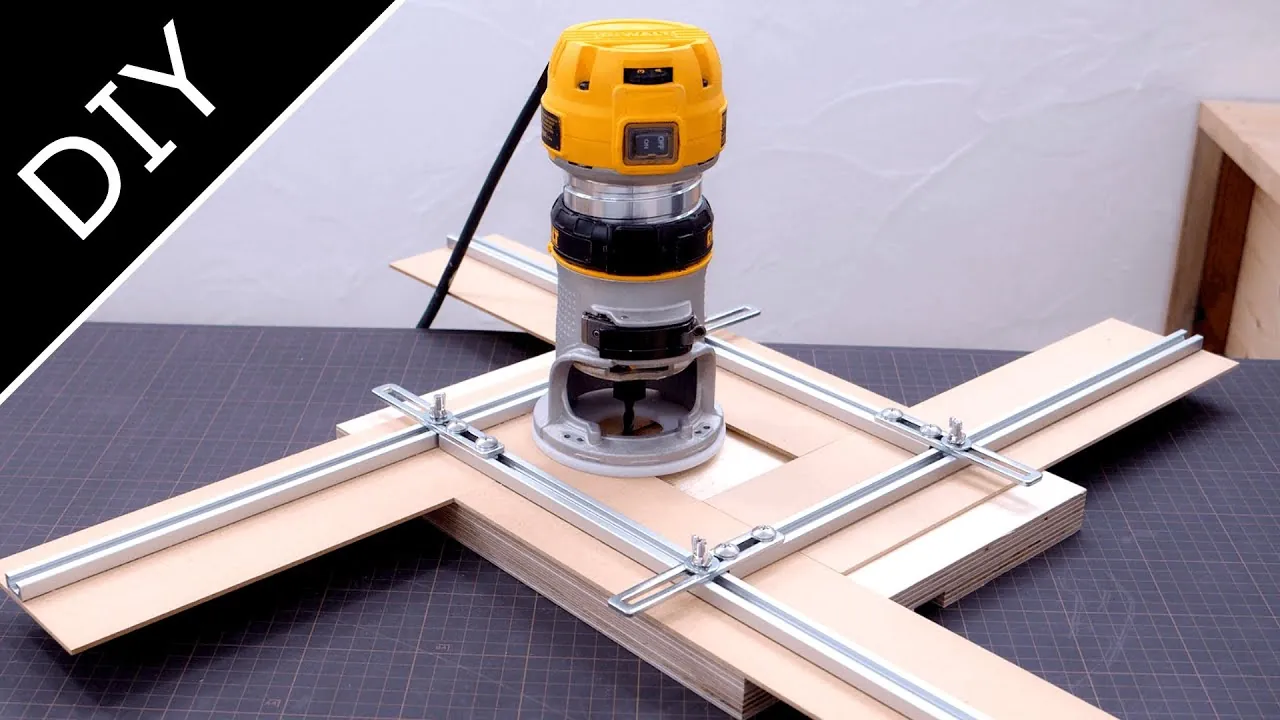
Template preparation
Experienced woodworkers spend more time building the template than they do cutting the hole itself. They use a square to verify the 90-degree angles and then test the fit with a scrap piece before attaching it to the final project. If the template is loose, the router will wobble, resulting in a hole with wavy or slanted walls rather than a clean, vertical edge.
Bit management
Beginners often use a dull bit, which causes the wood to burn and the router to struggle. You should check the edges of your bit with your thumb—if it feels dull or has resin buildup, clean it with a dedicated bit cleaner or replace it. A sharp bit clears debris quickly, which keeps the tool cool and produces a smooth finish that requires very little sanding after the cut is complete.
Troubleshooting common issues
| What you notice | What it usually means | What to do first | How to stop it |
|---|---|---|---|
| Burnt edges | Slow feed rate | Increase speed | Use sharp bits |
| Chipped surface | Dull bit | Change bit | Score the line |
| Uneven walls | Loose template | Tighten clamps | Secure jig |
| Rounded corners | Bit too large | Use chisel | Use smaller bit |
| Router vibration | Unbalanced bit | Check collet | Tighten nut |
When your router leaves dark, charred marks on the wood, you’re dwelling too long in one spot. Increase your feed rate until the bit clears chips efficiently without burning the grain.
If you notice chipping, verify your bit is sharp enough to slice fibers rather than tear them. You can prevent this by scoring the cut line with a utility knife before routing.
Router vibration often stems from a collet that has lost its grip. If the bit feels loose, inspect the collet for dust buildup or metal fatigue. A worn collet will never hold a bit perfectly centered, which ruins accuracy.
Always choose the smallest bit diameter that handles the profile you need. Large bits increase torque and the risk of chatter. If you’re uncertain, test your settings on a scrap piece of the same species to confirm the depth and speed.
Standards for safe operation
The rules for operating a router are set by the manufacturer of the tool and the general guidelines provided by the Consumer Product Safety Commission. You must ensure that the bit is fully seated in the collet, as a loose bit can vibrate and damage the wood or the tool itself. If you’re working in a workshop, always check the Consumer Product Safety Commission guidelines for tool safety to ensure your workspace is free of hazards.
Never attempt to cut a hole deeper than the bit’s cutting length in one go. If your bit is 1 inch long, limit your depth of cut to 1/2 inch per pass to maintain control. Always keep your hands away from the path of the bit, and never remove the router from the wood until the motor has come to a complete stop.
Understanding the real cost
The cost of this project is measured in the price of the router bits and the time spent building the template. A high-quality carbide-tipped straight bit is inexpensive, while the cost of wood for a template is negligible if you have scrap material available.
The biggest hidden cost is your time. Building a precise jig can take 30 to 60 minutes, but it saves hours of clean-up if you’re making multiple holes.
If you only need to cut one small hole, the time spent building a template might be higher than the effort required to simply mark the lines and use a drill and chisel. Always calculate whether the time to build a jig is justified by the number of holes you need to produce.
Maintaining your result
Once the hole is cut, lightly sand the inside edges to prevent splinters. If the hole is for an object that will be inserted and removed, such as a panel, apply a thin coat of paste wax to the inside walls to reduce friction.
If you notice the wood beginning to chip or fray, trim the edges with a sharp chisel or re-sand with 220-grit paper to restore a clean appearance.
If the fit becomes loose, apply a thin layer of cyanoacrylate glue to the inner walls to harden the fibers before re-sanding. This prevents the wood from compressing further.
When to use a different approach
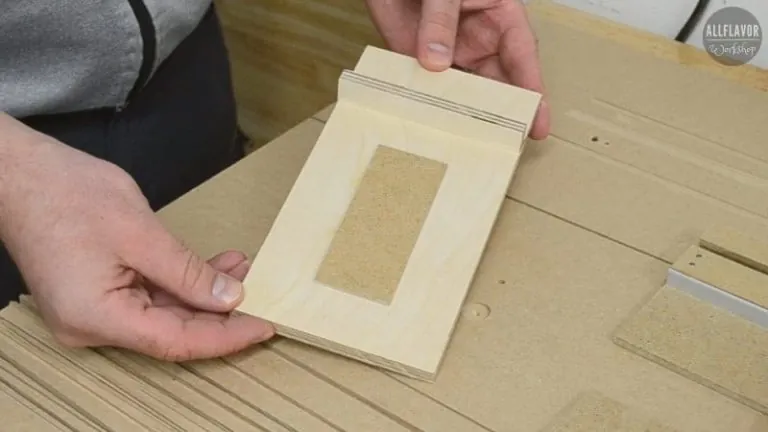
If you’re cutting a hole in a curved surface, a standard square template won’t work because it can’t sit flush against the wood. In this case, you should use a CNC machine or a specialized jig that matches the curve of your project. If you’re working with extremely hard woods or metal-reinforced materials, a router may not be the right tool at all.
Attempting to force a router through dense materials can cause the bit to snap, which poses a significant risk of injury. In these instances, use a jigsaw with a metal-cutting blade or a dedicated metal-cutting tool to ensure the job remains safe and effective.
Related guides
Frequently asked questions
Can I cut a square hole without a template?
No, it’s nearly impossible to cut a perfectly square hole with a router freehand. The router bit is round, and the base is meant to be guided by a straight edge or a template to ensure the path remains consistent and the corners are sharp.
How deep can I cut in one pass?
You should limit each pass to a depth of 1/4 inch to ensure the motor stays cool and the bit doesn’t deflect. Cutting deeper than this increases the risk of the router grabbing the wood and causing a kickback, which can ruin your project.
Is it safe to use a router on very small pieces?
No, you should never use a handheld router on small pieces of wood that you can’t clamp securely. If the piece is smaller than the base of the router, you must use a router table or a different method, as the tool can easily pull the wood out of your hands.
What happens if the bit hits a nail?
If your bit hits a nail or screw, turn off the router immediately and unplug it from the power source. The bit will likely be destroyed or severely dulled, and the impact can cause the router to jump, which is dangerous; always scan your wood with a magnet before starting.
Does the router speed matter?
Yes, the speed of the router should be set according to the bit diameter, as large bits require slower speeds to prevent overheating. Check the manufacturer’s manual for your specific router to find the recommended RPM settings for the bit size you’re using to avoid burning the wood.
How do I get perfect 90-degree corners?
You get perfect corners by using a sharp bench chisel to clean out the rounded radius left by the router bit. Because a router bit is round, it can’t create a sharp inside corner on its own, so the chisel is the final tool needed for a professional finish.
Conclusion
Start by clamping your template to the wood and verifying the squareness of every corner. When you finish the final pass, you should see a clean opening with slightly rounded corners that are ready for the chisel. If you notice smoke, stop the router immediately and check if your bit is dull.