
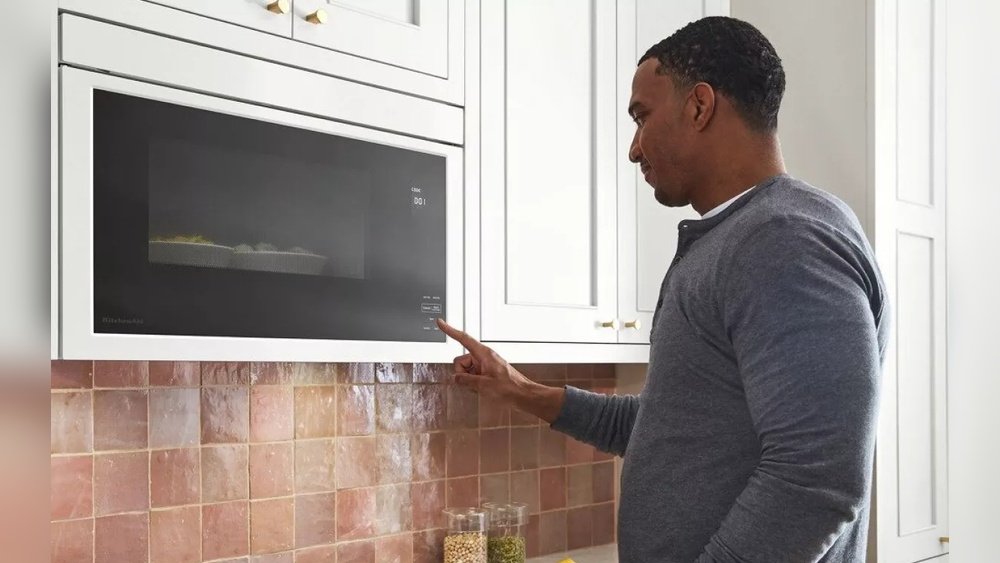
When your KitchenAid microwave malfunctions, it can disrupt your kitchen routine significantly. From reheating leftovers to defrosting ingredients, these appliances are central to daily meal preparation. Fortunately, many common KitchenAid microwave issues are resolvable with some basic troubleshooting. This guide will walk you through identifying and fixing the most frequent problems, empowering you to get your appliance back in working order without necessarily calling for professional service.
Understanding the potential causes behind a malfunctioning microwave can save you time and money. Often, the issue stems from simple oversights like power supply problems, user errors, or minor component failures. By systematically approaching the troubleshooting process, you can pinpoint the root cause and implement the correct solution.
This article provides a comprehensive, step-by-step approach to diagnosing and resolving a wide array of KitchenAid microwave problems, ensuring you can confidently tackle most common issues.
Key Takeaways
- Power Issues: Check the power cord, outlet, and circuit breaker before assuming a microwave fault.
- Door Interlock Problems: A misaligned or faulty door latch is a common cause for a microwave not starting.
- Turntable Malfunctions: Ensure the turntable motor, roller ring, and support are correctly positioned and clean.
- Control Panel Errors: Resetting the microwave or checking for error codes can often resolve control panel issues.
- Heating Element Failures: If the microwave runs but doesn’t heat, a faulty magnetron or high-voltage diode is a likely culprit, often requiring professional repair.
- Ventilation and Noise: Ensure proper ventilation and check for loose components if the microwave is unusually loud.
- Safety First: Always unplug the microwave before attempting any internal inspection or repair.

Credit: danmarcappliance.com
Common Kitchenaid Microwave Problems And Solutions
KitchenAid microwaves, like any appliance, can develop issues over time. Understanding the symptoms and their potential causes is the first step toward a solution. This section details prevalent problems and offers practical troubleshooting steps.
Microwave Not Turning On
This is one of the most frustrating issues. Before assuming the microwave itself is broken, several external factors need to be checked.
Power Supply Checks
The most straightforward reason a microwave won’t turn on is a lack of power.
- Check the Power Cord: Ensure the power cord is securely plugged into both the microwave and a functioning wall outlet. Look for any visible damage to the cord. If damaged, it should be replaced by a qualified technician.
- Test the Outlet: Plug another small appliance, like a lamp or toaster, into the same outlet. If that appliance doesn’t work, the problem lies with the outlet or the circuit.
- Inspect the Circuit Breaker/Fuse: Locate your home’s electrical panel. Find the breaker that controls the kitchen outlets. If it’s tripped (usually in the middle position or “off”), reset it by pushing it firmly to the “off” position and then back to “on.” If it’s a fuse, check if it’s blown and replace it if necessary. Note: If the breaker trips repeatedly, there might be an underlying electrical issue in your home’s wiring or the microwave itself, requiring professional diagnosis.
Door Latch And Interlock Switches
Microwaves are designed with safety interlock switches that prevent operation if the door is not fully closed and latched.
- Door Alignment: Ensure the microwave door is closing properly. Sometimes, a misaligned door can prevent the interlock switches from engaging. Check for any obstructions or damage around the door frame and latches.
- Interlock Switch Functionality: If the door appears closed but the microwave still won’t start, the interlock switches themselves might be faulty. These switches are typically located where the door latches engage. Testing these requires opening the microwave’s casing and using a multimeter, a task best left to those with electrical experience. Warning: Never attempt to bypass these switches, as they are critical safety components.
Control Panel Issues
A non-responsive control panel can also prevent the microwave from starting.
- Power Surge/Interference: Sometimes, a power surge or electrical interference can cause the control panel to freeze or become unresponsive. A simple power reset can often resolve this. Unplug the microwave for at least 5-10 minutes, then plug it back in. This allows the internal electronics to reset.
- Faulty Control Board: If a power reset doesn’t help, the control board itself might be damaged. This is a more complex repair that usually requires professional attention.
Microwave Runs But Doesn’t Heat
This is a common and concerning problem. The microwave appears to be working, the light comes on, the turntable spins, and you can hear it humming, but the food remains cold.
Magnetron Failure
The magnetron is the component that generates the microwaves. If it fails, heating will cease.
- Symptoms: The microwave operates normally (lights, turntable, fan) but doesn’t heat food.
- Diagnosis: This is difficult to diagnose without specialized equipment. However, if all other power and control issues have been ruled out, a faulty magnetron is a strong possibility.
- Solution: Replacing a magnetron is a complex and potentially dangerous repair due to the high voltages involved. It is strongly recommended to have this done by a qualified appliance repair technician.
High-voltage Diode Or Capacitor Failure
These components work in conjunction with the transformer to supply the necessary high voltage to the magnetron. If either fails, the magnetron won’t receive adequate power.
- Symptoms: Similar to magnetron failure, microwave runs but doesn’t heat. You might also hear unusual buzzing or humming sounds.
- Diagnosis: Testing these components requires a multimeter and knowledge of high-voltage circuits.
- Solution: Like magnetron replacement, these repairs involve high voltages and should only be performed by trained professionals.
Transformer Issues
The high-voltage transformer steps up the household voltage to the level required by the magnetron.
- Symptoms: No heating, possibly accompanied by a loud humming or buzzing noise from the transformer itself. The fuse might also blow.
- Diagnosis: A failed transformer is usually identifiable by its sound and the fact that the unit still receives power but produces no heat.
- Solution: Transformer replacement is a significant repair and typically requires professional service.
Thermal Cut-off Switch
Some microwaves have a thermal cut-off switch that trips if the unit overheats. If this switch fails in the open position, it can prevent the microwave from heating even when cool.
- Symptoms: The microwave may have stopped heating after a prolonged period of use or if it was operated with the door ajar.
- Diagnosis: This switch can be tested with a multimeter for continuity.
- Solution: If the switch is faulty, it can be replaced. This is a more accessible repair than magnetron or transformer issues, but still requires careful attention to safety.
Turntable Not Rotating
A functioning turntable ensures even cooking by rotating food through the microwave’s energy field. If it stops spinning, your food may be unevenly heated.
Obstructions And Improper Placement
The simplest cause is often the most overlooked.
- Check for Debris: Ensure there’s no food debris or foreign objects preventing the turntable from moving freely.
- Correct Placement: Make sure the glass tray is seated correctly on the roller ring and that the roller ring is properly positioned on the turntable motor shaft. The shaft has a specific shape (often a D-shape) that must align with the hole in the roller ring.
Roller Ring And Support Issues
The roller ring and its support are crucial for smooth rotation.
- Cleanliness: The roller ring and the support it rests on can accumulate food particles. Clean them thoroughly.
- Damage: Inspect the roller ring for broken wheels or cracks. If damaged, it needs to be replaced. The support underneath should also be free of debris and damage.
Turntable Motor Failure
The motor is located beneath the turntable support.
- Symptoms: The turntable doesn’t spin, but the microwave heats food. The motor may make a faint humming sound or no sound at all.
- Diagnosis: This can be tested by observing if the motor shaft turns when the microwave is operating. If it doesn’t, the motor is likely the issue.
- Solution: Replacing the turntable motor is a moderately difficult repair. It involves accessing the underside of the microwave and disconnecting/reconnecting wires. If you’re comfortable with basic appliance repair, this is a DIY-possible fix, but always unplug the unit first. A replacement motor can be sourced from appliance parts suppliers.
Microwave Making Unusual Noises
Strange sounds can indicate anything from a minor issue to a serious component failure.
Humming Or Buzzing
A low humming is normal during microwave operation. However, unusually loud humming or buzzing can signal problems.
- Magnetron or Transformer: As mentioned earlier, a loud hum can indicate issues with the magnetron or the high-voltage transformer, especially if the microwave isn’t heating.
- Fan Motor: The cooling fan can become noisy if its bearings are worn or if it’s obstructed.
- Turntable Motor: A struggling turntable motor might emit a buzzing sound.
Grinding Or Scraping
These noises often point to mechanical issues.
- Fan Blade Obstruction: The cooling fan or the exhaust fan may have something caught in it, like a loose wire or debris.
- Motor Bearings: Worn bearings in the fan motor or turntable motor can cause grinding sounds.
- Turntable Mechanism: If the turntable or roller ring is misaligned or damaged, it can create scraping sounds.
Clicking Sounds
- Door Interlock Switches: Faulty or improperly engaging door interlock switches can sometimes produce clicking noises.
- Relays: Internal relays that control power to different components might click, but persistent or loud clicking could indicate a fault.
Troubleshooting Noises:
- Identify the Source: Try to pinpoint where the noise is coming from (e.g., the back, the top, the inside).
- Check Turntable: Remove the turntable and roller ring and run the microwave briefly. If the noise stops, the issue is likely with the turntable mechanism.
- Check Fans: If the noise seems to come from the fan area, inspect the fan blades for obstructions.
- Professional Diagnosis: For persistent or loud unusual noises, especially humming/buzzing when not heating, consult a professional. These can indicate high-voltage component failures.
Control Panel Or Display Issues
Problems with the buttons, touch screen, or digital display can make the microwave difficult or impossible to operate.
Unresponsive Buttons Or Touchscreen
- Dirt and Grime: Food particles or grease can accumulate around buttons or on the touchscreen, interfering with their function. Clean the control panel thoroughly with a damp cloth and mild detergent.
- Power Reset: As with “not turning on” issues, a power reset (unplugging for 5-10 minutes) can often resolve temporary electronic glitches affecting the control panel.
- Internal Connection: The ribbon cable connecting the control panel to the main circuit board might have become loose. This requires opening the microwave casing and is best left to technicians.
- Faulty Membrane Switch/Touchscreen: Over time, the internal circuitry of buttons or the touchscreen can wear out. Replacement of the control panel assembly may be necessary.
Display Not Working Or Flickering
- Power Supply Fluctuation: Ensure the microwave is receiving stable power.
- Loose Connection: Similar to unresponsive buttons, a loose connection to the display board can cause issues.
- Faulty Display Board: The display itself or its driver circuitry might be damaged.
- Error Codes: Some KitchenAid microwaves display error codes. Consult your user manual to decipher these codes, as they can point directly to the problem. For example, an F1 or F4 code might indicate a control board issue.
Sparks Or Arcing Inside The Microwave
This is a serious safety concern and should be addressed immediately.
Metal Objects Inside
- Rule: Never place metal objects (utensils, foil, dishes with metallic trim) inside a microwave. Metal reflects microwaves and can cause sparks (arcing).
- Solution: Remove any metal objects. If arcing occurs with no metal present, proceed to other causes.
Damaged Interior Walls Or Waveguide Cover
- Waveguide Cover: The waveguide cover (usually a mica sheet or plastic shield) directs microwaves into the cooking cavity. If it’s dirty, burnt, or damaged, it can cause arcing.
- Cleaning: Gently clean the waveguide cover with a damp cloth.
- Replacement: If it’s significantly damaged or burnt, it needs replacement. This is a relatively simple DIY repair.
- Interior Cavity Damage: Dents or holes in the interior metal walls can also lead to arcing.
- Solution: Minor dents might be manageable, but significant damage often compromises the microwave’s safety and integrity, requiring professional assessment or replacement.
Faulty Stirrer Fan Or Magnetron
- Stirrer Fan: Some microwaves use a metal stirrer fan (instead of a turntable) to distribute microwaves. If this fan is damaged or obstructed, it can cause arcing.
- Magnetron Issues: A failing magnetron can sometimes arc.
Action: If you observe sparks or arcing, immediately stop the microwave, unplug it, and investigate. If the cause isn’t obvious (like forgotten metal), do not use the microwave until it has been inspected by a professional.
Microwave Smells Bad
Lingering odors can be unpleasant and sometimes indicate a problem.
Food Debris And Spills
- Most Common Cause: Food splatters, grease, and spills left inside the microwave are the primary culprits for bad smells.
- Solution: Thoroughly clean the interior, including the ceiling, walls, floor, and door seal, using a microwave-safe cleaner or a solution of water and vinegar or baking soda.
Burnt Food Or Components
- Overheated Food: If food was cooked for too long or ignited, it can leave a persistent burnt smell.
- Component Failure: A burning smell, especially accompanied by smoke or unusual operation, can indicate overheating internal components like the magnetron or transformer.
- Solution: Clean thoroughly. If the smell persists or is accompanied by operational issues, unplug the unit and have it inspected.
Mold Or Mildew
- Damp Environment: If the microwave is in a particularly humid area or hasn’t been used or cleaned for a long time, mold or mildew can develop, causing musty odors.
- Solution: Clean with a vinegar solution, which helps kill mold and mildew. Ensure the microwave is dried thoroughly afterward.
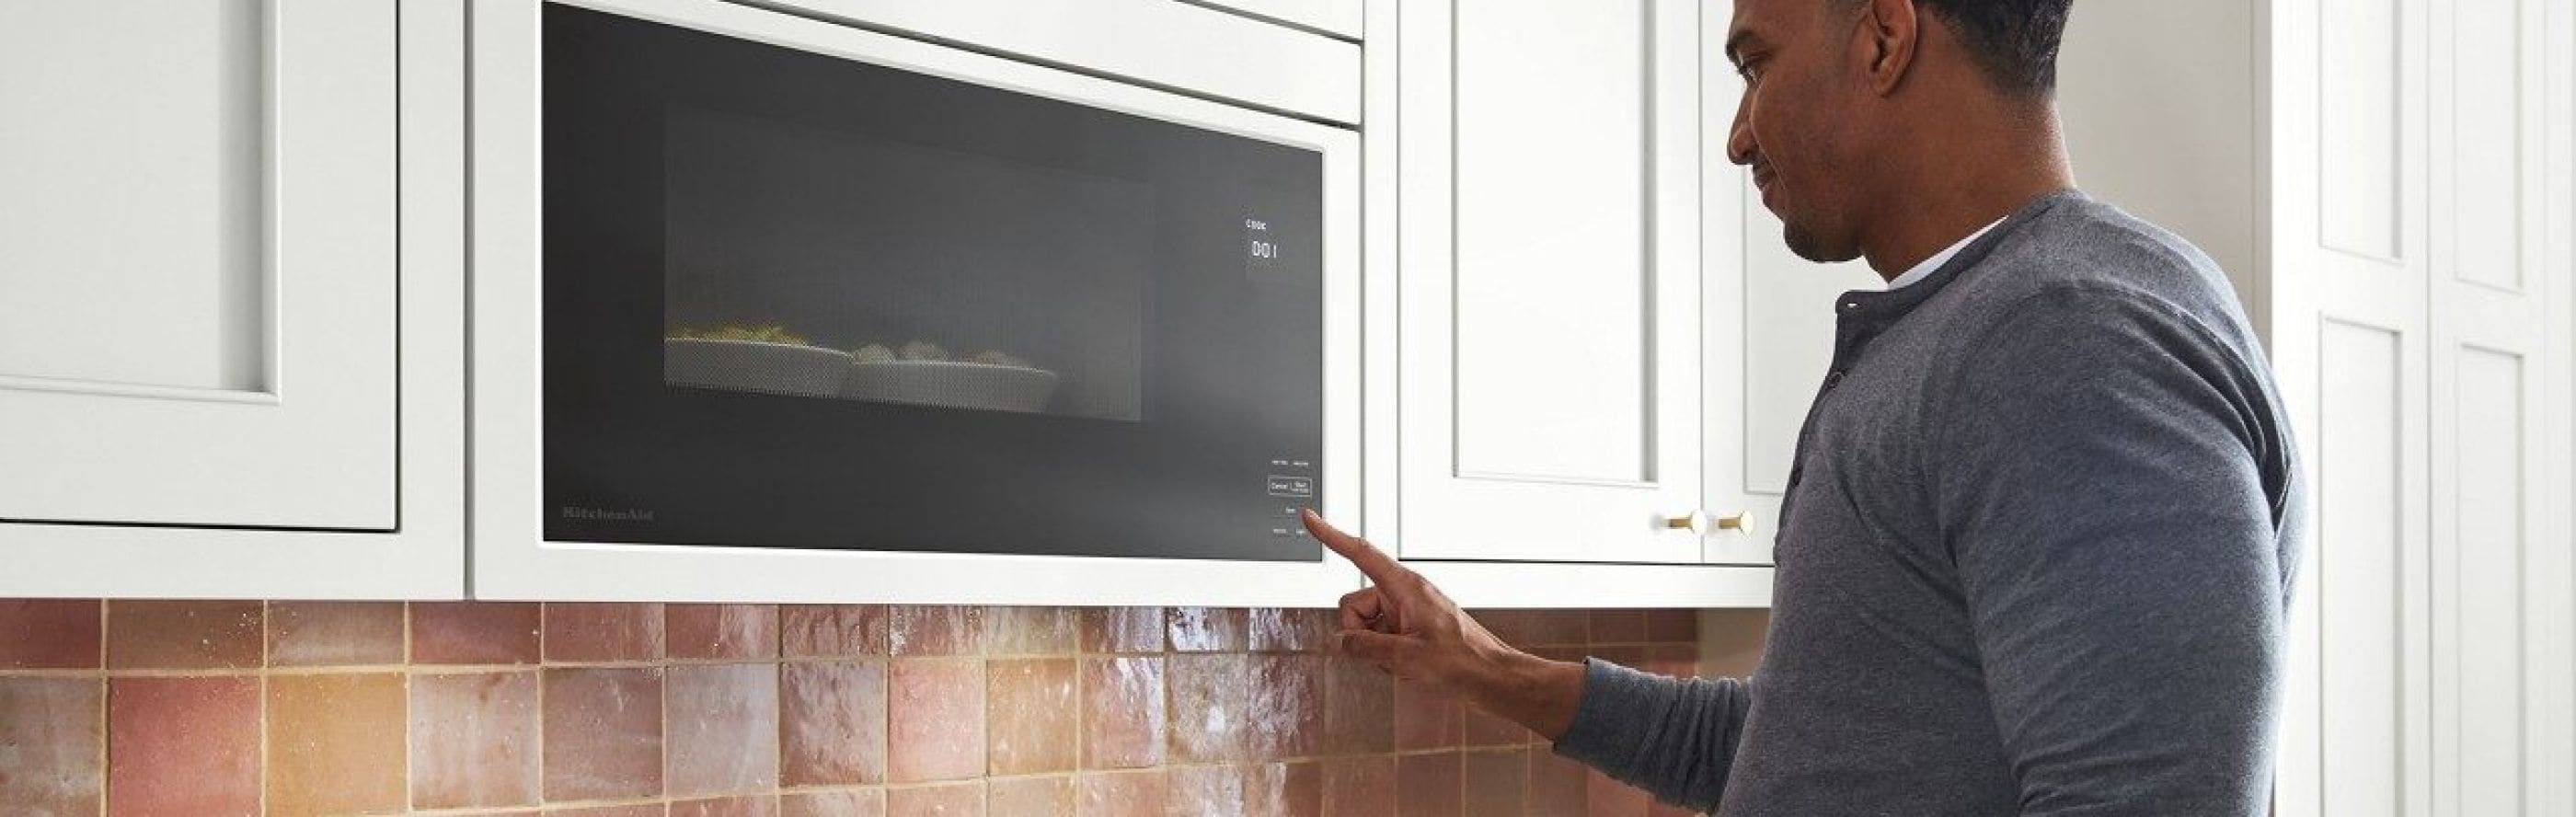
Credit: www.kitchenaid.com
Understanding Kitchenaid Microwave Error Codes
KitchenAid microwaves, particularly newer models with digital displays, may show error codes to indicate specific malfunctions. These codes are invaluable for diagnosis. While the exact codes can vary slightly by model, here are some common ones and their general meanings.
Always refer to your specific user manual for precise definitions for your model.
Common Error Code Meanings
- F1 / F2 / F3 / F4: These often relate to control board issues. They can indicate a problem with the main electronic control unit (ECU) or its communication with other components.
- F5: This code typically points to a door switch fault. It suggests one or more of the interlock switches are not functioning correctly.
- F6 / F7: These can indicate a short circuit within the microwave’s high-voltage system or a problem with the power supply board.
- F8 / F9: These might relate to fan motor issues or problems with the temperature sensor.
- Error Codes Related to Heating: Some models might display codes specifically when the microwave runs but doesn’t heat, often pointing towards the magnetron, diode, or transformer circuit.
How To Use Error Codes For Troubleshooting
- Identify the Code: Note the exact code displayed on your microwave.
- Consult Your Manual: The most reliable source for understanding error codes is your KitchenAid microwave’s user manual. If you don’t have a physical copy, you can usually find a PDF version on the KitchenAid website by searching for your model number.
- Perform a Power Reset: For many electronic error codes (like F1-F4), a simple power reset can clear a temporary glitch. Unplug the microwave for 5-10 minutes, then plug it back in and see if the code reappears.
- Address Simple Causes: If an error code suggests a door switch issue (e.g., F5), visually inspect the door latches and switches for obvious damage or obstruction before assuming a component failure.
- When to Call a Professional: If the error code persists after a reset, or if it points to a high-voltage component (like F6/F7 related to shorts or heating issues), it’s best to contact KitchenAid customer support or a certified appliance repair technician. Attempting to repair high-voltage components without proper training is dangerous.
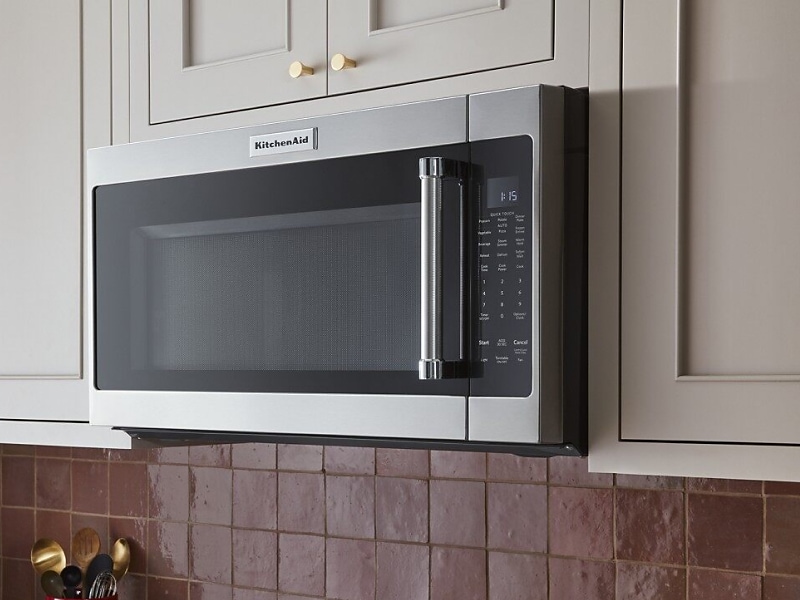
Credit: www.kitchenaid.com
Maintenance Tips For Preventing Kitchenaid Microwave Issues
Proactive maintenance is key to extending the lifespan of your KitchenAid microwave and preventing common problems. Regular care ensures optimal performance and safety.
Regular Cleaning Routine
A clean microwave operates more efficiently and hygienically.
- Interior: Wipe down the interior surfaces weekly with a damp cloth and mild detergent. For stubborn stains, use a solution of water and vinegar or baking soda. Always ensure the microwave is unplugged before cleaning the interior.
- Turntable and Roller Ring: Remove and wash the glass turntable and roller ring in warm, soapy water regularly. Ensure they are completely dry before reinserting.
- Exterior: Clean the exterior with a damp cloth. Pay attention to the control panel and door seals to prevent grease buildup.
- Ventilation Grills: Dust and debris can accumulate in the ventilation grills, hindering airflow and potentially causing overheating. Clean these periodically with a vacuum cleaner brush attachment or compressed air.
Proper Usage Habits
Using the microwave correctly minimizes stress on its components.
- Use Microwave-Safe Cookware: Always use dishes labeled as microwave-safe. Avoid metal, aluminum foil, and dishes with metallic trim.
- Avoid Overcooking: Do not operate the microwave empty or for excessively long periods beyond recommended cooking times, as this can strain the magnetron.
- Cover Food: Covering food helps prevent splatters, keeping the interior cleaner and reducing the risk of burnt-on residue. Use microwave-safe lids, plastic wrap (vented), or paper towels.
- Don’t Operate with Door Ajar: Ensure the door is fully closed and latched before starting the microwave. Operating with the door open can damage the appliance and is a safety hazard.
Periodic Checks
Simple visual inspections can catch potential problems early.
- Door Seals: Check the door seals for any signs of wear, damage, or gaps. A damaged seal can lead to energy leakage and inefficient cooking.
- Power Cord: Inspect the power cord for any fraying or damage.
- Turntable Function: Periodically ensure the turntable is rotating smoothly.
- Unusual Noises: Pay attention to any new or unusual sounds the microwave makes. Address them promptly.
By incorporating these maintenance practices into your routine, you can significantly reduce the likelihood of encountering common KitchenAid microwave problems and enjoy reliable performance for years to come.
When To Call A Professional Appliance Repair Service
While many microwave issues can be resolved with DIY troubleshooting, some problems require the expertise of a qualified technician. Knowing when to call for professional help is crucial for safety and effective repair.
Safety Concerns
- Electrical Hazards: Microwaves contain high-voltage components (capacitors, transformers) that can store a dangerous electrical charge even when unplugged. If you are not experienced with electrical work, attempting internal repairs can be hazardous.
- Arcing and Sparks: Persistent arcing, smoke, or a burning smell that isn’t resolved by simple cleaning or removing metal objects indicates a potentially serious internal fault that needs professional diagnosis.
- Damaged Casing or Door: If the microwave’s outer casing is damaged, or if the door mechanism is severely compromised, it could affect the microwave’s structural integrity and safety.
Complex Component Failures
- Magnetron Replacement: The magnetron is the heart of the microwave. Its replacement involves working with high voltages and requires specialized knowledge and tools.
- High-Voltage Diode/Capacitor/Transformer: As discussed, these components operate at very high voltages. Failure in these parts necessitates professional repair.
- Control Board Issues: While a power reset can fix minor glitches, persistent error codes related to the control board often indicate a need for component-level diagnosis or replacement by a technician.
Lack Of Tools Or Expertise
- Multimeter Use: Testing internal components often requires a multimeter and understanding how to use it safely on high-voltage circuits.
- Disassembly: Safely disassembling the microwave to access internal components requires specific tools and knowledge of how the appliance is put together.
- Parts Sourcing: While many parts are available, identifying the exact correct replacement part can sometimes be challenging.
Cost-benefit Analysis
- Repair vs. Replacement: For older microwaves or those with significant damage (e.g., multiple component failures, damaged cavity), the cost of professional repair might approach or exceed the cost of a new appliance. A technician can often advise on whether a repair is economically viable.
- Warranty: If your KitchenAid microwave is still under warranty, contact KitchenAid customer service first. Attempting DIY repairs may void the warranty.
Pro Tip: Before calling a technician, try to accurately describe the problem, including any error codes displayed