
You can keep wood furniture in good condition by applying a quality penetrating oil or a UV-resistant exterior sealer every 12 to 24 months. To prevent decay, you must also clean the surfaces regularly and keep them off damp soil, which helps you guard outdoor wood furniture against the elements before rot sets in. This guide covers the specific products, cleaning techniques, and maintenance intervals needed to keep your pieces looking new, regardless of the wood type or local climate conditions.
Why outdoor wood furniture needs protection
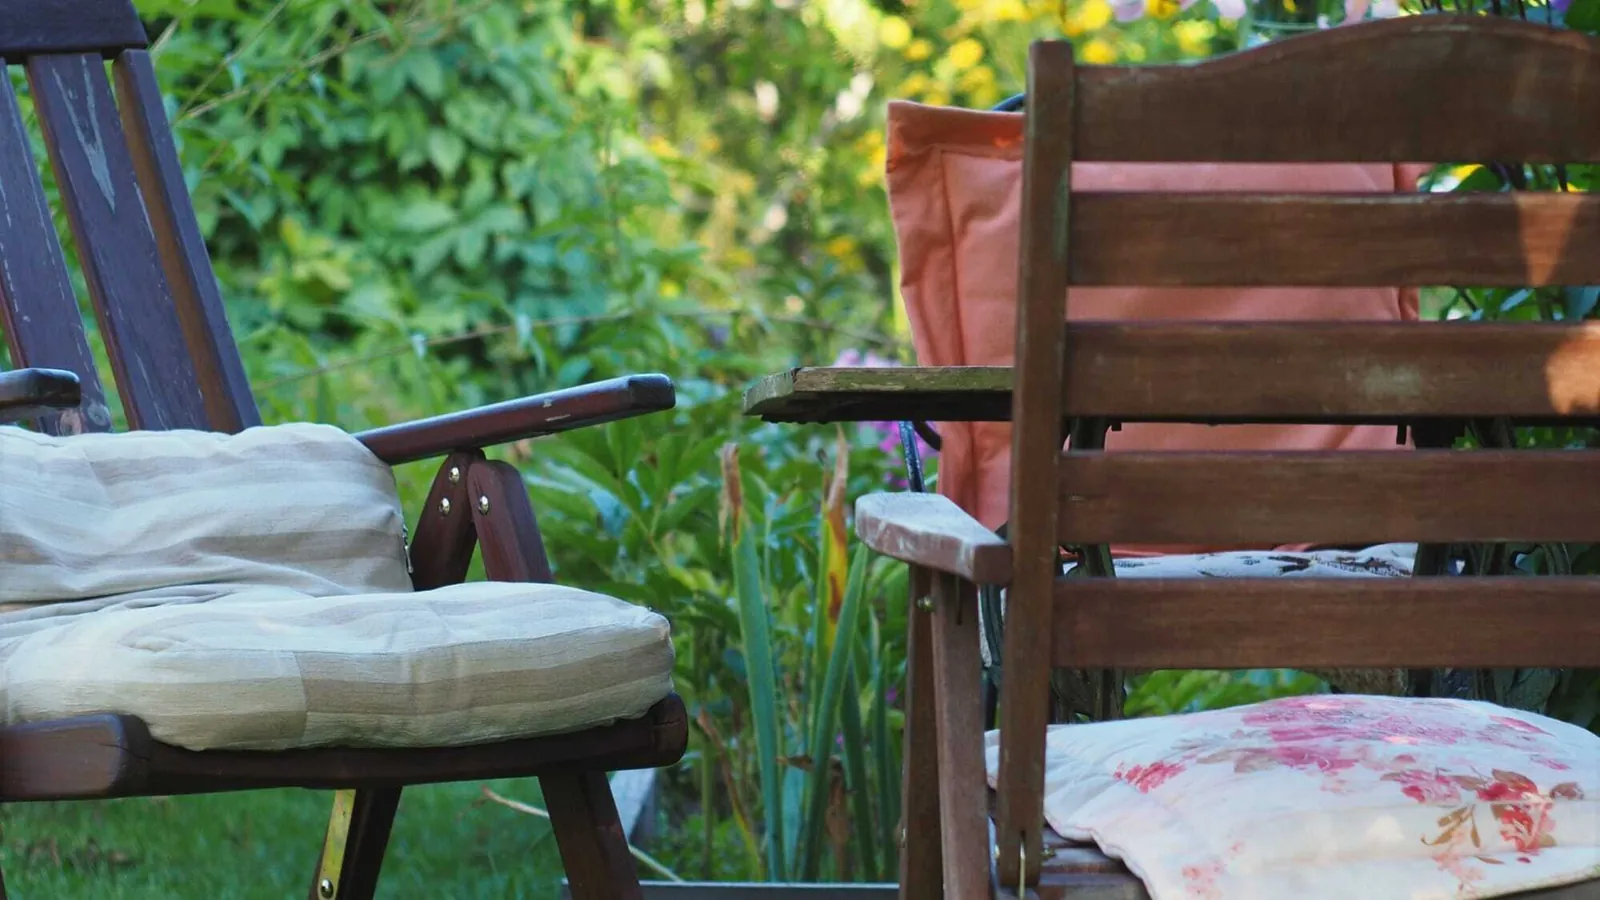
Outdoor wood furniture faces constant stress from rain, sunlight, and fluctuating temperatures. These environmental factors lead to cracking, warping, and the growth of mold or mildew, which can destroy the wood fibers over time. Many people mistakenly believe that buying expensive, rot-resistant wood like teak means the furniture needs zero care. While dense woods last longer, they still require regular cleaning and protection to maintain their color and structural integrity.
The primary goal of maintenance is to manage moisture levels and block ultraviolet rays. Unprotected wood absorbs water during storms, which causes the grain to swell and eventually crack as it dries in the sun. Sealing the wood creates a physical barrier that slows this moisture exchange and prevents the gray, weathered look that happens when sunlight breaks down the wood’s natural lignin.
Test the surface by splashing a small amount of water on the wood. If the water beads up, your current finish is still effective. If the water soaks into the grain immediately, the wood is thirsty and requires a fresh coat of sealant to prevent rot.
Avoid the common mistake of applying new oil or stain over a dirty surface. Trapping dust or mold spores under a fresh finish forces you to sand the entire piece down to bare wood later. Always scrub the frame with a mild detergent and let it dry for at least 48 hours before applying any protective product.
Essential steps for wood treatment
Follow these steps to clean and seal your furniture properly. If you use a pressure washer, keep the nozzle at least 12 inches away from the surface to avoid gouging the wood fibers.
- Clean the surface: Mix a solution of mild dish soap and warm water. Scrub the wood with a soft-bristle brush to remove dirt, pollen, and debris. Rinse thoroughly with a garden hose and let the furniture dry for at least 48 hours.
- Sand the wood: If the old finish is peeling or the wood feels rough, use medium-grit sandpaper (120-grit) to smooth the surface. This step opens the wood pores so the new finish can soak in evenly.
- Apply the sealant: Use a high-quality exterior wood oil or a transparent sealer. Apply it with a natural-bristle brush, working in the direction of the grain to avoid streaks.
- Wipe excess oil: After 15 minutes, use a clean rag to wipe off any oil that the wood didn’t absorb. If you leave a thick layer on the surface, it will become sticky and attract dust.
- Let it cure: Keep the furniture in a shaded, dry area for at least 24 hours before you put it back into service.
The most important judgement call is deciding if the wood is dry enough to seal; if the wood feels cold to the touch or appears darker in spots, it still holds moisture and you must wait another day before applying your finish.
Maintenance schedule and product guide
The following table provides typical intervals for maintenance based on your local climate and exposure.
| Situation | What to use | How long | What to watch for |
|---|---|---|---|
| Full sun exposure | UV-blocking stain | Every 12 months | Fading or graying |
| Covered porch | Penetrating oil | Every 24 months | Dust buildup |
| Humid climate | Mildew-resistant sealer | Every 18 months | Green or black spots |
| Coastal area | Marine-grade varnish | Every 12 months | Salt crusting |
| Light usage | Natural wax finish | Every 24 months | Surface dullness |
If your furniture stays in the shade, you can wait longer between treatments; if it sits in direct, harsh sun, you should inspect it once a year to check for early signs of drying or bleaching.
Avoiding common finish failures
Experienced owners understand that preparation is more important than the actual coating. They never apply a new finish over a dirty or damp surface, as this traps moisture and creates a breeding ground for mold. If you see dark patches or fuzzy growth, you must treat the wood with a specialized wood cleaner and brightener to neutralize the mold spores before you seal the surface.
Test your surface for moisture before you begin. If you can splash a few drops of water on the wood and they bead up rather than soaking in within thirty seconds, the pores are still clogged with old finish or wax. You must sand these areas down to raw, thirsty wood, or your new layer will peel within a single season.
Another mistake is using a film-forming finish, like a thick polyurethane, on outdoor furniture. While these look great at first, they eventually crack and trap water against the wood. Once water gets under that plastic-like shell, the wood will rot from the inside out.
Instead, choose a penetrating oil or a thin, breathable stain. These products soak deep into the fibers and don’t create a rigid film that can crack when the wood expands in the heat.
If you live in a climate with extreme seasonal temperature swings, prioritize oil-based finishes. They remain flexible enough to move with the grain, whereas water-based stains often become brittle and flake away after two years of harsh sun exposure. Always check the label for UV inhibitors, as these additives prevent the graying that signals long-term structural degradation.
Handling common wood problems
If you notice small issues, address them quickly before they become structural failures. A crack is cosmetic if it stays under 1/8 inch wide, but anything wider suggests the wood is splitting deep into the grain. When you see these larger gaps, fill them with an exterior-grade wood epoxy rather than just oiling the surface.
| What you notice | What it usually means | What to do first |
|---|---|---|
| Fine surface cracks | Dryness/sun damage | Apply a fresh coat of oil |
| Dark, fuzzy spots | Mildew growth | Scrub with soap and water |
| Sticky, tacky surface | Too much oil applied | Wipe with mineral spirits |
| Wobbling joints | Loose hardware | Tighten bolts with a wrench |
| Deep gray color | UV damage | Sand back to bare wood |
Distinguish between mildew and rot by pressing a screwdriver into the dark spot. If the wood feels firm, it’s just surface mildew; if the tool sinks in with little resistance, the wood is rotting and must be replaced immediately.
Many people mistakenly paint over rot, which traps moisture and accelerates the decay. If the wood is damp to the touch, wait for three consecutive dry days before applying any sealant. Trapping moisture under a finish creates a breeding ground for mold that will ruin your finish within a single season.
Legal and safety considerations
When working with exterior wood products, you must prioritize your health and the environment. Many wood stains and oils contain volatile organic compounds (VOCs) that are harmful if inhaled in closed spaces. Always work in a well-ventilated outdoor area and wear nitrile gloves to protect your skin from chemical irritation.
The United States Environmental Protection Agency provides specific guidance on the safe handling and disposal of wood preservatives to ensure you don’t contaminate your soil or local waterways. If you’re uncertain about the safety of a specific chemical, check the product label for the manufacturer’s instructions regarding proper use and storage.
Never burn or compost treated wood scraps, as these may contain chemicals that are toxic when incinerated. If you’re working with pressure-treated lumber installed before 2004, assume it contains chromated copper arsenate. Avoid cutting this material indoors, as the fine dust poses a significant respiratory risk.
Take these scraps to a local household hazardous waste facility rather than placing them in your regular trash bin. This small step prevents toxic leaching into local landfills.
Keeping furniture in top shape
To keep your furniture in good condition after you treat it, prioritize proper storage during the off-season. If you live in an area with heavy snow or rain, move your pieces into a shed or garage. If you can’t store them inside, use breathable, waterproof covers that reach the ground but allow air to circulate underneath. Never use plastic tarps that seal the wood completely, as this traps humidity and encourages rot.
If you notice the water no longer beads up on the surface during a light rain, it’s time to clean and re-oil the wood. You don’t need to sand the furniture every time; if the finish is still in good condition, a simple wipe-down and a light maintenance coat are enough.
Always keep the legs of the furniture off direct, wet soil by placing them on stone pavers or rubber pads. This simple step prevents the wood from wicking up ground moisture, which is the leading cause of rot in the feet of chairs and tables.
When to change your approach
If your wood furniture has already started to rot or has deep structural cracks, a new coat of oil won’t fix the problem. In these cases, stop trying to seal the surface and focus on structural repair.
Test the integrity by pressing a flathead screwdriver into the grain. If the wood feels soft or spongy, the rot has compromised the internal fibers. Topical treatments only trap moisture inside, accelerating the decay. At this stage, you must replace the damaged components or consult a professional carpenter to ensure the piece remains safe to use.
Distinguish between surface weathering and deep damage by checking the color consistency. If the wood is bleached gray through and through, simple maintenance won’t restore the original tone. You must sand the material down to the bare, healthy fibers to reach viable wood. If you can’t reach solid wood after removing 1/16 of an inch of material, the piece is likely beyond salvage.
Avoid the common mistake of applying oil over dirt or grayed fibers. This creates a gummy, dark residue that’s nearly impossible to remove without aggressive chemical stripping. If the wood doesn’t absorb the oil within fifteen minutes, you have reached the saturation point. Wipe away the excess immediately to prevent a sticky film that attracts dust and invites mold growth.
Related guides
Frequently asked questions
Can I use car wax on outdoor wood furniture?
No, car wax is designed for metal and paint, not for the porous surface of wood. Using wax on wood will create a sticky layer that traps dirt and moisture, leading to mold growth and a messy appearance. You should use products specifically formulated for exterior wood, such as teak oil or exterior-grade wood stains, which are designed to penetrate the fibers and offer UV protection.
How long does teak wood last outside without treatment?
Teak can last for decades in an outdoor environment without any treatment because of its natural oils and high density. However, without protection, it will turn a silvery-gray color within the first few months of exposure. If you prefer to keep the golden-brown color, you must apply a UV-inhibiting oil or sealer regularly, as sunlight will break down the natural pigments in the wood.
Is it safe to pressure wash my wood furniture?
It’s safe only if you use a low-pressure setting and keep the spray nozzle far away from the wood. High-pressure water can easily strip the top layer of the wood, leaving it fuzzy and prone to splintering. Always test the pressure on an inconspicuous area first, and never use a concentrated jet of water on softwoods like cedar or pine, as they damage very easily.
What happens if I don’t seal my outdoor wood?
Unsealed wood will absorb moisture from rain and humidity, which leads to swelling and shrinkage as it dries. This cycle causes the wood to crack, warp, and eventually rot, while the sun’s UV rays will bleach the wood and destroy its natural strength. Regular sealing acts as a shield against both water and sun, significantly extending the life and beauty of your outdoor pieces.
Can I paint outdoor furniture instead of oiling it?
Yes, you can paint outdoor wood, but you must use an exterior-grade primer and paint designed for wood surfaces. Paint creates a stronger barrier than oil, but it can chip over time, which requires more labor-intensive maintenance like scraping and sanding before you can repaint. Choose oil if you want a natural look, or paint if you want a solid, long-lasting color finish.
How often should I check my furniture for damage?
You should inspect your furniture at least twice a year, ideally in the spring and again in the autumn. Look for loose bolts, signs of graying, or soft spots in the wood that might indicate rot. Catching these issues early means you can perform minor repairs or a quick touch-up, which prevents the need for a major, expensive restoration later on.
Conclusion
Spending a little time on these tasks today ensures your favorite chairs and tables stay sturdy for seasons to come. You’ll be glad you put in the effort when you’re relaxing outside this summer. Don’t wait for the first signs of wear; grab a soft brush and start your routine this weekend.