
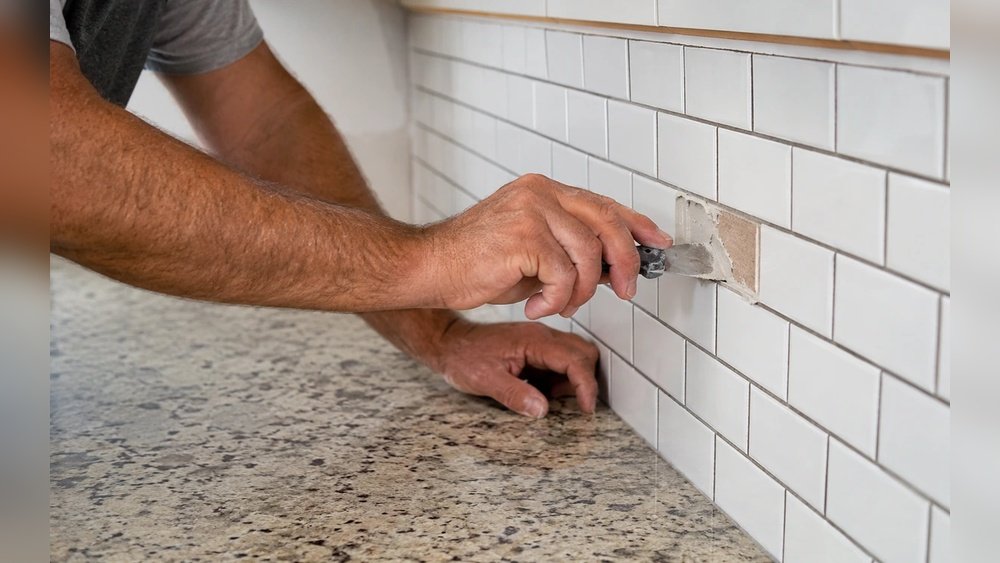
Cracks in your walls can be more than just an eyesore; they can be indicators of underlying issues that, if left unaddressed, could lead to more significant structural problems. While calling a contractor might seem like the only solution, many common wall cracks can be effectively repaired with basic DIY skills and readily available materials.
This guide will walk you through identifying different types of wall cracks, understanding their potential causes, and providing step-by-step instructions on how to fix them yourself, saving you time and money.
Key Takeaways
- Assess the crack: Differentiate between cosmetic, structural, and settlement cracks to determine the best repair method and whether professional help is needed.
- Gather your tools: Essential supplies include spackle or joint compound, putty knives, sandpaper, primer, and paint. For larger cracks, you’ll also need drywall tape, a utility knife, and potentially a patching compound.
- Prepare the area: Clean the crack thoroughly, remove loose debris, and create a clean surface for the repair material to adhere to.
- Choose the right filler: Use spackle for small hairline cracks, joint compound with drywall tape for larger cracks, and specialized patching compounds for significant damage.
- Apply and smooth: Apply filler in thin, even layers, allowing each layer to dry completely. Sand smooth between layers to achieve a seamless finish.
- Prime and paint: Once the filler is dry and smooth, prime the repaired area and then paint to match the surrounding wall.
- Monitor for recurrence: Especially for settlement cracks, keep an eye on the repaired area for any signs of the crack reappearing, which might indicate a persistent underlying issue.
Understanding Wall Cracks: Types And Causes
Before you can fix a wall crack, it’s crucial to understand what you’re dealing with. Not all cracks are created equal, and their appearance, location, and behavior can provide valuable clues about their origin and the necessary repair strategy.
Cosmetic Cracks
These are typically hairline cracks that run horizontally or vertically and are generally superficial. They often appear in drywall or plaster and are usually caused by minor settling of the house, changes in temperature and humidity, or the natural aging of building materials.
- Causes:
- Building Settling: Houses, especially newer ones, naturally settle over time as the foundation adjusts to the ground. This movement can cause minor stress on drywall seams and corners, leading to fine cracks.
- Humidity and Temperature Fluctuations: Wood framing and drywall can expand and contract with changes in temperature and humidity. This constant movement can stress joints and create small cracks.
- Poor Installation: In some cases, hairline cracks can result from improper taping or mudding of drywall seams during the initial installation.
Settlement Cracks
These cracks are often wider than cosmetic ones and can appear in various patterns, including stair-step cracks in plaster or masonry, or diagonal cracks in drywall. They are usually a sign of more significant movement within the house’s structure, often related to the foundation.
- Causes:
- Foundation Movement: Issues like soil erosion, water damage around the foundation, or changes in soil moisture content can cause the foundation to shift or settle unevenly. This is a common cause of wider, more concerning cracks.
- Expansive Soils: Soils that expand when wet and contract when dry can put immense pressure on foundations, leading to cracks.
- Structural Overload: In rare cases, overloading a structural element can lead to cracks.
Structural Cracks
These are the most serious type of wall cracks. They are typically wide, deep, and may show signs of movement, such as one side of the crack being higher than the other (a step crack). They can appear horizontally, vertically, or diagonally and often indicate a significant problem with the building’s structural integrity.
- Causes:
- Foundation Failure: Significant or uneven foundation settlement.
- Water Damage: Water penetrating and weakening structural elements like beams or joists.
- Wood Rot or Insect Damage: Decay or infestation in wooden structural components.
- Improper Load Bearing: Issues with how weight is distributed within the structure.
When to Call a Professional:
If you identify structural cracks, or if settlement cracks are wide (more than 1/4 inch), growing, or accompanied by other signs like sticking doors or windows, warped floors, or visible foundation damage, it is imperative to consult a structural engineer or a qualified contractor. Attempting to repair these yourself without addressing the root cause can be dangerous and ineffective. For the purpose of this guide, we will focus on fixing cosmetic and minor settlement cracks.
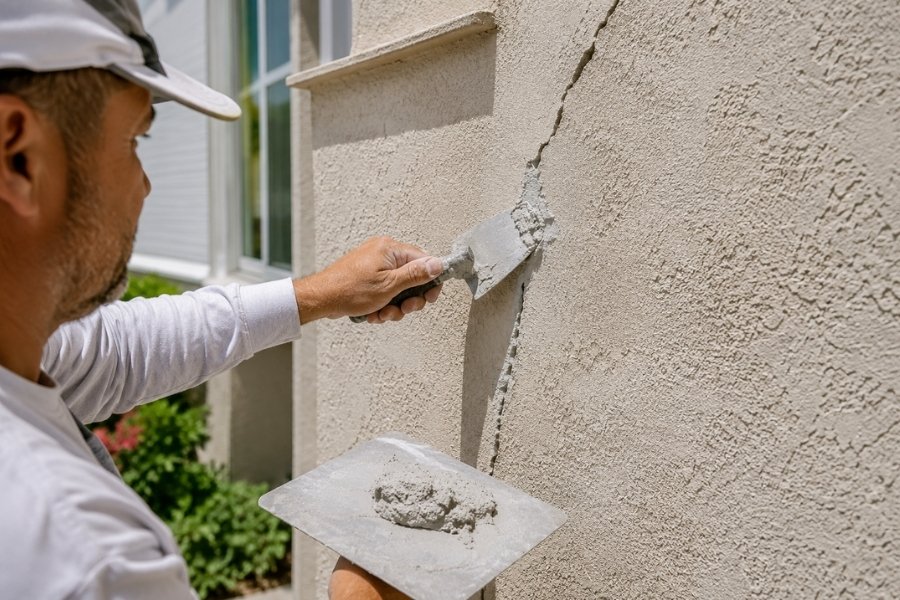
Credit: royalbuildernyc.com
Preparing For Your Wall Crack Repair Project
Proper preparation is key to a successful DIY wall crack repair. Rushing this stage can lead to a subpar finish or a repair that doesn’t last. This involves gathering the right tools and materials, and most importantly, preparing the crack itself.
Essential Tools And Materials
The specific tools and materials you’ll need depend on the size and type of crack you’re addressing.
For Hairline and Small Cracks (up to 1/4 inch):
- Spackling Compound (Spackle): Lightweight, easy to sand, ideal for small cosmetic repairs.
- Putty Knife: A flexible metal blade for applying and smoothing spackle. A 1.5-inch or 3-inch size is usually sufficient.
- Fine-grit Sandpaper: 120-220 grit for smoothing the dried spackle.
- Sanding Block: For even sanding.
- Damp Cloth: For cleaning dust.
- Primer: To seal the repaired area before painting.
- Paint: Matching your wall color.
For Larger Cracks (1/4 inch to 1/2 inch):
- All-Purpose Joint Compound (Mud): Dries harder than spackle, better for larger gaps and seams. You can buy it pre-mixed or as a powder to mix with water.
- Drywall Tape: Paper or fiberglass mesh tape designed for drywall seams and cracks. Paper tape is generally preferred for strength.
- Putty Knife or Drywall Taping Knife: A wider knife (6-inch or 8-inch) is helpful for applying and feathering joint compound.
- Utility Knife: For trimming excess tape or cleaning edges.
- Medium-grit Sandpaper: 100-150 grit for initial smoothing, followed by fine-grit.
- Primer and Paint.
For Very Large Cracks or Holes (over 1/2 inch):
- Patching Compound: Often a thicker, cement-based compound that shrinks less than joint compound.
- Scrap Piece of Drywall: For larger holes, a small piece of drywall might be needed as backing.
- Screws or Nails: To secure a drywall patch.
- Drywall Saw: If cutting out a damaged section.
- Larger Taping Knives (8-12 inches).
- Drywall Tape.
Preparing The Crack Surface
This is arguably the most critical step for ensuring a lasting repair.
- Clean the Area: Use a damp cloth to wipe away any dust, dirt, or cobwebs from around the crack.
- Remove Loose Material:
- For Hairline Cracks: Use the edge of your putty knife or a utility knife to gently scrape along the crack. The goal is to remove any flaking paint or debris and create a slightly wider, V-shaped groove. This gives the spackle or compound something to grip.
- For Larger Cracks: Use a utility knife or a small screwdriver to carefully remove any loose plaster or drywall material from inside and along the edges of the crack. You want to expose solid material.
- Vacuum Debris: Use a shop vacuum or a vacuum cleaner attachment to remove all dust and debris from the crack and surrounding area.
- Score the Edges (Optional but Recommended for Larger Cracks): For cracks wider than 1/8 inch, lightly scoring the edges with a utility knife can help create a better bond for the joint compound.
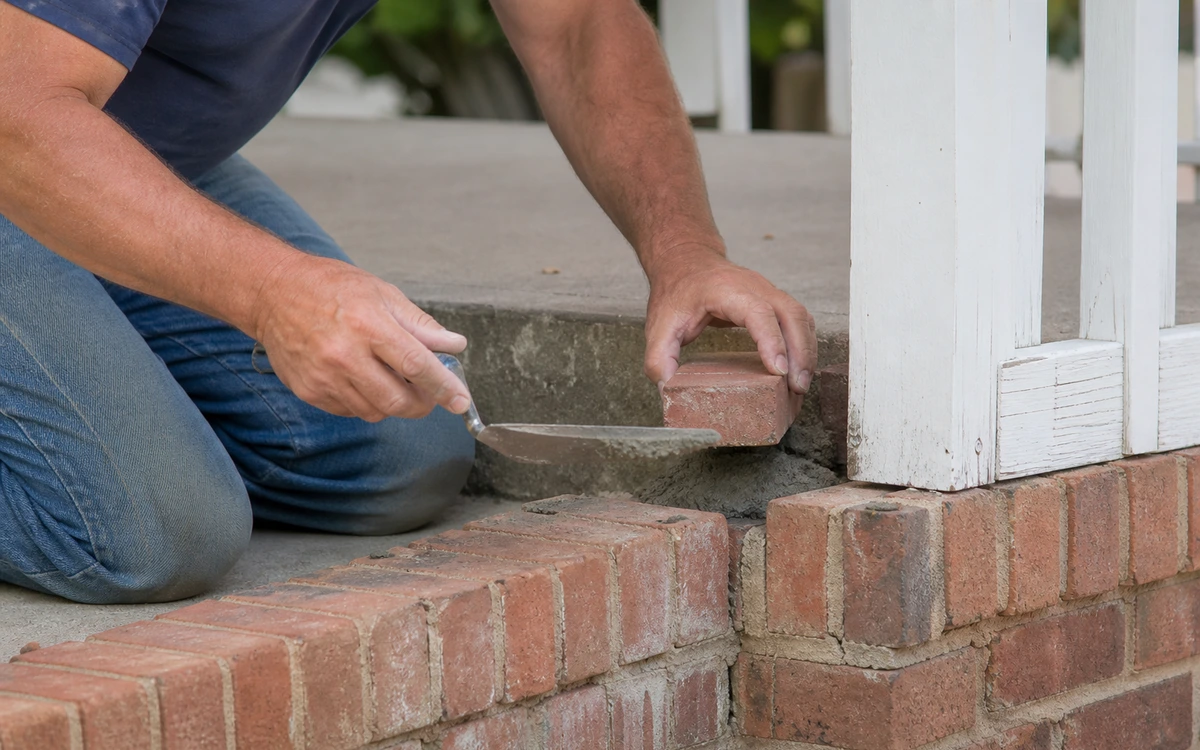
Credit: brickporchrepairexperts.com
Fixing Hairline And Small Cracks (diy Level 1)
Hairline cracks are the most common and usually the easiest to repair. They don’t require specialized tools and can often be fixed in under an hour, not including drying time.
Using Spackling Compound
Spackle is a lightweight, pre-mixed filler that’s ideal for small, superficial cracks in drywall or plaster.
- Apply the Spackle: Load a small amount of spackle onto your putty knife. Hold the knife at a slight angle to the wall and press the spackle firmly into the crack. Use smooth, even strokes to fill the groove completely.
- Smooth the Excess: For hairline cracks, you can often use the edge of your putty knife to scrape away most of the excess spackle, leaving just enough to fill the crack. For slightly wider cracks, apply the spackle and then smooth it over with a wider putty knife, feathering the edges to blend with the wall. The goal is to leave as little excess material as possible.
- Allow to Dry: Spackle dries relatively quickly, typically within 30 minutes to a couple of hours, depending on the humidity and thickness. It will turn from a wet, pasty color to a chalky white when dry.
- Sand Smooth: Once completely dry, use a sanding block with fine-grit sandpaper (150-220 grit) to gently sand the repaired area until it’s smooth and flush with the surrounding wall. Avoid over-sanding, which can create a depression.
- Clean Dust: Wipe the area with a damp cloth to remove all sanding dust.
- Prime and Paint: Apply a coat of primer to the repaired spot. Once the primer is dry, paint the area with your matching wall color. You may need two coats of paint for complete coverage.
Pro Tip: For very fine cracks, you might find it easier to apply spackle with your fingertip (wearing a disposable glove) and then smooth it with a damp sponge for a perfectly flush finish.

Credit: objectstorage.us-ashburn-1.oraclecloud.com
Repairing Larger Cracks (diy Level 2)
Cracks wider than 1/8 inch, especially those that might have resulted from minor settling, require a bit more reinforcement. Using drywall tape and joint compound provides a stronger, more durable repair.
Using Joint Compound And Drywall Tape
This method is similar to how drywall seams are finished and is effective for cracks up to about 1/2 inch wide.
- Prepare the Crack: As described in the preparation section, clean the crack and remove any loose debris. Slightly widen the crack into a V-groove using a utility knife.
- Apply First Coat of Joint Compound: Using a 4-inch or 6-inch taping knife, apply a thin, even layer of all-purpose joint compound over the crack, extending about 2 inches on either side. Press the compound firmly into the groove.
- Embed the Drywall Tape:
- Paper Tape: Cut a piece of paper drywall tape slightly longer than the crack. Center it over the crack and press it firmly into the wet joint compound. Use your taping knife to smooth the tape, ensuring it’s fully embedded and free of wrinkles or air bubbles. Scrape away excess compound.
- Fiberglass Mesh Tape: Apply the mesh tape directly over the crack, ensuring it adheres well. Then, apply a thin layer of joint compound over the tape, embedding it.
- Allow to Dry: Joint compound takes longer to dry than spackle, typically 24 hours, especially for thicker applications. It will turn from gray to off-white when dry.
- Apply Second Coat: Once the first coat is completely dry, lightly sand any ridges or rough spots. Apply a second, wider coat of joint compound, extending about 4-6 inches on either side of the crack. Use your taping knife to feather the edges smoothly into the surrounding wall. The goal is to create a subtle, almost invisible transition.
- Allow to Dry: Let the second coat dry completely.
- Apply Third Coat (if needed): For a perfectly smooth finish, a third, even wider coat of joint compound may be necessary. Apply it thinly, feathering the edges even further (8-10 inches on either side). This helps to blend the repair seamlessly.
- Sand Smooth: Once the final coat is dry, use medium-grit sandpaper (100-150 grit) to knock down any high spots, followed by fine-grit sandpaper (150-220 grit) for a smooth finish. Be careful not to sand through the tape or the compound down to the original wall.
- Clean Dust: Wipe the area thoroughly with a damp cloth.
- Prime and Paint: Apply primer over the entire repaired area, extending slightly beyond the feathered edges. Once dry, paint with your wall color, likely requiring two coats.
Example: When repairing a stair-step crack in plaster, it’s crucial to chase the crack slightly with a utility knife to remove any loose plaster and create a clean channel before applying joint compound and tape. This ensures the new material bonds securely to the solid plaster beneath.
Fixing Larger Holes And Significant Cracks (diy Level 3)
For cracks that are wider than 1/2 inch or have caused sections of drywall to crumble, a more robust repair is needed. This might involve patching compounds or even replacing small sections of drywall.
Using Patching Compounds
Patching compounds are designed for larger repairs and typically shrink less than standard joint compound.
- Prepare the Area: Clean out the crack or hole thoroughly. If there are loose edges, carefully trim them away with a utility knife or drywall saw to create clean, straight edges.
- Apply Patching Compound: Using a wider taping knife (6-inch or 8-inch), apply a generous amount of patching compound directly into the crack or hole. Press it in firmly to ensure it fills the void completely.
- Smooth and Feather: Smooth the surface with your knife, feathering the edges out onto the surrounding wall. For deep cracks, you may need to apply the compound in multiple layers, allowing each to dry partially before applying the next.
- Reinforce (if necessary): For cracks wider than 1/2 inch, consider embedding drywall tape (paper or fiberglass mesh) into the first layer of patching compound, similar to the method described for larger cracks.
- Allow to Dry: Patching compounds can take several hours to dry, depending on thickness and environmental conditions.
- Sand Smooth: Once completely dry, sand the repaired area smooth using medium-grit sandpaper, followed by fine-grit sandpaper.
- Prime and Paint: Prime the area and then paint to match.
Drywall Patching For Larger Damage
If a section of drywall is significantly damaged or crumbling, you might need to cut out the damaged portion and replace it with a new piece of drywall.
- Cut Out Damaged Area: Use a drywall saw or utility knife to cut a neat square or rectangular hole around the damaged area, ensuring you cut into solid drywall.
- Create a Backing (if needed): For simple patches, you can sometimes use a piece of wood as a backing. Cut a piece of wood (like a 1×2 furring strip) that is longer than the hole. Insert it behind the drywall and screw it into the existing drywall from the front. This provides something for your new drywall patch to attach to.
- Cut the Patch: Cut a piece of new drywall to fit the hole precisely.
- Install the Patch:
- With Backing: Place the new drywall patch into the hole and screw it into the wooden backing.
- Without Backing (for smaller holes): If the hole is small enough that the edges of the existing drywall are stable, you can use drywall tape around the perimeter of the patch and the hole.
- Tape and Mud: Apply joint compound over the seams between the patch and the existing wall. Embed drywall tape into the compound. Apply at least two more coats of joint compound, feathering the edges each time, allowing drying and light sanding between coats.
- Finish: Once the final coat is smooth and dry, prime and paint the patched area.
Data Point: According to industry estimates, the average cost for professional drywall repair can range from $100 to $400 for small jobs, making DIY repairs a significant cost-saving option.
Comparing Repair Materials And Methods
Choosing the right material and method for your wall crack repair is essential for a lasting result. Here’s a comparison of common options:
| Repair Material/Method | Best For | Pros | Cons | Ease of Use |
|---|---|---|---|---|
| Spackling Compound | Hairline cracks, small nail holes | Lightweight, easy to sand, quick drying, inexpensive | Shrinks significantly, not durable for larger cracks or stress points | Very Easy |
| All-Purpose Joint Compound | Cracks up to 1/2 inch, drywall seams | Dries harder than spackle, good adhesion, versatile | Longer drying time, requires sanding, can be messy | Easy to Moderate |
| Patching Compound | Larger cracks, holes, gouges | Dries harder, minimal shrinkage, durable | Can be harder to sand, longer drying time | Moderate |
| Drywall Tape (Paper or Fiberglass) | Reinforcing cracks and seams | Adds strength and prevents re-cracking | Requires careful application to avoid bubbles/wrinkles | Moderate (when used with joint compound) |
| Self-Adhesive Patch Kits | Small to medium holes (up to 4 inches) | Quick and easy, no separate tape needed | May not provide as smooth a finish as traditional methods, can be visible under paint if not applied carefully | Easy |
When To Consider Specialized Products
While spackle and joint compound are staples, some situations call for specialized products:
- Flexible Crack Filler: For areas prone to movement, like corners or near windows, a flexible caulk or filler designed for expansion and contraction can be more durable than rigid compounds.
- Quick-Setting Compounds: For urgent repairs or when you need to move quickly, quick-setting joint compounds (which harden chemically rather than by drying) can be a lifesaver, though they require faster work and can be harder to sand.
Finishing Touches: Priming And Painting
The final steps in your wall crack repair are crucial for making the repair disappear visually and protecting it from future damage.
The Importance Of Priming
Never skip priming after a wall repair. Here’s why:
- Uniformity: Spackle and joint compound have a different porosity than drywall paper or plaster. Without primer, the repaired area will absorb paint differently, resulting in a visible sheen difference or uneven color, even if the color matches perfectly.
- Adhesion: Primer creates a uniform surface that helps the paint adhere better, ensuring a more durable finish.
- Coverage: Primer helps achieve better coverage with your topcoat of paint, often reducing the number of paint coats needed.
Application: Apply a thin, even coat of a good quality primer (water-based is usually fine for interior repairs) over the entire patched area, extending slightly beyond the feathered edges. Allow it to dry completely according to the manufacturer’s instructions.
Matching And Applying Paint
- Color Matching: The best way to ensure a perfect match is to use leftover paint from when the room was originally painted. If that’s not available, you can take a small chip of paint from an inconspicuous area of the wall to a paint store for color matching. Keep in mind that paint colors can change slightly over time due to fading.
- Application: Once the primer is dry, apply your first coat of paint. Use a brush for edges and corners and a roller for the larger flat areas. Aim for even coverage.
- Second Coat: Allow the first coat to dry completely, then apply a second coat if needed for full coverage and to ensure the patched area is indistinguishable from the rest of the wall.
In my experience, painting technique matters. Rolling with light, even pressure and overlapping strokes helps blend the new paint into the existing finish, making the repair less noticeable.
Frequently Asked Questions
What Are The Signs That A Wall Crack Is Serious And Needs A Professional?
Serious cracks often exhibit several warning signs: they are wider than 1/4 inch, they are growing over time, they run horizontally across a wall (especially if they are long), they are accompanied by diagonal or stair-step patterns in brickwork or plaster, or they coincide with other issues like sticking doors/windows, sagging floors, or foundation cracks. Any crack that suggests movement in the building’s structure warrants professional evaluation.
How Long Does It Take For Joint Compound To Dry?
The drying time for joint compound varies significantly based on thickness, humidity, and temperature. A thin coat might dry in a few hours, while a thicker application, especially in humid conditions, can take 24 hours or even longer