
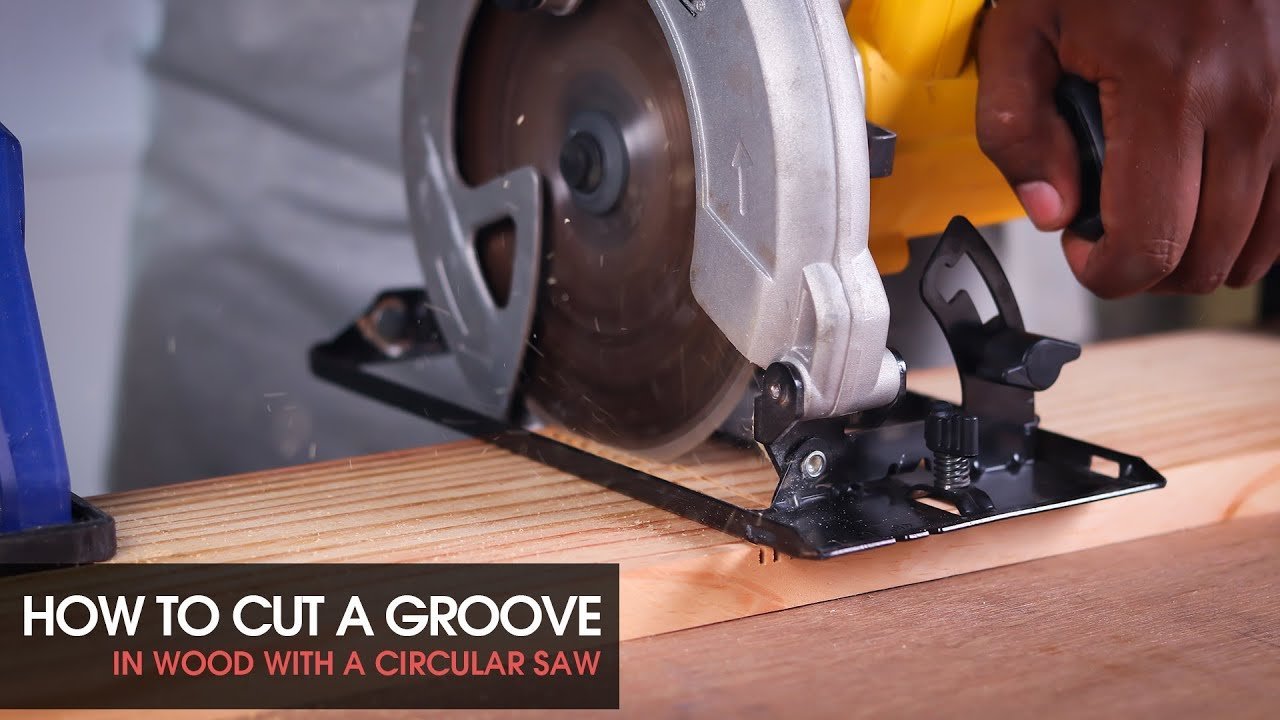
Cutting a groove in wood with a circular saw is a safe process when you set the blade depth to your target measurement and use a straight-edge guide to maintain a clean path. This method relies on making multiple passes to widen the cut to your target width, as a standard blade is usually thinner than the groove you need.
The final result depends on your choice of saw blade, the accuracy of your fence setup, and the feed rate you maintain. If you’re using a standard wood-cutting blade, the groove width remains limited to the kerf of the blade; if you need a wider groove, you must shift your guide for subsequent passes.
Who should cut grooves in wood
This article is for woodworkers and homeowners who need to create dadoes or channels in boards using only a standard circular saw. It serves the person who has a project requiring a specific groove width and wants to avoid buying an expensive table saw or a dedicated router. It assumes you already own a circular saw, a straight piece of timber or metal to use as a fence, and basic safety gear like eye and ear protection.
If you’re a beginner looking to create fine cabinetry or precise joinery, this guide might not be for you. Those tasks often require the extreme accuracy of a table saw or the versatility of a plunge router. This page is best for those doing general carpentry or rough shelving who need a functional, sturdy groove and are comfortable managing a power tool manually. We assume your circular saw is in good working order and the blade is sharp.
Variables that change the result
The most important factor is the blade depth setting. If you set the depth too deep, you risk cutting through the bottom of your workpiece, while too shallow a setting requires extra passes. Always verify your depth on a scrap piece of wood of the same thickness as your project board.
The type of blade you use significantly affects the quality of the finish. A cross-cut blade with more teeth leaves a smoother surface, while a rip blade with fewer teeth cuts faster but leaves a rougher edge. People often make the mistake of forcing the saw through the wood too quickly, which causes the blade to wander and creates a wavy, uneven groove that’s difficult to fix later.
Your choice of guide material matters for stability. If you use a flexible guide, your line will curve mid-cut. Use a rigid, straight edge like a piece of aluminum angle or a factory-edged board to ensure the saw base stays parallel to your path. Finally, the wood’s density determines your speed; harder woods like oak require a slower, more deliberate feed rate to prevent the motor from straining.
Step by step guide
- Unplug your saw and measure your desired groove width and depth.
- Adjust the blade depth so it extends exactly to your target groove depth below the base plate.
- Clamp a straight-edge guide to your workpiece, offset from the groove line by the exact distance between your blade and the edge of the saw’s base plate.
- Plug in the saw and hold it firmly with both hands, keeping the base plate flush against the guide.
- Make your first pass along the line, keeping the saw moving at a steady pace to prevent burning the wood.
- If the groove is too narrow, move your guide slightly and make a second pass to widen the cut.
- Use a chisel to clean out any remaining material or uneven spots at the bottom of the groove.
- Check your progress with a depth gauge or a small scrap piece of wood to ensure the fit is snug.
The judgement call that separates a professional result from a messy one is the precision of your initial guide setup. If you don’t account for the exact distance between your blade and the edge of the saw’s base plate, your groove will be off-center. Always test your offset on scrap wood first. If you lack experience with power tools, consult the Occupational Safety and Health Administration guidelines on safe circular saw operation before starting.
The variations at a glance
| The Situation | What to do | What it takes | What to watch for |
|---|---|---|---|
| Narrow groove | Single pass | 5 minutes | Blade thickness |
| Wide groove | Multiple passes | 15 minutes | Guide alignment |
| Hardwood | Slow feed rate | 20 minutes | Smoke or burning |
| Softwood | Steady speed | 10 minutes | Tear-out edges |
| Deep groove | Multiple depth passes | 25 minutes | Blade binding |
If your blade width is less than the groove, you must shift the fence by exactly half the difference to clean the wall. Attempting to force a single wide pass often results in a jagged, uneven floor.
When cutting hardwoods, prioritize heat management. If you see dark streaks or smell scorched fibers, reduce your feed rate by 30 percent immediately. Ignoring these signs glazes the wood, making it impossible to accept stain or finish later.
Pushing beyond this limit stresses the motor and risks a kickback event. If the saw begins to labor or the pitch of the motor drops, retract the blade and clear the debris. Always check that your guide remains locked, as vibration can shift the setting during longer, multi-pass operations.
Details of a high-quality cut
Proper preparation and setup
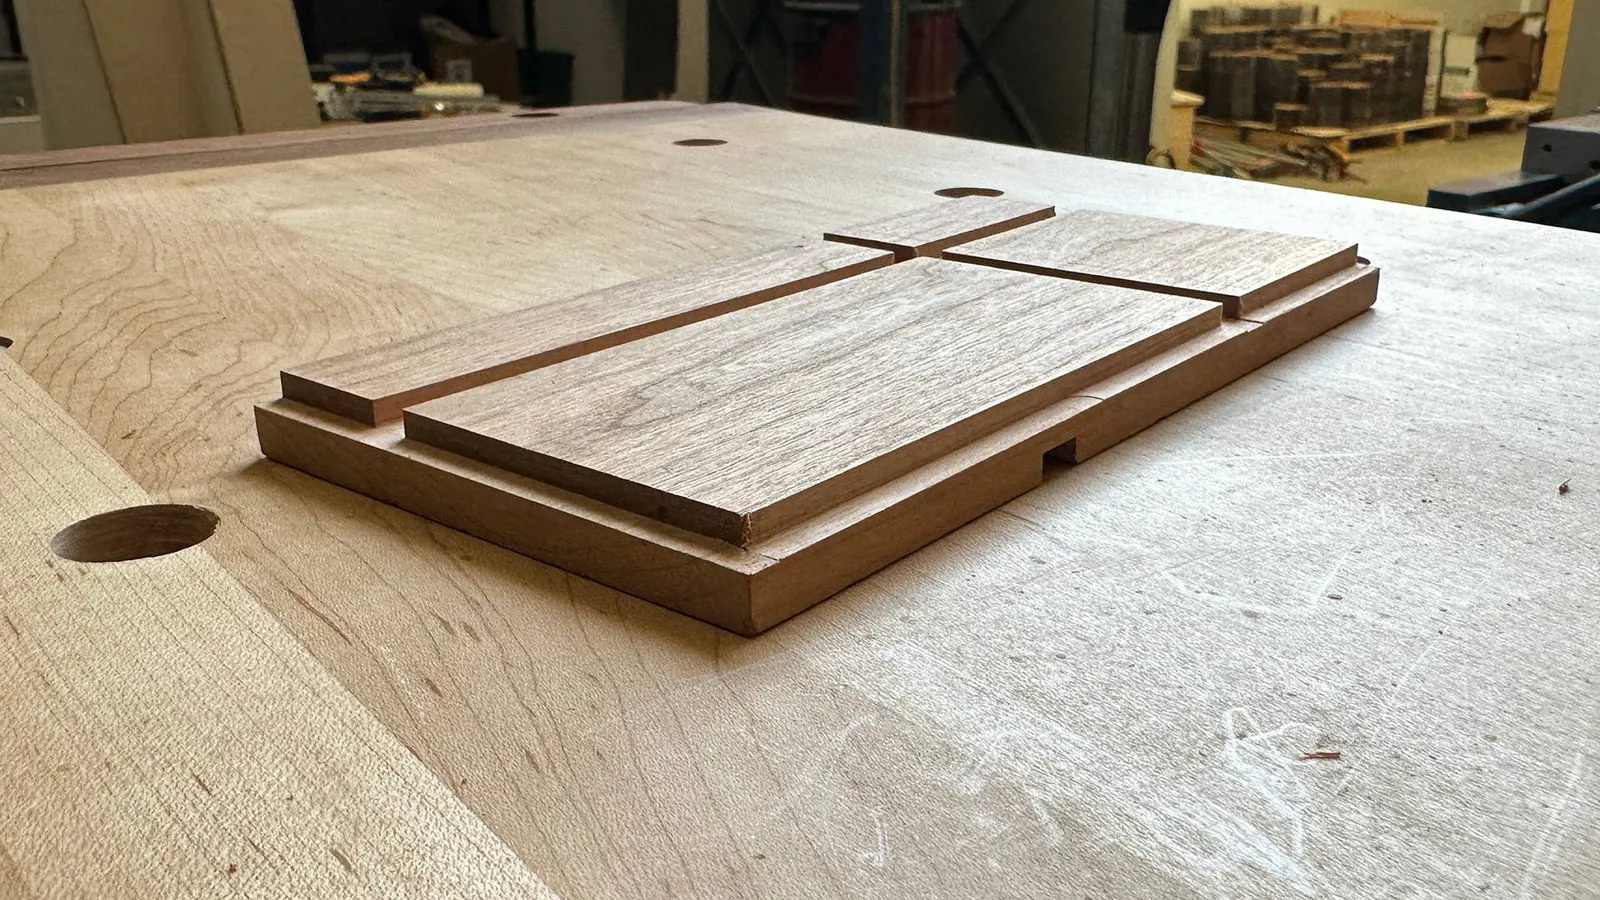
Experienced woodworkers always verify their guide alignment using a test cut on a piece of scrap wood. They ensure the saw base is clean and free of debris, which allows it to glide smoothly against the fence. Beginners often skip this, leading to gaps or crooked grooves. They also mark the start and stop points on the wood clearly, so they know exactly when to lift the saw.
Managing the cutting process
Pros maintain a consistent, moderate pressure throughout the cut. If you push too hard, the saw motor can bog down, which risks kickback and an uneven bottom. They also keep the saw’s cord out of the way, preventing it from snagging or pulling the tool off the line. Deliberately leaving the last millimeter of depth for a final cleanup pass ensures the bottom of the groove is perfectly flat.
Troubleshooting common issues
| What you notice | What it usually means | What to do first | How to stop it happening again |
|---|---|---|---|
| Wavy cut | Guide moved | Re-clamp guide | Use heavier clamps |
| Burning marks | Feed rate slow | Increase speed | Use sharp blade |
| Uneven depth | Base not flat | Reset depth | Tighten depth knob |
| Rough edges | Dull blade | Change blade | Use masking tape |
| Blade binding | Saw tilted | Straighten saw | Use rigid guide |
If your cuts still drift after checking the guide, inspect the saw’s baseplate for burrs. A single metal shaving trapped between the plate and your material acts as a pivot point, throwing your angle off by degrees.
When you see burning on hardwood, you’re likely lingering too long in one spot. If the wood smells like scorched sugar, increase your feed rate by twenty percent. Conversely, if you’re cutting soft pine and see smoke, your blade is likely gummed with resin. Clean the teeth with a solvent before blaming the motor.
Never force a blade that begins to bind mid-cut. If the saw kicks back, release the trigger immediately and pull the tool straight back along the existing kerf. Continuing to push only risks a permanent stall or a dangerous jump.
Rules for safe operation
You must follow all safety protocols outlined by your specific tool manufacturer to avoid injury or damage. The primary rule is to never reach under the wood while the blade is spinning. Always ensure the workpiece is clamped securely to a stable surface, as a moving board is the leading cause of accidental slips.
Never attempt to remove safety guards from your saw, as these are designed to protect you from flying debris and accidental contact. If the task requires specialized cuts or heavy-duty framing, consider hiring a licensed professional who possesses the proper equipment and training for the job.
The true cost of the task
The cost is mostly in your time and the wear on your saw blades. A typical circular saw blade lasts for many hours of cutting, but hitting a hidden nail or knot can dull it instantly. You should expect to spend between 30 and 60 minutes for a standard project, depending on how many adjustments you need to make.
If you already own the tools, the out-of-pocket cost is essentially zero. If you need to buy a new blade for a smoother finish, a quality carbide-tipped blade is quite affordable at most hardware retailers. This price changes based on the brand, tooth count, and material coating. Always check the current pricing at your local store before starting your project.
Maintenance and long-term care
After you finish the job, wipe the saw base and blade clean of sawdust to prevent rust.
You should inspect the blade teeth for chips or buildup of resin, which can make the saw work harder than necessary. If you notice a dark, sticky residue, use a standard blade cleaner or a mild solvent to wipe the teeth clean. A dull blade forces the motor to draw more amperage, which prematurely wears out the internal windings.
Store your saw in a dry, cool place to protect the motor from moisture. If the saw begins to smell like ozone or vibrates excessively, stop using it immediately and check the carbon brushes. Worn brushes cause arcing that can permanently scar the commutator. If the brushes are shorter than a quarter-inch, replace them before attempting another cut. Always retract the blade completely into the housing to prevent accidental damage or injury.
When to choose another method
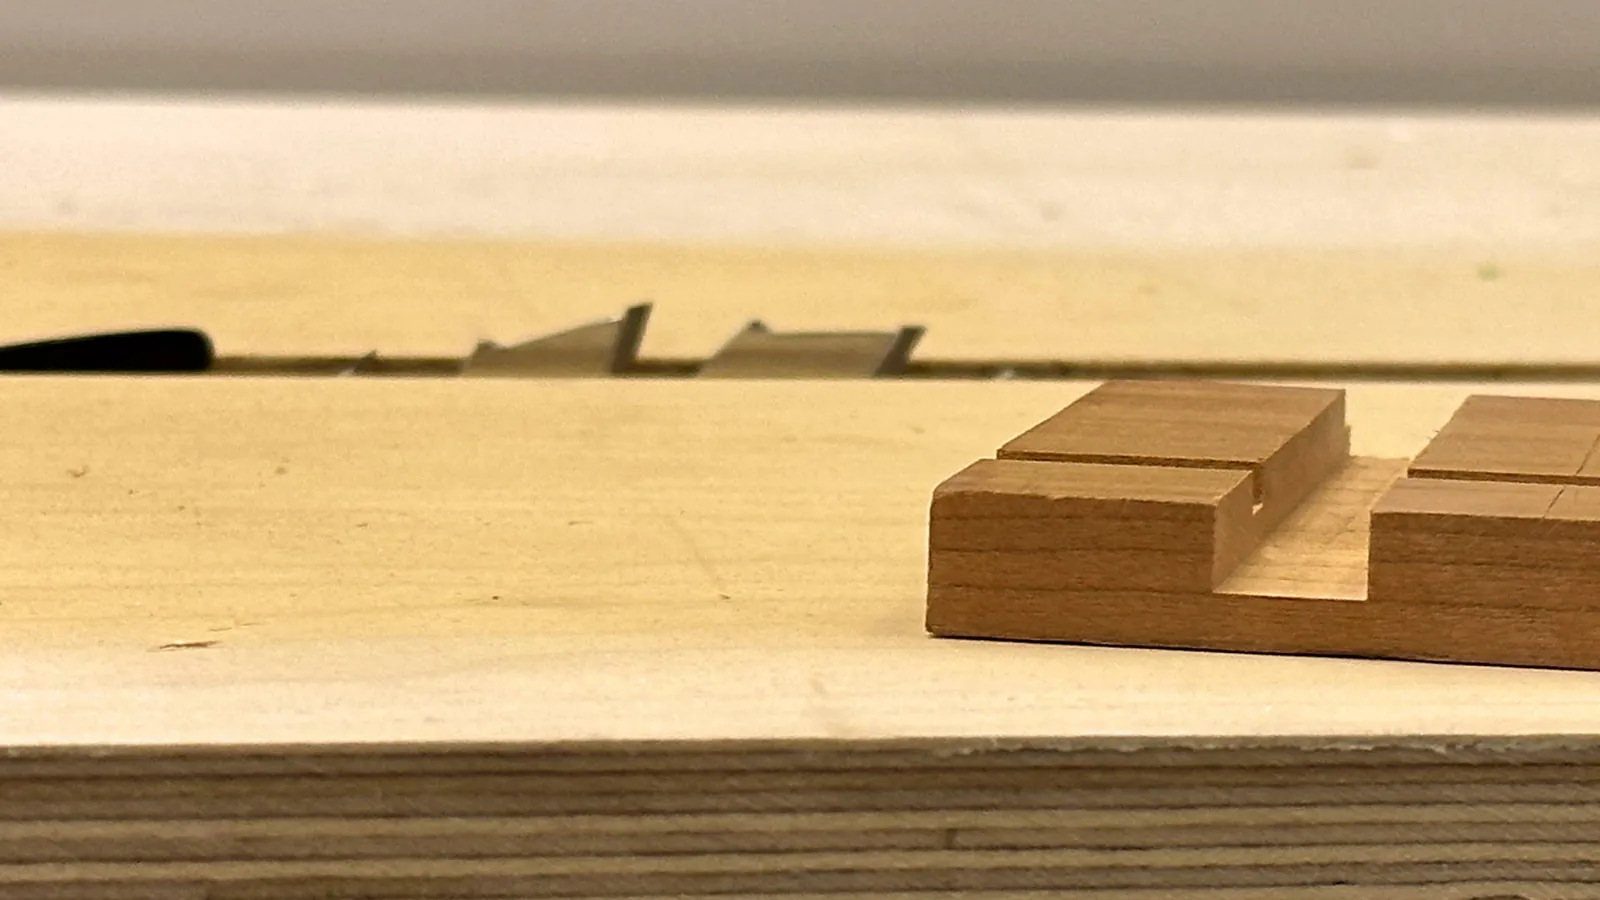
If you’re attempting to create precise dovetail joints or intricate furniture, a circular saw is the wrong tool. A router with a straight bit or a dedicated dado stack on a table saw will provide the professional-grade accuracy required for high-end cabinetry. Using a circular saw for these tasks often leads to frustration and wasted materials.
If you’re working with pieces narrower than four inches, a circular saw becomes dangerous because you can’t maintain a secure grip. In these cases, a miter saw or a hand-held trim router is the safer, more effective choice. Never force a tool to perform a task it wasn’t designed for, as this significantly increases the risk of kickback.
If your cut requires a tolerance tighter than 1/16 of an inch, switch to a stationary saw. A circular saw is built for rough carpentry, not the fine-tuned joinery found in heirloom pieces. If you try to force precision from a portable saw, you’ll likely end up with uneven edges that compromise the structural integrity of your build.
Frequently asked questions
Can I use a circular saw for deep grooves?
Yes, you can cut deep grooves by making multiple passes at increasing depths. Start with a shallow cut of about 1/4 inch, then adjust your depth for each subsequent pass until you reach your target depth. Always ensure your guide remains secure during each adjustment.
How long does it take to cut a groove?
It usually takes 15 to 30 minutes to set up your guide and make the required passes for a standard shelf groove. The total time depends on the length of the board and how many passes you need to reach your desired width and depth.
Is it safe to cut a groove in wood with a circular saw?
It’s safe if you use proper clamping and keep your hands away from the blade path. Always wear safety glasses and hearing protection, and ensure your saw’s safety guard is functioning correctly before you plug the tool into a power outlet.
What happens if the groove is too wide?
If your groove is too wide, you’ll need to fill it with a wood shim or start over with a new piece of wood. A loose fit will weaken your joint, so it’s better to test your width on scrap wood before cutting your final project board.
Does it matter which way the grain runs?
Yes, cutting across the grain often causes more tear-out than cutting with the grain. You can minimize this by applying masking tape over your cut line before you start, which helps hold the wood fibers in place while the blade passes through.
How do I know if my blade is sharp enough?
A sharp blade cuts smoothly without requiring excessive force or causing the wood to smoke. If you find yourself pushing hard to move the saw forward, or if the wood appears scorched, it’s time to replace or sharpen your blade.
Conclusion
Start by marking your cut lines clearly on the wood and verifying your saw’s depth setting on a scrap piece. You can expect a clean, functional groove if you keep the saw firm against your guide. If the saw begins to vibrate or pull, stop and inspect your setup immediately.