
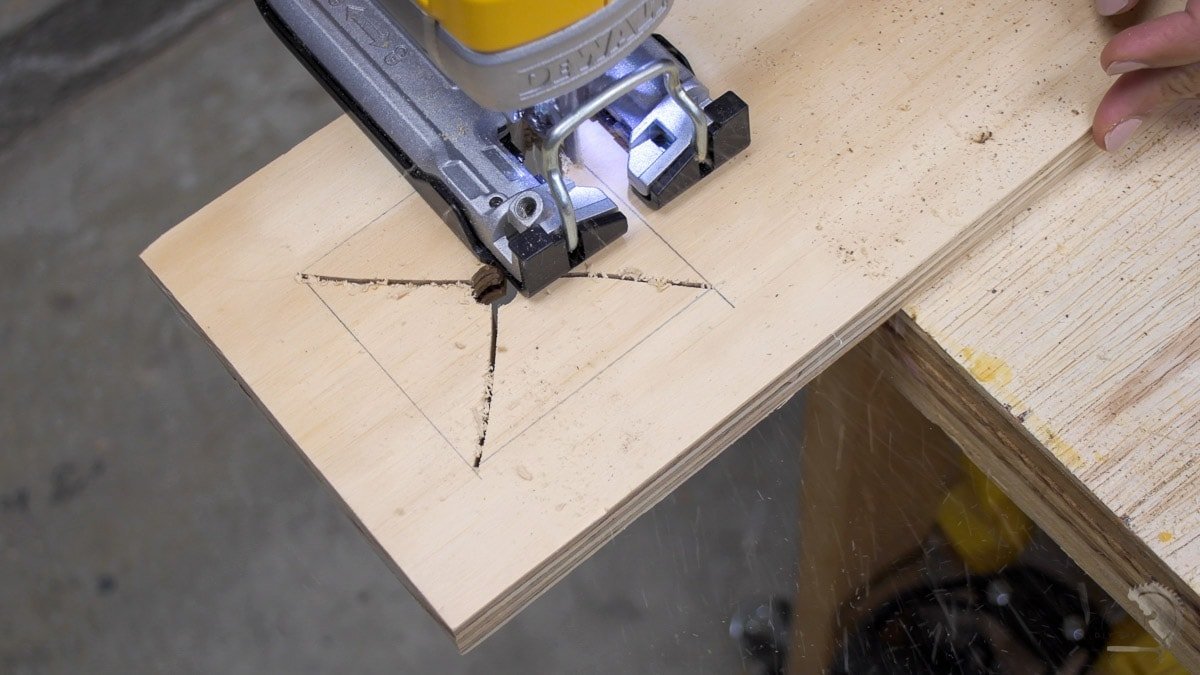
To perform a clean cutout, you should drill a starter hole in each corner of your marked area and use a jigsaw to connect these lines, which is the best way to cut a square hole in wood. This method allows the blade to turn at each corner without overcutting the lines, ensuring the square remains crisp and accurate on all four sides.
The final result depends on your choice of blade, the speed of your stroke, and how firmly you hold the tool against the surface. If you’re using a thin plywood, you must support the underside to prevent splintering; if you’re working with thick hardwood, you should slow your feed rate to keep the blade from bending.
Why you need to cut a square hole
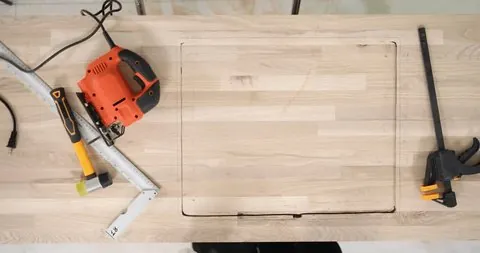
This page serves woodworkers and homeowners who need to create precise openings in cabinets, countertops, or wall panels. These readers usually have a standard jigsaw and a drill but may lack the specialized plunge-cutting experience required for complex shapes. If you’re trying to cut a square hole in a delicate finished surface like laminate, this guide is for you because it emphasizes preventing surface damage.
If you’re a professional contractor looking for industrial CNC routing advice, this page isn’t for you. We assume you’re using a standard corded or cordless handheld jigsaw with a wood-cutting blade. You should already have your workspace cleared and your safety gear ready, as the technique requires steady hands and careful alignment. If you’re working with metal or stone, don’t follow these steps, as those materials require specific cooling lubricants and specialized diamond or carbide-tipped blades.
Factors that change your result
The thickness of your wood determines which blade length you need. If the blade is too short, it won’t clear the waste material, which causes the tool to bounce; if it’s too long, the tip may hit the floor or your workbench. Check the side of your blade packaging to ensure it exceeds the thickness of your board by at least 1 inch.
The blade tooth count, measured in teeth per inch (TPI), changes the finish quality. A high TPI blade (12–14) creates a smooth cut but works slowly, while a low TPI blade (6–8) cuts fast but leaves a rough edge. If you’re cutting a visible face, always use a high TPI blade to avoid tear-out.
Your jigsaw’s orbital setting is a major factor in speed. If you set the orbit to maximum, you’ll cut fast but leave a jagged edge; if you turn the orbit off, you’ll cut slower but achieve a much cleaner line. Most people leave this at a middle setting for general wood tasks.
Finally, the way you secure the workpiece matters most. If the wood isn’t clamped tightly to a stable surface, the vibration will cause the jigsaw to wander, leading to uneven lines. Always check that your clamps are clear of the path the jigsaw will take before you start.
Steps for a clean cutout
- Mark your square clearly on the wood using a pencil and a framing square to ensure all angles are 90 degrees.
- Drill a 1/2-inch starter hole inside each of the four corners, placing the edge of the hole just touching the inside of your pencil line.
- Insert your jigsaw blade into one of the starter holes, ensuring the tool is unplugged or the battery is removed before you begin.
- Set your jigsaw to a low-to-medium speed to maintain control as you start the cut along the first line.
- Cut from the center of one hole to the next, keeping the blade exactly on the waste side of your pencil line.
- Stop the jigsaw once you reach the next corner hole, then rotate the tool to align with the next line.
- Repeat this process for all four sides, being careful to keep the baseplate flat against the wood surface at all times.
- Remove the center waste piece once the final cut is finished, and use a file or sandpaper to smooth the edges.
The key to a professional finish is keeping the baseplate flat against the wood throughout the entire cut. If you tip the jigsaw, the blade will bend, and your hole won’t be square. The Consumer Product Safety Commission provides important guidance on maintaining proper control of power tools to avoid injury.
Performance variations at a glance
| Situation | What to do | What it takes | What to watch for |
|---|---|---|---|
| Thin plywood | Use high TPI blade | 10 minutes | Wood splintering |
| Thick hardwood | Use low TPI blade | 20 minutes | Blade bending |
| Finished laminate | Use masking tape | 15 minutes | Surface chipping |
| Small squares | Use fine scroll blade | 15 minutes | Tight corner turns |
| Soft pine | Use medium TPI blade | 10 minutes | Blade overheating |
When cutting plywood under 1/4 inch, run the blade at a lower speed to prevent the teeth from grabbing the veneer. If you notice tear-out on the underside, apply a sacrificial piece of scrap wood beneath your workpiece to stabilize the fibers.
For thick hardwoods exceeding two inches, use a skip-tooth blade to clear sawdust effectively. If the blade starts to wander or smoke, back off the feed rate immediately. Pushing too hard here ruins the temper of the steel, causing the blade to dull within minutes.
Laminate projects require a zero-clearance insert to support the brittle surface. If you lack one, place a layer of blue painter’s tape over the cut line to bridge the gap.
When navigating tight corners on small squares, stop the forward motion once the blade reaches the vertex. Rotate the piece slowly while the blade continues to oscillate. If you force the turn, the blade will twist, resulting in a permanent kink that renders the tool useless for future precision work.
Achieving a clean result
Preparation and technique
Experienced users always tape the cut line with painter’s tape before drawing their square. This simple step holds the wood fibers together and prevents the jigsaw blade from lifting the veneer or finish as it moves. Always check that your blade is sharp; a dull blade forces you to push harder, which increases the risk of the tool slipping off the line.
Controlling the tool
Beginners often try to force the jigsaw forward, but letting the tool do the work produces a much straighter cut. If you feel the jigsaw vibrating excessively, slow down your forward movement and ensure the baseplate isn’t bridging a gap. By maintaining a constant, slow pressure, you keep the blade perpendicular to the wood, which is essential for a square hole.
Common issues and solutions
| What you notice | What it usually means | What to do first | How to stop it |
|---|---|---|---|
| Rough edges | Blade too coarse | Switch to high TPI | Use masking tape |
| Blade wanders | Forcing the tool | Reduce feed speed | Check blade tension |
| Chipped finish | No support below | Use backing board | Score line first |
| Burning marks | Too much heat | Reduce jigsaw speed | Change to sharp blade |
| Uneven corners | Blade bent | Check baseplate level | Use guide fence |
Standards and rules
Always verify the safety requirements for your specific jigsaw model by checking the manufacturer’s user manual. These manuals define the maximum depth of cut and the recommended material types for your blade.
If you’re working in a building with specific fire codes, ensure that any holes you cut for electrical boxes meet the local building standards for fire-blocking. Most residential codes require a clearance of no more than 1/8 inch around electrical boxes to maintain a proper fire seal.
Never remove the safety guard from your jigsaw, as it’s designed to prevent contact with the moving blade.
If you can’t maintain a clear line of sight, stop the work and reposition your body. You should always keep your hands at least six inches away from the blade’s path. If the material vibrates excessively, use a clamp to secure it before cutting.
Cost and effort
The financial cost for this project is minimal if you already own the jigsaw, as you only need a new blade and some sandpaper. A pack of assorted jigsaw blades is quite inexpensive, depending on the brand and material quality.
The real cost is your time, as cutting a perfect square requires patience to avoid over-cutting the corners. Expect to spend at least forty-five minutes on each cut to ensure the blade stays perfectly vertical.
If you’re working on a high-value piece of furniture, the cost of a mistake is the price of the replacement wood. Most beginners rush the final inch of the cut, which causes the wood to splinter or the blade to snap. If you feel the jigsaw vibrating excessively, stop immediately and clear the sawdust from the kerf.
Always practice on a scrap piece of the same thickness first. If you’re using hardwood, use a down-cut blade to prevent surface tear-out. If you’re using plywood, use a fine-tooth blade and apply painter’s tape over the cut line.
Long-term maintenance
Once the hole is cut, lightly sand the inside edges with 220-grit paper to prevent splinters. If the wood is prone to moisture, apply a thin coat of wood sealer to the raw edge. This prevents swelling or warping that ruins the fit over time.
If you notice the edges becoming rough again, a quick pass with fine-grit sandpaper restores the finish without needing to re-cut the material. Should the hole become too large due to error, glue a thin strip of wood to the edge and sand it flush. This shrinks the opening back to the desired size.
Most people make the mistake of over-sanding, which creates an uneven gap. If you feel resistance, stop immediately. If the wood feels damp to the touch, wait twenty-four hours before applying any sealant. If the surface remains tacky after two hours, you have applied too much product; wipe the excess away with a clean cloth. Use a solvent-based sealer for exterior projects, but stick to water-based options for indoor furniture to avoid lingering fumes.
When to use a different method
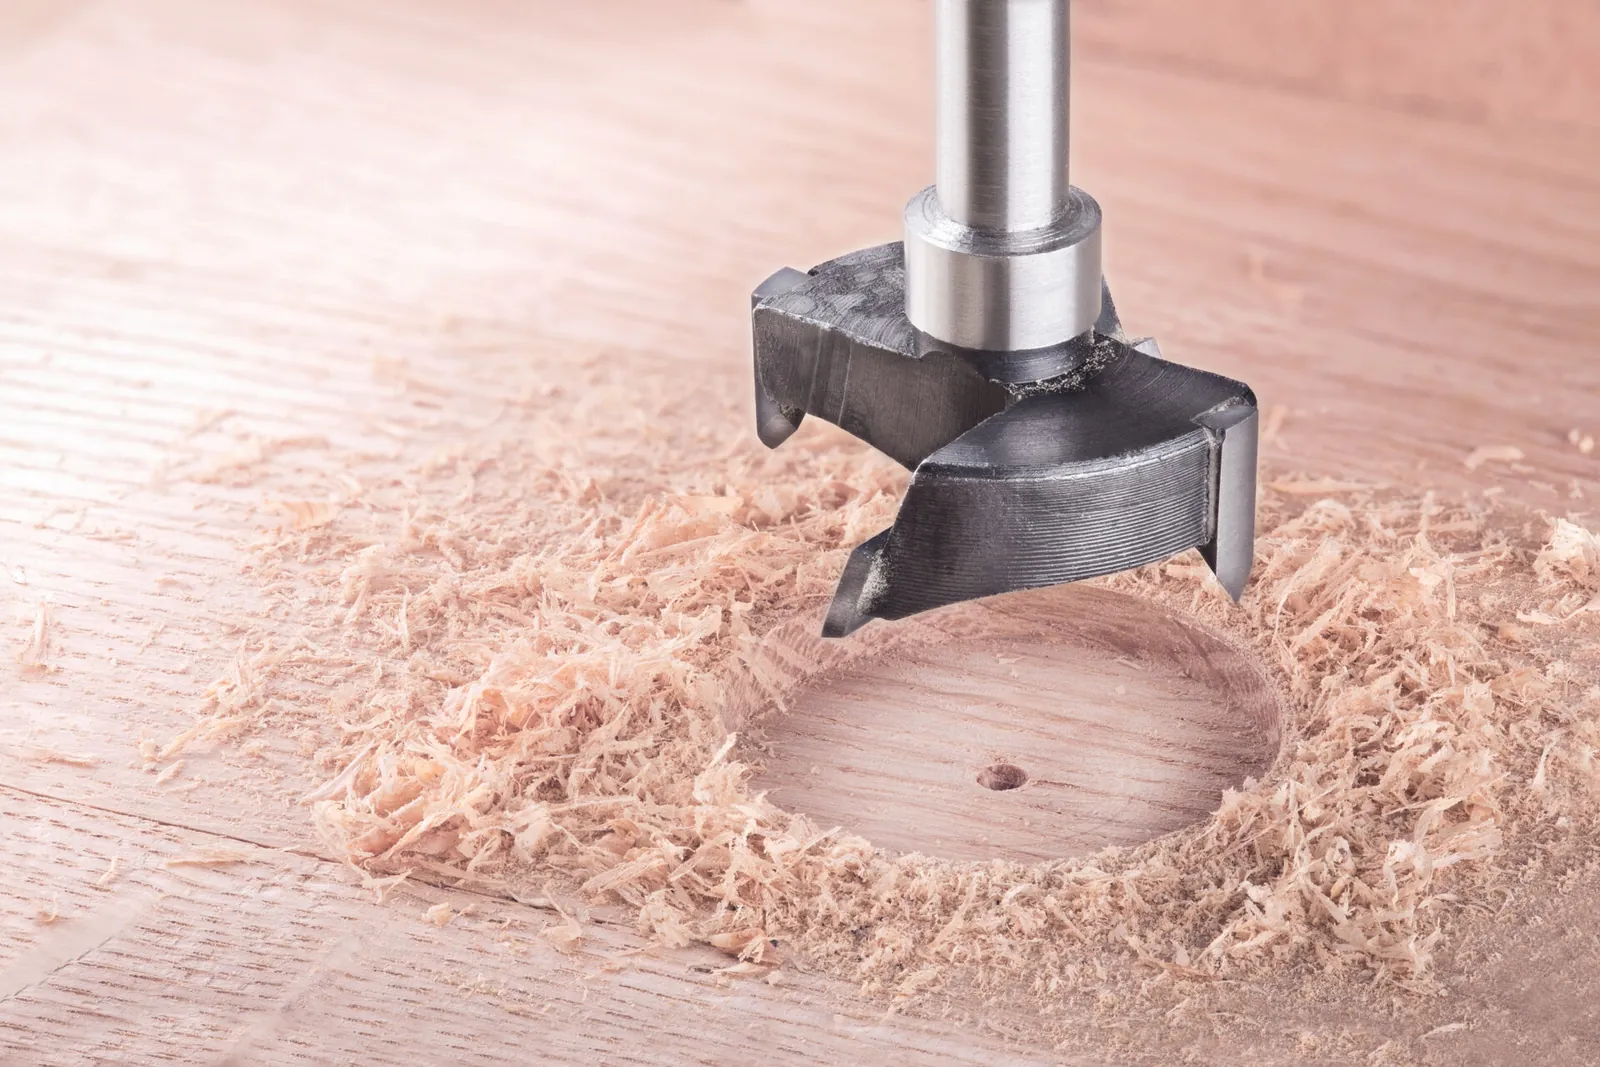
If you’re cutting a hole smaller than 2 inches, a jigsaw is often too large to maneuver. You should use a drill with a hole saw or a spade bit instead to avoid splintering the surrounding material.
For very large openings in thick beams, a reciprocating saw or a circular saw may be necessary. These tools lack the precision of a jigsaw for square corners, so you must leave a margin of at least 1/4 inch to clean up the edges later with a sharp chisel.
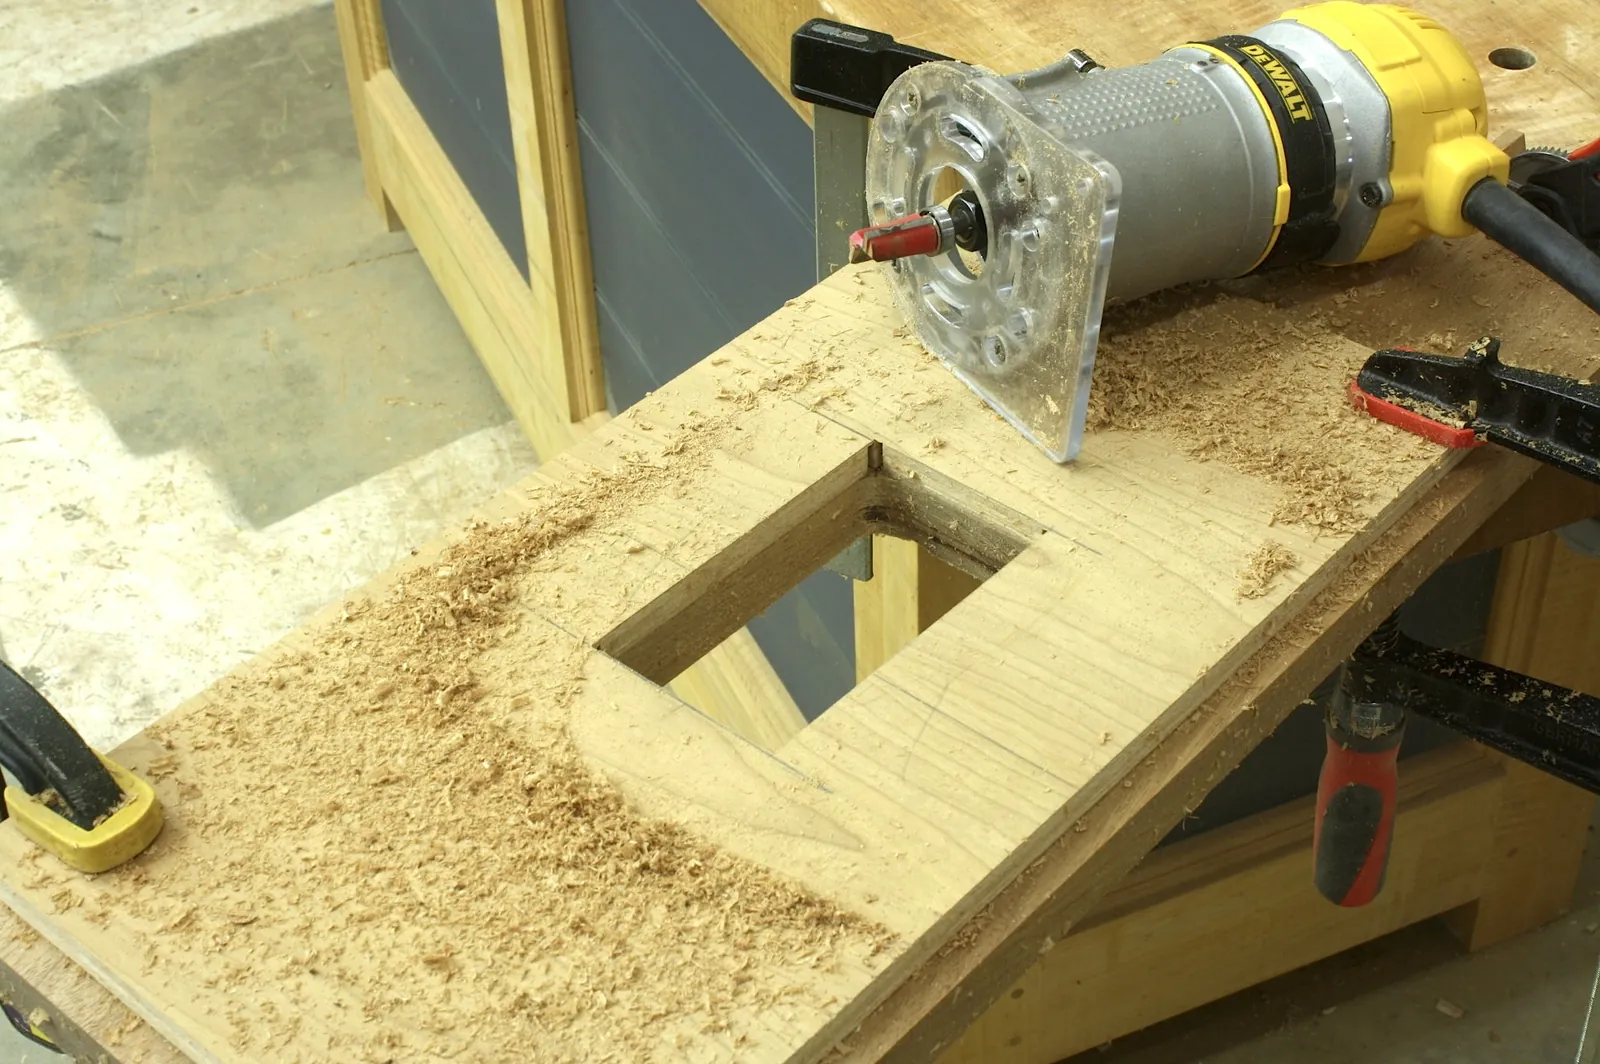
If your project requires perfect, repeated square holes, use a router with a template. This provides a consistent result that handheld saws can’t match.
The mistake most beginners make is attempting to force a jigsaw into a tight radius. This usually snaps the blade or causes the tool to kick back. If your layout line requires a turn tighter than the width of your blade, stop immediately. Switch to a drill to create a relief hole, then finish the cut from the opposite direction to maintain control.
Related guides
Frequently asked questions
How long does it take to cut a square hole?
It takes about 15 to 20 minutes for a single hole, assuming you have already marked your lines and have the wood clamped. This time includes drilling the starter holes, making the cuts, and cleaning the edges with sandpaper.
Is it safe to use a jigsaw for this?
Yes, it’s safe if you keep both hands on the tool and wear protective eyewear at all times. Always ensure the workpiece is firmly clamped so it can’t move, and never reach near the blade while the tool is running.
What happens if I cut past the corner?
You’ll create an overcut that leaves a visible gap in your finished square. You can hide this by filling the gap with a mixture of wood glue and sawdust, but it’s best to stop the blade just before the corner and finish the turn by hand.
How do I stop the blade from bending?
You stop the blade from bending by slowing your feed rate and using a thicker, higher-quality blade. If you push the tool too fast, the blade will flex in the middle of the wood, causing the cut to be angled rather than straight.
Does the wood type matter?
Yes, harder woods require a slower cutting speed and a blade designed for hardwood to prevent burning. Softwoods cut quickly, but you must be careful not to tear the grain, so use a fine-tooth blade for the best results.
Can I use a jigsaw for a square hole in a wall?
Yes, you can use a jigsaw for drywall or wood panels, but you must check for wires or pipes behind the wall first. Use a stud finder and inspect the area before you begin to ensure you don’t hit any hidden utilities.
Conclusion
Start by marking your square on the wood and drilling the four corner holes. You should see the waste piece drop out cleanly once the final cut is made. If you feel the tool pulling or the motor straining, stop immediately and check if the blade is stuck or dull.