

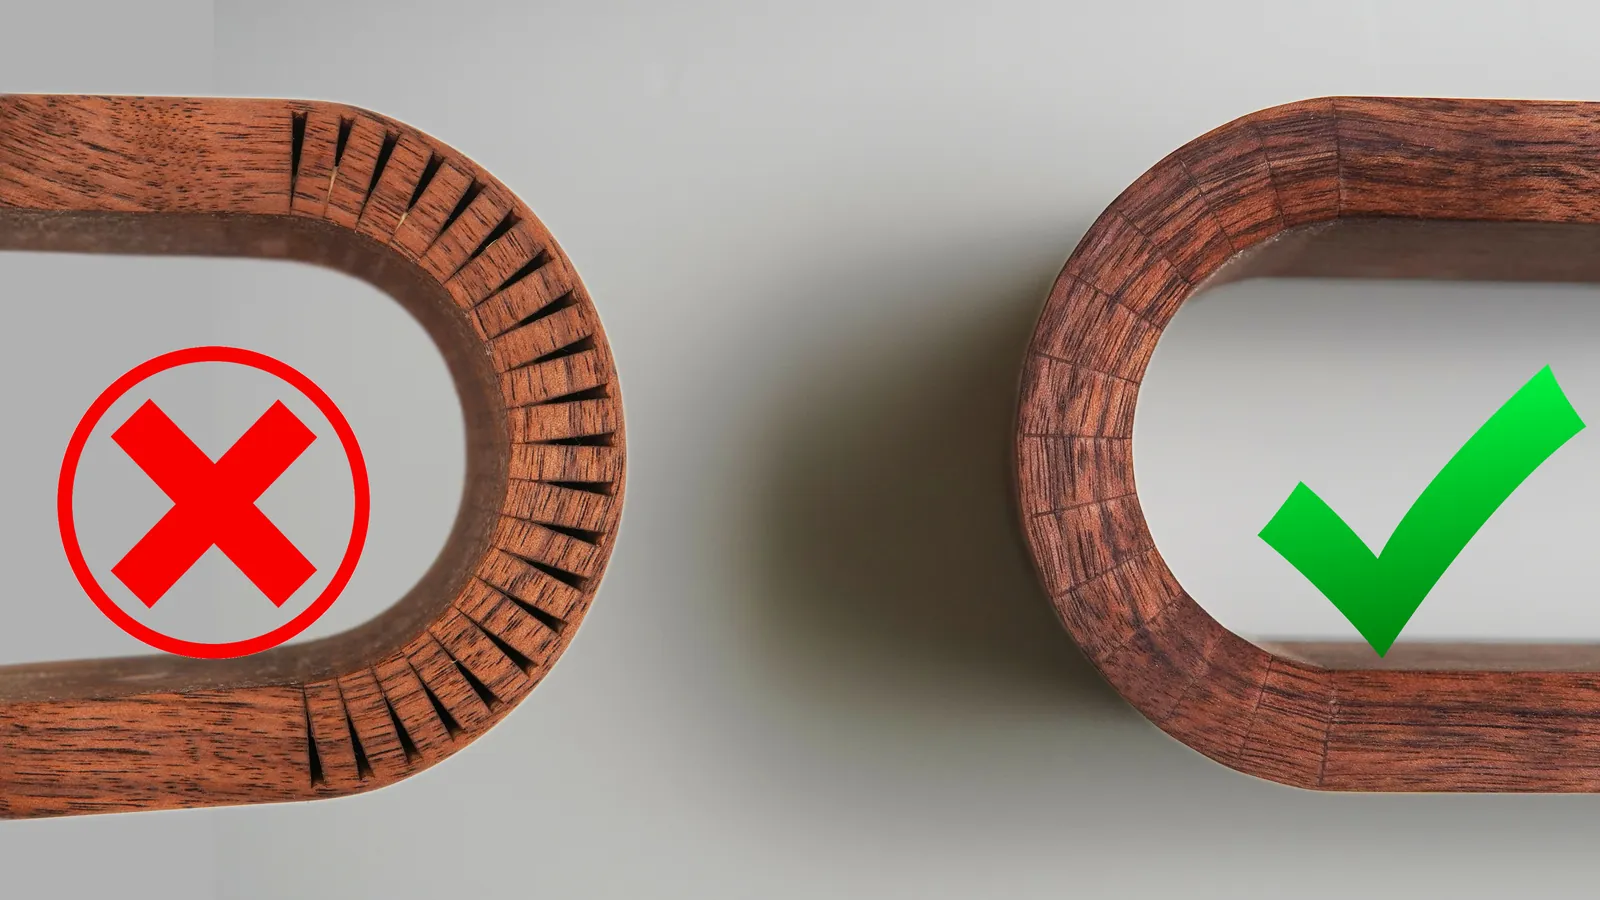
To bend thick wood, you must utilize a combination of moisture, heat, and mechanical pressure to temporarily soften the lignin that acts as the natural glue holding the wood fibers together. This process, known as steam bending, allows you to reshape rigid timber into curved forms without causing structural failure or splintering. By saturating the wood cells, you increase their plasticity, enabling them to slide past one another and compress or stretch along the grain during the bending phase.
Key Takeaways
- Steam bending requires green or air-dried lumber with straight grain to prevent snapping.
- The thickness of your workpiece determines how long it must remain in the steam box.
- Always use high-quality steel straps to provide end pressure and prevent the outer fibers from rupturing.
- Working quickly is essential, as the wood begins to lose its plasticity the moment it leaves the steam.
- Patience during the cooling and drying phase is critical to ensuring the wood retains its new shape permanently.
Selecting Suitable Wood for Bending
Not all species respond well to steam bending; you must prioritize woods with high elasticity and long, straight grain patterns. Hardwoods like white oak, ash, and hickory are industry standards because they possess the cellular structure necessary to withstand the intense compression required for tight radii. Avoid woods with knots, cross-grain, or significant defects, as these areas create stress risers that lead to catastrophic failure during the bending process.
Ideal Species for Curvature
- White Oak: Exceptional durability and reacts well to moisture.
- White Ash: Renowned for its flexibility and shock resistance.
- Hickory: Extremely dense but maintains excellent structural integrity when bent.
- Beech: Often used for furniture components due to its consistent grain.
How to Prepare Your Steam Box
A steam box is a simple, insulated enclosure designed to hold your wood while subjecting it to a high-humidity environment. You can construct a functional box from PVC piping, wooden boards, or even heavy-duty insulated metal ducting.
The goal is to maintain a consistent temperature of approximately 212 degrees Fahrenheit, which is the point at which the Forest Products Laboratory research indicates wood fibers become sufficiently pliable for shaping. Ensure your box has a slight slope to allow condensed water to drain away rather than pooling inside.
Essential Steam Box Components
- Steam Generator: A wallpaper steamer or a dedicated propane-fired boiler.
- Insulated Chamber: A wooden box lined with foil or a high-temperature PVC pipe.
- Temperature Gauge: A probe to monitor the internal environment.
- Support Racks: Small blocks to keep the wood off the bottom of the box.
Estimating the Required Steaming Time
The general rule of thumb for steam bending is one hour of steaming for every inch of wood thickness. If you’re working with two-inch thick stock, you must allow at least two hours of continuous, steady steam to ensure the core of the timber reaches the necessary temperature. Rushing this phase is the most common cause of failure, as the inner fibers will remain rigid while the outer fibers become soft, leading to uneven bending and potential breakage.
| Wood Thickness (Inches) | Steaming Time (Hours) | Minimum Cooling Time (Hours) |
|---|---|---|
| 0.5 – 1.0 | 0.5 – 1.0 | 12 – 24 |
| 1.0 – 2.0 | 1.0 – 2.0 | 24 – 48 |
| 2.0 – 3.0 | 2.0 – 3.0 | 48 – 72 |
| 3.0+ | 3.0+ | 72+ |
Mastering the Bending Mechanism
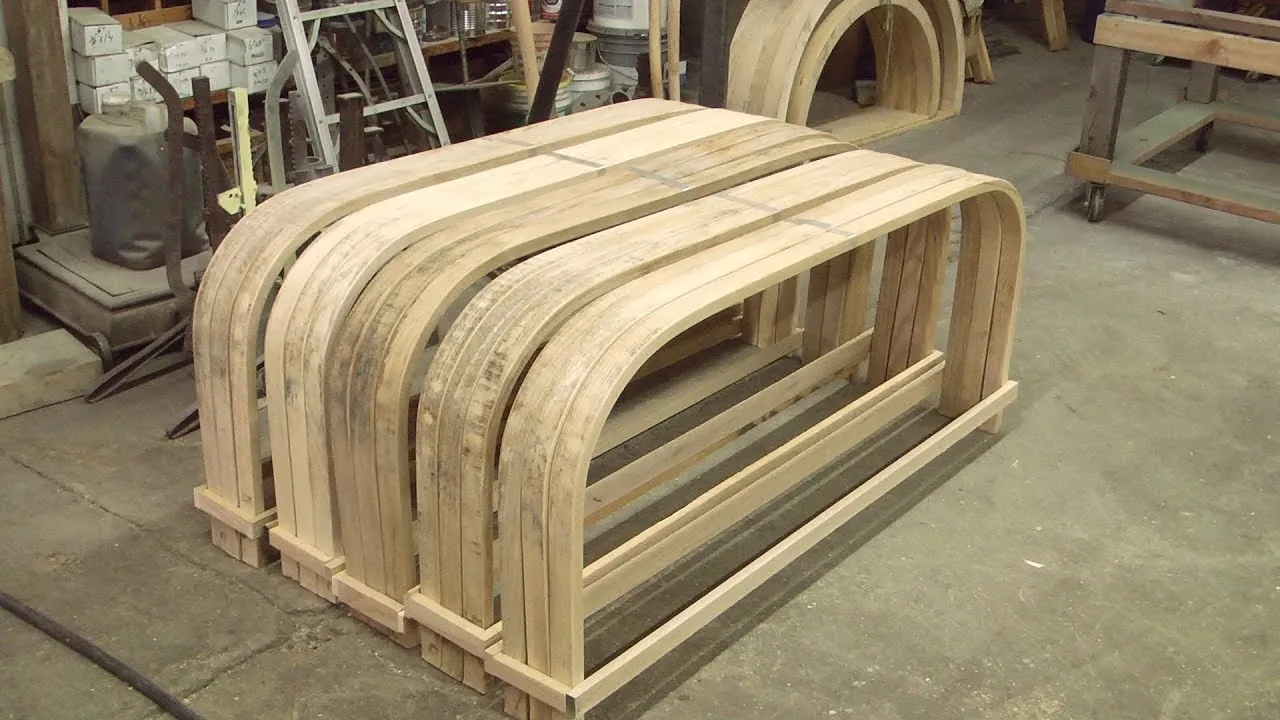
Once the wood is adequately steamed, you have a limited window of time—often less than three minutes—to move the piece from the steam box to your bending jig. You must use a steel bending strap on the outer face of the curve. This strap acts as a physical barrier that keeps the wood fibers in compression rather than allowing them to stretch and tear. Without this strap, the outer fibers will almost certainly snap as you apply force.
Warning: Always wear heavy-duty thermal gloves and eye protection, as the wood will be extremely hot and may release hot steam or water when handled.
Constructing Your Bending Jig
Your bending jig must be a robust, immovable form that mimics the exact shape you intend to achieve. Since wood has a natural tendency to “spring back” after being released, your jig should be slightly tighter than the final desired curve. Secure the jig to a heavy workbench or the floor, and use high-strength clamps to hold the wood in place once it’s bent.
Jig Building Materials
- Plywood Sheets: Layered and glued to create a solid, thick form.
- Hardwood Blocks: Used to create the surface of the curve.
- Heavy-Duty Clamps: C-clamps or bar clamps to maintain pressure.
- Steel Straps: Essential for preventing fiber rupture.
Why Does Wood Spring Back?
Spring back occurs because the wood fibers aren’t perfectly plastic; they retain a “memory” of their original straight state. As the wood cools and loses moisture, the lignin re-hardens, and the internal stresses attempt to return the wood to its previous dimensions.
You can mitigate this by over-bending the piece on your jig by 5 to 10 percent. The exact amount of over-bend depends on the species and the thickness, and it often requires a few test pieces to dial in the precision.
Troubleshooting Common Bending Issues
If your wood is snapping, it’s usually due to insufficient steaming time or a lack of end pressure. If the wood is buckling, you’re likely using too much force without adequate support on the inner radius. Always inspect your wood for “run-out,” which is when the grain doesn’t run parallel to the edges of the board. Wood with significant run-out is structurally unfit for steam bending and will fail regardless of your technique.
| Issue | Potential Cause | Immediate Solution |
|---|---|---|
| Surface Splintering | Weak grain or poor strap | Apply tighter end pressure |
| Internal Snapping | Core not fully heated | Increase steaming time |
| Excessive Spring Back | Insufficient over-bending | Increase curvature of the jig |
| Surface Burning | Contact with heating element | Improve insulation in box |
Drying and Setting the Shape
After you have clamped the wood to your jig, you must leave it undisturbed until it’s completely cool and dry. This drying phase is when the wood “sets” into its new shape. If you remove the clamps too early, the wood will spring back significantly.
In humid environments, this process can take longer. Using a fan or a dehumidifier in your workshop can accelerate the process, but don’t use direct, intense heat, as this can cause the wood to check or crack.
Pro Tip: If you’re bending a high volume of parts, build a dedicated drying rack where the pieces can remain clamped in their jigs while you steam the next batch, allowing for a continuous production cycle.
Alternative Methods for Thick Curves
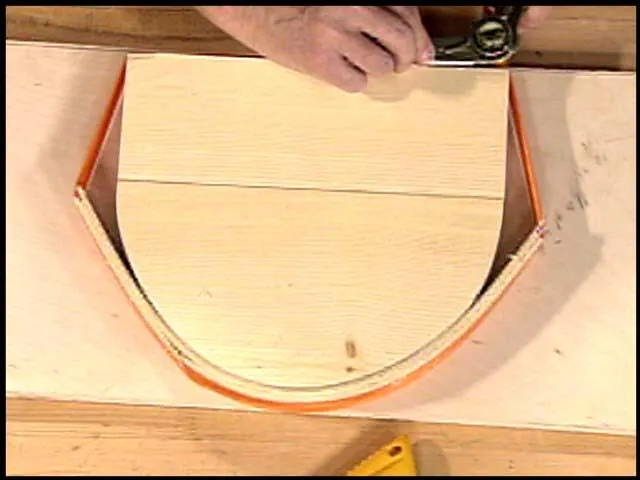
If steam bending isn’t feasible for your specific project, consider lamination. Laminating involves gluing together multiple thin strips of wood over a curved form. Because the strips are thin, they’re much easier to bend than a single thick piece of timber. Once the glue cures, the resulting assembly is incredibly strong and exhibits almost zero spring back. This method is often preferred for furniture legs or curved architectural elements where maximum stability is required.
Comparing Bending Techniques
- Steam Bending: Best for solid, single-piece components; requires specialized equipment.
- Lamination: Ideal for high-strength, complex curves; uses standard wood glue.
- Kerf Bending: Cutting small slots into the wood to allow it to flex; weakens the structure significantly.
- Chemical Softening: Using ammonia or other chemicals to soften lignin; hazardous and requires specialized ventilation.
Related guides
Frequently Asked Questions
Can I steam bend kiln-dried wood?
Yes, but it’s much more difficult than using green or air-dried wood. Kiln-dried lumber has had its internal moisture levels reduced to a point where the fibers are brittle. You’ll need to steam it for longer periods, and the success rate is lower. If possible, choose air-dried lumber with a moisture content of 15 to 20 percent for the best results.
How do I prevent the wood from cracking?
Cracking is usually caused by the outer fibers stretching beyond their limit. Using a high-quality steel strap on the outer face of the bend provides the necessary compression to keep those fibers intact. Additionally, ensure your wood selection is free of knots and that the grain runs straight from end to end. Avoid forcing the bend too quickly, as this puts extreme stress on the wood.
Does the species of wood matter?
The species is arguably the most important factor. Woods like white oak and hickory have long, supple fibers and a chemical composition that responds well to heat and moisture. Species with high silica content or short, interlocking grain patterns, such as many tropical hardwoods, are generally unsuitable for steam bending. Always verify the bending properties of your specific wood species before starting your project.
Can I bend wood without a steam box?
For very thin pieces, you might be able to use a heat gun or hot water, but for thick wood, a steam box is essential. The uniform heat and high humidity provided by a steam box are necessary to soften the lignin throughout the entire thickness of the board. Attempting to bend thick wood without proper saturation will almost certainly result in the wood snapping or failing.
How long can the wood stay in the jig?
The wood should remain in the jig until it reaches room temperature and its moisture content has returned to an equilibrium level. This typically takes 24 to 72 hours depending on the thickness of the wood and the ambient humidity of your workshop. Removing the wood from the jig too early is the primary reason for excessive spring back and loss of your desired curve.
Conclusion
To begin your project, start by sourcing clear, straight-grained white oak or ash from a local lumber yard, as these species provide the most forgiving results for beginners.
Once you have your material, construct a basic steam box using PVC pipe or plywood, and perform a dry run with a scrap piece of wood to ensure your clamping jig is properly aligned. With your tools ready, you can confidently proceed to steam and shape your timber into your desired permanent curve.