
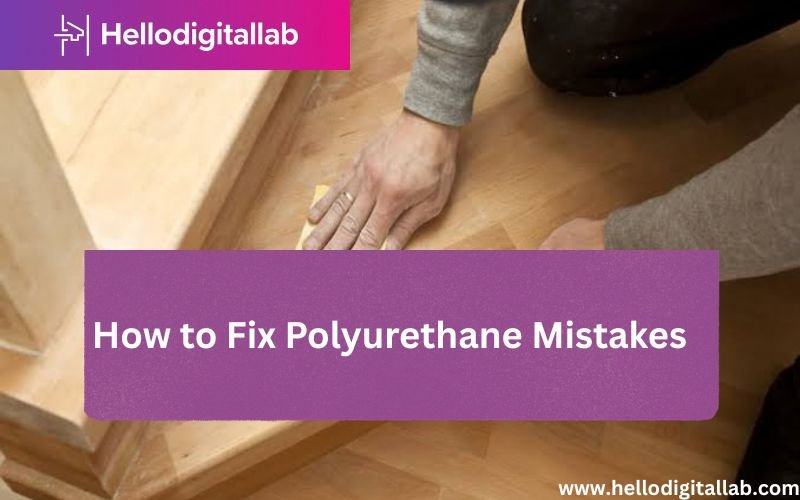
Fixing polyurethane mistakes requires a combination of patience, proper abrasive selection, and a methodical approach to smoothing out imperfections without stripping the entire finish back to bare wood. Whether you’re dealing with unsightly dust nibs, thick runs, or uneven brush marks, most polyurethane issues are correctable through careful sanding and the application of a fresh, thin topcoat. By understanding the chemical nature of the finish and using the right grit sequence, you can restore a professional-grade appearance to your furniture or flooring projects.
Key Takeaways
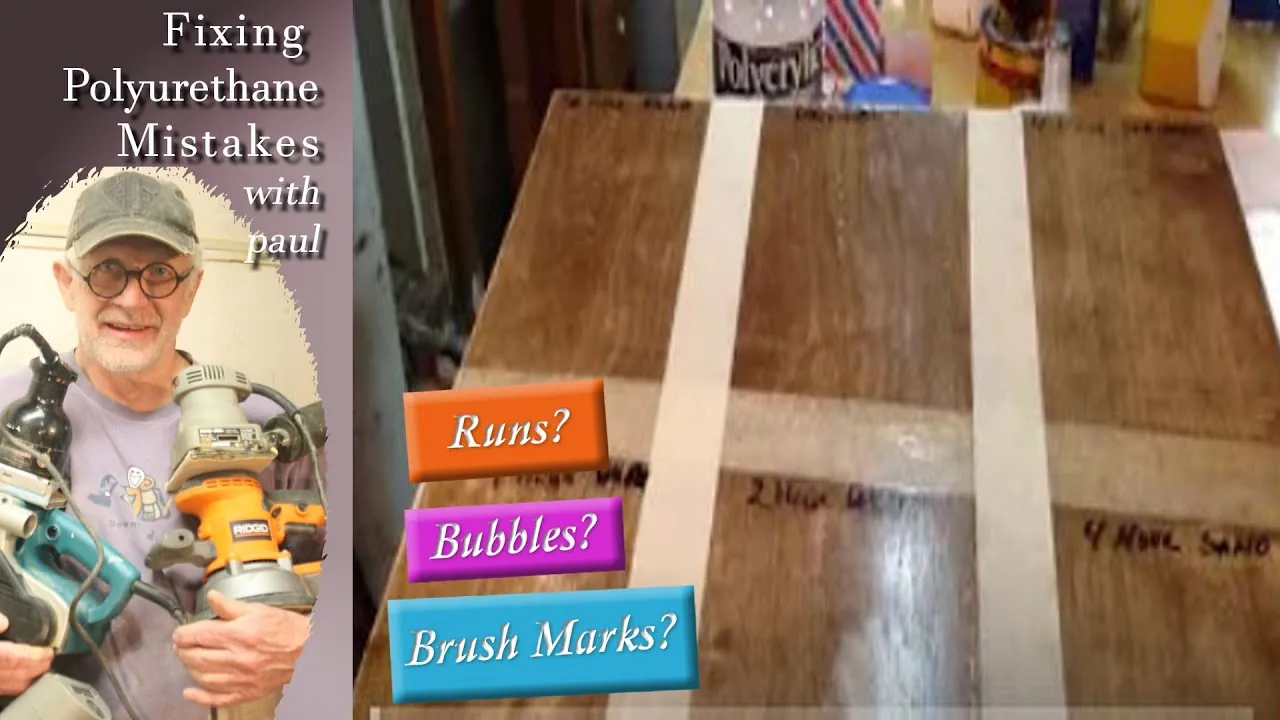
- Always allow the polyurethane to cure for at least 24 hours before attempting any repair work to prevent gumming up your sandpaper.
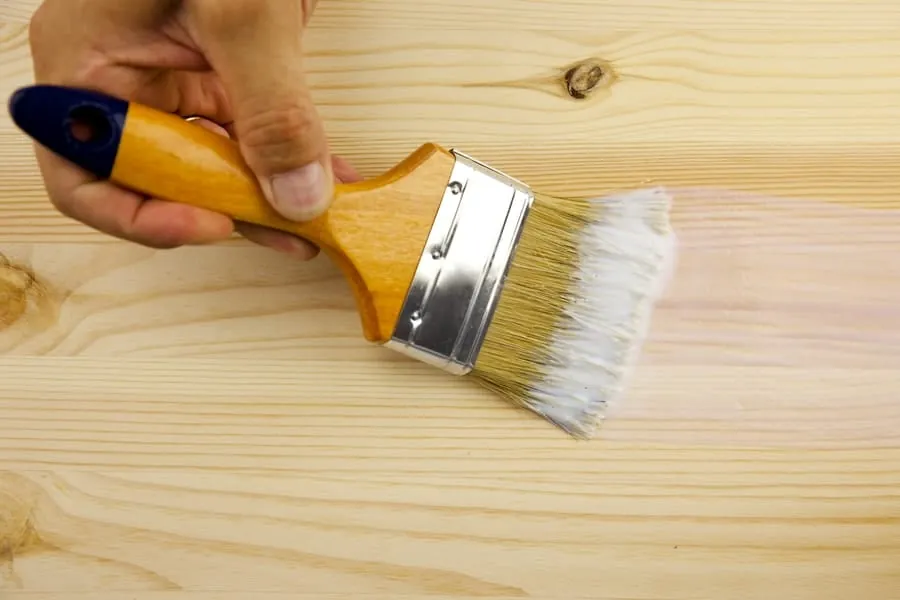
- Use high-quality synthetic bristles or foam brushes to minimize the introduction of air bubbles and brush streaks during the application process.
- Always sand between coats using a fine-grit abrasive to ensure proper mechanical adhesion and a smooth final surface.
- Clean your workspace thoroughly with a tack cloth before applying any topcoat to prevent dust contamination from ruining your work.
- If the finish remains tacky after 48 hours, it’s likely due to improper mixing, high humidity, or low temperatures, and the entire coat must be removed.
How to Fix Polyurethane Mistakes
To address common errors, you must first identify the specific defect. Most mistakes, such as trapped debris or uneven layers, are solved by sanding the surface flat and applying a corrective layer.
For more severe issues like peeling or extreme tackiness, removal with a chemical stripper or a heat gun may be necessary. Always prioritize safety by wearing a respirator and working in a well-ventilated area, as noted in the safety guidelines for handling chemical coatings provided by the Environmental Protection Agency.
Addressing Surface Dust and Bubbles
Dust nibs and bubbles are the most frequent frustrations for DIYers. These occur when airborne particles settle into the wet finish or when the product is agitated too aggressively during application. To fix this, wait until the surface is fully dry.
Gently sand the area using 220-grit sandpaper or a fine sanding sponge. Focus on leveling the bumps without cutting through the entire layer of finish. Once smooth, wipe the area clean with a tack cloth and apply a very thin, even coat of polyurethane to seal the sanded area.
Correcting Runs and Drips
Runs typically happen when too much product is applied in a single pass. If you catch a run while it’s still wet, you can use a clean, dry brush to gently redistribute the excess material.
If the run has already hardened, don’t attempt to scrape it while soft, as this will damage the surrounding finish. Instead, wait for it to fully cure, then use a sanding block to level the drip. Start with 150-grit sandpaper to remove the bulk of the material, then follow up with 220-grit to blend it into the rest of the surface.
Why Is My Finish Tacky?
A tacky finish is a sign of a chemical imbalance or environmental interference. This often occurs when the ambient temperature is too low or the humidity is too high, preventing the solvents from evaporating at the correct rate. Another common cause is inadequate stirring of the polyurethane, which leaves unmixed curing agents at the bottom of the can.
If the finish is still soft after 48 hours, it will likely never harden properly. In this case, you must remove the tacky layer using a chemical stripper or a scraper before starting the process over on bare wood.
Troubleshooting Common Application Errors
| Error Type | Primary Cause | Recommended Fix |
|---|---|---|
| Dust Nibs | Contaminated surface | Sand with 220-grit and re-coat |
| Air Bubbles | Over-brushing | Sand smooth and apply thin coat |
| Sagging/Runs | Excessive application | Sand flat with 150-grit, then 220 |
| Tacky Finish | Improper mixing | Strip and re-apply fresh product |
| Brush Marks | Low-quality applicator | Sand with 220-grit and use foam brush |
Essential Tools for Repair
You don’t need a massive workshop to fix these mistakes, but you do need the right consumables. Having a variety of sanding grits is vital for transitioning from leveling a heavy run to preparing the surface for a final topcoat.
- Sanding Blocks: Essential for maintaining a flat surface and preventing finger-indentations while sanding.
- Tack Cloths: A must-have for removing fine dust particles that standard rags leave behind.
- Foam Brushes: Ideal for applying a smooth finish with minimal streaking.
- Synthetic Bristle Brushes: Best for oil-based polyurethanes to ensure a durable, streak-free application.
- Respirator: Necessary when sanding down old finishes or using chemical strippers.
How to Properly Sand Between Coats
Sanding between coats isn’t just for fixing mistakes; it’s a fundamental step in the finishing process. This practice, often called “de-nibbing,” creates a physical key for the next layer to grip. Use a 220-grit to 320-grit sandpaper or a fine-grade abrasive pad. The goal isn’t to remove the previous coat but to create a matte, uniform surface. If you see shiny spots after sanding, that area is still uneven and requires further attention before proceeding.
Dealing With Peeling or Flaking
Peeling is a more serious issue that usually indicates poor preparation, such as applying polyurethane over wax, oil, or silicone. If the finish is flaking, it can’t be fixed by simply applying another layer. You must remove the entire finish. Use a chemical stripper to soften the polyurethane, then scrape it away following the manufacturer’s instructions. Once the wood is bare, clean it thoroughly with mineral spirits to remove any residual wax or contaminants before reapplying your chosen finish.
Pro Tip: Always test your sanding technique on an inconspicuous area, such as the underside of a table or the back of a cabinet door, to ensure you aren’t removing too much material.
Understanding Cure vs Dry Time
Many people confuse “dry to touch” with “fully cured.” A finish might feel dry within four to six hours, but it remains soft and susceptible to damage for several days. Attempting to sand a finish that’s dry but not cured will result in the sandpaper becoming clogged with sticky residue, which can ruin your work.
Always wait at least 24 hours between coats, or longer if your workspace is cold or humid. Following the manufacturer’s recommended cure times is the best way to prevent long-term durability issues.
Preventing Future Polyurethane Mistakes
The best way to fix a mistake is to avoid it entirely. Preparation is 80% of the work. Ensure your wood is sanded to 180-grit or 220-grit before applying the first coat.
Raise the grain with a damp cloth, let it dry, and sand it back once more before starting your finish. This prevents the grain from “fuzzing” up after the first coat of polyurethane hits the wood. Additionally, store your polyurethane in a climate-controlled environment to keep the viscosity consistent.
Warning: Never shake the can of polyurethane, as this introduces thousands of tiny air bubbles into the liquid; always stir it slowly and thoroughly with a clean wooden stick to ensure the flattening agents are properly incorporated.
Selecting the Right Polyurethane
Your choice of finish significantly impacts the likelihood of visible mistakes. Oil-based polyurethanes are generally more durable and amber with age, but they have a longer drying time and a stronger odor.
Water-based polyurethanes dry much faster, are clearer, and have low VOCs, but they can be more prone to showing brush strokes. If you’re a beginner, a water-based product with a high-quality synthetic brush or a foam applicator is often the most forgiving route for achieving a clean, professional look.
Comparison of Finish Types
| Feature | Oil-Based Polyurethane | Water-Based Polyurethane |
|---|---|---|
| Drying Time | Long (12-24 hours) | Short (2-4 hours) |
| Odor Level | High | Low |
| Color Change | Ambers over time | Stays clear |
| Cleanup Solvent | Mineral spirits | Soap and water |
| Durability | High (Best for floors) | Moderate (Best for furniture) |
Frequently Asked Questions
Can I sand through the polyurethane?
Yes, it’s very easy to sand through the finish, especially on corners and edges where the coating is naturally thinner. Always use a light touch and keep your sanding block flat against the surface. If you do sand through to the bare wood, you’ll need to re-stain that specific spot to match the surrounding area before applying fresh coats of polyurethane to blend it in.
How do I remove brush marks?
Brush marks are usually caused by an applicator that’s too stiff or by working the finish for too long as it begins to set. To fix existing marks, wait for the finish to cure, sand the surface with 220-grit sandpaper until the marks disappear, and then re-apply a fresh coat using a high-quality foam brush, which lays the finish down more evenly than traditional bristles.
Why does my finish look cloudy?
Cloudiness, often called “blushing,” is typically caused by moisture trapped in the finish during the drying process. This happens in high-humidity conditions or if the wood was damp when you began. Unfortunately, this is difficult to fix without stripping the finish. Ensure your environment is dry and well-ventilated before attempting any refinishing, and check your wood moisture content with a meter if you’re working in a damp basement.
Can I apply polyurethane over other finishes?
You can apply polyurethane over most existing finishes, provided the surface is cleaned and scuffed properly. You must remove all traces of wax, oil, or furniture polish with mineral spirits or a degreaser. If the previous finish is a type of wax, the polyurethane won’t adhere, and it will eventually peel off. Always perform a test patch in a hidden area to check for compatibility and adhesion before coating the entire piece.
How many coats do I really need?
For most furniture projects, three coats are sufficient to provide a durable and smooth finish. For high-traffic surfaces like dining tables or hardwood floors, four or more coats may be necessary. The key isn’t the total number of coats, but the quality of the preparation between each one. Each additional layer increases the depth and protection of the finish, but only if the previous layer is perfectly smooth.
Conclusion
Consistency is the most important factor in achieving a glass-like finish on your woodworking projects. If you find yourself struggling with a particular coat, don’t hesitate to stop, let the surface cure, and sand it back to a smooth state before continuing.
Mastering the art of the light, thin coat will serve you better than trying to force a perfect result in a single pass. Once your surface is free of defects and feels smooth to the touch, apply a final thin coat using a clean applicator in a dust-free environment to achieve that professional, high-end look.