
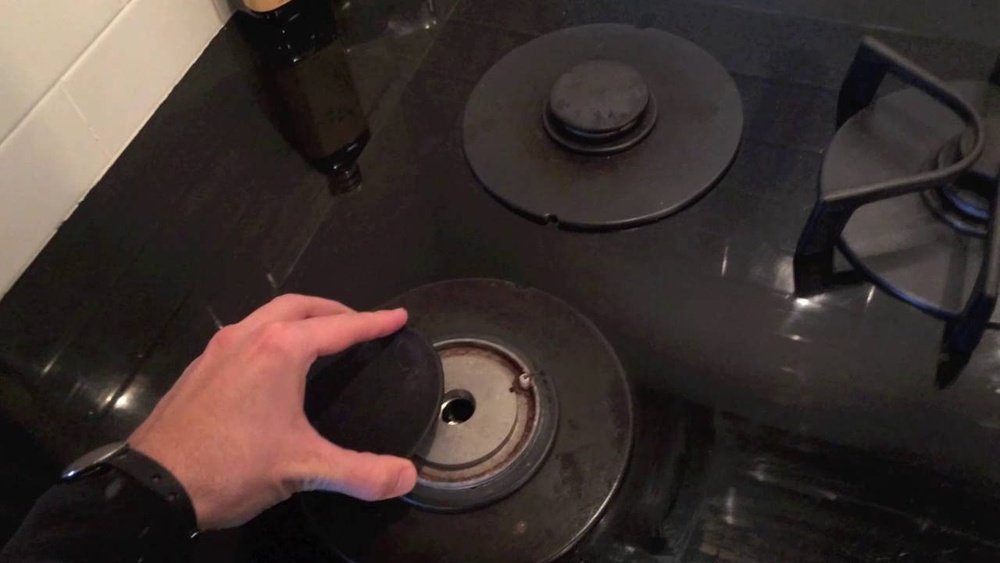
The persistent clicking noise from your oven igniter can be a source of significant frustration, especially when it’s accompanied by a failure to ignite the burner. This sound, often described as rapid, rhythmic clicking, is a direct indicator that the ignition system is attempting to spark but is encountering an obstacle in its path to lighting the gas. Understanding the potential causes behind this common oven problem is crucial for homeowners looking to restore their appliance’s functionality and safety.
This clicking is the sound of the igniter trying to generate a high-voltage spark. When the oven’s control module senses a demand for heat (e. g. , you turn the knob to a specific setting), it sends an electrical current to the igniter.
The igniter, typically made of a ceramic material with a metal tip, is designed to create a spark that ignites the gas flowing from the burner. If the gas isn’t igniting, the igniter will continue to spark repeatedly, producing that characteristic clicking sound.
This isn’t just an annoyance; it can signal a range of issues, from simple obstructions to more complex component failures.
Key Takeaways
- A clicking oven igniter that doesn’t light the burner indicates a problem in the ignition system or gas supply.
- Common causes include obstructions around the igniter, a faulty igniter, issues with the gas supply, or a malfunctioning oven control module.
- Safety first: Always turn off the power and gas supply before attempting any inspection or repair.
- Simple fixes often involve cleaning the igniter area and ensuring proper gas flow.
- More complex issues, like a failed igniter module or control board problems, may require professional diagnosis and repair.
- Regular maintenance can help prevent igniter issues.
Understanding The Oven Ignition System
Before diving into troubleshooting the clicking noise, it’s essential to grasp how a typical oven ignition system works. Modern ovens, particularly gas models, rely on a spark ignition system or a glow bar igniter. The clicking noise is almost exclusively associated with the spark ignition system, which is more common in newer ranges.
Spark Ignition System Components
The spark ignition system is comprised of several key parts, each playing a vital role in igniting the gas:
- Igniter: This is the component that generates the spark. It’s usually a small, ceramic-encased electrode. When electricity flows through it, it creates a visible spark.
- Spark Module (or Control Module): This is the “brain” of the ignition system. It receives signals from the oven controls and sends electrical pulses to the igniter to create sparks. It also monitors if ignition occurs. If it doesn’t detect ignition within a set time, it will continue sparking or shut off the gas.
- Gas Valve: When the oven calls for heat, the control module signals the gas valve to open, allowing natural gas or propane to flow to the burner.
- Burner Assembly: This includes the burner head and ports where the gas is released. The igniter is strategically placed near these ports to ensure the gas ignites when the spark is generated.
- Wiring Harness: Connects all these components, transmitting electrical signals and power.
How The Ignition Cycle Works
- Thermostat Signal: You set your oven to a desired temperature, sending a signal to the main control board.
- Gas Valve Opens: The control board signals the gas valve for the specific burner to open, allowing gas to flow.
- Spark Module Activation: Simultaneously, the control board activates the spark module, which begins sending high-voltage pulses to the igniter.
- Spark Generation: The igniter generates a spark near the burner ports.
- Ignition: If gas is flowing and reaching the igniter, the spark ignites the gas, producing a flame.
- Flame Sensor/Ignition Confirmation: The spark module (or a separate flame sensor) detects the flame. This signal tells the module to stop sparking and keep the gas valve open.
- Heating: The burner continues to operate, heating the oven.
- No Ignition: If the spark module does not detect a flame after a certain period, it will typically shut off the gas valve and continue attempting to spark, leading to the continuous clicking sound.
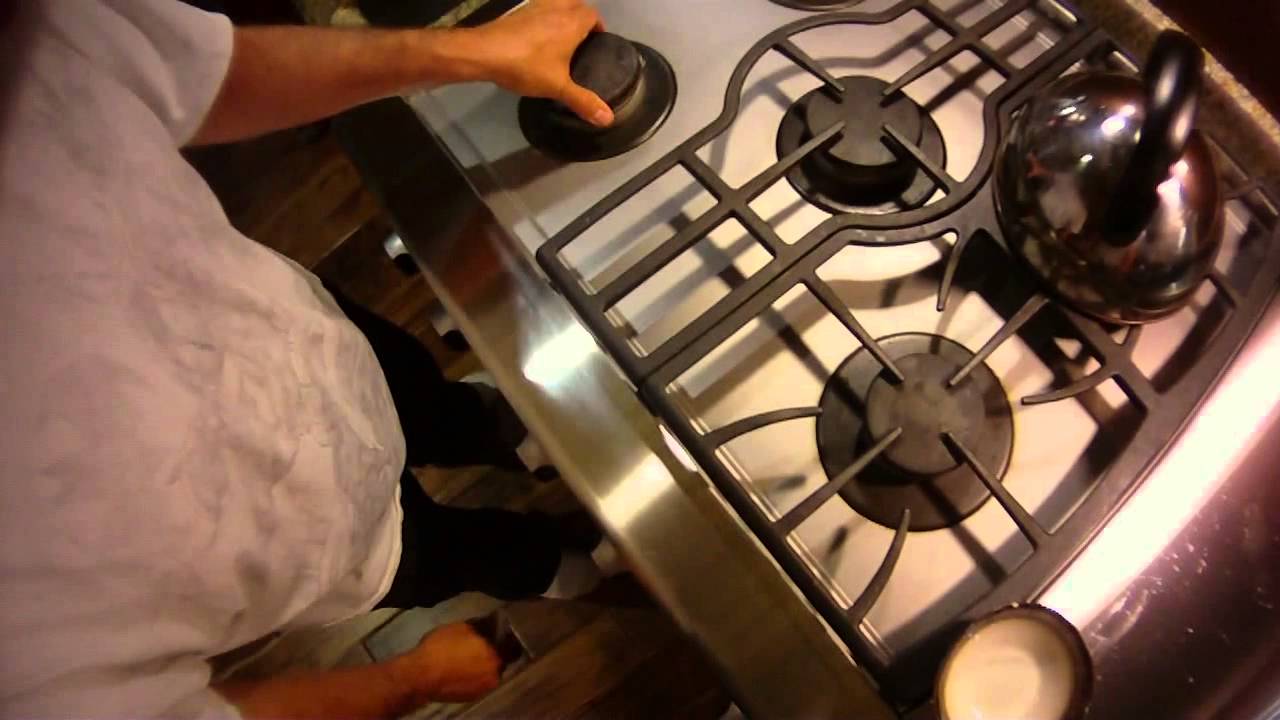
Credit: www.youtube.com
Common Causes Of A Clicking Oven Igniter
The persistent clicking noise, when the burner doesn’t light, is a symptom pointing to a breakdown in the normal ignition sequence. Several factors can interrupt this process.
Obstructions And Debris
One of the most frequent culprits is physical interference around the igniter. Food debris, grease, or even small objects can accumulate and prevent the spark from reaching the gas or properly igniting it.
- Grease and Spills: Baked-on grease and food spills can coat the igniter and burner ports, acting as an insulator or a barrier. This can prevent the spark from effectively igniting the gas.
- Loose Debris: Crumbs, small pieces of food, or even cleaning residue can fall into the burner assembly. If this debris lands directly on or very near the igniter tip, it can block the spark.
- Misalignment: While less common, if the burner assembly or igniter has been disturbed (e.g., during cleaning), it might be slightly misaligned, causing the spark to occur too far from the gas ports.
Faulty Igniter
The igniter itself is a component that can wear out over time. Its primary function is to create a spark, and if it becomes damaged or weakened, it may not produce a strong enough spark or may not produce one at all.
- Cracked Ceramic Housing: The ceramic insulator protects the electrical components. If it cracks, it can cause the spark to ground out before reaching the gas, or it can lead to component failure.
- Worn-Out Electrode: The metal electrode at the tip of the igniter can erode over time due to repeated sparking and exposure to heat. This can weaken the spark’s intensity.
- Internal Failure: Like any electrical component, the igniter can fail internally, ceasing to produce a spark altogether.
Gas Supply Issues
For the igniter to light something, there must be gas available. Problems with the gas supply can lead to the igniter clicking endlessly because there’s no fuel to ignite.
- Gas Valve Malfunction: The main gas valve to the oven might be stuck in the closed position or not opening fully when signaled. This is a more serious issue and often requires professional repair.
- Low Gas Pressure: If you have a natural gas line, issues with the utility provider or a partially closed valve further up the line could result in insufficient gas pressure reaching the oven. For propane tanks, an empty or nearly empty tank will obviously stop gas flow.
- Clogged Gas Orifice: The small opening (orifice) that controls the flow of gas to the burner can become clogged with debris, restricting gas flow.
Spark Module Or Control Board Problems
The spark module and the main oven control board are critical for the ignition sequence. If either of these components malfunctions, it can cause erratic sparking or a failure to ignite.
- Faulty Spark Module: The module might be sending incorrect voltage, not sending pulses at all, or failing to detect when ignition has occurred.
- Control Board Issues: The main electronic control board (often called the ERC or clock) dictates when the spark module is activated and when the gas valve opens. A glitch or failure in the control board can disrupt the entire ignition process. This is often a more expensive repair.
- Wiring Issues: Damaged, loose, or corroded wiring between the components can interrupt the flow of electricity, preventing proper function.
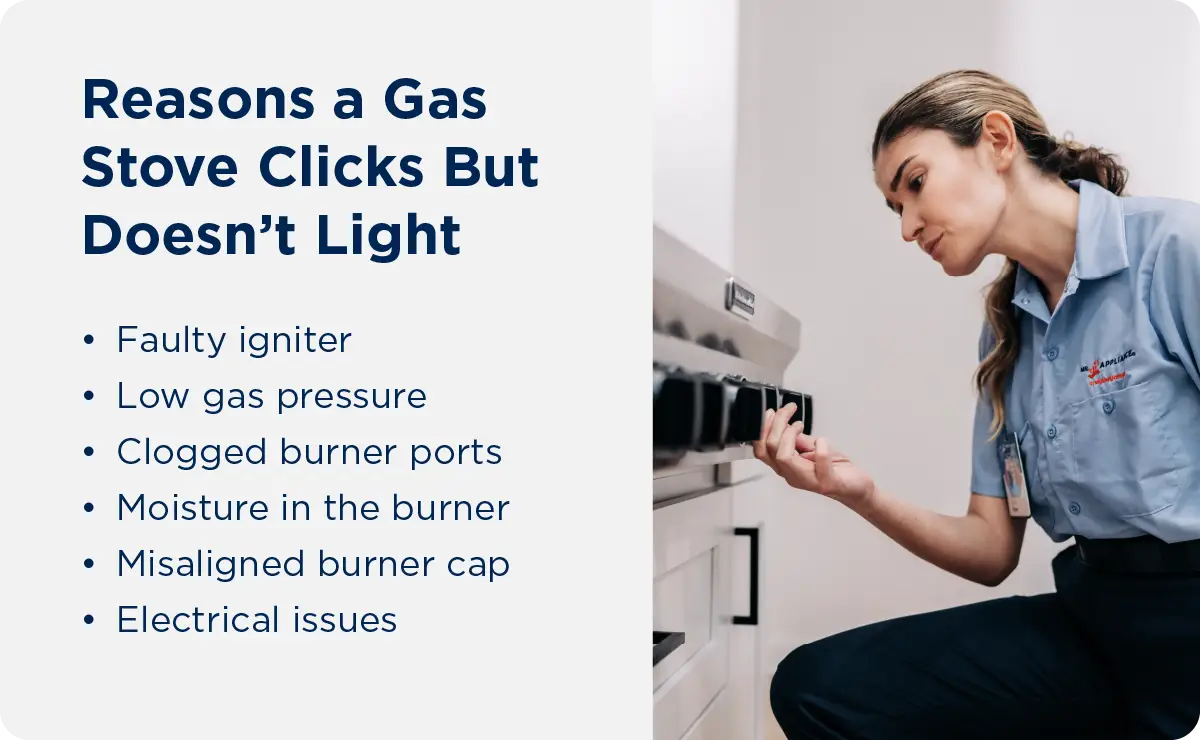
Credit: www.mrappliance.com
Troubleshooting Steps For A Clicking Oven Igniter
When faced with a clicking oven igniter, a systematic approach to troubleshooting is key. Safety should be your absolute top priority throughout this process.
Step 1: Safety First, Power And Gas Off
Before touching any part of your oven, ensure you eliminate the risk of electrical shock and gas leaks.
- Disconnect Power: Locate your oven’s circuit breaker in your home’s electrical panel and switch it off. If you’re unsure which breaker it is, turn off the main breaker for your home. Alternatively, unplug the oven if it has a cord.
- Turn Off Gas Supply: Find the manual gas shut-off valve for the oven. This is usually located on the gas line behind the appliance. Turn the valve handle so it is perpendicular to the pipe. If you smell gas, evacuate the area immediately and call your gas company or 911 from a safe location.
Step 2: Visual Inspection Of The Burner And Igniter
Once power and gas are safely off, you can begin your inspection.
- Locate the Igniter: For stovetop burners, the igniter is usually a small ceramic nub located next to the burner head. For the oven cavity, it’s often on the bottom or back panel.
- Check for Obstructions: Carefully examine the igniter and the surrounding burner area. Look for any visible debris, food particles, or grease buildup.
- Clean the Igniter and Burner Ports:
- Use a soft brush (like an old toothbrush) or a dry cloth to gently remove any loose debris.
- For stubborn grease, you can use a small amount of oven cleaner or degreaser on a cloth, ensuring none gets into the igniter’s internal components. Avoid spraying cleaner directly onto the igniter.
- Ensure the burner ports (small holes around the burner head) are clear. A toothpick or a fine needle can be used to gently clear any blockages, but be careful not to enlarge the holes.
- Inspect the Igniter for Damage: Look for any visible cracks in the ceramic housing or signs of significant wear on the metal tip.
Step 3: Checking For Spark (with Caution)
After cleaning, you can attempt to check if the igniter is producing a spark. This step requires extreme caution due to the potential for gas leaks.
- Restore Gas and Power: Carefully turn the gas valve back on and restore electrical power to the oven.
- Turn on the Burner: Set the oven controls to activate the burner that was clicking.
- Observe: Look closely at the igniter. You should see a small, bright blue spark jumping from the tip. Listen for the clicking sound to confirm the spark module is still active.
- Assess Spark Strength: A weak, yellowish spark or no spark at all indicates a problem. A strong, consistent blue spark suggests the igniter itself might be okay, and the issue could be elsewhere (like gas flow or the control module).
- Turn Off Immediately: If you see a good spark but no ignition, or if you don’t see a spark, turn off the burner, then turn off the gas and power again.
Step 4: Testing The Gas Flow
If you see a good spark but no ignition, the problem likely lies with the gas supply.
- Check Other Gas Appliances: If you have other natural gas appliances (like a water heater or gas fireplace), check if they are working correctly. If they aren’t, the issue might be with your main gas supply.
- Listen for Gas: With the burner assembly exposed (and power/gas safely off again), you can sometimes faintly hear gas if the valve is attempting to open. However, this is not a reliable test for pressure.
- Professional Gas Check: Accurately testing gas pressure and valve operation requires specialized tools and expertise. If you suspect a gas supply issue, it’s best to call a qualified technician or your gas provider.
Step 5: Inspecting Wiring And Connections
Loose or damaged wiring can prevent the igniter from receiving the necessary power or the spark module from receiving signals.
- Access Wiring: Depending on your oven model, you may need to remove panels to access the wiring harness connected to the igniter and spark module.
- Check Connections: Ensure all wire connectors are securely attached to the igniter, spark module, and control board. Look for signs of corrosion, melting, or breakage.
- Inspect Wires: Gently tug on wires to ensure they are firmly seated. Look for any nicks, cuts, or signs of heat damage.
Step 6: Considering Component Replacement
If troubleshooting points to a specific faulty component, replacement might be necessary.
- Igniter Replacement: If the igniter is cracked, visibly worn, or not sparking, it’s often the easiest component to replace. You’ll need the exact part number for your oven model.
- Spark Module Replacement: If the igniter is fine but there’s no spark, or the module is making unusual noises, it might need replacement.
- Control Board: If all other components seem functional, the main control board could be the issue. This is typically the most expensive part to replace.
When in doubt about any of these steps, especially those involving gas or electrical components, it is always safer to consult a professional appliance repair technician.
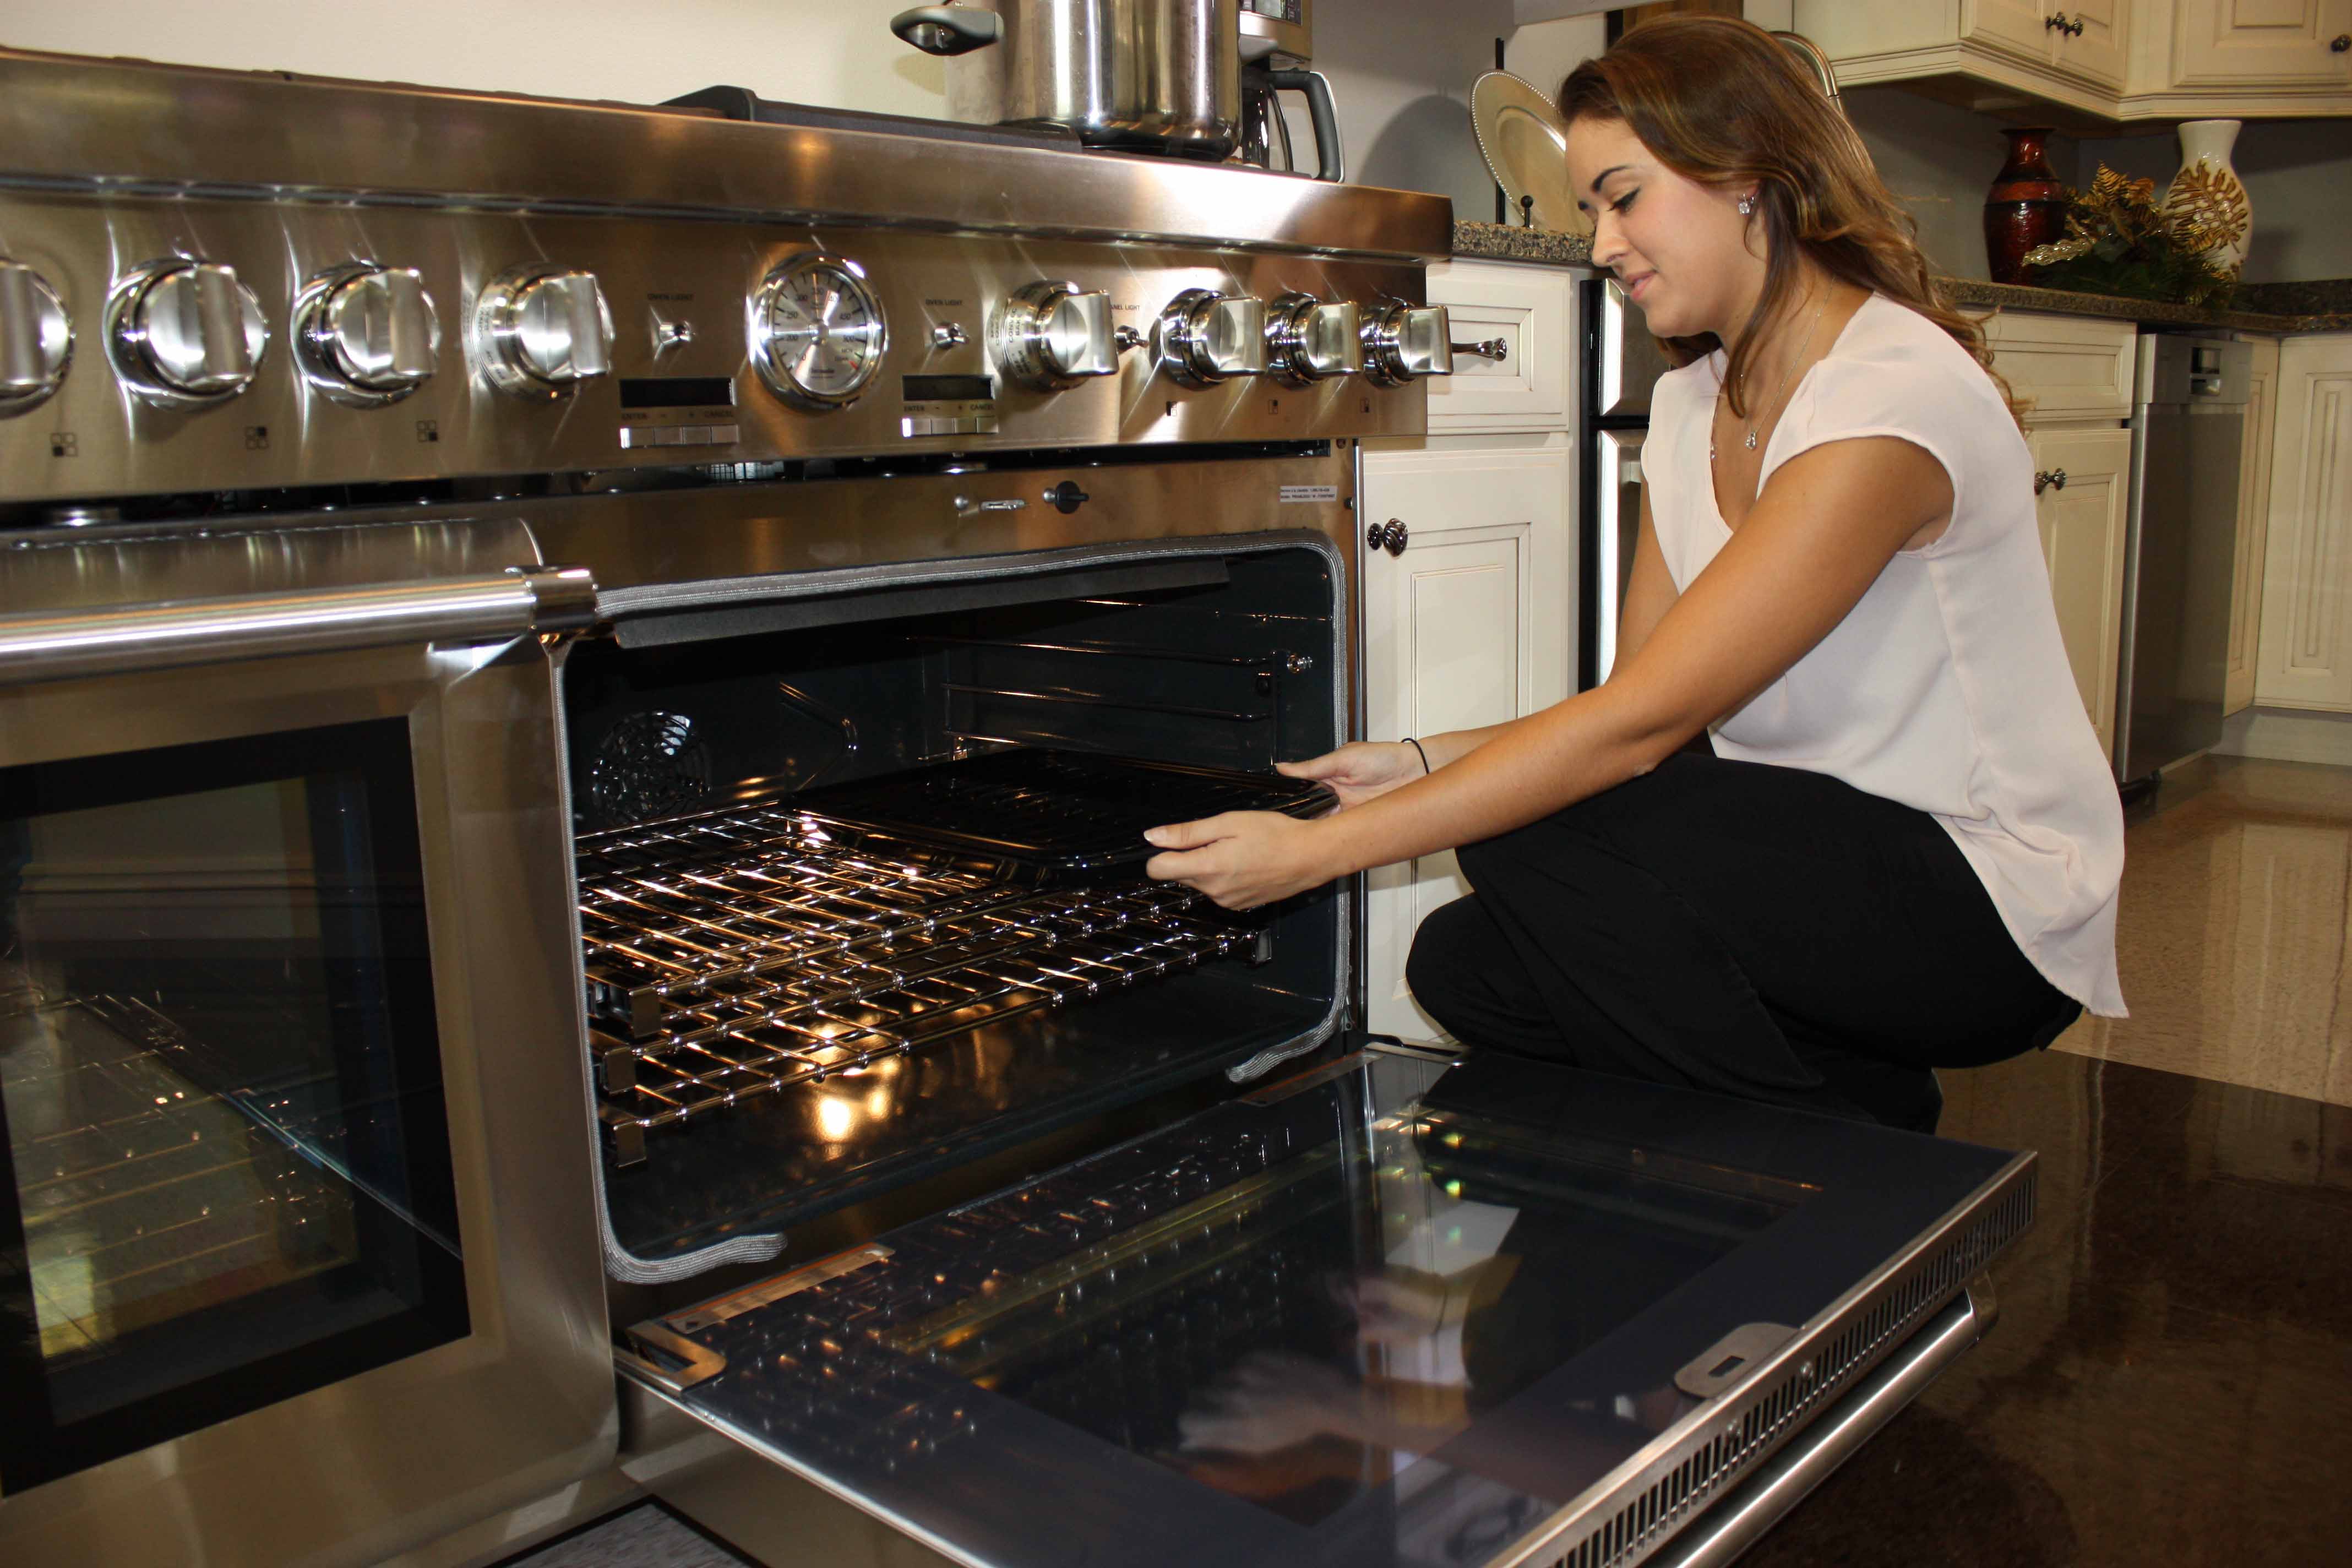
Credit: home-tech.com
When To Call A Professional Appliance Repair Technician
While some oven issues can be resolved with basic DIY troubleshooting, others necessitate the expertise of a professional. Recognizing when to call for help can save you time, prevent further damage, and ensure your safety.
Complex Electrical Issues
If your troubleshooting reveals frayed wires, melted connectors, or intermittent electrical problems, it’s time to bring in an expert. These issues can be difficult to diagnose without specialized knowledge and tools, and improper handling of electrical components can be dangerous. A technician has the diagnostic equipment to accurately pinpoint electrical faults within the control board or complex wiring harnesses.
Gas Valve Problems
Issues with the gas valve are particularly critical. If you suspect the valve isn’t opening correctly, is leaking, or is faulty in any way, do not attempt to repair it yourself. Gas leaks are a serious safety hazard. A qualified technician can safely test the valve, identify the problem, and replace it if necessary, ensuring compliance with safety standards.
Control Board Failures
The electronic control board (ECB), often referred to as the “brain” of the oven, is a complex and expensive component. Diagnosing a faulty control board often requires specialized testing equipment. If you’ve ruled out simpler causes like igniter or wiring issues, and the oven still malfunctions, the control board is a likely suspect. Professional technicians can confirm this diagnosis and handle the replacement, which often involves intricate connections.
Persistent Or Unclear Problems
If you’ve gone through the basic troubleshooting steps and the clicking noise persists, or if the cause remains unclear, a technician’s experience is invaluable. They have encountered a vast array of oven problems and can often identify issues that might be overlooked by a novice. This includes diagnosing problems with internal sensors, pressure regulators, or less common component failures.
Safety Concerns
Ultimately, any situation where you feel uncomfortable or unsafe performing a repair is a cue to call a professional. This includes:
- Smelling gas.
- Not being able to definitively identify the source of the clicking.
- Lack of proper tools or knowledge for a specific repair.
- Concerns about electrical safety.
A professional repair service ensures that the repair is done correctly, safely, and often comes with a warranty on parts and labor, providing peace of mind. For example, according to the U.S. Consumer Product Safety Commission, approximately 7,000 oven-related fires occur each year, highlighting the importance of correct repairs. Preventing Oven Fires
Maintenance Tips To Prevent Igniter Issues
Proactive maintenance can significantly reduce the likelihood of encountering a clicking oven igniter or other ignition system problems. By incorporating a few simple practices into your routine, you can help ensure your oven functions reliably and safely.
Regular Cleaning
Consistent cleaning is perhaps the most effective preventative measure.
- Clean Burner Areas Frequently: After each use, wipe down the stovetop and burner areas to remove spills and food particles before they bake on.
- Deep Clean the Oven Interior: Regularly clean the inside of your oven, including the bottom and sides, to prevent grease and debris from falling onto or near the igniters. Pay special attention to the area around the oven igniter if it’s located at the bottom.
- Use Appropriate Cleaners: Employ oven cleaners or degreasers as recommended by your oven manufacturer. Ensure you rinse or wipe away all cleaning residue thoroughly, as leftover chemicals can sometimes interfere with ignition.
Inspecting For Wear And Tear
Periodically check visible components for signs of damage.
- Visual Igniter Check: Once a month or so, take a moment to visually inspect the igniters (both stovetop and oven cavity, if accessible) for any obvious cracks in the ceramic or significant damage. Early detection of a failing igniter can prevent it from completely breaking down.
- Check Burner Caps and Heads: Ensure burner caps and heads are properly seated and free from significant corrosion or damage. A misaligned cap can sometimes affect ignition.
Ensuring Proper Gas Flow
While not something you can directly “maintain” in terms of gas lines, being aware of your gas supply is important.
- Monitor Propane Levels: If you use propane, keep a close eye on tank levels to avoid running out unexpectedly, which can sometimes cause issues with regulators or pressure.
- Be Aware of Utility Work: If your area has had recent natural gas utility work, it might be worth ensuring your appliances are functioning correctly afterward.
Professional Servicing
Consider scheduling professional maintenance for your oven.
- Annual Check-ups: An annual appliance service check can include inspecting the ignition system, gas lines, electrical connections, and overall functionality. This can catch potential issues before they become major problems. A technician can also perform a gas pressure test to ensure optimal fuel delivery.
By following these maintenance tips, you can extend the lifespan of your oven’s ignition system, avoid frustrating breakdowns, and maintain a safer cooking environment.
Comparison Of Ignition System Types
While the clicking noise is most commonly associated with spark ignition systems, understanding different types of ignition can be helpful.
| Feature | Spark Ignition System | Glow Bar Igniter (Older/Some Models) | Electronic Ignition (Less Common in Residential) |
|---|---|---|---|
| **Mechanism** | Creates an electrical spark to ignite gas. | Heats up like a light bulb filament until red-hot, then ignites gas. | Uses electronic pulses for ignition. |
| **Sound** | Distinct **clicking** noise during attempted ignition. | Generally silent during operation, may have a faint hum. | Typically silent. |
| **Speed** | Very fast ignition. | Slower; takes 15-30 seconds to heat up. | Very fast. |
| **Reliability** | Generally reliable, but prone to debris/component issues. | Can be fragile, susceptible to breakage. | Highly reliable. |
| **Troubleshooting** | Focus on spark, gas flow, obstructions. | Focus on heat output, continuity, potential breakage. | Focus on electronic components. |
| **Common Failure** | Clogged igniter, faulty spark module, control board. | Broken glow bar, power supply issues. | Electronic failures. |
| **Energy Use** | Moderate. | Can be higher due to heating time. | Efficient. |
| **Typical Age** | Most modern gas ovens. | Older gas ovens and some dryers. | Less common in standard residential ovens. |
In my experience, the spark ignition system is the most prevalent in contemporary ovens, making the clicking noise a familiar concern for many homeowners. The inherent nature of creating a spark means there’s a distinct sound, and when that sound persists without ignition, it warrants immediate attention.
Understanding Oven Igniter Lifespan And Replacement Costs
The lifespan of an oven igniter can vary significantly based on usage patterns, the quality of the component, and how well the oven is maintained.
Expected Lifespan
- Average Lifespan: A typical oven igniter, under normal household usage, can last anywhere from 3 to 10 years. Factors like how frequently the oven is used, the temperature settings employed, and whether the oven door is frequently opened during cooking can influence this.
- High-Usage Scenarios: Homes where the oven is used daily for baking, roasting, or multiple meals might see a lifespan closer to the lower end of this range (3-5 years).
- Low-Usage Scenarios: Ovens used only a few times a month might see igniters last much longer, potentially exceeding 10 years.
Factors Affecting Lifespan
- Frequency of Use: More frequent sparking cycles naturally lead to faster wear.
- Environmental Factors: Exposure to excessive moisture, grease buildup, or harsh cleaning chemicals can degrade the igniter prematurely.
- Voltage Fluctuations: Inconsistent electrical supply can stress the igniter and spark module.
- Component Quality: As with many parts, the manufacturing quality of the igniter itself plays a role. Higher-quality components tend to last longer.
Replacement Costs
The cost to replace an oven igniter can be broken down into parts and labor.
- Cost of the Igniter Part: A replacement oven igniter typically costs between $20 and $70. Prices vary depending on the brand, model compatibility, and the specific type of igniter required. You can often find universal igniters that fit multiple brands, which might be more budget-friendly.
- Cost of Labor: If you hire a professional appliance repair technician