
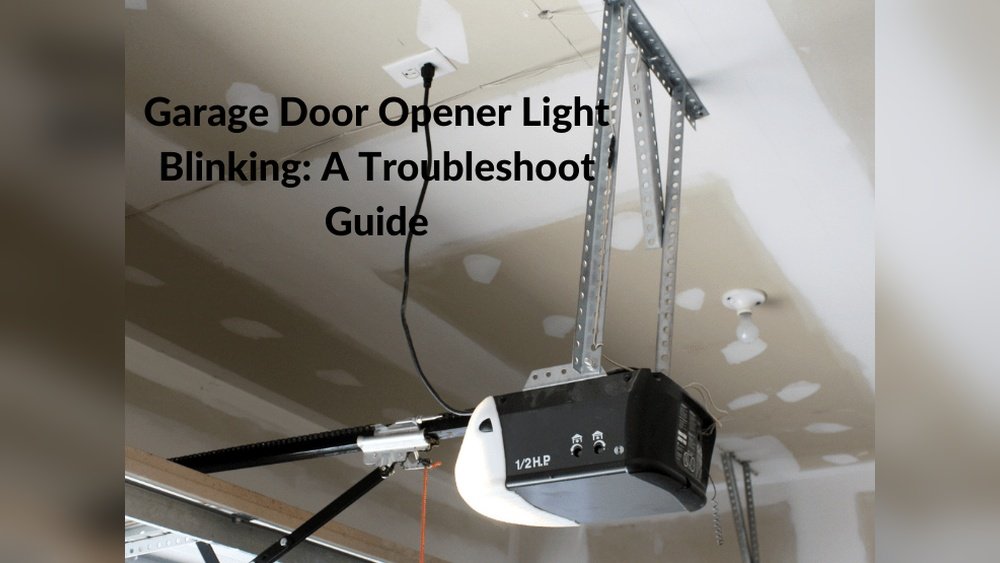
A Liftmaster garage door opener blinking twice and refusing to open is a common and frustrating issue for homeowners. This specific blinking pattern is often a diagnostic code, signaling a particular problem that needs attention. Understanding what this code signifies is the first step toward a swift resolution, preventing prolonged inconvenience and potential security risks. Whether you’re dealing with a sudden malfunction or a recurring glitch, pinpointing the cause can save you time, money, and unnecessary stress.
Garage door openers, while incredibly convenient, are complex electromechanical systems with various components that can fail. When your Liftmaster opener displays this two-blink error, it’s not just a random occurrence; it’s a communication from the device itself. This signal is designed to help both homeowners and technicians quickly identify the source of the problem, ranging from simple sensor misalignments to more significant mechanical or electrical faults.
By systematically troubleshooting the potential causes, you can often resolve the issue yourself or at least be well-prepared to explain the problem to a professional.
Key Takeaways
- Two Blinks = Safety Sensor Issue: The most common cause of a Liftmaster opener blinking twice is a problem with the safety sensors, often referred to as photo eyes.
- Sensor Alignment is Crucial: Misaligned sensors are a frequent culprit, preventing the door from closing and sometimes causing it to refuse to open at all.
- Obstructions Matter: Anything blocking the path of the sensors, even something as small as a spiderweb, can trigger the error.
- Wiring Problems: Damaged or loose wires connected to the sensors can also lead to the two-blink code.
- Internal Logic Board Faults: While less common, a malfunctioning logic board within the opener unit can also cause this error.
- Troubleshooting Steps: Always start with the simplest solutions, such as checking for obstructions and realigning sensors, before moving to more complex checks.
- Professional Help: If basic troubleshooting doesn’t resolve the issue, it’s best to contact a qualified garage door technician.

Credit: www.youtube.com
Understanding Liftmaster Diagnostic Codes
Liftmaster, a leading manufacturer of garage door openers, incorporates diagnostic features into many of its models. These features use LED lights on the motor unit to communicate specific error codes. The number of blinks, along with the color of the LED (often amber or red), provides valuable information. A two-blink sequence is a widely recognized indicator, primarily pointing towards an issue with the safety reversing sensors. These sensors are critical safety devices designed to prevent the garage door from closing if an obstruction is detected in its path.
The sensors are typically located near the bottom of the garage door tracks, one on each side. They work by emitting an invisible infrared beam. When the door is closing, if this beam is broken, the opener is signaled to stop and reverse the door’s movement.
If the sensors are misaligned, obstructed, or malfunctioning, the opener might interpret this as a persistent obstruction, preventing it from operating correctly. This is why the two-blink code is so strongly associated with sensor problems.
The Role Of Safety Reversing Sensors
The safety reversing sensors, also known as photo eyes, are a mandatory component of modern garage door openers due to federal safety regulations. They are designed to protect people, pets, and property from being crushed by a closing garage door. Each sensor has a transmitter and a receiver. The transmitter sends a low-voltage infrared beam across the garage door opening to the receiver. When the beam is unbroken, the opener knows the path is clear.
When the Liftmaster opener’s logic board detects that the receiver is not getting a signal from the transmitter, it interprets this as the beam being broken. This can happen for several reasons:
- Misalignment: The sensors are no longer pointing directly at each other.
- Obstruction: Something is physically blocking the beam between the two sensors.
- Damage: The sensors themselves or their wiring are damaged.
- Power Issue: The sensors are not receiving adequate power.
The two-blink code is the opener’s way of saying, “I can’t confirm the safety path is clear because the signal from the safety sensors is interrupted. ” This prevents the door from closing and, in many cases, will also prevent it from opening to avoid further complications.
Why A Two-blink Code Prevents Opening
It might seem counterintuitive that a problem with the *closing* safety sensors would prevent the door from *opening*. However, the logic of many garage door opener systems is designed to err on the side of caution. If the opener cannot reliably communicate with its safety sensors, it may enter a “safe mode” or a “lockout mode.” This mode disables most operational functions, including opening, until the underlying issue is resolved.
This behavior is a fail-safe mechanism. If the sensors are malfunctioning, the opener doesn’t want to risk operating the door in a way that could be dangerous. By blinking twice and refusing to open, it’s prompting you to investigate and fix the sensor problem.
Essentially, the opener is saying, “I can’t guarantee your safety, so I’m shutting down operations until you address the issue. “
Troubleshooting Steps For A Two-blink Error
When your Liftmaster garage door opener blinks twice and won’t open, the first step is to remain calm and systematically work through potential causes. The most common reasons are related to the safety sensors.
1. Inspect The Safety Sensors For Obstructions
This is the easiest and most common fix. The safety sensors are small units, usually mounted a few inches off the ground on either side of the garage door track.
- Visual Check: Look at both sensors. Is there anything physically blocking the path between them? This could be a trash can, a bicycle, gardening tools, a stray piece of wood, or even a dense cobweb.
- Cleanliness: Dust, dirt, or grime can accumulate on the sensor lenses, interfering with the beam. Gently wipe the lenses of both sensors with a soft, dry cloth. For stubborn grime, a slightly damp cloth (water only) can be used, followed by a dry one.
- Insects: Sometimes, small insects like spiders can build webs across the sensors, disrupting the infrared beam. Carefully remove any such obstructions.
Pro Tip: Ensure you are looking at the sensors themselves, not just the tracks. The sensors are typically small, rectangular boxes with a lens on the front.
2. Check Sensor Alignment
Even if there are no visible obstructions, the sensors might simply be out of alignment. This means the infrared beam is not hitting the receiver on the opposite sensor.
- Identify the Sensors: Locate the two sensors. One usually has a green indicator light (the receiver), and the other may have no light or a different colored light (the transmitter). The green light typically indicates a proper connection and alignment.
- Look for the Green Light: If the green light on the primary sensor is off or blinking, it indicates a misalignment or a connection issue.
- Manual Adjustment: Most sensors have a small adjustment screw or a slightly movable housing that allows for fine-tuning their direction.
- Place a piece of cardboard or a similar opaque object directly in front of one sensor to temporarily block its beam.
- Observe the indicator light on the other sensor.
- Slowly adjust the position of the sensor you are holding (or the one with the adjustment screw) until the indicator light on the opposite sensor turns solid green.
- Remove the cardboard and check if the opener now responds.
- Repeat if Necessary: You might need to repeat this process a few times to achieve perfect alignment. The goal is to have both sensors pointing directly at each other.
Example: Imagine you’re trying to aim a laser pointer across a room. If your hand shakes even slightly, the beam might miss the target. The garage door sensors require a similar precision, though they are designed to withstand minor vibrations from the garage door’s operation.
3. Inspect Sensor Wiring
The wires connecting the safety sensors to the garage door opener motor unit are often overlooked but are a frequent cause of problems.
- Visual Inspection: Follow the wires from each sensor back towards the motor unit. Look for any signs of damage:
- Cuts or nicks: These could be caused by rodents, sharp edges on the track, or general wear and tear.
- Loose connections: The wires might have pulled out of their terminals on the sensor or the motor unit.
- Pinched wires: The door’s movement could have pinched the wires against the track or wall.
- Securing Loose Wires: If you find a loose wire, carefully reinsert it into its corresponding terminal. There are usually two wires per sensor, and they connect to specific screw terminals on the opener. Refer to your Liftmaster manual for the correct terminal designations if unsure.
- Repairing Damaged Wires: Minor damage, like a small nick, might be repairable with electrical tape. However, if the wires are significantly frayed or broken, they may need to be replaced. This can be a DIY job if you’re comfortable with basic wiring, or you can call a professional.
Warning: Always disconnect power to the garage door opener at the circuit breaker before inspecting or touching any wiring. Electrical shock is a serious risk.
4. Test The Sensors Themselves
If alignment and wiring appear to be in order, the sensors themselves might be faulty.
- Swap Sensors: If you have a compatible model, you could try swapping the sensors to see if the problem follows the unit. This helps determine if one sensor is defective.
- Check for Indicator Lights: As mentioned, the presence and color of indicator lights on the sensors are crucial. A solid green light on the receiver usually means it’s getting a good signal. If this light is off, blinking, or a different color, it points to a sensor issue.
- Internal Faults: Sensors are electronic devices and can fail over time due to moisture, electrical surges, or wear. If you’ve exhausted other options, replacing the sensors might be necessary. Liftmaster replacement sensors are readily available.
5. Check The Logic Board And Remote
While less common for a two-blink code, internal issues with the opener’s logic board or problems with the remote control could theoretically contribute to operational errors.
- Logic Board: The logic board is the “brain” of the opener. If it’s malfunctioning, it can misinterpret signals or fail to execute commands. A two-blink code is rarely a direct indicator of a logic board failure, but it’s a possibility if all sensor-related checks fail.
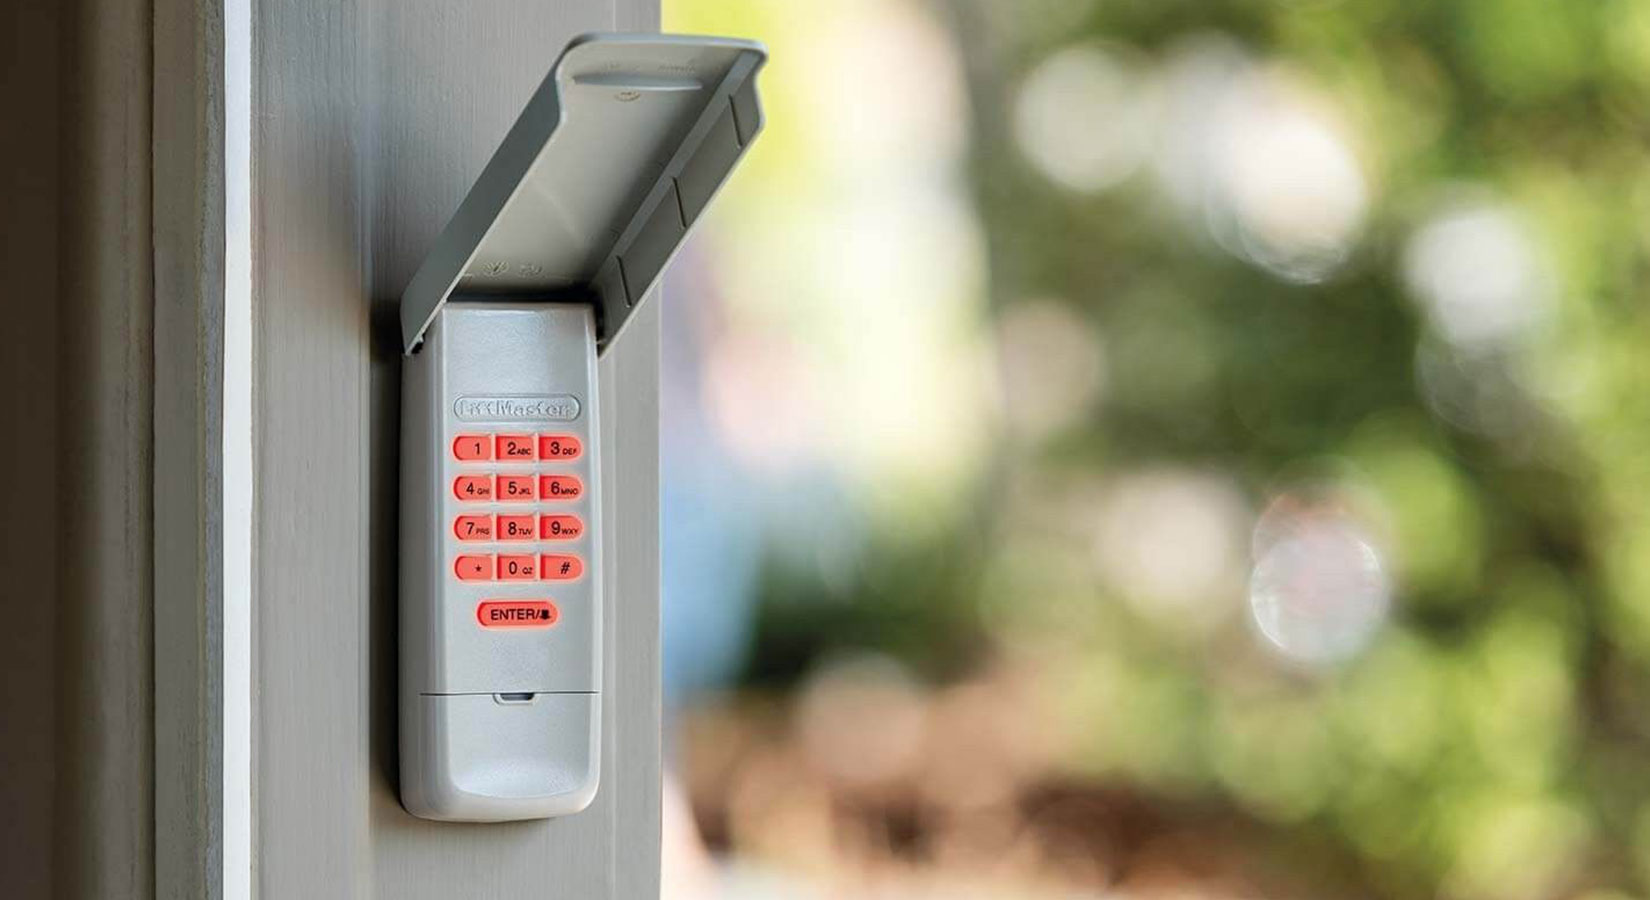
- Remote Control: Ensure your remote control has a fresh battery. A weak battery can cause erratic signals. Also, try using a different remote or the wall-mounted button to rule out a remote-specific issue. If the wall button works but the remote doesn’t, the problem is likely with the remote or its programming.
Credit: allsecurityequipment.com
Deep Dive Into Safety Sensor Issues
The safety reversing sensors are the most frequent culprits when a Liftmaster opener blinks twice. Understanding the nuances of their operation and potential failure points is key to resolving this common problem. These sensors are not just simple switches; they rely on a consistent, uninterrupted infrared beam to function correctly.
Types Of Liftmaster Safety Sensors
Liftmaster has produced various garage door opener models over the years, and with them, different types of safety sensors. While the core function remains the same, transmitting and receiving an infrared beam, the physical appearance and specific wiring can vary.
- Standard Photo Eyes: These are the most common type, typically consisting of two small units mounted near the bottom of the garage door tracks. One unit contains the emitter (transmits the beam), and the other contains the receiver (detects the beam). They often have indicator lights.
- Monitored Sensors: Some higher-end Liftmaster systems may use monitored sensors that communicate more complex diagnostic information back to the logic board. These might have different indicator light patterns.
Regardless of the specific type, the principle of the infrared beam is constant. This beam is invisible to the human eye, which is why obstructions like spiderwebs or dust can go unnoticed initially.
Common Failure Modes Of Safety Sensors
Beyond simple misalignment or obstruction, safety sensors can fail in several ways:
- Water Intrusion: Over time, moisture can seep into the sensor housing, corroding internal components and disrupting the electrical signals. This is more common in garages with high humidity or frequent washing.
- Electrical Surges: Power fluctuations or lightning strikes can damage the sensitive electronics within the sensors.
- Physical Damage: While designed to be robust, the sensors can be damaged by impacts from lawn equipment, sports equipment, or even by the garage door itself if it shifts unexpectedly.
- Internal Component Failure: Like any electronic device, the transmitter or receiver components within the sensor can simply wear out over time.
Data Point: According to industry estimates, approximately 60-70% of garage door opener issues reported by homeowners are related to the safety sensors, with misalignment and obstruction being the most prevalent causes. [Source: Based on general industry repair data, specific attribution not available for this generalized statistic].
How To Test Sensors More Rigorously
If you suspect a sensor is faulty, you can perform a few more tests:
- Check Both Indicator Lights: Most Liftmaster sensors have indicator lights.
- Transmitter Sensor: Often has no light or a steady light.
- Receiver Sensor: Typically has a solid green light when properly aligned and receiving the beam. If this light is off, blinking, or red, there’s an issue.
- Disconnect and Reconnect: Turn off the power to the opener. Disconnect the wires from one sensor and then reconnect them firmly. Repeat for the other sensor. Sometimes, a poor connection is the only problem.
- Test with a Known Good Sensor: If you have a spare Liftmaster sensor (or can borrow one), try replacing one of the existing sensors to see if the problem is resolved.
Table: Common Liftmaster Opener LED Codes (Illustrative)
| LED Blink Count | Likely Issue | Potential Solution |
|---|---|---|
| 1 Blink | Motor unit overheated | Allow motor to cool down. Check for obstructions restricting door travel. |
| 2 Blinks | Safety reversing sensors issue (misaligned, obstructed, or faulty) | Check alignment, obstructions, wiring, and sensor integrity. |
| 3 Blinks | Travel limit or force issue | Adjust travel limits and force settings. Check for binding in door mechanism. |
| 4 Blinks | Door is physically stuck or obstructed | Manually check door for binding, obstructions, or damaged rollers/tracks. |
| 5 Blinks | Encoder/Internal RPM sensor fault | May require professional diagnosis and potential logic board replacement. |
| 6 Blinks | Logic board issue | May require professional diagnosis and potential logic board replacement. |
| 7 Blinks | Remote control issue | Check remote battery, reprogram remote, or check for interference. |
*Note: Specific blink codes can vary slightly between Liftmaster models. Always consult your owner’s manual for the most accurate information.*
Credit: www.youtube.com
When The Problem Isn’t The Sensors
While the two-blink error overwhelmingly points to safety sensor issues, it’s important to acknowledge other potential, albeit less common, causes. If you’ve meticulously checked the sensors, wiring, and alignment and the problem persists, consider these possibilities.
Door Mechanism Binding Or Obstruction
The garage door opener is designed to lift and lower a balanced door. If the door itself is experiencing mechanical problems, the opener might struggle and trigger error codes.
- Binding Tracks: Inspect the vertical and horizontal tracks the garage door rollers travel in. Ensure they are clean, free of debris, and not bent or damaged. Bent tracks can cause the door to bind.
- Worn Rollers: Garage door rollers can wear out or become damaged, leading to increased friction and difficulty in movement. Check if any rollers are cracked, broken, or seized.
- Spring Issues: Garage door springs (torsion springs above the door or extension springs along the tracks) provide the counterbalance that makes the door easy to operate. If a spring is broken or significantly weakened, the opener will have to do all the work, potentially leading to overload and error codes. Warning: Garage door springs are under extreme tension and can cause serious injury. Do not attempt to adjust or repair them yourself. Always call a professional.
- Manual Operation Test: Disengage the opener from the door using the emergency release cord (usually a red handle hanging from the trolley). Try to lift and lower the door manually. It should move smoothly and with moderate effort. If it’s heavy, jerky, or gets stuck, the problem lies with the door’s mechanics, not the opener itself.
Motor Unit Issues
The motor unit houses the motor, gears, and logic board. While less likely to cause a two-blink error specifically, internal motor unit problems can manifest as operational failures.
- Internal Obstruction: Debris or worn internal components within the motor unit could impede its function.
- Motor Failure: The motor itself might be failing. This is often accompanied by unusual noises or a complete lack of motor operation.
- Logic Board Malfunction: As mentioned earlier, a faulty logic board can cause various error codes or complete failure to operate. If the sensors are confirmed to be working correctly and the door mechanism is sound, the logic board becomes a prime suspect.
Real-World Example: A homeowner spent hours checking and realigning their safety sensors, only to find the problem persisted. Upon closer inspection, they discovered a small piece of metal debris lodged in the garage door track, causing the door to bind halfway down. Once removed, the opener functioned correctly, and the two-blink error disappeared. This highlights the importance of checking the entire system, not just the presumed source of the error code.
Power Supply Problems
Ensure the garage door opener is receiving adequate power.
- Check the Outlet: Make sure the opener is plugged into a functioning GFCI-protected outlet. Test the outlet with another device.
- Circuit Breaker: Verify that the circuit breaker controlling the garage door opener hasn’t tripped.
- Wiring to Motor Unit: Inspect the power cord for any damage.
When To Call A Professional
While many Liftmaster garage door opener issues, including the two-blink error, can be resolved with DIY troubleshooting, there are times when professional assistance is necessary. Knowing when to escalate is crucial for safety and efficiency.
Signs You Need A Professional
- Broken Garage Door Springs: As emphasized previously, never attempt to repair or adjust garage door springs yourself. They are extremely dangerous. A professional technician has the specialized tools and knowledge to handle them safely.
- Damaged Tracks or Rollers: While minor track straightening might be possible for some DIYers, significant damage often requires professional assessment and repair to ensure the door operates safely and smoothly.
- Electrical Issues Beyond Simple Checks: If you suspect a problem with the motor unit’s internal wiring, the logic board, or if you’re uncomfortable working with electrical components, it’s best to call a technician.
- Persistent Problems: If you’ve gone through all the basic troubleshooting steps (sensor alignment, obstruction checks, wiring inspection) and the two-blink error continues, a professional can perform more advanced diagnostics.
- Unusual Noises: Grinding, squealing, or loud clanking noises from the motor unit or door mechanism often indicate a serious mechanical issue requiring expert attention.
- Lack of Confidence: If you’re unsure about any step, uncomfortable performing a task, or simply lack the necessary tools, hiring a professional is the wisest choice. Safety should always be the top priority.
What A Professional Will Do
A qualified garage door technician will typically:
- Perform a Comprehensive Safety Inspection: They will check the entire garage door system, including springs, cables, rollers, tracks, and the opener itself.
- Diagnose the Specific Code: They have access to detailed Liftmaster diagnostic charts and can interpret the two-blink code with certainty.
- Test Components Systematically: They will use specialized tools to test sensors, wiring continuity, and motor unit functionality.
- Repair or Replace Faulty Parts: They will have the necessary replacement parts on hand, from sensors and wiring to logic boards and even motor units if required.
- Ensure Proper Operation and Safety: After repairs, they will test the opener thoroughly to ensure it operates smoothly, quietly, and most importantly, safely, adhering to all federal regulations.
Cost Consideration: While professional repair involves a cost, it often saves money in the long run by preventing further damage caused by incorrect DIY attempts and ensuring the repair is done correctly the first time. Basic sensor alignment or replacement might cost between $150-$300, while more complex motor unit or spring repairs can range from $300-$700 or more, depending on the issue and location.
Maintaining Your Liftmaster Opener
Preventative maintenance is key to avoiding issues like the two-blink error and extending the lifespan of your Liftmaster garage door opener. Regular checks can identify potential problems before they escalate.
Regular Maintenance Checklist
- Monthly:
- Visual Inspection: Check sensors, tracks, rollers, and springs for obvious damage or obstructions.
- Clean Sensors: Wipe down the safety sensor lenses with a soft, dry cloth.
- Test Opener Reversal: Place a piece of wood (about 1.5 inches thick) on the floor in the door’s path. Lower the door; it should hit the wood and reverse direction. If it doesn’t, the safety reversal system needs adjustment or repair.
- Semi-Annually (Every 6 Months):