
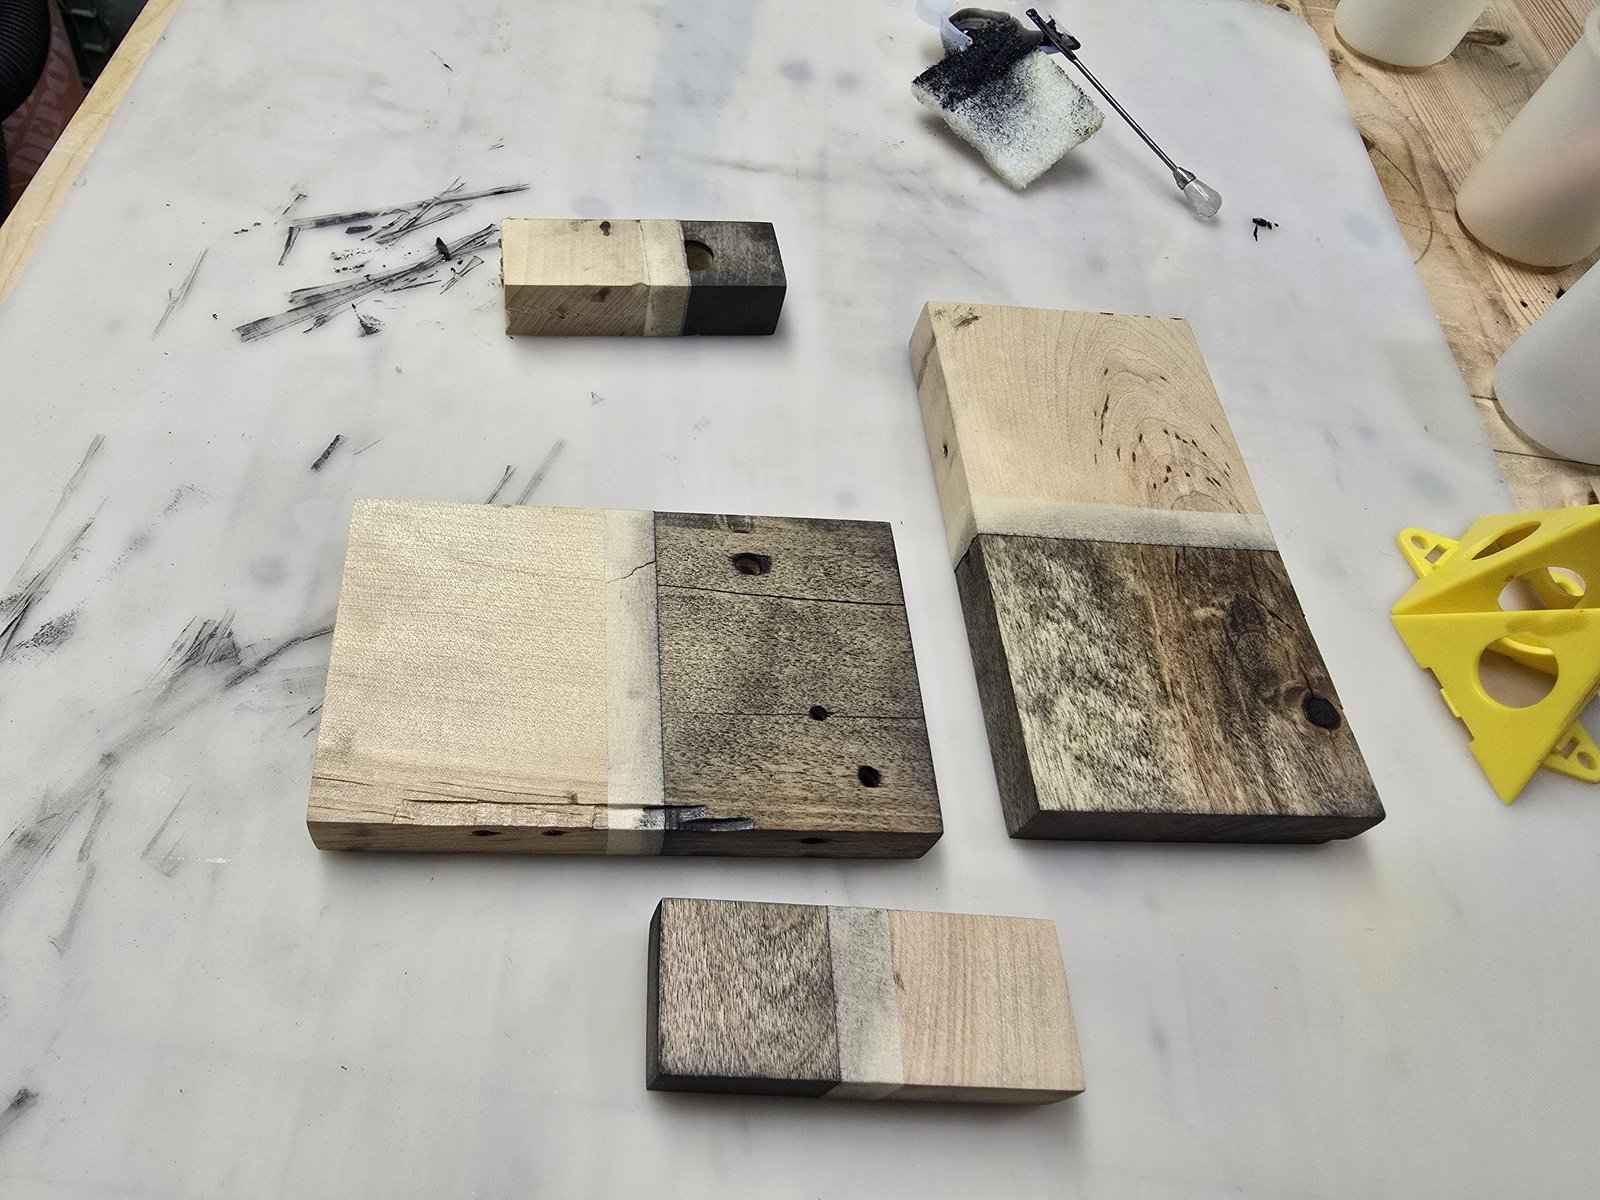
To clean or prepare a finish, you should use mineral spirits on wood by applying a small amount to a clean cloth and wiping the surface in the direction of the grain. This process typically takes 5 to 10 minutes for a standard table-sized surface, depending on how much old wax or oil you need to remove. You’ll find this method works best for those restoring vintage furniture or prepping raw timber for a new coat of paint or stain.
Gathering supplies for using mineral spirits on wood
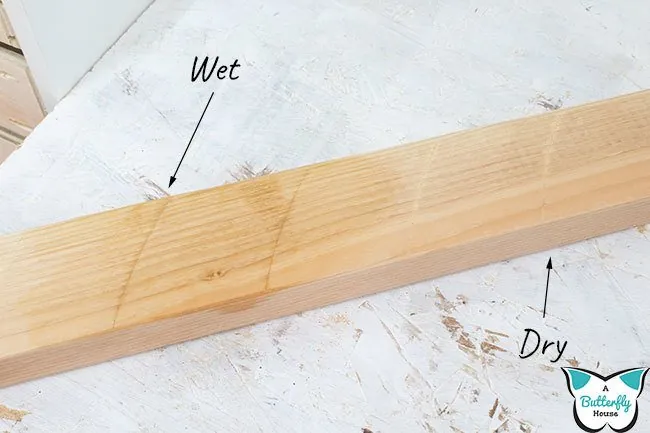
Before you start, gather these items to ensure your work goes smoothly. Having the right supplies prevents surface damage and keeps you safe while working with solvents.
Odorless mineral spirits: Choose the odorless variety to reduce harsh fumes in your workspace. If you’re working in a room smaller than 100 square feet, the scent of standard spirits can cause headaches within twenty minutes.
Lint-free cotton cloths: Use old t-shirts or specialized shop rags. Avoid paper towels, as they tear and leave behind wood-clogging debris. If you lack cotton rags, old cotton socks work perfectly, but skip synthetic fabrics like polyester. Polyester pushes liquids around rather than absorbing them, which leaves a streaky, uneven surface.
Nitrile gloves: These protect your skin from drying out or absorbing the solvent. If you use latex gloves, they may provide inadequate protection against solvent penetration; nitrile gloves are recommended for better chemical resistance.
Fine-grit sanding sponge: Keep this handy if the surface has stubborn, stuck-on residue. Use a 220-grit sponge to gently lift debris without scratching the wood grain.
Ventilation fan: Always set up a fan or open windows to move air through the room. If you can’t create a cross-breeze, skip the project until the weather allows for an open door.
Metal disposal can: Use a container with a lid for any oily rags you discard. Oily rags can undergo spontaneous combustion if bunched together in a plastic bin. Lay them flat on a concrete floor to dry completely before you toss them in the trash.
If you’re uncertain about the specific chemical makeup of your chosen brand, check the product label for the manufacturer’s safety data sheet. This document identifies the exact flashpoint of your solvent, telling you if you need specialized fire suppression equipment nearby. Always store these chemicals in a cool, dark cabinet away from any pilot lights or heaters.
Steps for Cleaning Wood Surfaces
Follow these steps to clean your wood without damaging the underlying fibers. If you’re working on a piece with intricate carvings, use a soft-bristled brush instead of a cloth to reach into the crevices.
- Clear the work area of all dust and loose debris using a vacuum or a dry brush.
- Pour a small amount of mineral spirits, about 1 to 2 tablespoons, onto your clean, folded cloth.
- Wipe the wood surface gently, moving in long, even strokes that follow the direction of the wood grain.
- Check the cloth frequently; if it becomes dark or dirty, switch to a fresh, clean side of the cloth immediately.
- Allow the wood to air dry for at least 30 minutes before you apply any stain, wax, or new finish.
- Dispose of the used rags by soaking them in water and placing them in a sealed metal container to prevent fire hazards.
Careful: Don’t soak the wood; too much liquid can raise the grain or loosen old glue joints.
Tip: If you’re unsure if the finish is compatible, test a tiny, hidden spot on the underside of the furniture first.
If you encounter a sticky patch that doesn’t come off, don’t scrub hard. Switch to a fine-grit sanding sponge and use very light pressure to lift the residue. If you find the wood remains tacky after an hour, the room is likely too humid for the solvent to evaporate; move the piece to a drier, warmer location.
Adjusting for Different Wood Situations
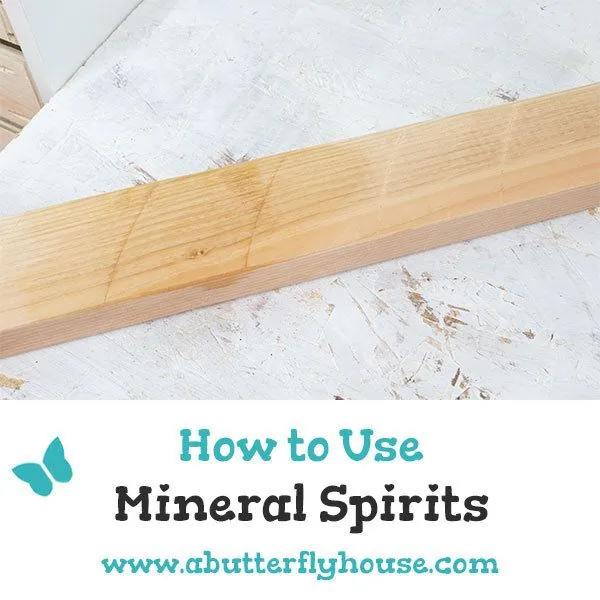
The time and effort required to treat a piece depend heavily on its current state and the type of finish present. It’s always better to start with a small amount of solvent and add more as needed rather than drenching the surface on your first try.
| Situation | Time Required | Effort Level | What to Monitor |
|---|---|---|---|
| Light dust removal | 5 minutes | Low | Cloth cleanliness |
| Removing old wax | 15 minutes | Moderate | Surface tackiness |
| Heavy oil buildup | 30 minutes | High | Fiber saturation |
| Prep for staining | 20 minutes | Moderate | Even evaporation |
If you’re working with antique shellac, use a denatured alcohol test on an inconspicuous spot. If the finish softens or turns gummy within seconds, avoid aggressive scrubbing to prevent permanent marring. Modern polyurethane finishes are far more resilient, allowing for slightly more pressure without risking the integrity of the base coat.
Many beginners make the mistake of using circular motions when wiping away heavy grime. This often forces debris back into the wood grain. Instead, wipe in long, straight passes that follow the direction of the grain. If the cloth turns dark immediately, discard it and switch to a clean one. Using a soiled rag simply redistributes the oil and wax across the surface, doubling your total labor time.
If the wood feels cold or damp to the touch after five minutes, you have applied too much solvent. Stop immediately and increase ventilation in the room. If the surface remains dry and thirsty, you’re likely dealing with raw, untreated timber that requires a light sanding before any further chemical application. Always prioritize the health of the wood fibers over the speed of the cleaning process.
How to Judge Your Results
A successful cleaning leaves the wood surface looking matte and feeling smooth to the touch. If you have done it right, the grain will appear clear and free of the cloudy, dull haze caused by old wax or accumulated grime. If the surface looks streaky, you likely used too much solvent or a dirty cloth.
Streaks usually happen because the solvent is moving dissolved wax around rather than absorbing it. To prevent this, change your cloth as soon as it picks up any discoloration. If you see a milky residue, you’re likely working in an area with high humidity, which traps moisture under the finish. In that case, move to a drier room or wait for a day when the air is less damp.
If the surface feels rough, you may have used too much pressure or too coarse a cloth, which can pull at the wood fibers. Always use a light touch and let the chemical do the work of lifting the dirt. If you feel resistance while wiping, stop immediately. A clean, properly treated surface should allow your cloth to glide across the grain without catching or dragging.
Rules for Safety and Maintenance
Always work in a well-ventilated space to avoid inhaling strong vapors. Open at least two windows or set up a box fan to create a cross-breeze. Never work near a pilot light, space heater, or electrical outlet that sparks.
Once the surface is dry, store the bottle in a cool, dark cabinet, away from direct sunlight or heat sources. Most surfaces cleaned this way will stay clean for several months, depending on how often the wood is touched or exposed to dust.
If you’re working on an antique or a high-value heirloom, consult a professional furniture restorer before applying any solvents. Old shellac or wax finishes often react unpredictably to modern chemicals, leading to permanent clouding. If you’re unsure of the finish, test a small drop on an inconspicuous area, such as the underside of a table leg. Wait twenty minutes; if the finish softens or turns tacky, stop immediately.
Alternative Cleaning Methods
Using Mild Soap and Water
For light, daily cleaning, use a mixture of mild dish soap and warm water. This is safer for delicate antique finishes that might be damaged by harsh solvents. It takes longer to dry but carries zero risk of fire or harsh fumes.
Applying Mineral Oil
If the wood looks dry or thirsty, apply mineral oil instead of spirits. This cleans the surface while replenishing lost moisture. It’s a slower process that requires buffing, but it leaves a nourishing, protective layer behind.
Using Commercial Wood Cleaners
Pre-formulated wood cleaners offer a one-step solution for those who prefer not to mix their own supplies. These are often more expensive but include conditioners that help protect the wood from future drying or cracking.
Related guides
- How to Harden Wood Using Penetrating Epoxy Resin in 2026
- How Much Weight Can a Wood Closet Rod Hold Safely in 2026
- How to Stop Sap From Coming Out of Wood: Proven Fixes in 2026
Frequently asked questions
Can I use mineral spirits on finished wood?
Yes, you can use it on most finished wood, but you must use a very light touch to avoid softening the existing lacquer or varnish. Always test a hidden area first to ensure the finish doesn’t turn cloudy or tacky. Mineral spirits are generally safe to use on shellac finishes for cleaning purposes, as they don’t dissolve the resin.
How long does it take for mineral spirits to dry?
It typically takes 30 to 60 minutes for the wood to dry completely, depending on the room’s temperature and airflow. You can check if it’s ready by touching the surface; it should feel dry and not cool to the touch. If the wood still feels damp or smells strongly of the solvent, wait at least another 30 minutes before applying any new finish.
Is it safe to use mineral spirits indoors?
It’s safe if you maintain proper ventilation, such as opening windows or running a fan. You should never use it in a small, closed room without airflow, as the fumes can cause dizziness or headaches. If you’re sensitive to smells, wear a mask or choose a brand specifically labeled as low-odor.
What happens if I leave mineral spirits on wood too long?
If you leave it on too long, the solvent can soak into the wood fibers and potentially cause the grain to raise or loosen internal glue joints. This is why you should always wipe the surface dry with a clean cloth immediately after cleaning. If you accidentally leave a wet rag on the wood, it can leave a permanent white ring or soft spot.
Can I use mineral spirits to remove paint?
No, it isn’t an effective paint stripper and will likely only smudge the surface rather than remove it. While it can thin oil-based paints, it lacks the strength to break down dried, cured layers of paint on wood. Use a dedicated chemical paint remover if you need to strip the surface down to the raw wood.
Conclusion
Once the wood is completely dry, you’ll be ready for the next stage of your project. If the surface feels smooth and clean, it’s the perfect time to apply your chosen stain or protective finish. You’ll find that taking this extra care ensures a professional result that’ll last for years.