
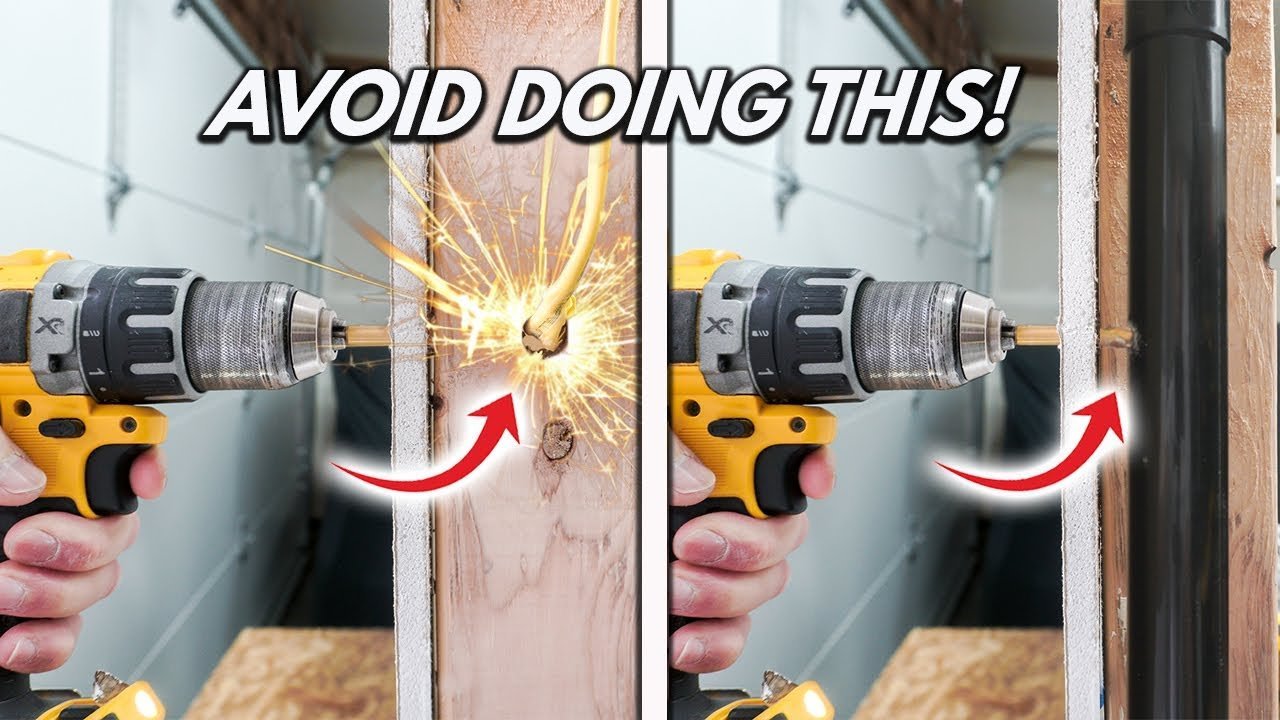
You can safely secure heavy objects by drilling directly into the wood stud framing. This task typically takes 15 to 30 minutes, though locating the center of the stud may take longer. Ensure you have a stud finder, a power drill, and wood screws while verifying that no electrical wires are behind the wall.
Tools and materials for drilling
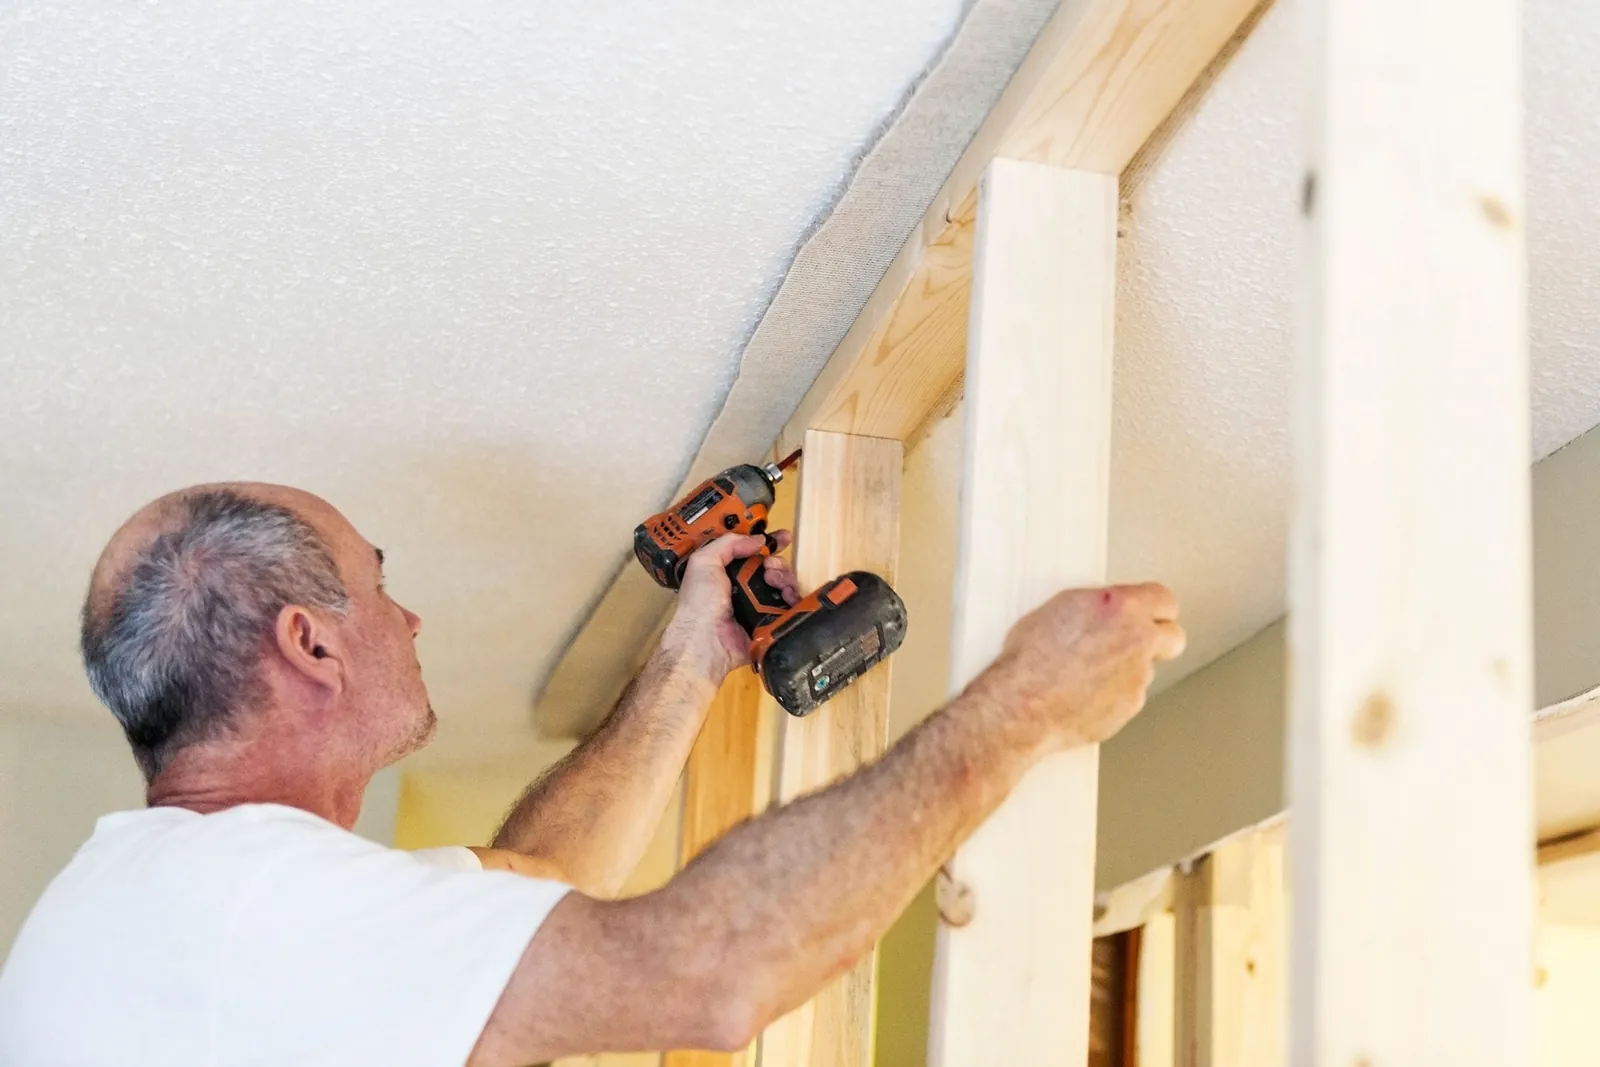
| Item | How much | Why it’s needed | A substitute |
|---|---|---|---|
| Stud finder | 1 tool | Locates the wood frame | Strong magnet |
| Power drill | 1 unit | Drives screws into wood | Manual screwdriver |
| Drill bit | 1 piece | Creates a pilot hole | None — don’t swap |
| Wood screws | 2-4 screws | Holds the object firmly | None — don’t swap |
| Pencil | 1 item | Marks the stud location | Masking tape |
Select a drill bit roughly one size smaller than the shank of your screw. If the bit matches the screw diameter exactly, the fastener will lack the friction required to hold weight. You should feel firm resistance as you drive the screw home.
When using a magnet to find studs, look for the drywall screws hidden beneath the paint. These fasteners reveal the vertical path of the wood frame. If you find two screws aligned vertically, they indicate the approximate location of the stud, but you should still use a stud finder to confirm the center.
Avoid the common mistake of drilling into electrical lines by checking for outlets on the same wall. If an outlet sits directly below your mark, move your hole at least six inches to the side. Always verify the depth of your wall cavity before starting. If your wall feels hollow and you can’t locate a stud, use a toggle bolt or another appropriate hollow-wall anchor.
Preparing the wall surface
Switch off the power to any outlets or switches near your work area if you’re unsure about the location of electrical cables. Before you touch the wall, test the outlet with a non-contact voltage tester to confirm the circuit is truly dead.
Clear the area of furniture and move any wall hangings that might interfere with your movement while you hold the drill. A cluttered workspace forces you to adopt awkward stances, which increases the risk of the drill bit slipping and gouging your drywall.
Mark the center of the stud with a pencil after you have used your stud finder to locate both edges of the wood. If your stud finder gives inconsistent readings, verify the location by checking for drywall screws, which typically align in a vertical path along the stud.
Check the wall for signs of pipes or wires, such as outlets or switches directly above or below your mark. These features suggest a high risk of hidden hazards. If you see a plumbing stack or electrical box within four inches of your intended hole, shift your mounting location to avoid expensive repairs.
Drilling into the stud
- Place your stud finder against the wall and slide it horizontally until it signals the edge of the wood stud.
- Mark the first edge, then slide it from the opposite direction to find the second edge of the same stud.
- Measure the exact middle point between those two marks to ensure your screw enters the strongest part of the wood.
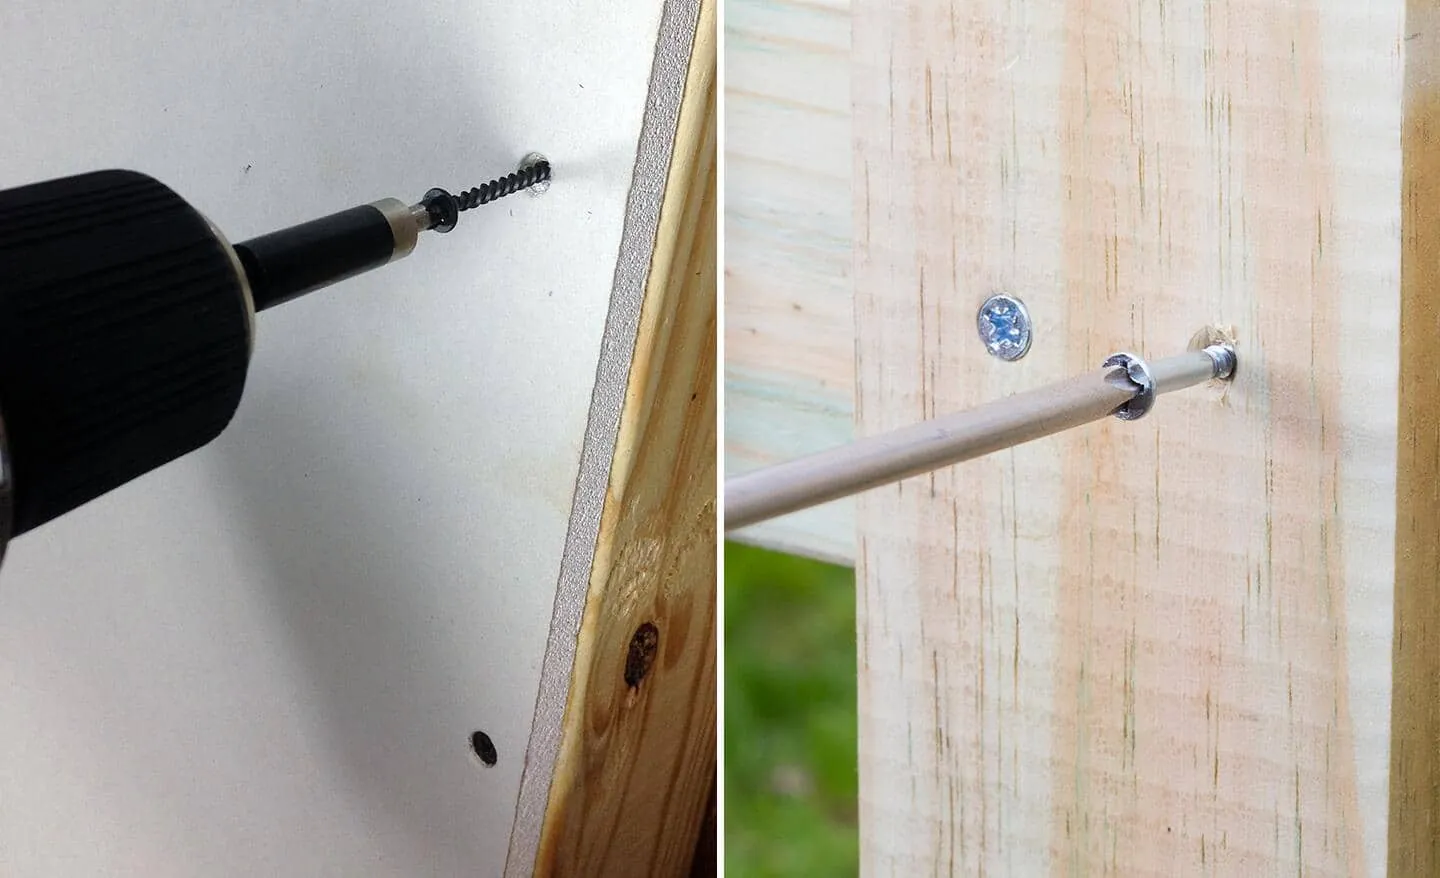
- Select a drill bit that’s slightly smaller in diameter than the shank of your wood screw to prevent the wood from splitting.
- Hold the drill at a perfect 90-degree angle to the wall to ensure the bit enters the stud straight.
- Apply steady pressure and drill a pilot hole slightly shorter than the length of the screw you’re using.
- Check that the drill bit has wood shavings on it when you pull it out, which confirms you have successfully hit the stud.
- Drive your wood screw into the pilot hole using the drill on a low-speed setting to avoid stripping the screw head.
Verifying your drill work
A successful drill job results in a screw that bites firmly into the wood and holds the object without any movement or wiggle. If the drill feels like it’s spinning in thin air, you have missed the stud, and you must stop immediately to prevent damaging the drywall. A loose screw indicates that the pilot hole was either too large or the screw didn’t catch enough wood grain.
If you find that the screw is loose, remove it and check the hole with a thin wire to see if you hit the edge of the stud. If the wire slides in without hitting resistance, you have missed the stud entirely. You should move your mark 1/2 inch toward the center and drill a new pilot hole.
Don’t try to force a screw into a hole that doesn’t offer resistance, as it won’t provide the support you need for heavy items. If the screw spins but bites slightly, you have likely stripped the wood fibers. In this case, use a screw one size larger in diameter to regain a solid grip. Never reuse the same hole if the fastener feels mushy during installation.
Troubleshooting common drilling issues
| What happened | Why | What to do |
|---|---|---|
| Drill bit slips | Smooth wall surface | Use masking tape |
| Screw feels loose | Hole is too wide | Use larger screw |
| Drill hits metal | You hit a plate | Stop and relocate |
| Can’t find stud | Thick plaster walls | Use stronger magnet |
| Wall cracks | Too much pressure | Drill pilot hole |
When the bit dances across a slick tile or metal surface, place an “X” of painter’s tape over the mark before starting. This creates the necessary friction to bite into the material without marring the finish.
If you encounter a loose screw, resist the urge to pack the hole with wood filler or toothpicks. These materials will eventually crumble under load. Instead, switch to a screw with a slightly larger gauge or use a plastic wall anchor to regain structural integrity.
When you suspect you have hit a metal plate behind drywall, stop immediately. If the bit is sparking or vibrating violently, you have likely struck a nail protection plate guarding electrical wiring. Move your hole at least two inches to the side.
If a wall cracks during the initial entry, you’re forcing the bit too hard. Always drill a pilot hole using a bit two sizes smaller than the final fastener. This relieves internal tension and prevents the surface from splintering.
Frequency of drilling tasks
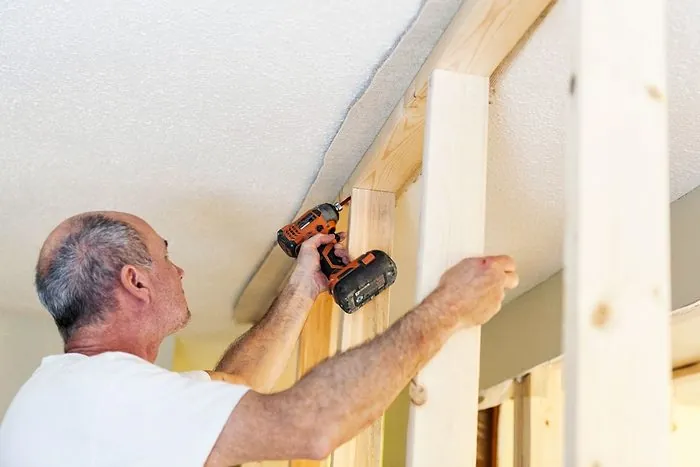
You should perform this task only when you need to mount a new item, as frequent drilling into the same stud weakens the wood fibers. Every time you drill, you remove material that the screw needs to maintain a firm grip.
If you’re mounting items that change weight or position, such as shelving, try to reuse existing holes if they’re still tight. If the hole has become too wide after multiple uses, you can fill it with a wooden dowel and wood glue before drilling a fresh hole in the same spot.
The frequency of this task is dictated by your own home improvement needs rather than a set schedule. If your studs are made of soft pine, be extra careful not to over-tighten your screws. Stripping the wood costs you the structural integrity of the connection.
If the screw spins freely without biting, you have already stripped the hole. In this case, move the mounting point at least two inches away to find fresh, solid wood.
Related guides
- How to Harden Wood Using Penetrating Epoxy Resin in 2026
- How Much Weight Can a Wood Closet Rod Hold Safely in 2026
- How to Stop Sap From Coming Out of Wood: Proven Fixes in 2026
Frequently asked questions
How long does it take to drill into a wood stud?
It takes about 5 to 10 minutes to locate a stud and drill a single pilot hole, assuming you have the proper tools ready. This time estimate accounts for finding the edges, marking the center, and drilling the hole at a steady pace. If you’re a beginner, allow for extra time to verify your stud location, as accuracy is more important than speed when mounting heavy items.
Is it safe to drill into a wall?
It’s safe to drill into a wall if you confirm there are no electrical wires or plumbing pipes behind the stud location. You should always use a stud finder and look for electrical outlets or switches on the same wall segment before you start. If you feel any unexpected resistance while drilling, stop immediately, as this is a sign you may have hit a protected metal plate or a utility line.
What happens if I miss the stud?
If you miss the stud, the screw will only be held by the drywall, which isn’t strong enough to support heavy weight. You’ll notice that the screw turns easily and doesn’t pull tight against the wall surface. You must remove the screw and patch the hole with wall compound, then move your mounting point to the actual center of the wood stud.
How deep should the pilot hole be?
The pilot hole should be slightly shorter than the length of the screw to ensure the screw has wood to bite into for a secure hold. This depth assumes you’re using a standard wood screw on a typical 2×4 wall stud. If you’re using a longer screw, adjust your drill bit depth to match the length of the screw shank while leaving a small gap for the screw head.
Can I drill into a metal stud instead?
You can’t use the same method for metal studs, as they require specialized self-tapping screws and different drill bits. If your wall sounds hollow and your magnet sticks to nothing, you likely have metal framing or a masonry wall. You should check your home’s construction type before you begin, as drilling into metal or concrete requires significantly different equipment and techniques than wood framing.
Does the wood type matter for drilling?
Harder woods require slightly larger pilot holes to prevent screws from snapping or wood from splitting. Most residential walls use soft pine, which is easy to drill, but you should always test your screw on a scrap piece of wood first if you’re unsure.
Conclusion
Once your item is securely mounted, double-check that it’s level and won’t wobble when you touch it. If you’re hanging something particularly heavy, it’s a good idea to give the fixture a gentle tug to ensure it’s held firmly in place. You’ll be glad you took the time to do it right.