
You can usually fix a nail gun that isn’t firing by clearing a jammed nail, checking the air pressure, or ensuring the magazine is properly loaded. These issues account for the vast majority of failures, but the specific fix depends on whether you’re using a pneumatic, cordless, or electric model.
Understanding the tool user
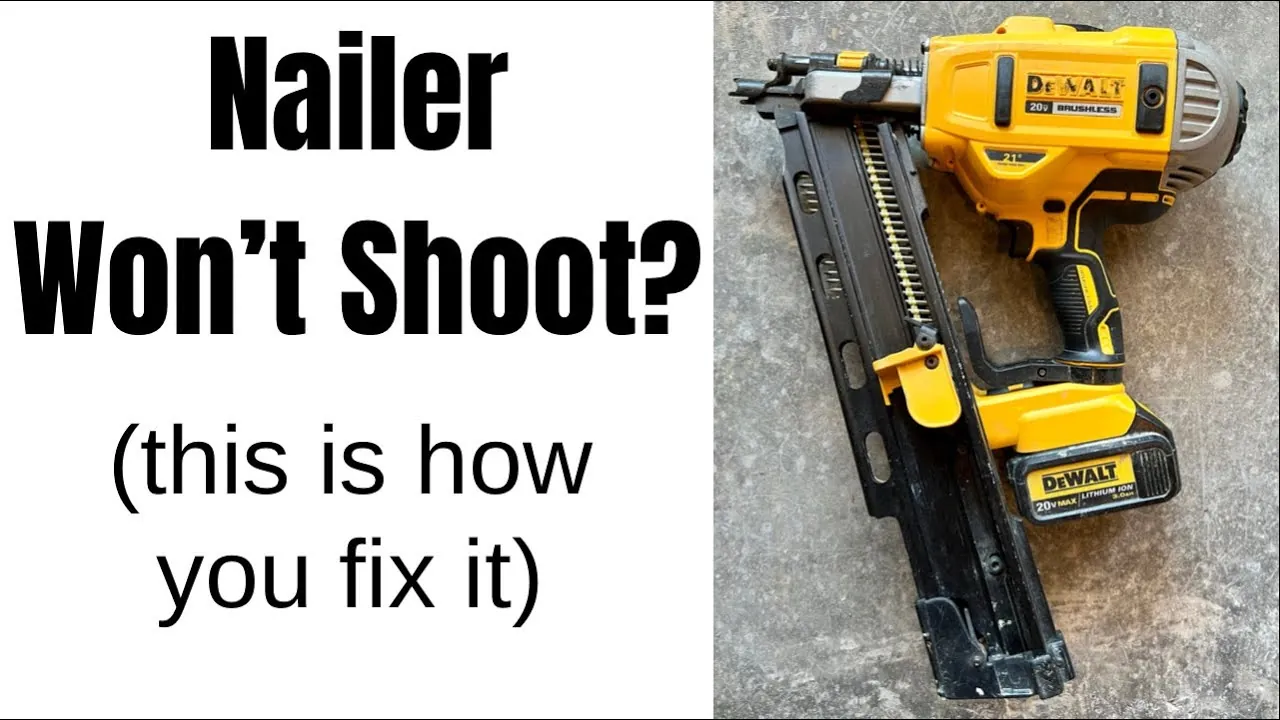
This page is written for homeowners and DIY enthusiasts who own a nail gun but lack professional mechanical training. You likely have a tool that stopped working mid-project and want to know if you can safely restore its function without visiting a repair shop.
If you’re a professional contractor who relies on these tools daily, you should follow the specific maintenance schedule provided in your manufacturer’s manual. This page assumes you’re using a standard consumer-grade tool that hasn’t been modified or damaged by a significant drop. If you’re looking for complex internal repairs involving electrical boards or motor replacements, these instructions are insufficient; those tasks require professional service to avoid injury or voiding your warranty.
Factors that influence performance
The most common reason for a failure is a jam caused by debris or incorrect nail size. If you use nails that don’t match the manufacturer’s specifications, the driver blade can’t fully cycle, which leaves the gun unable to fire. You can verify the correct nail type by checking the label located on the magazine of your specific tool.
Air pressure is the second major factor for pneumatic models. If your compressor is set below the range recommended by the tool maker, the piston won’t have enough force to drive the nail. You should check the pressure gauge on your compressor and compare it to the “operating pressure” range printed on the nail gun housing.
The third factor is the condition of the contact trip. This safety mechanism must move freely to allow the trigger to work; if it’s clogged with wood dust or resin, the gun will perceive that it isn’t against a surface. You can check this by manually pushing the nose against a piece of scrap wood to see if it moves smoothly without sticking.
Steps to fix a nail gun not shooting nails
- Disconnect the power source immediately by unplugging the electric cord or removing the battery and air hose.
- Open the magazine latch to check for any misaligned nail strips or broken metal fragments.
- Use needle-nose pliers to remove any visible bent nails or debris blocking the nail channel.
- Inspect the nose piece for a “dry fire” jam, where the driver blade is stuck in the forward position.
- Apply a small amount of manufacturer-approved pneumatic tool lubricant to the internal piston seals if your manual specifies this maintenance.
- Verify that the depth adjustment dial isn’t set to the deepest position, as this can cause the driver to bind.
- Reconnect the air or battery and fire the tool once into a piece of scrap wood to test the reset.
- If the tool still fails to fire or sounds unusual, stop all attempts to force it.
The judgement call here is identifying if the driver blade is stuck beyond the reach of simple pliers. If you can’t see the tip of the blade or if it’s bent, you must stop. Continuing to pull the trigger on a jammed tool can damage the internal seals or the firing mechanism, which often costs more to repair than the value of a new unit.
Situations and fixes
| Situation | Recommended action | Effort level | What to watch for |
|---|---|---|---|
| Jammed nail | Use pliers to clear | Low | Bent metal fragments |
| Low pressure | Increase compressor setting | Low | Gauge reading accuracy |
| Dirty sensor | Clean with soft cloth | Medium | Sticky safety trip |
| Wrong nails | Replace with correct size | Low | Magazine fitment |
| Internal leak | Call professional service | High | Hissing air sounds |
Identifying good results
A good result isn’t merely the absence of failure; it’s the presence of a measurable shift toward your primary goal. Look for a repeatable change in your key performance indicator that persists for at least three consecutive cycles.
If the data fluctuates wildly, you’re likely chasing noise rather than signal. When the trend holds steady, verify it by isolating one variable. If the result changes when you adjust that variable, you have found a reliable lever. Ignore anecdotal success; rely only on sustained, controlled movement.
Proper preparation
Experienced users always check the nail strip alignment before inserting it into the magazine. A small tilt in the strip will cause a jam within the first three shots. They also keep the tool clean of pitch and resin, which prevents the safety trip from sticking. If the tool feels heavy or sluggish, they stop to verify the air pressure rather than continuing to pull the trigger.
Managing the limits
A good result is defined by a clean, flush finish on the wood surface without the nail head protruding. If the tool is misfiring or leaving nails halfway out, it’s a sign that the driver blade or the spring is failing. Experienced users deliberately leave the internal housing alone. They know that opening the casing can damage internal O-rings, which are difficult to replace without specific tools and experience.
Common issues and fixes
| What you notice | What it usually means | What to do first | How to stop it happening again |
|---|---|---|---|
| Nail stuck in nose | Jammed fastener | Remove nail strip | Use correct nail size |
| Hissing sound | Leaking air seal | Disconnect air hose | Check hose fittings |
| Trigger pulls but nothing | Safety trip stuck | Clean nose debris | Wipe down after use |
| Weak firing | Low air pressure | Check compressor gauge | Increase PSI setting |
| Magazine won’t close | Bent nail strip | Clear the channel | Reload strips carefully |
Rules for safe operation
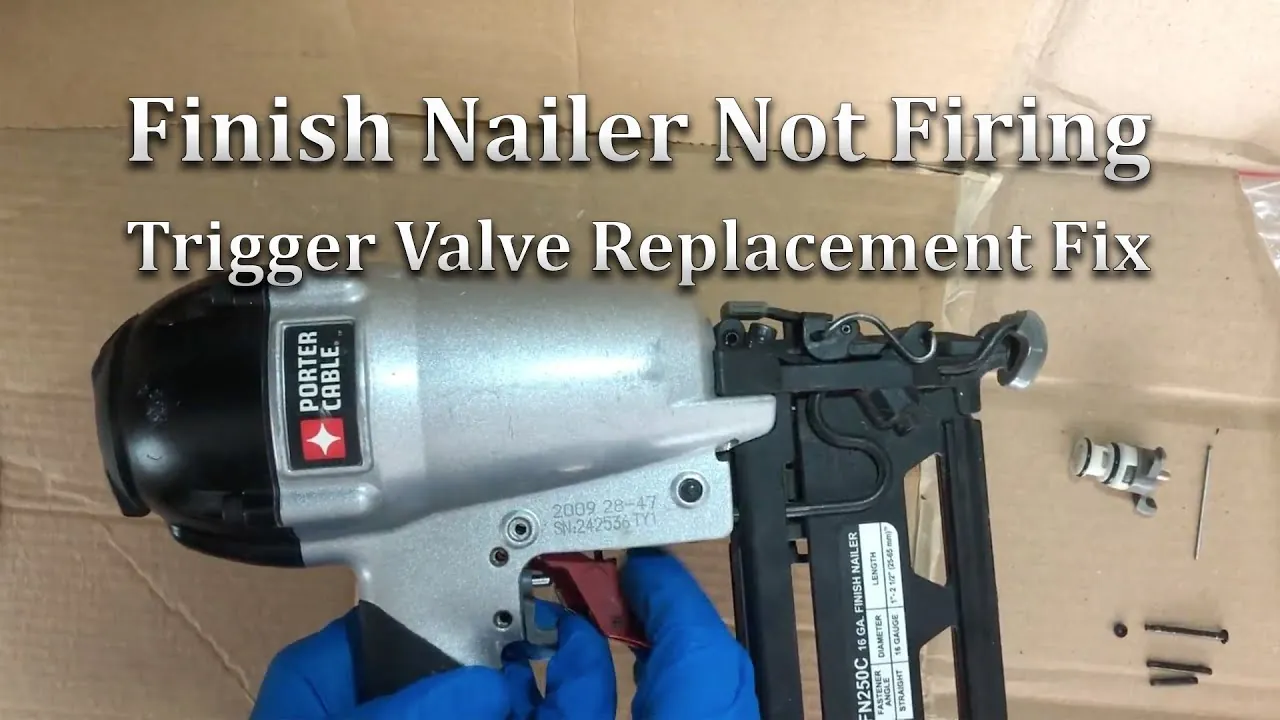
You must follow the safety guidelines set by the Consumer Product Safety Commission regarding the use of power-actuated tools. These rules state that you should never point a nail gun at yourself or anyone else, even when you believe the tool is empty or jammed. If your tool requires a service that involves opening the main housing, you must take it to a qualified service center.
Attempting to repair internal components like the firing valve or the piston assembly without specific training can lead to accidental discharge. If you’re in a region with specific workplace safety standards, such as those set by OSHA in the United States, ensure your tool meets the required safety ratings for the material you’re fastening.
What the repair costs
The cost of fixing a nail gun varies based on the nature of the failure. If the problem is a simple jam or an air pressure issue, the cost is effectively zero, as it only requires your time and basic cleaning. However, if the driver blade is damaged or the internal seals have failed, a professional repair is often inexpensive compared to buying a replacement unit, depending on the brand and the availability of parts.
You should always compare this cost against the price of a new unit, as many consumer-grade nailers are replaced rather than repaired once they reach a certain age. You can find the current price of repair parts on the official manufacturer’s website by searching for your specific model number.
Maintenance and storage
After you finish your project, you should always remove the remaining nail strips to prevent spring fatigue in the magazine. Store the tool in a dry, cool place to prevent rust from forming on the internal metal parts, especially if you live in a humid environment.
If you notice the tool is firing inconsistently, check the magazine spring for tension; if it feels loose or doesn’t snap back, it’s time to replace the magazine assembly. Keep the tool away from sawdust and wood chips, as these particles can enter the firing chamber and cause the safety trip to bind during your next use.
When to seek professional help
If your nail gun is leaking air from the main body or if it fires multiple times with a single trigger pull, stop using it immediately. These symptoms indicate a failure of the internal firing valve or a damaged trigger mechanism, which aren’t user-serviceable parts.
Attempting to repair these components can cause the tool to fire unexpectedly, leading to serious injury. In these cases, contact an authorized service center or the manufacturer’s support line to request a professional evaluation. Using a tool that has an internal defect is dangerous and rarely results in a clean, consistent finish on your work.
Can I use WD-40 to clean my nail gun?
No, you should never use standard WD-40 or heavy grease to clean the internal parts of a nail gun. Standard WD-40 acts as a solvent that strips away essential lubrication, leaving metal components vulnerable to friction and heat. Worse, it causes the internal rubber O-rings to swell or degrade, leading to catastrophic air leaks that render the tool useless.
Use only the specific pneumatic tool oil recommended by the manufacturer in the user manual. If you can’t find the manual, look for a non-detergent, lightweight mineral oil specifically labeled for air tools. If the tool starts firing sluggishly or misfiring, apply two drops directly into the air inlet before your shift. If the gun still fails to drive nails flush, stop immediately; you likely need a professional seal kit replacement.
How long should a nail gun last?
A well-maintained nail gun should last for several years of regular home use. Expect a professional-grade pneumatic tool to survive roughly 100,000 to 200,000 cycles before requiring a major overhaul. If you’re a weekend hobbyist, this translates to a decade of service; for a framing contractor, that same tool might reach its limit in eighteen months.
The exact lifespan depends on the frequency of use and the quality of the maintenance, which you can track by checking the wear on the driver blade and the magazine spring. If the driver blade begins to mushroom or shows deep pitting, replace it immediately. Ignoring this damage forces the internal piston to strike at an angle, which eventually cracks the cylinder wall and turns a simple repair into a total loss.
Why does my nail gun fire two nails at once?
This usually happens because of a damaged or dirty driver blade that isn’t retracting fully between shots. You should clean the nose piece of the tool to remove any sticky resin or wood dust that might be preventing the blade from resetting properly.
If the problem persists after a deep cleaning, inspect the driver blade for hairline cracks or a mushroomed tip. A blade that has lost its original profile will catch on the internal guide, causing it to bounce rather than seat.
You can verify this by checking the depth of the nail head. If the gun fires two nails but leaves them both proud of the surface, the driver is failing to travel its full stroke. Replace the driver blade immediately to prevent permanent damage to the firing pin.
Is it safe to use a nail gun if the safety trip is broken?
No, it’s never safe to operate a nail gun with a broken or bypassed safety trip. The safety mechanism is designed to prevent accidental firing; if it isn’t working, you must stop using the tool and have it repaired by a professional immediately.
How often do I need to oil my pneumatic nail gun?
You should add 2-3 drops of pneumatic tool oil into the air inlet before each day of use. Check your specific manufacturer’s manual for the exact recommended frequency, as some models have oil-free designs that don’t require any lubrication at all.
If you use the tool in extreme heat or for high-volume production, add two drops every four hours of active firing. Failing to do this causes internal O-ring friction, which leads to sluggish cycling and eventual air leaks.
If your tool has an oil-free motor, adding lubricant actually attracts dust and debris that ruins the internal seals. Check the tool’s serial plate for an “Oil-Free” stamp. If you see it, keep the oil bottle away. Otherwise, always lubricate before the first nail is fired to coat the cylinder.
What happens if I use the wrong size nails?
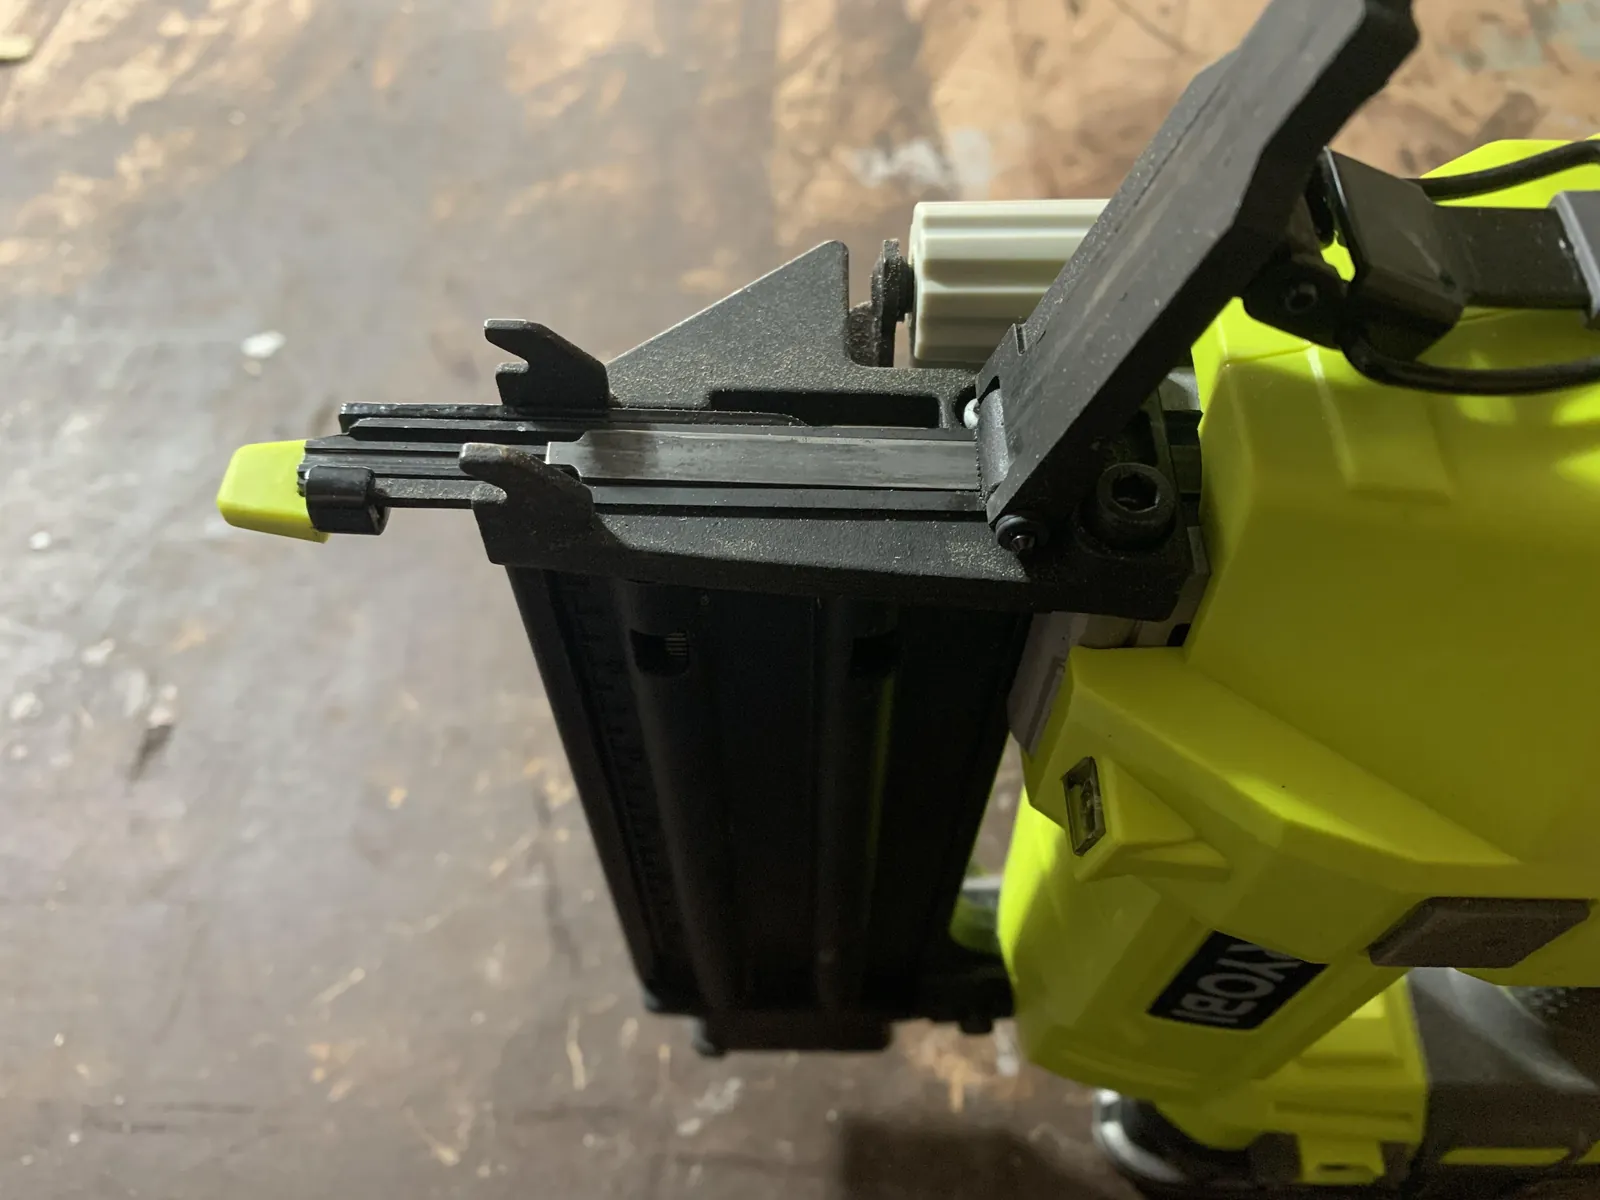
Using the wrong size nails will cause the driver blade to jam because the fastener won’t sit correctly in the firing chamber. Always verify the nail gauge and length requirements printed on the side of the magazine before loading your tool for a new project.
How do I know if my air compressor is the problem?
Check the pressure gauge on the compressor while you fire the tool to see if the pressure drops significantly. If the gauge shows the pressure is within the tool’s range but the tool still fails, the issue is likely with the nail gun itself, not the compressor.
Start by inspecting the magazine for any debris or misaligned nail strips, as this is the most likely cause of a jam. Once the channel is clear, test the tool on a scrap piece of wood to see if it fires normally. If the issue persists, stop using the tool and contact a professional.
Safety: Inside a mains-powered machine, the parts behind the outer cover can hold a dangerous electrical charge even after it has been unplugged — that’s why they sit behind a cover. Opening the housing, or testing or replacing anything behind it, is a job for a qualified technician, never a home repair.