
Sharpening a gouge requires a methodical approach that balances the removal of metal with the preservation of the tool’s specific sweep and bevel angle. Whether you’re using a woodturning gouge or a carving gouge, the goal is to create a keen, consistent edge that cuts cleanly through fibers without tearing. This process involves grinding the primary bevel, refining the edge with hones or slips, and ensuring the profile remains true to its intended shape. By following a structured workflow, you can restore even the dullest edge to a razor-sharp state while extending the overall longevity of your steel.
Key Takeaways
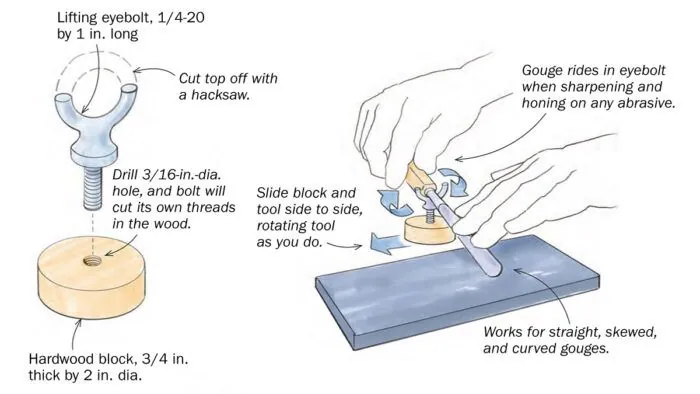
- Maintain the original bevel angle consistently to ensure the tool performs as designed for specific cuts.
- Use a slow-speed grinder or manual diamond stones to prevent overheating, which can ruin the temper of the steel.
- Always hone the inside of the gouge flute using a slip stone to remove the burr and create a clean cutting edge.
- Light, frequent honing is more effective than aggressive grinding, which removes unnecessary metal and shortens tool life.
- Safety gear, including eye protection and a dust mask, is mandatory when using power-sharpening equipment.
How to sharpen a gouge effectively
The process begins with assessing the condition of your edge. If the bevel is chipped or significantly rounded, you must use a grinder to re-establish the geometry. If the edge is simply dull, you can often skip the grinder and move straight to manual honing.
For most woodworkers, keeping a set of diamond plates and ceramic slips on the bench is the most efficient way to maintain a sharp edge. When grinding, ensure the tool rest is positioned correctly to support the gouge throughout the entire arc of the bevel.
Essential sharpening gear
To achieve professional results, you need a collection of abrasives suitable for the hardness of your steel. High-speed steel (HSS) is common in modern turning tools, while older carving chisels may be made of carbon steel. Both respond well to modern abrasives, but you must be careful with heat management.
- Diamond Plates: Coarse to fine grit (300 to 1200 grit) for flattening and initial edge refinement.
- Slip Stones: Shaped stones designed to fit the curvature of the flute to remove the internal burr.
- Leather Strops: Used with honing compound to polish the edge to a mirror finish.
- Grinding Wheels: Aluminum oxide or CBN (Cubic Boron Nitride) wheels for rapid metal removal.
- Angle Gauges: Essential tools for verifying that your bevel angle remains constant during the process.
Why bevel angle matters
The bevel angle dictates how the tool interacts with the wood. A steeper angle provides more support for the cutting edge, making it more durable but harder to push. A shallower angle cuts more easily but is prone to chipping or rolling over.
For most woodturning, a bevel angle between 35 and 45 degrees is standard. For fine detail carving, you might prefer a shallower angle to allow for delicate control. Once you choose an angle, consistency is the most important factor in your sharpening routine.
| Application | Recommended Bevel Angle | Typical Steel Type |
|---|---|---|
| Roughing Gouge | 45° – 50° | High-Speed Steel |
| Spindle Gouge | 30° – 35° | High-Speed Steel |
| Detail Carving | 20° – 25° | Carbon Steel |
| Heavy Hogging | 50° – 60° | High-Speed Steel |
Grinding the primary bevel
When the edge is damaged, a grinder is your primary tool. The key is to keep the tool moving across the wheel to prevent heat buildup. If the steel turns blue, you have lost the temper, and the edge will no longer hold a sharp point.
Use a light touch; let the abrasive do the work rather than forcing the tool into the wheel. If you’re using a dry grinder, keep a cup of water nearby to cool the tool frequently. CBN wheels are increasingly popular because they run cooler and don’t require the frequent dressing that traditional stone wheels do.
Warning: Never allow the steel to reach a blue color during the grinding process, as this indicates that the metal has been overheated and its hardness has been permanently compromised.
How to hone the flute
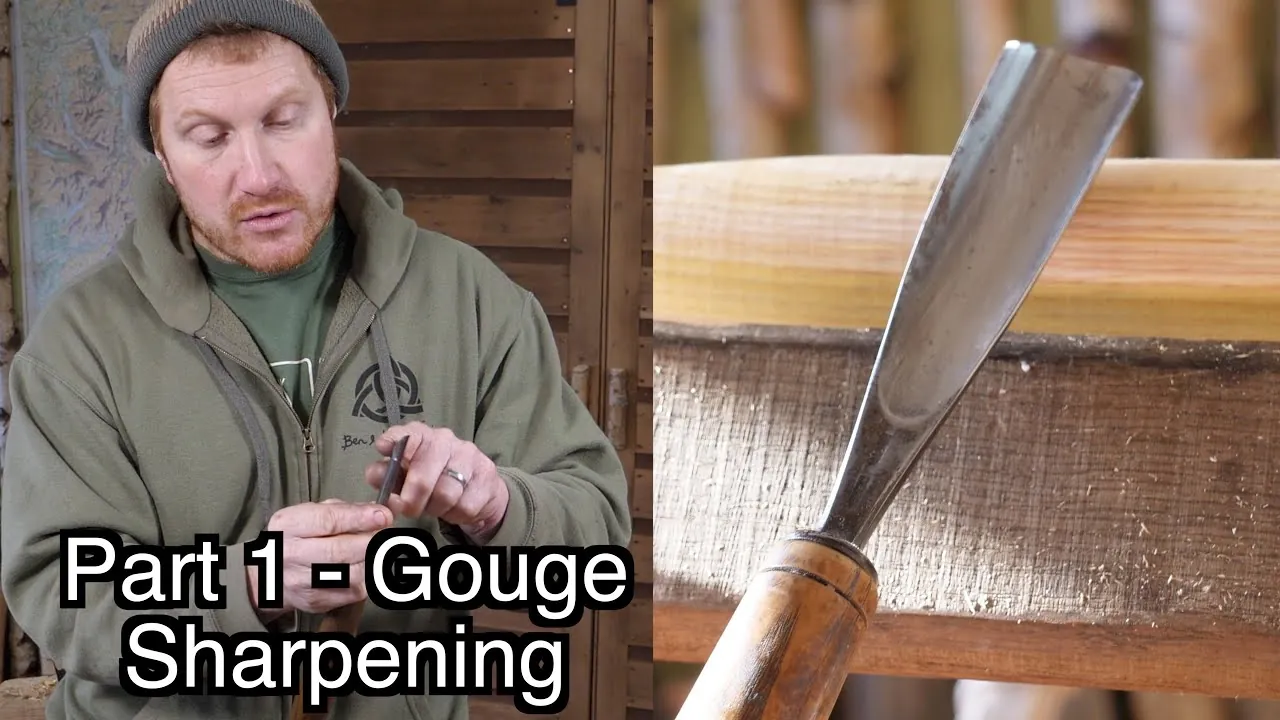
Many beginners focus exclusively on the bevel and ignore the inside of the gouge, known as the flute. If you don’t remove the burr from the inside, your tool will feel dull even after heavy grinding. Use a slip stone that matches the sweep of your gouge.
Place the stone inside the flute and rub it back and forth, keeping it flat against the surface. This action pushes the burr back toward the bevel, where it can be polished away during the final stropping stage.
Selecting the right slip stone
Slip stones come in various shapes and materials, including Arkansas stone, ceramic, and diamond. For standard gouges, a teardrop-shaped stone is the most versatile because the tapered edges allow you to reach into tight sweeps. Ensure your stones are kept clean and free of metal filings to prevent them from becoming “glazed” or clogged, which significantly reduces their cutting efficiency.
Polishing the edge with stropping
Stropping is the final step that elevates a sharp tool to a razor-sharp one. By using a piece of leather charged with a fine abrasive compound, you remove the microscopic wire edge left by your stones.
Move the bevel across the strop in a trailing motion—never push the sharp edge into the leather, or you’ll simply cut it. A few passes on each side of the gouge are usually sufficient to achieve a mirror-like finish that glides through wood with minimal resistance.
Troubleshooting common sharpening errors
Even experienced woodworkers occasionally struggle with sharpening. If your gouge isn’t cutting cleanly, look for these common issues:
| Symptom | Likely Cause | Solution |
|---|---|---|
| Edge feels “fuzzy” | Incomplete burr removal | Spend more time with the slip stone |
| Tool burns the wood | Improper bevel angle | Grind to a slightly steeper angle |
| Edge chips quickly | Overheating during grinding | Grind slowly and quench in water |
| Tool “grabs” the wood | Too shallow a bevel | Increase the bevel angle slightly |
Pro Tip: Use a permanent marker to color the bevel of your gouge before you sharpen it; this allows you to see exactly where the abrasive is removing metal so you can adjust your angle immediately.
Maintaining your tools over time
Regular maintenance involves more than just sharpening. Keep your tools dry to prevent rust, especially if you work in a humid garage or basement. Apply a light coat of machine oil to the steel after every session.
When storing your gouges, ensure the edges are protected by wooden racks or plastic sleeves. If you notice rust spots, use a fine abrasive pad to remove them before they pit the surface of the steel, which can lead to structural weakness over time.
Assessing steel quality
Not all steel is created equal. High-speed steel (HSS) is the industry standard for turning because it retains its hardness even when subjected to the high heat generated by friction against wood. Carbon steel, while easier to sharpen, is susceptible to losing its edge much faster. Always prioritize the purchase of quality steel from reputable manufacturers to make the sharpening process easier and more productive.
How to sharpen a gouge using jigs
If you struggle to maintain a consistent angle by hand, sharpening jigs can be a game-changer. These mechanical systems hold the gouge at a fixed angle, allowing you to move it across the grinder with perfect repeatability. Popular systems include the Oneway Wolverine or the Tormek T-8. While these require an initial investment, they drastically reduce the amount of metal removed during sharpening because you aren’t constantly correcting for angle inconsistencies.
Setting up a jig system
- Mount the base plate securely to your grinder stand.
- Adjust the tool rest to the manufacturer’s specified distance.
- Set the gouge in the jig at the desired bevel angle.
- Lock the jig and verify the angle with a gauge.
- Perform the grind using light, controlled passes.
The role of grit progression
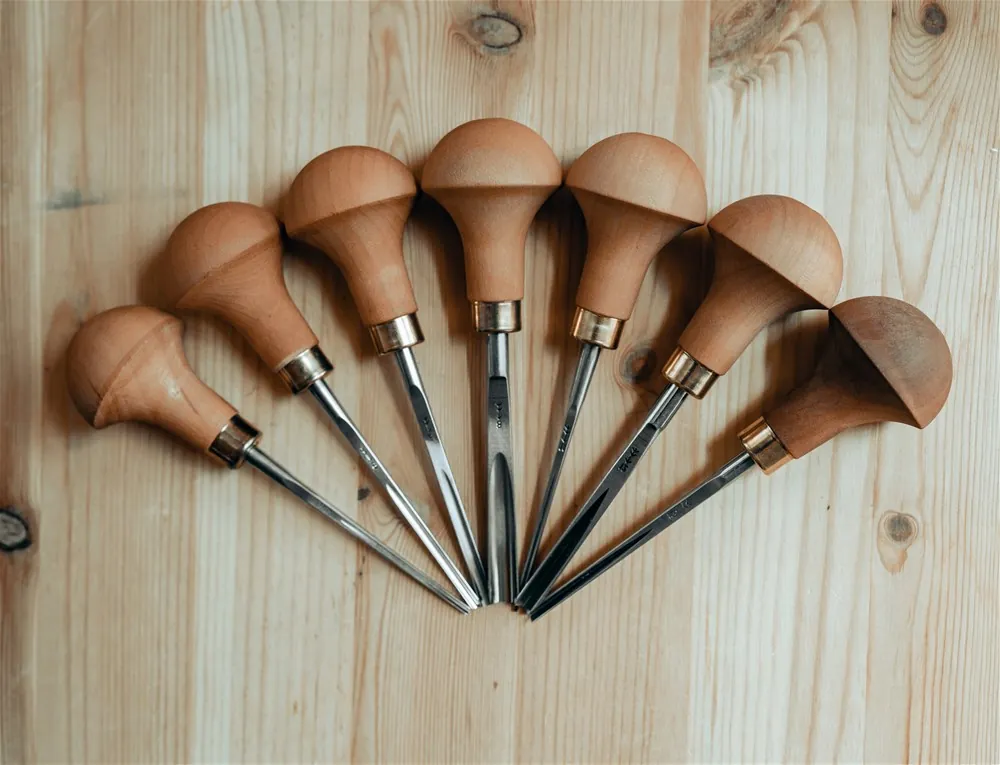
Sharpening is essentially a process of controlled scratching. You start with a coarse grit to move metal quickly and then move to finer grits to remove the scratches left by the previous stage. A typical progression might look like this: 80 grit (if heavily damaged), 240 grit, 600 grit, and finally 1200 grit or higher for polishing. Skipping steps in this sequence will result in a jagged edge that appears sharp but lacks the longevity of a properly polished tool.
Frequently Asked Questions
How often should I sharpen my gouge?
You should sharpen your gouge whenever you feel it “tearing” the wood fibers rather than slicing through them. If you find yourself pushing harder than usual to achieve a cut, your edge has likely dulled. For professional woodturners, this might mean sharpening every 20 to 30 minutes of active cutting. For casual carvers, a quick touch-up on a strop may be all that’s needed for several hours of work.
Can I sharpen a gouge with a file?
Technically, yes, but it isn’t recommended for most modern gouges. Files are designed for mild steel; most gouges are made of hardened HSS or high-carbon steel, which will quickly dull a file. Using a file often results in an uneven bevel and risks damaging the tool’s temper. Stick to diamond plates or grinding wheels, which are specifically designed to handle the hardness of woodworking steel.
What is the best way to remove a burr?
The best way to remove a burr is to use a fine-grit slip stone on the inside of the flute, followed by light stropping on the bevel. Never try to “grind off” a burr, as this will only create a new, larger burr on the other side. A clean, burr-free edge is essential for a smooth surface finish and ensures that the tool remains sharp for a longer duration.
Does the type of grinder wheel matter?
Yes, the wheel type significantly impacts your results. Traditional gray aluminum oxide wheels are inexpensive but can clog easily and generate significant heat. CBN wheels are much more expensive but run cooler, hold their shape indefinitely, and are less likely to cause heat damage to your steel. For anyone sharpening HSS tools regularly, investing in a high-quality CBN wheel is arguably the most significant upgrade you can make.
Why does my tool turn blue?
Your tool turns blue because it has reached the “tempering” temperature, which usually occurs around 500 to 600 degrees Fahrenheit. At this temperature, the steel loses its hardness and becomes soft. Once the steel has turned blue, it won’t hold an edge for more than a few seconds of use. You must grind past the blue section until you reach hard, unaffected steel, then sharpen the edge again.
Conclusion
Refining your sharpening technique is a journey that rewards patience and consistency. By mastering the geometry of the bevel and the delicacy of the honing process, you’ll find that your woodworking projects become safer and much more enjoyable. Start by practicing on a scrap piece of steel before moving to your favorite gouge, and remember to keep your stones clean and your movements deliberate.