

To cut wooden dowels accurately and safely, you must select a tool that matches the diameter of the dowel and the precision required for your specific project. Whether you’re building custom furniture, crafting small models, or installing shelf pins, achieving a clean, square cut is essential for structural integrity and aesthetic appeal. By using the right technique and securing your workpiece firmly, you can avoid splintering the wood fibers and ensure that every piece fits perfectly into your design.
Key Takeaways
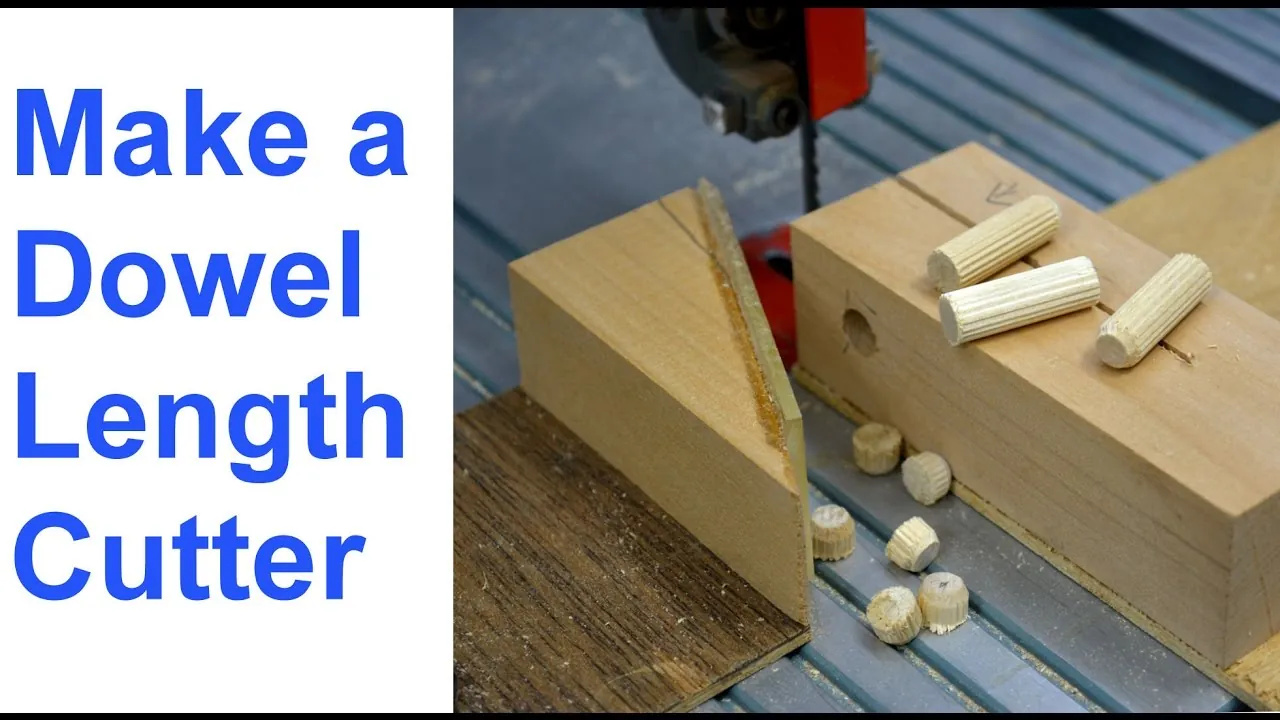
- Use a sacrificial fence or block to prevent the dowel from rolling during the cutting process.
- Always match the blade tooth count (TPI) to the thickness of the dowel for a smoother finish.
- Clamping your workpiece is the most effective way to maintain safety and precision.
- Sand the cut ends immediately to remove burrs and ensure a flat surface for gluing.
- Wear appropriate eye and ear protection whenever operating power tools.
How to Cut Wooden Dowels Safely
Cutting dowels requires a different approach than cutting flat lumber because the cylindrical shape can roll or rotate under the pressure of a saw blade. When working with hand tools, a miter box is your best friend for achieving perfectly square ends. If you’re using power tools, you must prioritize stability to keep the dowel from spinning, which can cause the blade to kick back or tear the wood grain unevenly.
Warning: Never attempt to hold a short dowel by hand near a spinning saw blade; always use a jig, a clamp, or a miter box to keep your fingers at a safe distance from the cutting zone.
To get started, evaluate the size of the dowel. Small dowels, under half an inch in diameter, are best handled with a fine-toothed pull saw or a razor saw. Larger dowels, such as those used for closet rods or table legs, often require a miter saw or a circular saw with a dedicated guide. Consistency is the goal, so establish a workflow that keeps your cuts repeatable and clean.
Choosing the Right Cutting Tool
The tool you choose depends on the material, the diameter, and the volume of cuts you need to make. A simple hand saw works for occasional projects, but a miter saw becomes necessary for high-volume production. Consider the following options for your workshop:
| Tool Type | Best For | Precision Level |
|---|---|---|
| Razor Saw | Small modeling dowels | High |
| Japanese Pull Saw | Hardwood dowels | Very High |
| Miter Box | Square, angled cuts | High |
| Compound Miter Saw | Large volume, thick dowels | Medium-High |
| Rotary Tool | Quick, rough trimming | Low |
Using a Miter Box for Precision
A miter box is a simple guide that holds the dowel in place while providing a slot for your saw blade. This ensures your cut is perfectly perpendicular to the length of the dowel. When using a miter box, place the dowel deep into the channel and hold it firmly against the back wall. If the dowel is loose, wrap a small piece of painter’s tape around it to increase the diameter slightly for a snug fit.
Power Tools for Heavy-Duty Work
When cutting thick dowels (over one inch in diameter), a compound miter saw is often the most efficient choice. To prevent the wood from rolling, build a simple V-block jig. This is a piece of scrap wood with a V-shaped groove cut into it, which cradles the dowel and keeps it centered under the blade. Secure the V-block to your saw’s fence to ensure the dowel remains stationary throughout the entire cutting stroke.
Why Do My Dowels Splinter?
Splintering occurs when the saw blade tears the wood fibers instead of slicing through them cleanly. This is common in softer woods like pine or poplar, especially when using a coarse-toothed blade.
To minimize this, always use a blade with a high tooth count, often referred to as a “finish” or “fine-cut” blade. Additionally, score the surface of the dowel with a utility knife before sawing; this severs the surface fibers and creates a clean starting line for your saw blade.
Pro Tip: Apply a piece of masking tape around the area where you intend to cut. The tape holds the wood fibers together as the blade passes through, significantly reducing the amount of “fuzz” or tear-out on the edges.
Measuring and Marking Techniques
Precision in cutting starts with precision in measuring. Never rely on a single mark when you’re cutting multiple lengths. Instead, use a stop block. A stop block is a small piece of wood clamped to your workbench or saw fence at the exact distance required. You simply push the end of the dowel against the block and make your cut. This guarantees that every piece is identical in length without the need for repetitive measuring and marking with a pencil.
Tools for Accurate Measurement
- Digital calipers for exact diameter verification.
- A steel rule or combination square for marking lengths.
- A marking knife instead of a pencil for a thinner, more accurate line.
- A stop block for consistent length production.
Preparing the Cut for Assembly
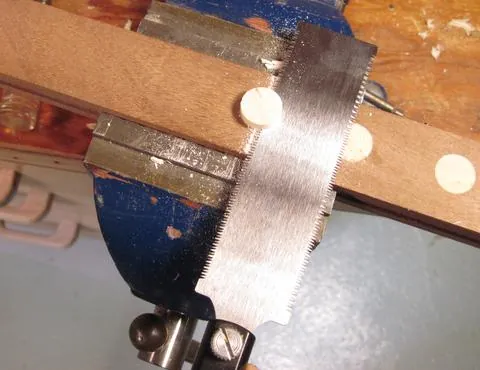
Once the cut is made, the end of the dowel will often be slightly rough or have small bits of wood hanging off. You should always sand the end to ensure it sits flush against the mating surface.
Use a sanding block with medium-grit sandpaper (around 120-grit) and rotate the dowel as you sand to keep the end flat. If you need a rounded edge, hold the dowel at an angle and sand the perimeter lightly to create a small chamfer, which makes inserting the dowel into a hole much easier.
Is a Table Saw Safe Here?
While you can technically use a table saw to cut dowels, it’s generally discouraged due to the risk of the dowel rolling or binding in the blade. If you must use a table saw, you should use a crosscut sled.
A sled supports the dowel on both sides of the blade and prevents it from moving or rotating. Never push a round dowel through a table saw using only your hands; the lack of a flat surface makes it inherently unstable and prone to dangerous kickback.
Selecting the Correct Saw Blade
The teeth of your saw blade act like tiny chisels. For hardwoods like oak, maple, or walnut, use a blade with more teeth per inch (TPI). A blade with 60 to 80 teeth on a 10-inch miter saw will provide a much smoother cut than a framing blade with only 24 teeth. For softwoods, a slightly lower TPI is acceptable, but if you want a furniture-grade finish, always lean toward higher TPI counts.
Managing Dust and Debris
Cutting wood creates fine dust that can irritate your lungs and coat your workshop. Always wear a N95-rated respirator or a dedicated dust mask when cutting, particularly when working with hardwoods or treated lumber. According to the Occupational Safety and Health Administration, prolonged exposure to wood dust can lead to respiratory health issues, so ensuring proper ventilation and using a shop vacuum attached to your tool’s dust port is critical for maintaining a healthy environment.
How to Cut Dowels at Angles
Cutting dowels at an angle, such as for a mitered joint or a decorative end, requires the same stability as a square cut. Set your miter saw to the desired angle and use a V-block to keep the dowel from rotating.
If you’re using a hand saw, use a miter box that has pre-cut slots for common angles like 45 degrees. When cutting at an angle, the surface area of the cut increases, which makes it easier for the blade to wander; therefore, use a slower, more controlled feed rate to maintain the path of the cut.
Troubleshooting Common Cutting Issues
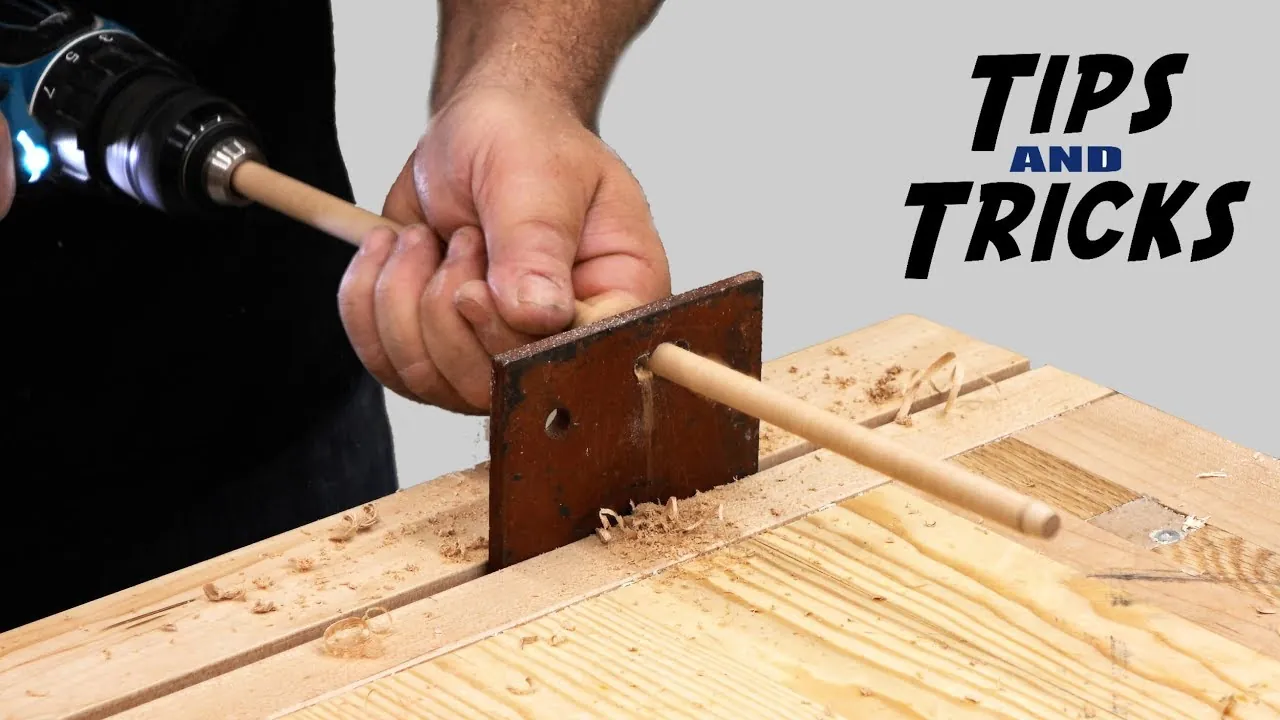
Even with the best tools, you might encounter issues. If your blade is burning the wood, you’re likely moving too slowly, or your blade is dull. A dull blade creates friction rather than a clean cut, resulting in dark, scorched marks on the wood.
If the dowel is vibrating, you’re likely not supporting the piece adequately. Always ensure that the portion of the dowel extending beyond the cut is supported by a stand or a block of wood at the same height as your saw table.
| Issue | Likely Cause | Solution |
|---|---|---|
| Burning | Dull blade or slow feed | Sharpen blade; increase speed |
| Splintering | Coarse blade | Switch to high TPI blade |
| Wandering Cut | Lack of support | Use a V-block or stop block |
| Rolling Dowel | Unstable workpiece | Clamp firmly or use a jig |
Frequently Asked Questions
Can I cut a dowel with a hacksaw?
Yes, a hacksaw is an excellent tool for cutting metal dowels or even wooden ones if you need a very fine, thin cut. Because hacksaw blades are thin and have many small teeth, they produce a very clean result. However, because the blades are flexible, they can bow, making it difficult to achieve a perfectly straight cut on thicker wooden dowels.
What is the best way to cut a long dowel?
For long dowels, support the entire length on a series of stands or a long workbench. If you try to cut a long dowel while letting one end hang off the edge of a table, the weight of the unsupported section can cause the dowel to snap or splinter just before the cut is finished. Keep the entire length level and supported throughout the process.
Should I use a handsaw or power saw?
Use a handsaw for small projects, quick repairs, or when you only need one or two clean cuts. Use a power saw, specifically a miter saw, when you need to cut many pieces to the exact same length. Power saws are faster and more efficient, but they require more setup to ensure safety and accuracy, especially for round materials like dowels.
How do I prevent the dowel from spinning?
The best way to prevent spinning is to use a V-block. A V-block provides two points of contact, which effectively locks the round surface of the dowel in place. Alternatively, you can use a toggle clamp or a spring clamp to press the dowel firmly against your fence. Never rely on your hand to hold the dowel stationary during a power saw cut.
Can I cut a dowel with a utility knife?
You can score and snap very thin dowels (1/8 inch or smaller) using a sharp utility knife. Place the dowel on a cutting mat, mark your line, and score it repeatedly, rotating the dowel as you go. Once the groove is deep enough, you can snap it by hand. This isn’t practical for thicker dowels, as the cut will be uneven and potentially dangerous.
Do I need to lubricate the blade?
Generally, no. Lubrication is only necessary when cutting metal or plastics that might melt and stick to the blade. For wood, lubrication is unnecessary and can actually stain the end grain of your dowel, which may interfere with wood glue or finishes later on. Focus on using a sharp, clean blade instead of adding any external lubricants to the wood.
Conclusion
Successfully cutting wooden dowels is a foundational skill that opens up countless possibilities for your woodworking projects. By focusing on stability, using the right blade for the task, and taking the time to measure twice, you’ll achieve professional-grade results every time. Start by practicing on scrap pieces of dowel to dial in your technique before moving on to your final project materials.