
To protect your outdoor furniture from sun and rain, you apply a clear, exterior-grade polyurethane or water-based sealant over the dried paint. Sealing painted wood for outdoor use creates a moisture barrier that keeps the finish from peeling or fading prematurely. You’ll need a clean, dry surface, a high-quality synthetic brush, and a sealant rated specifically for exterior exposure. This guide covers the preparation, application techniques, and maintenance routines needed to keep your projects looking fresh in changing weather conditions.
Choosing the Best Sealant to Protect Painted Outdoor Wood
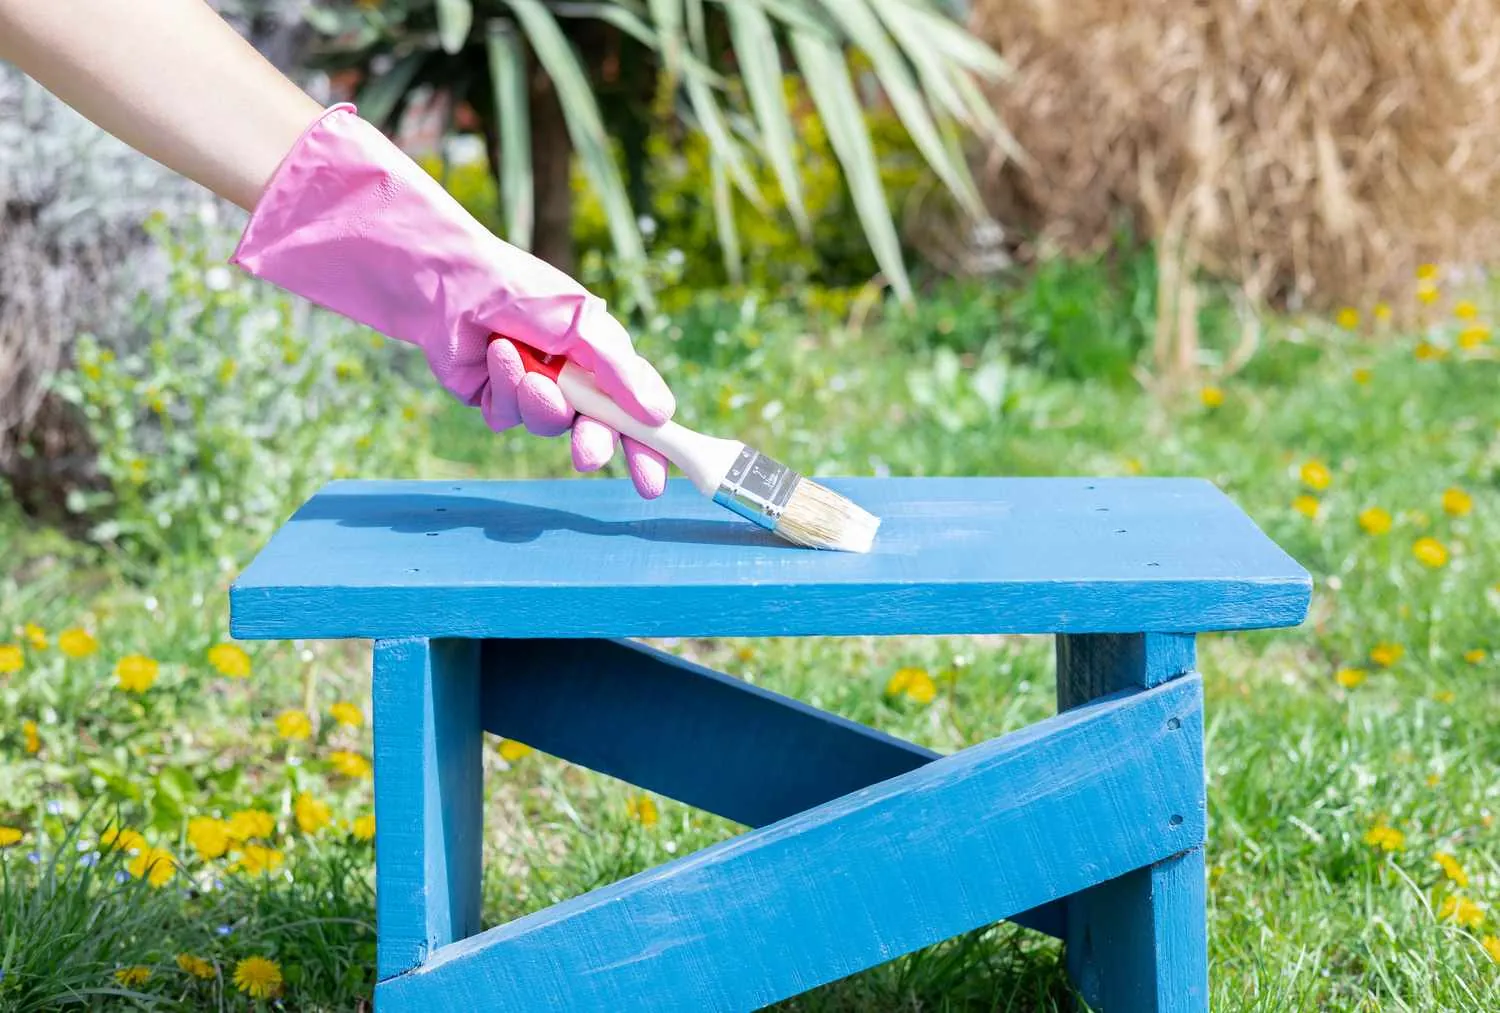
A sealant for painted wood acts as a sacrificial layer between the environment and your paint. It’s used to block ultraviolet rays and prevent water from soaking into the wood fibers, which causes wood to swell and paint to crack. This is essential for anyone living in areas with high humidity or direct sunlight. The most common mistake is applying a thick coat too quickly, which leads to bubbling and an uneven, cloudy finish.
Many people assume that any clear coat works for any surface. However, you must match your sealant to your base paint. If you used an oil-based paint, you generally need an oil-based clear coat; if you used a water-based acrylic paint, you need a water-based clear coat.
Using the wrong type causes the layers to separate or “alligator,” where the top layer cracks into a skin-like pattern. Always check the label on your paint can to see what the manufacturer recommends for topcoats.
Steps for Applying Protective Sealant
- Clean the surface thoroughly using a damp cloth and a mild soap solution to remove dust, pollen, or grease. Let the wood dry completely for at least 24 hours before you start.
- Sand the painted surface very lightly with 220-grit sandpaper. This creates tiny scratches that help the sealant stick, but be careful not to sand through your paint.
- Remove all sanding dust with a tack cloth. If you leave dust behind, the sealant will look gritty and uneven once it dries.
- Stir your sealant gently with a wooden stick. Don’t shake the can, as shaking creates air bubbles that will transfer onto your wood.
- Apply a very thin, even layer using a high-quality synthetic bristle brush. Work in long, smooth strokes following the direction of the wood grain.
- Allow the first coat to dry according to the manufacturer’s instructions, usually 4 to 6 hours. Lightly sand again, wipe clean, and apply a second thin coat for better protection.
- Let the final coat cure fully before putting the furniture outside. Most products require a full 48 hours of protection from rain and direct sun during this time.
The key to a professional finish is the thickness of your coats. If you apply a thick, heavy layer, it will never cure properly and will turn white or hazy when exposed to moisture. Thin, multiple layers are always stronger than one heavy, uneven application.
Essential Figures for Outdoor Projects
| Situation | What to use | How long | What to watch for |
|---|---|---|---|
| High humidity | Water-based poly | 6 hours | Cloudy finish |
| Full sun exposure | UV-rated spar urethane | 24 hours | Yellowing tint |
| High-traffic areas | Exterior acrylic | 4 hours | Sticky surface |
| Raw wood base | Exterior primer | 12 hours | Wood knots |
| Curing time | No contact | 48 hours | Rain/dew |
If you’re working in humidity above 60 percent, water-based poly may trap moisture. This creates a milky haze that never clears. In these conditions, switch to a solvent-based sealer to ensure the finish bonds correctly.
For UV-rated spar urethane, apply no more than two thin coats. Thick layers crack under thermal expansion. If the wood feels warm to the touch, wait until the evening to apply to prevent bubbling.
When treating raw wood, use a shellac-based primer specifically over knots. Standard exterior primers fail to seal resin, which will bleed through your topcoat within months.
If you expect rain within the 48-hour curing window, cover the project with a loose tarp. Don’t let plastic touch the surface directly. Trapped condensation will ruin the finish, leaving permanent white spots that require sanding to remove.
Always test your chosen product on a scrap piece of the same lumber. If the grain raises significantly, you must sand with 220-grit paper before the final coat. Skipping this step leaves a rough texture that catches dirt and accelerates weathering.
Achieving a Professional Finish
Experienced painters know that the environment during application is just as important as the product itself. Never apply sealant if the temperature is below 50°F or if rain is expected within the next 24 hours. High moisture in the air prevents the chemicals from bonding, which results in a finish that turns milky or peels off in sheets during the first storm.
Preparation is where most beginners struggle. If you don’t sand the surface, the sealant will sit on top of the paint like a thin film that eventually peels away. Use a light hand with your sandpaper; you’re just dulling the gloss, not removing the color.
Once you have applied your coats, keep the project in a shaded, ventilated area until it’s fully cured. According to the Environmental Protection Agency, you should always ensure the surface is free of lead paint before sanding, especially if you’re working on older furniture or structures.
Troubleshooting Common Issues
| What you notice | What it usually means | What to do first |
|---|---|---|
| Bubbles in finish | Shaking the can | Pop them while wet |
| Milky appearance | Moisture trapped | Move to dry area |
| Sticky surface | Applied too thick | Wipe with mineral spirits |
| Cracking pattern | Incompatible layers | Sand down and redo |
If you see bubbles, stop shaking the can entirely. Stir the finish gently with a clean wooden stick to avoid introducing air. If bubbles persist, you’re likely using a roller with too much nap; switch to a high-density foam applicator to eliminate surface tension.
A milky appearance often signals that the ambient humidity exceeds 60 percent. If the finish remains cloudy after it has fully cured, the moisture is trapped within the film and may require stripping or specialized treatment.
Sticky surfaces usually occur when the temperature drops below 65 degrees Fahrenheit during application. The finish can’t cure properly in the cold, leaving a soft, tacky residue. If the surface remains tacky after 24 hours, the finish has failed to cure; you must strip the affected area entirely using a chemical paint stripper or sanding before reapplying.
Cracking patterns indicate a chemical mismatch between your base coat and topcoat. If you apply a water-based finish over an oil-based primer, the layers will repel each other as they dry. Always test a small, hidden area first if you’re unsure about the compatibility of your products.
Legal and Safety Requirements
Safety is the first priority when working with chemical sealants. Always work in a well-ventilated space, such as an open garage or outdoors on a calm day, to avoid breathing in fumes. If you’re working on a large structure, check your local building codes or homeowners association rules, as some areas have restrictions on the types of volatile organic compounds (VOCs) allowed in exterior coatings.
If you’re unsure about the safety of a specific product, check the manufacturer’s Safety Data Sheet (SDS). This document lists all the chemicals in the product and explains exactly how to store and dispose of it. Keep a copy of the SDS near your workspace. If you experience dizziness or skin irritation, stop immediately and move to fresh air.
If you’re working on a project that involves heavy lifting or working at heights, hire a professional to ensure the work meets local safety standards. Never attempt to seal surfaces that will come into direct contact with food, such as a dining table, without checking that the specific product is food-safe.
Look for the FDA-compliant label on the container. If the label doesn’t explicitly state it’s safe for food preparation surfaces, assume it’s toxic. Using a standard industrial sealant on a kitchen surface can lead to chemical leaching over time.
Protecting Your Hard Work
Once the sealant has cured, keep the surface clean by wiping it down with a damp cloth once a month. Avoid using harsh chemical cleaners, as these can strip the protective layer and expose the paint underneath. If you notice the finish starting to look dull or thin, it’s time to add a fresh coat. You don’t need to strip the furniture; just clean it, sand it lightly, and apply one new layer to restore the barrier.
How long the sealant lasts depends on your local climate. In areas with intense sun, you should expect to re-seal periodically. In shaded, dry areas, the finish can last for a significant duration. If you see signs of peeling or wood graying, address the spot immediately. Catching a small spot before it spreads saves you from having to sand and repaint the entire piece later.
Use a simple water-bead test to determine if your protection remains intact. Splash a few drops of water onto the surface; if the water beads up, the sealant is still active. If the water soaks into the wood or leaves a dark mark, the barrier has failed.
Many people make the mistake of over-applying the sealant, which leads to a tacky, gummy texture that attracts dust. Stick to two thin coats rather than one thick, heavy layer. A thin application cures evenly and resists cracking under pressure.
When to Change Your Approach
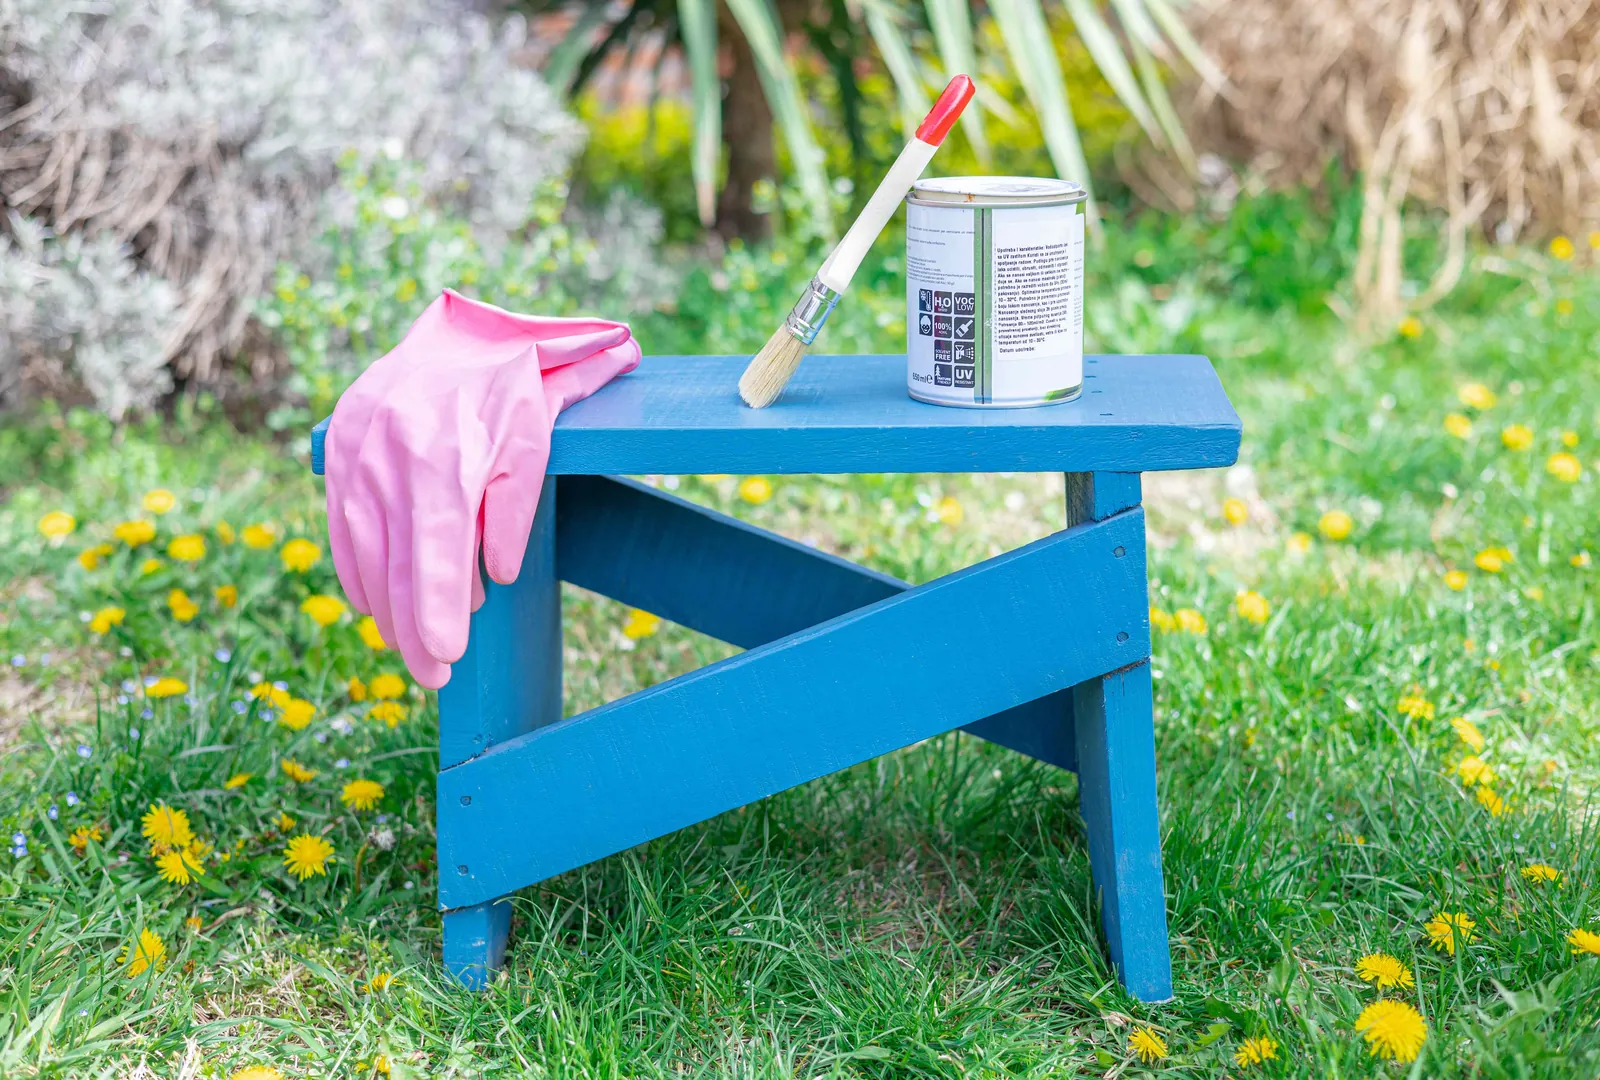
If your wood is already rotting or the paint is heavily peeling, sealing it won’t save the piece. Sealant only protects a healthy surface; it can’t fix structural damage. In these cases, you must strip the wood, repair the rot, and start the painting process from the beginning.
If you can press a screwdriver into the wood fibers and they crumble, the rot has already compromised the structural integrity. Surface coatings will only mask the decay while the core continues to disintegrate.
Another situation where this approach fails is on horizontal surfaces that hold standing water, like flat deck boards. Sealant will trap moisture in these areas and cause rot from the inside out. For decks and walkways, use a specialized deck stain that allows the wood to breathe, rather than a film-forming sealant.
If water stops beading on the surface, the sealant has likely failed and is no longer providing a moisture barrier. Switch to a penetrating oil finish instead. This allows trapped vapor to escape through the grain, preventing the blisters and peeling that inevitably follow when a rigid film fails.
Related guides
Frequently asked questions
How long does it take for outdoor sealant to dry?
The sealant usually feels dry to the touch in 2 to 4 hours, but it requires 48 hours to reach a full cure. During this 48-hour window, you must keep the item away from rain, dew, and direct, intense heat. If you use the item before it cures, the finish will become tacky and attract dirt, which is very difficult to clean off later.
Can I apply sealant over old paint?
Yes, you can apply sealant over old paint if the paint is in good condition and firmly attached to the wood. You must clean the surface thoroughly to remove any dirt or oil, then scuff-sand the paint so the sealant has something to grip. If the old paint is bubbling or peeling, you must scrape and sand it off first, or the sealant will just peel away with the loose paint.
Is it safe to seal wood in direct sunlight?
No, you should never apply sealant in direct sunlight. The sun causes the top layer of the sealant to dry too fast while the bottom layer stays wet, which creates bubbles and cracks. Always work in the shade or wait for an overcast day to ensure the product dries at a steady, even rate for the best protection.
What happens if I skip the sanding step?
If you skip sanding, the sealant will likely peel off within a few months. The paint surface is often too smooth for the clear coat to bond, so the sealant acts like a loose skin that pulls away. Sanding with 220-grit paper creates the texture needed for the sealant to anchor itself, which ensures the finish lasts through changing seasons.
How often do I need to reapply the sealant?
You should reapply the sealant every 12 to 18 months for furniture kept in direct sun, or every 2 to 3 years for items in the shade. The best way to know is to check for a loss of gloss or small scratches in the finish. If the surface looks dull or water no longer beads up on the paint, apply a new, thin coat to maintain the barrier.
Conclusion
Regular maintenance is the best way to extend the life of your painted outdoor wood. By checking the surface twice a year, you can spot small areas where the sealant has worn thin and fix them before the paint underneath starts to fail. This simple habit keeps your furniture looking new for many years.