
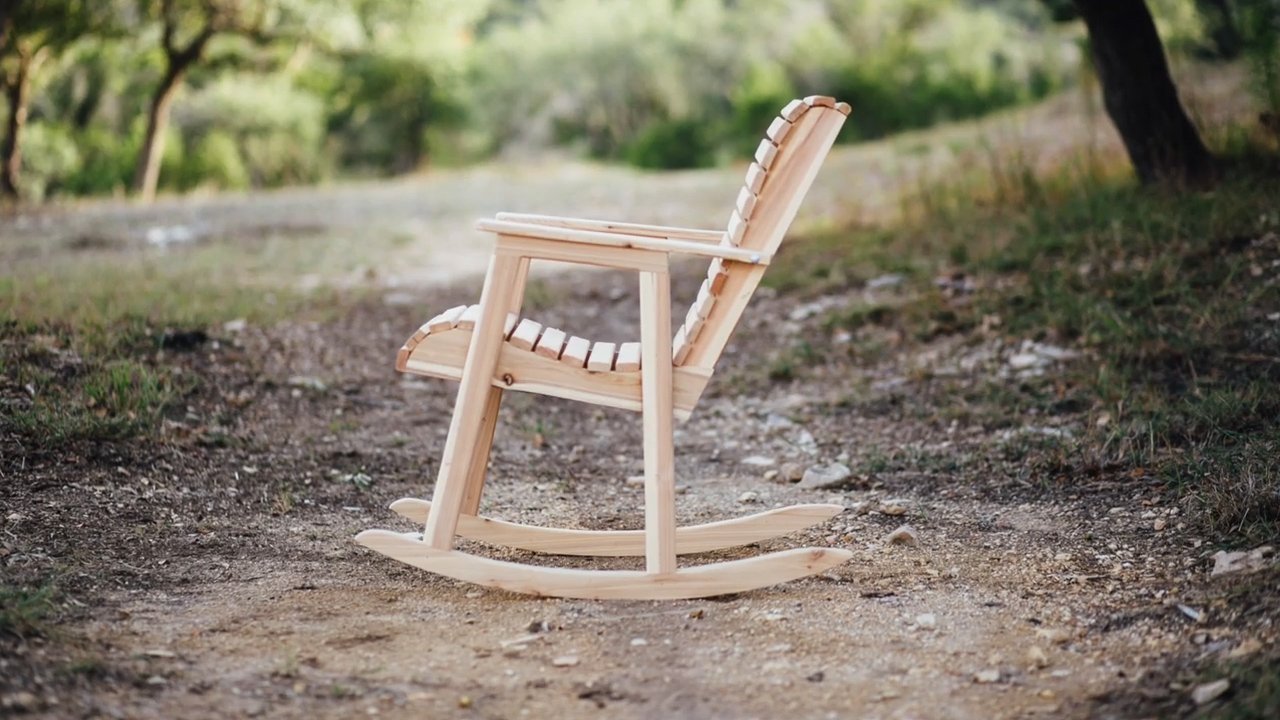
Building a wooden rocking chair requires 40 to 60 hours of labor and $150 to $400 in materials depending on the wood species. This intermediate-level project involves precise angled joinery and careful shaping, so ensure you have a level workspace and reliable tools before beginning.
Gathering supplies to make your rocking chair

You need to gather all necessary hardware and lumber before you begin to avoid interruptions. The following table outlines the standard requirements for a basic design.
| Item | How much | Why it’s needed | A substitute |
|---|---|---|---|
| Hardwood boards | 20-30 board feet | Structural frame | Softwood isn’t recommended |
| Wood glue | 16 fluid ounces | Permanent bond | none — don’t swap this |
| Wood screws | 50-75 count | Reinforcing joints | none — don’t swap this |
| Sandpaper | 10-20 sheets | Smoothing surfaces | none — don’t swap this |
| Clamps | 6-10 count | Holding pieces | Heavy weights |
| Finish | 1 quart | Sealing wood | none — don’t swap this |
Preparing your workshop area
- Clear your workbench of all debris and dust to ensure that your wood pieces lay perfectly flat during glue-ups.
- Check that your power tools are calibrated correctly; if your blade is off by even one degree, your rockers won’t sit level on the floor.
- Cover the floor with a protective mat to prevent scratches on your finished chair, as wood surfaces are easily marred during the assembly process.
- Ensure your shop has adequate ventilation, as the U.S. Environmental Protection Agency warns that dust and finishing fumes can build up quickly in enclosed spaces.
- If you don’t have a dedicated dust collection system, wear a high-quality respirator at all times to protect your lungs from fine wood particles.
Constructing the frame and rockers
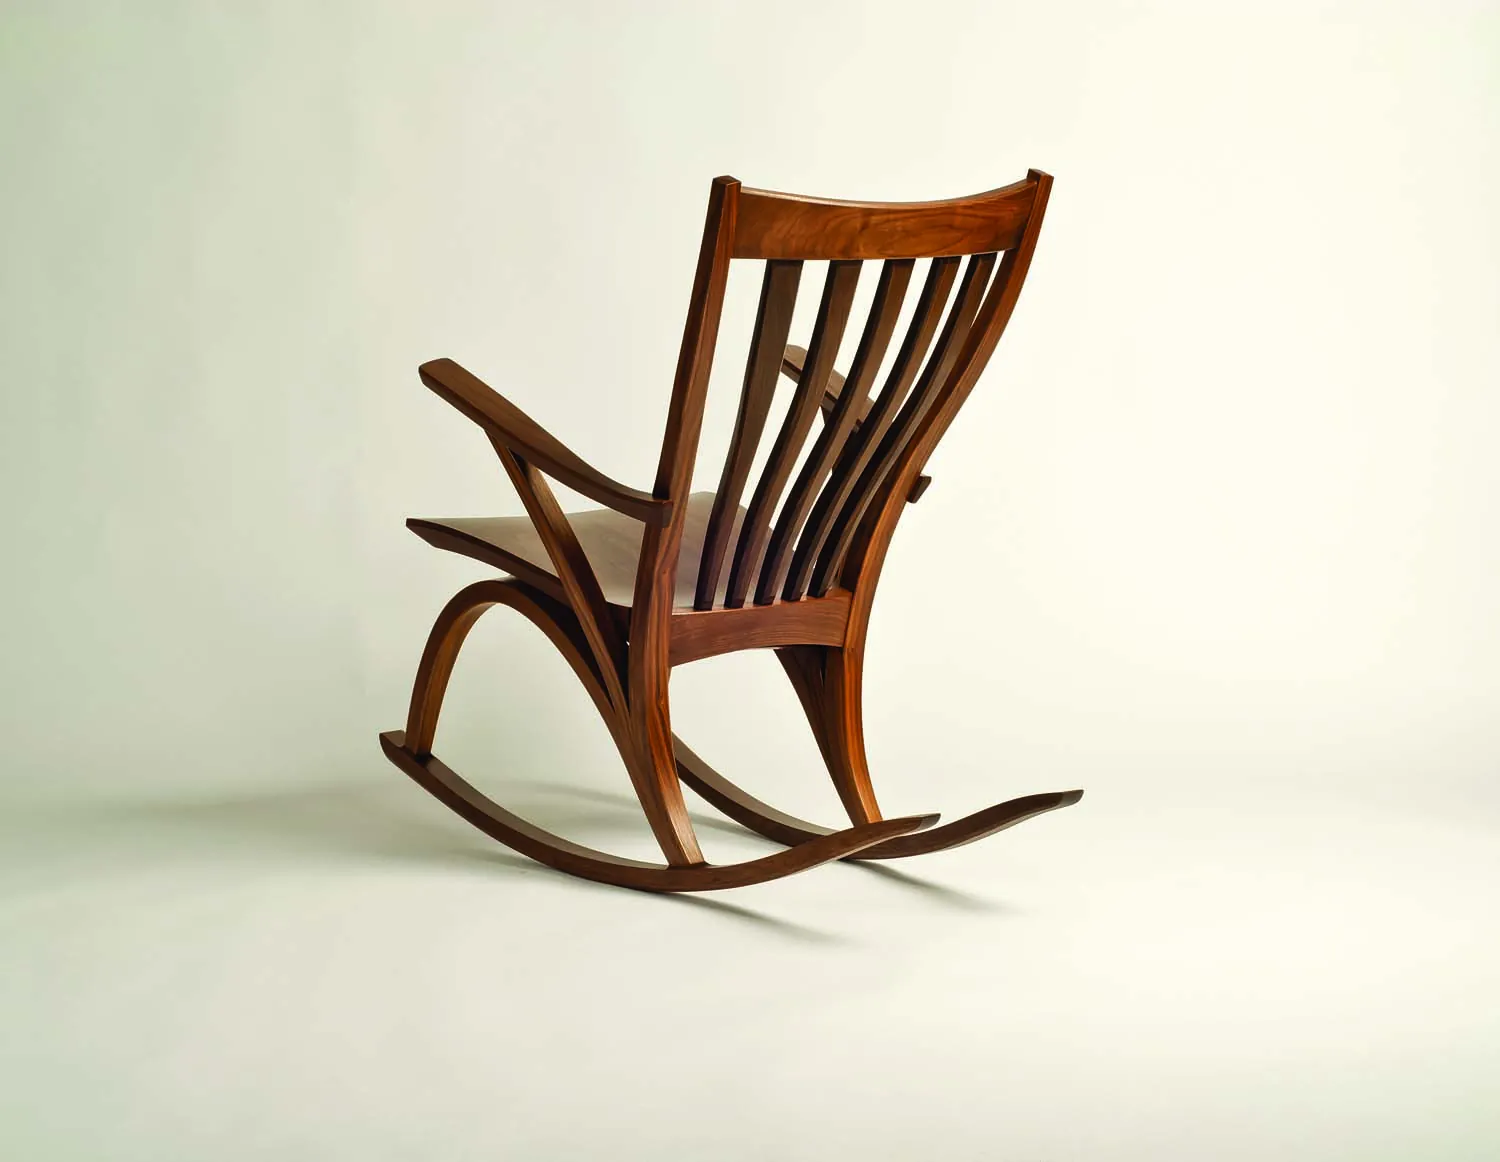
- Cut your primary frame components to size using a table saw, ensuring all pieces are square. You’ll need four legs, two seat rails, and two back supports. Measure twice before every cut to avoid wasting expensive hardwood, as a single error here can compromise the entire chair’s integrity.
- Shape the rockers using a band saw, following a template you have drawn on heavy cardboard to ensure both sides are identical. A consistent curve is essential for a smooth motion; if one rocker is flatter than the other, the chair will wobble or lean to one side during use.
- Cut mortise and tenon joints for the main frame connections, as these provide the most strength for a piece of furniture that experiences constant movement. Test the fit of each joint dry before applying any glue; if the joint is too loose, use a thin wood shim to tighten the connection.
- Glue the back assembly together first, using long bar clamps to hold the pieces firmly in place for at least 12 hours. Ensure the backrest has a slight backward tilt, typically between 15 and 20 degrees, to make the chair comfortable for an adult of average height.
- Attach the seat rails to the back assembly, checking that they’re level with a spirit level on a flat surface. Use temporary support blocks if necessary to keep the rails at the correct height, which is usually 17 inches from the floor for a standard adult chair.
- Secure the front legs to the seat rails, ensuring they’re perfectly parallel to the back legs. If your legs are splayed outward, the chair will feel unstable; check the distance between the feet at both the top and bottom to confirm they match exactly.
- Mount the rockers to the bottom of the legs using heavy-duty bolts or reinforced dowels. The center point of the rocker curve should align with the center of gravity of the chair, which you can find by balancing the frame on a thin board before final attachment.
- Sand all surfaces thoroughly, starting with 80-grit paper and moving up to 220-grit for a smooth finish. Never skip the sanding steps, as any rough patches will be magnified once you apply your stain or clear coat, making the chair look unprofessional and unfinished.
- Apply three coats of a durable polyurethane finish, allowing the recommended drying time between applications. Ensure the room temperature is between 65 and 75 degrees Fahrenheit, as finish applied in cold or humid conditions may never fully cure and could remain tacky for weeks.
Signs of a successful build
A well-made chair sits level on a flat floor without rocking or tilting when unoccupied. If you notice the chair tips forward or backward on its own, the rocker curvature needs adjustment or the seat position is unbalanced.
The joints should feel rigid, showing no signs of movement when you apply pressure to the armrests. If you hear any creaking sounds when sitting down, check all screw connections and glue joints for hidden gaps that may have opened during the curing process.
If the chair feels stiff or difficult to move, it may be due to the finish buildup in the joints or the rocker profile being too deep. A second round of sanding on the contact points of the rockers can often solve this. If the chair remains uncomfortable, you might need to adjust the angle of the seat or add a cushion to account for the wooden surface’s natural hardness.
Troubleshooting common issues
| What happened | Why | What to do |
|---|---|---|
| Chair wobbles | Uneven legs | Trim the longest leg |
| Joints loose | Poor glue contact | Reinforce with dowels |
| Rocker sticks | Incorrect curve | Reshape the rocker |
| Finish is sticky | High humidity | Move to dry area |
| Screws stripped | Soft wood choice | Use epoxy filler |
If your chair wobbles, place it on a guaranteed flat surface like a table saw bed before trimming. A floor that looks level often hides subtle dips that lead to over-cutting.
When dealing with sticky finish, check if the surface feels tacky or if the finish remains soft. If it’s soft, the humidity trapped the solvents, and you must strip it back to bare wood. If it’s just tacky, a light dusting of furniture wax often resolves the issue.
For stripped screws, don’t rely on wood glue alone. It lacks the structural integrity to hold a fastener under tension. Instead, pack the hole with epoxy mixed with sawdust. Once cured, drill a pilot hole smaller than the screw shank to prevent splitting the grain.
Maintenance and care schedule
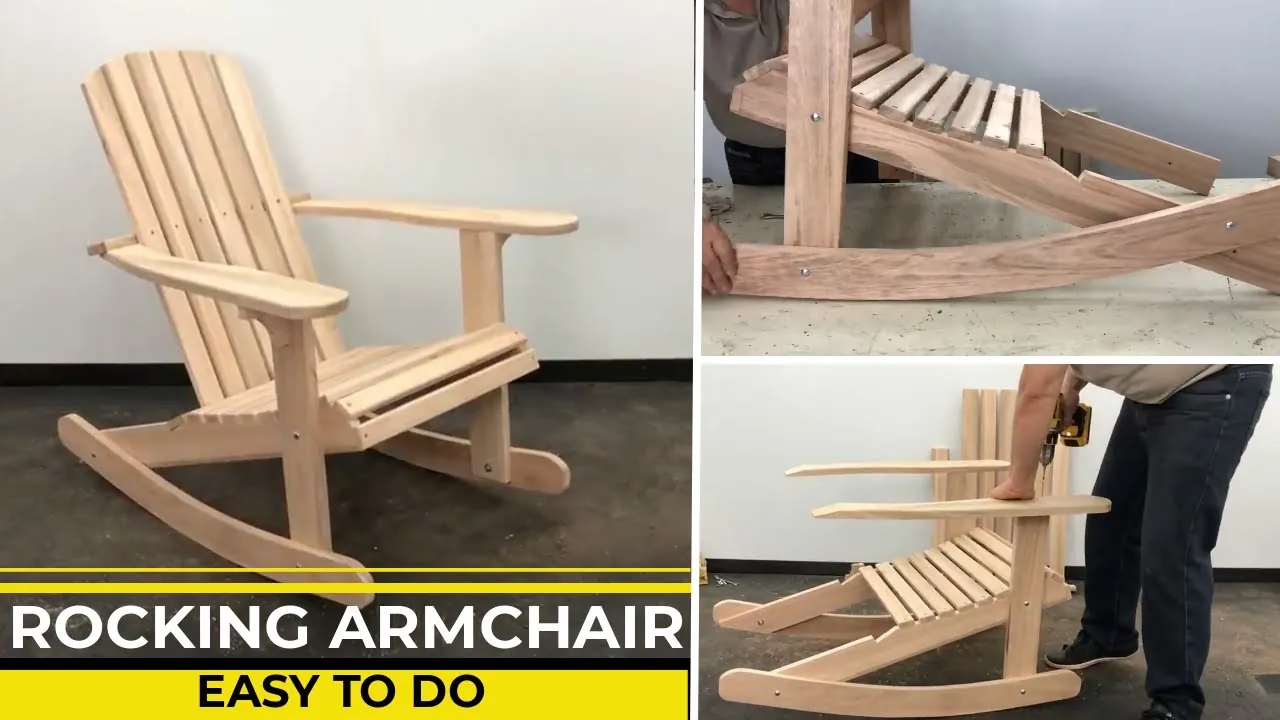
You should inspect your chair every six months to ensure the structural integrity remains intact. The frequency of this maintenance depends on how often the chair is used and the humidity levels in your home. If the chair is kept in a high-traffic area, check the joints more often for signs of wear.
If you live in a very dry climate, the wood may shrink slightly, causing joints to loosen over time; in this case, a quick tightening of the screws or a drop of wood glue can prevent further damage. Always keep the chair away from direct heat sources like radiators, as extreme heat can cause the wood to warp or crack, permanently altering the chair’s balance and comfort.
Related guides
Frequently asked questions
Can I build a rocking chair without a band saw?
You can build a chair without a band saw by using a hand-held jigsaw. A jigsaw is capable of cutting the rocker profiles, though it requires extra sanding to achieve a smooth, balanced curve.
Is it safe to use pine for a rocker?
It’s generally not recommended to use pine for a structural rocking chair because it’s too soft to hold joints securely under constant motion. Hardwoods like oak, maple, or cherry provide the necessary density to prevent the mortise and tenon joints from enlarging over time. If you must use pine, you’ll need to significantly increase the thickness of all frame members to compensate for the wood’s lack of structural strength.
How long should I let the glue cure?
You should allow at least 24 hours for the wood glue to reach full strength before sitting in the chair. While glue feels dry within an hour, the internal bond takes much longer to reach maximum power.
Why does my chair creak when I rock?
Creaking usually happens when there’s slight movement between two wood surfaces that weren’t perfectly joined. Check all screws to ensure they’re tight, as loose connections are the most common cause of noise.
Does the rocker length matter for comfort?
The length of the rocker determines the range of motion and the stability of the chair. A length of 30 to 34 inches provides the best balance between a smooth motion and a stable footprint.
How do I fix a chair that tips forward?
A chair that tips forward usually has rockers that are too flat at the front or a seat that’s positioned too far forward. You can correct this by removing the rockers and re-shaping the curve to be more aggressive toward the front, or by shifting the seat assembly slightly backward on the frame. Always test the balance on a flat surface after any adjustment to ensure the weight is centered correctly.
Conclusion
The quality of your finished rocking chair relies heavily on the accuracy of your initial measurements and the patience you apply during the sanding and finishing stages. Take your time with every joint, and your chair will serve as a comfortable piece of furniture for many years to come.