

You can cut a groove in wood without a router by using a table saw, a circular saw, or hand tools like a chisel. The method you choose depends on the depth and width of the groove you need, as well as the thickness of your material.
These techniques vary based on the type of wood you’re using, the precision required for your project, and the power tools you currently have available in your workshop.
Selecting tools to groove wood without a router
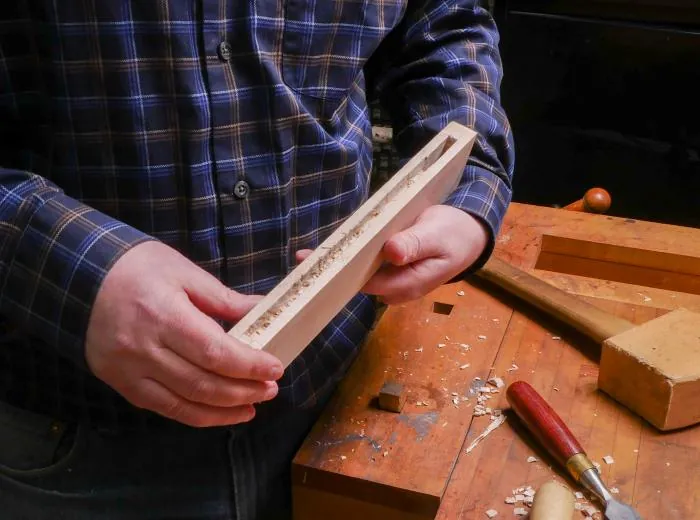
You need to match your tool to the scale of your project. If you’re building a simple shelf or a drawer, a table saw is often the fastest and most accurate choice. For long, straight cuts in large panels that can’t fit on a saw, a circular saw with a guide rail works well.
If you’re working on small, delicate decorative boxes or inlay work, hand tools are the better option. You gain more control and avoid the risk of tear-out that high-speed power tools can cause. This article assumes you have basic safety gear, including eye protection and hearing protection, as recommended by the Occupational Safety and Health Administration.
How to Cut Grooves Step by Step
- Mark the exact position of the groove on your wood using a pencil and a combination square to ensure the lines are perfectly parallel.
- Set your table saw blade height to the desired depth of the groove, making sure it doesn’t exceed half the thickness of the board.
- Attach a sacrificial fence or use your saw’s rip fence to align the board so the blade cuts exactly along your marked line.
- Push the wood through the blade at a steady, slow pace, keeping your hands away from the cutting path at all times.
- If the groove is wider than your blade, shift the fence by the width of the blade and make a second or third pass.
- Clean out any remaining wood fibers from the bottom of the groove using a sharp chisel and a mallet for a flat base.
- Test the fit of your adjoining piece to ensure it slides in without binding, adjusting the depth if it feels too tight.
The final judgment call is the fit; if the wood is too loose, the joint will be weak, but if it’s too tight, you risk splitting the material during assembly. Avoid forcing pieces together. If you lack experience with power tools, consult a local woodworking class or professional before attempting deep cuts.
Comparison of Grooving Methods
| Method | Best Use Case | Effort Level | Primary Risk |
|---|---|---|---|
| Table Saw | Long, straight cuts | Low | Kickback |
| Circular Saw | Large panels | Medium | Blade wander |
| Hand Chisel | Small, detailed work | High | Uneven depth |
| Hand Plane | Shallow grooves | Medium | Tear-out |
| Back Saw | Narrow slots | Low | Depth control |
Choose the table saw only when your workpiece is small enough to maintain full contact with the fence throughout the entire pass. If the board is longer than four feet, the risk of binding increases significantly. Always use a riving knife to prevent the wood from pinching the blade, which is the primary cause of dangerous kickback.
For circular saws, the secret is a straight-edge guide clamped firmly to the material. Without this, the blade will inevitably drift as you push forward. If you’re cutting across the grain, score the wood with a utility knife first to prevent splintering.
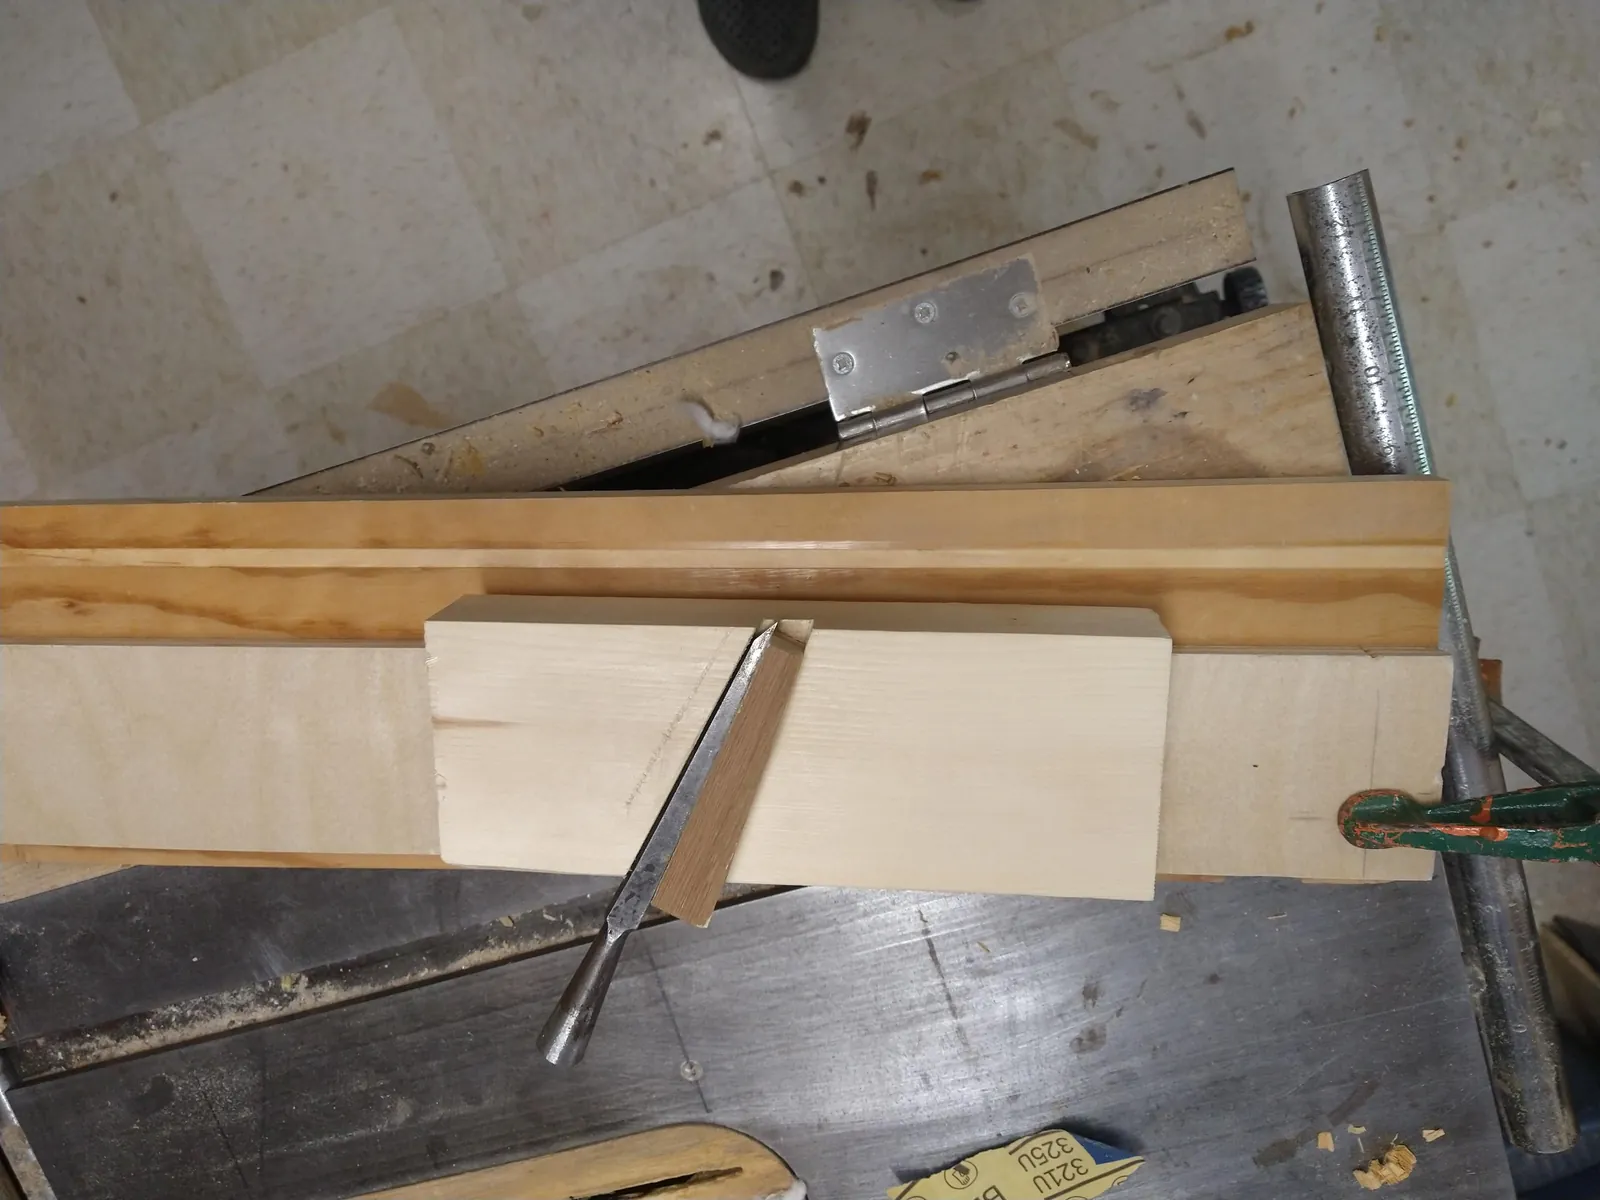
Hand chisels require a depth gauge or a piece of masking tape on the tool shank. Beginners often guess the depth, leading to uneven floors in the groove. If you’re working with hardwoods, take light passes of no more than 1/16 inch at a time.
Hand planes are best for cleaning up existing grooves rather than cutting them from scratch. If you notice tear-out, stop immediately and reverse your direction. The wood grain dictates the cut; if the fibers lift, you’re pushing against the grain.
Back saws excel at precise joinery, but they lack a depth stop. Mark your target depth on both sides of the board with a marking gauge. If you cut past these lines, the joint will be loose and structurally unsound.
Precision and Preparation
Experienced woodworkers always prepare their workspace before starting to ensure the wood doesn’t shift. A common mistake is failing to secure the workpiece with clamps, which causes the wood to move and ruins the groove. If the wood shifts even a millimeter, the joint won’t be square.
Managing Your Setup
Always use a test piece of scrap wood to verify your depth and width settings before cutting your actual project material. This simple step saves you from wasting expensive lumber if your measurements are slightly off.
Controlling the Cut
Keep your feed rate consistent throughout the entire cut to prevent burn marks on the wood. If you stop moving the wood while the blade is spinning, the friction will scorch the surface.
Troubleshooting Common Issues
| What you notice | What it usually means | What to do first | How to stop it happening again |
|---|---|---|---|
| Burn marks | Friction from slow feed | Sand the surface | Maintain constant speed |
| Uneven depth | Blade height drift | Reset height | Tighten locking knobs |
| Jagged edges | Dull blade teeth | Switch blade | Clean blade regularly |
| Loose joint | Too wide a cut | Use a shim | Adjust fence precisely |
| Wood binding | Blade misalignment | Stop immediately | Check fence squareness |
If burn marks appear, you’re likely lingering in one spot for longer than three seconds. This generates heat that scorches the wood fibers. Move the workpiece at a steady, rhythmic pace to prevent heat buildup.
When you encounter uneven depth, check the vibration levels of your machine. If the locking knobs feel loose to the touch, the internal threads have likely vibrated out of position. Tighten these fasteners until they resist firm thumb pressure before every session.
Jagged edges often signal resin buildup rather than a worn-out blade. Soak the blade in a dedicated resin remover for ten minutes before concluding it’s dull. If the teeth still feel blunt after cleaning, replace the blade immediately to avoid motor strain.
A loose joint usually stems from measuring the fence from the blade teeth rather than the blade body. Always use a digital caliper to set your fence distance. If you’re working with stock thinner than half an inch, use a sacrificial fence to prevent the wood from wandering into the blade gap.
Finally, wood binding is a safety hazard that indicates your fence isn’t perfectly parallel to the miter slot. Use a dial indicator to ensure the fence is square to within 0.002 inches. If the wood pinches the blade, turn off the saw, wait for the blade to come to a complete stop, and carefully remove the workpiece by lifting it away from the blade or by spreading the kerf with a wedge.
Rules for Safe Woodworking
Safety is the most important part of any shop project. According to the Consumer Product Safety Commission, you must always keep guards in place on power tools to prevent accidental contact with moving blades. If your tool doesn’t have a functional guard, don’t use it until you have performed the necessary repairs or replacements.
Never force a board through a saw if you feel resistance. If the motor sounds like it’s struggling, turn it off and check the blade for debris or dullness. A common mistake is pushing harder when a blade binds, which often leads to dangerous kickback. If the wood begins to smoke or chatter, turn off the saw immediately and stand clear until the blade has stopped spinning.
Always wear a dust mask, as wood dust can cause respiratory irritation over long periods of exposure. Use an N95-rated respirator for hardwoods like oak or walnut, as these contain natural oils that act as sensitizers. If you’re working in a space smaller than 200 square feet, supplement your mask with a dedicated air filtration unit.
Establish a clear rule for your workspace: if your fingers are within six inches of the blade, use a push stick. If the geometry of the cut makes a push stick impossible, use a featherboard to hold the stock against the fence. This simple barrier prevents the board from wandering into the path of the blade, keeping your hands at a safe distance throughout the entire pass.
Time and Effort Factors
The time required to cut a groove depends heavily on the hardness of the wood and the width of the channel. Cutting a groove in soft pine takes significantly less time than in dense oak. If you’re using hand tools, expect to spend three to four times longer than you would with a table saw.
Cost is usually low if you already own the tools. If you need to buy a specialty blade for your table saw, like a dado stack, expect it to be quite affordable compared to purchasing a dedicated router. Always check current pricing at your local tool supplier, as costs for steel accessories fluctuate based on regional supply and demand.
Maintaining Your Results
Once your groove is cut, store your wood in a climate-controlled area to prevent warping. Aim for a consistent humidity level between 35% and 45%. If the wood swells or shrinks due to seasonal shifts, your joints may no longer fit correctly.
If you notice a joint becoming tight, don’t force the panel. A light sanding of the inner groove walls usually fixes the issue. Use 220-grit sandpaper wrapped around a thin scrap of wood to ensure the walls remain perfectly square.
If you’re using the groove for a sliding panel, apply a small amount of paraffin or beeswax to the inside edges. This reduces friction and allows the panel to move smoothly without wearing down the wood fibers over time.
Avoid using spray lubricants or oils. These products penetrate the wood grain, which can cause the fibers to soften and eventually lead to a loose, rattling fit. If your panel feels heavy or sticks despite the wax, check the groove depth.
A buildup of sawdust or dried finish inside the channel is often the culprit. Use a thin chisel to clear the base of the groove before reapplying wax. If the panel still binds, the wood has likely bowed; in this case, replace the panel rather than widening the groove.
When to Seek Professional Help
This method is the wrong choice if you need a specialized profile, such as a dovetail groove or a stopped groove that doesn’t go through the entire board. In these cases, you need a router or a dedicated shaper tool. If you don’t own these tools, don’t try to replicate the shape with a chisel, as you’ll likely ruin the board.
If you’re working with extremely expensive or rare wood, take your material to a local professional shop. Paying a small fee for a perfect cut is better than risking a mistake that destroys a piece of lumber you can’t easily replace.
Distinguish between a hobbyist project and a high-stakes commission by checking the replacement cost. If the lumber accounts for more than 20% of your total budget, the risk of a single slip outweighs the cost of a professional’s hourly rate. You’re better off outsourcing the task to a shop with a CNC machine or a heavy-duty shaper.
A common mistake is assuming that hand tools can achieve the same precision as industrial machinery on exotic hardwoods. Attempting to force a chisel through dense, interlocking grain often leads to tear-out that no amount of sanding can hide.
If you feel the wood grain resisting your blade, stop immediately. If the grain is figured or highly irregular, don’t attempt the cut yourself. A professional shop will have the carbide-tipped tooling required to handle these materials without causing structural damage to the board.
Frequently asked questions
Can I cut a groove with a hand saw?
Yes, you can cut a groove with a hand saw by making two parallel cuts to define the edges. Use a sharp chisel to remove the waste wood between the cuts until you reach your desired depth.
How long does it take to cut a groove by hand?
It typically takes 15 to 30 minutes to cut a clean, straight groove by hand in a standard board. This time varies based on the wood density and your experience with using a chisel for depth control.
Is it safe to cut grooves without a guard?
No, it’s never safe to operate a power saw without the factory-installed blade guard in place. You should always ensure your safety equipment is functional before you begin any woodworking task to avoid serious injury.
What happens if the groove is too deep?
A groove that’s too deep weakens the structural integrity of the wood board significantly. If you cut past the halfway point, the board may snap under pressure or during the assembly of your project.
Does the wood type matter for grooving?
Hardwoods like oak require more force, while softwoods like pine cut easily but are prone to tear-out.
How do I measure the depth accurately?
You measure the depth using a digital caliper or a depth gauge placed against the edge of the board. Always verify your measurement on a scrap piece of the same material before making your final cut.
Conclusion
Start by marking your lines with a sharp pencil and a square to ensure the layout is perfect. Once you begin cutting, check the depth after the first pass to ensure the tool is set correctly. Stop immediately if you hear the motor struggle or see smoke, as this indicates a dangerous situation.