

You can cut a groove in wood with a router by using a straight bit and a guide fence to control the tool’s path across the board. The result depends on the depth of your cut, the speed of the motor, and the stability of your setup during the operation.
Variables like the hardness of the wood species and the diameter of the router bit change the required speed and number of passes. You’ll need to check your router’s manual for the recommended feed rate and depth limits to ensure you work safely.
Who should use a router on wood
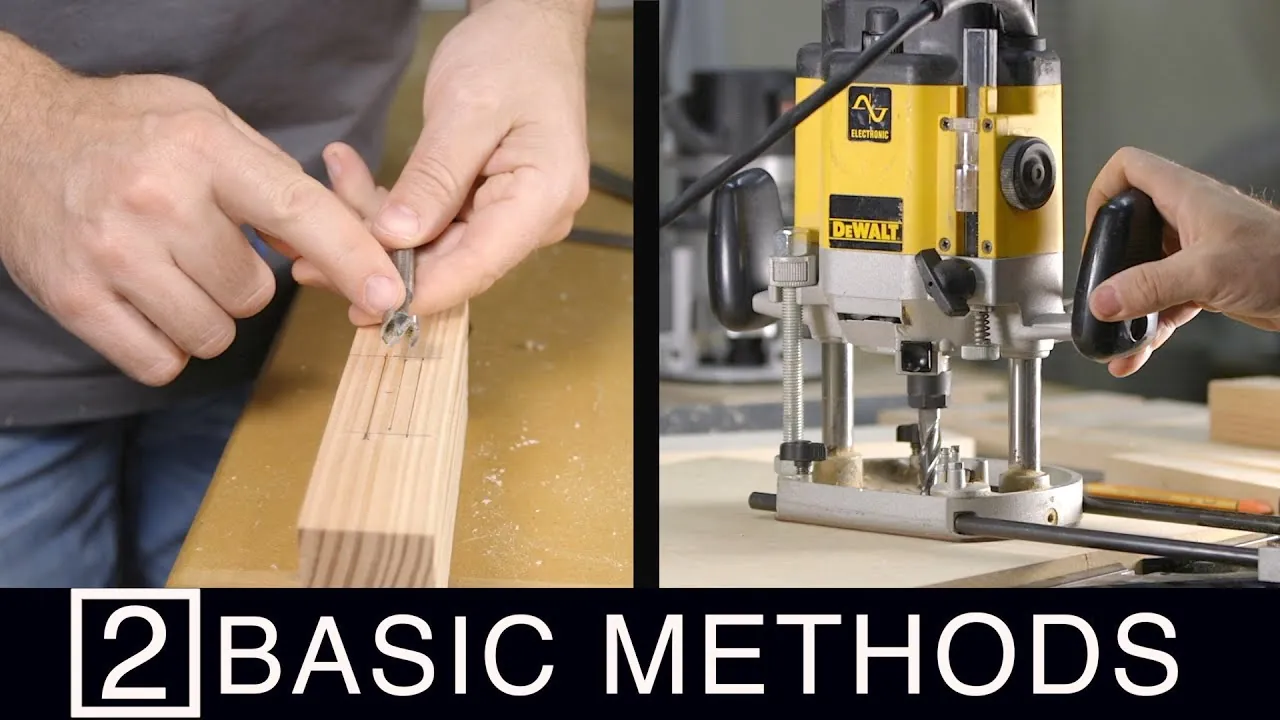
This guide is for woodworkers who own a plunge or fixed-base router and want to create clean slots for joinery or decorative inlays. This page serves those who have their equipment ready and need the technical steps to achieve a consistent, straight line.
If you’re trying to cut a groove into a curved surface or a very thin veneer, this guide isn’t for you. You need specific templates or specialized jigs that aren’t covered here. We assume you’re working with standard dimensional lumber and a basic straight-flute router bit. If you’re using a CNC machine or a stationary shaper table, the steps will differ significantly. You should focus on basic handheld routing techniques before attempting complex custom furniture projects.
Factors that change your results
The sharpness of your router bit is the most important factor for success. A dull bit creates friction, which burns the wood and causes the router to “chatter” or jump. You can test sharpness by feeling the edge carefully; if it feels rounded or dull to your thumb, it’s time to replace or sharpen it.
The depth of the cut per pass is the next critical variable. Never try to cut a deep groove in a single pass, as this puts too much strain on the motor and can snap the bit.
Feed speed determines the finish quality of the groove. If you move the router too slowly, the bit will scorch the wood; if you move too quickly, the bit will tear the fibers and leave a jagged edge. Listen to the motor sound; a high-pitched whine often means you’re moving too fast, while a bogging-down sound means you’re moving too slowly.
The stability of your router base is essential. If the base plate isn’t flat against the workpiece, your groove will be uneven or angled. Always ensure the workpiece is clamped firmly to your workbench so it can’t slide while you’re applying pressure.
Steps to cut a wood groove with a router
- Install a straight router bit into the collet, ensuring at least 3/4 of the shank is inside, then tighten the nut firmly with a wrench.
- Adjust the router depth setting to your desired groove depth, usually starting at 1/8 to 1/4 inch for the first pass.
- Clamp a straight board or a dedicated router guide fence to your workpiece, offset by the exact distance from the bit edge to the router base edge.
- Set the router on the workpiece with the base against the guide fence, but keep the bit away from the wood surface.
- Turn on the router and wait for it to reach full speed before gently lowering the bit into the wood.
- Feed the router along the guide fence in a steady motion, moving against the rotation of the bit to maintain control.
- Turn off the router and wait for the bit to stop spinning completely before lifting the tool away from the board.
- Repeat the process in shallow increments if you need a deeper groove, adjusting the depth setting after each completed pass.
The final quality check is the smoothness of the groove walls. If you see ridges, your feed rate was inconsistent or the bit is vibrating; if the edges are splintered, your bit may be dull.
Variations in routing tasks
| Situation | Action | Effort Level | Watch For |
|---|---|---|---|
| Softwood boards | Use high speed | Low | Fiber tear-out |
| Hardwood boards | Use lower speed | Moderate | Burning marks |
| Deep grooves | Multiple shallow passes | High | Bit overheating |
| Small bits | Slow, steady feed | Low | Bit breakage |
| Wide grooves | Multiple side passes | Moderate | Uneven depth |
When routing softwoods like pine, keep your feed rate fast to prevent the bit from dwelling and burning the grain. If you see fuzzy edges, your speed is too slow or the bit is dull.
For hardwoods, prioritize a slower rotation speed to prevent friction heat. If you detect dark brown streaks, stop immediately; those marks are permanent and require aggressive sanding to remove.
Exceeding this depth causes the tool to deflect, ruining your precision.
If your bit diameter is 1/4 inch or smaller, use a light touch. These bits snap easily under lateral pressure. Always clear away sawdust frequently to maintain visibility and prevent the bit from clogging in the channel.
Achieving a clean result
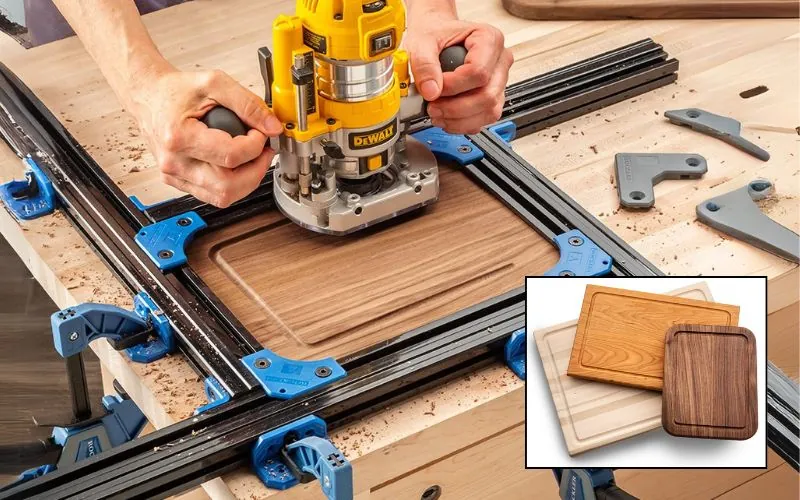
Preparation and setup
Experienced woodworkers always perform a “dry run” without the motor running. They place the router against the fence and slide it the full length of the board to ensure there are no clamps or cords in the way. This prevents mid-cut surprises that often lead to gouges in the wood. They also check the Occupational Safety and Health Administration guidelines to ensure they’re using proper protective equipment like eye and ear protection before starting the motor.
Managing the cut
Professionals maintain constant downward pressure on the router base throughout the entire pass. Beginners often lift the router slightly at the end of the board, which causes the bit to “plunge” and ruin the exit edge. Experienced users keep the base flat until the router is completely off the workpiece. They also clear away wood chips frequently, as a pile of debris can lift the router base and change the depth of your cut.
Troubleshooting common issues
| What you notice | What it usually means | What to do first | How to stop it happening again |
|---|---|---|---|
| Dark burn marks | Feed rate too slow | Increase speed | Use a sharper bit |
| Jagged edges | Dull bit | Replace bit | Use a backing board |
| Uneven depth | Loose fence | Re-clamp fence | Check base plate flatness |
| Router jumping | Excessive depth | Reduce depth | Take smaller passes |
| Motor bogging | Too much load | Slow down feed | Lower cut depth |
Beginners often try to remove all material in one pass, which causes the bit to grab and kick back. This mistake risks both your workpiece and your fingers.
When you encounter motor bogging, check your bit diameter.
If you see tear-out on the exit side of your cut, your backing board isn’t tight enough. Ensure the board is clamped firmly against the grain to support the fibers as the bit exits. If the wood is prone to splintering, score the cut line with a utility knife first. This simple step severs the fibers before the router reaches them, ensuring a clean, professional edge every time.
Rules for safe operation
Always disconnect the power cord before changing bits or adjusting the depth of the router. This rule is absolute, as a router can start accidentally if the switch is bumped while your fingers are near the sharp cutting edges. If you’re using a cordless router, remove the battery pack before performing any maintenance.
Never wear loose clothing, jewelry, or dangling hair when operating a router. High-speed spinning parts can catch loose items and pull the operator toward the tool, causing serious injury. Always keep your hands at least 6 inches away from the path of the router bit.
If the workpiece is too small to hold safely with clamps, use a jig or stop blocks to keep your hands out of the danger zone. If you have questions about specific tool safety, consult the owner’s manual provided by the manufacturer.
The true costs involved
The primary cost of routing is the initial investment in the router and the ongoing expense of quality carbide bits. A high-quality carbide-tipped bit stays sharp longer and produces a cleaner cut than a cheap steel one. You can expect to pay a modest amount for a professional-grade bit, though this price changes based on the diameter and profile.
Time is the hidden cost. You’ll spend more time setting up your guide fences and clamping the workpiece than you’ll actually spend routing. If you try to rush the setup, you’ll likely ruin your material and have to buy more wood. Always account for the cost of scrap material when planning your project, as even experienced woodworkers occasionally make mistakes that require a fresh piece of lumber.
Maintaining your equipment
After you finish your project, use a stiff nylon brush to remove wood dust from the router collet and the bit flutes. Pitch and resin from the wood build up on the bit over time, causing it to overheat and cut poorly. You can clean these deposits using a specialized bit cleaner or a mild solvent like mineral spirits.
Store your bits in a wooden case or a foam-lined box to keep the cutting edges from hitting each other. If a bit becomes chipped or dull, don’t try to force it to cut, as this puts excessive strain on the router motor.
If you notice the router struggling to push through the wood even on shallow passes, the bit is dull and needs replacement. A common mistake is sharpening bits indefinitely; once the carbide profile loses its original geometry, the bit will burn the wood regardless of how sharp the edge feels. If the bit leaves dark, charred marks on the edge of the workpiece, stop immediately. A fresh bit will restore clean, effortless cuts.
When to avoid this method
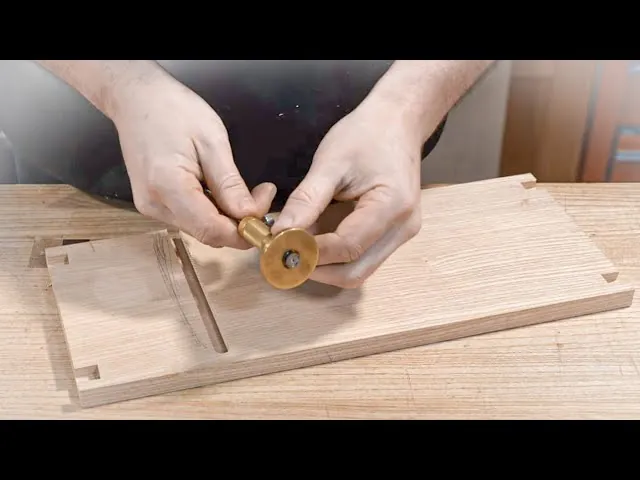
If you need to cut a groove that’s wider than your largest bit, using a router is the wrong choice. Attempting to “wobble” the router to widen a groove results in a wavy, uneven finish that’s difficult to fix. Instead, use a table saw with a dado stack to cut wide, perfectly square grooves.
If you’re working with extremely brittle or decorative woods that splinter easily, a router may cause too much tear-out. In these cases, a hand-held marking gauge and a sharp chisel are the better alternatives. Using a hand tool allows you to cut the fibers cleanly without the high-speed vibration of a router. If you aren’t comfortable using chisels, practice on scrap wood until you can control the tool without slipping.
Frequently asked questions
How long does it take to cut a groove?
A standard 3-foot groove takes about 5 minutes to cut, including the time required to clamp the guide fence and set the depth. This assumes you have already measured your layout and have the router bit installed, as setup time varies based on your experience level.
Is it safe to cut a groove without a fence?
It isn’t safe to cut a groove freehand, as the router will wander and create an uneven path. Always use a clamped straight-edge or a guide fence to ensure the tool follows a predictable, straight line throughout the entire length of the cut.
What happens if I cut too deep?
Cutting too deep in one pass causes the router to stall, which can burn the wood and potentially break the bit. If the motor begins to sound strained or the router starts to vibrate, stop immediately and reduce the depth of the cut for the next pass.
Does the wood species matter?
Hardwoods like oak or maple require a slower feed rate and shallower passes compared to softwoods like pine. You must adjust your speed based on the wood’s density to prevent burning and to ensure the bit cuts cleanly without catching on the grain.
Can I use a regular drill for grooves?
You can’t use a drill to cut a groove because drill bits are designed to cut downward, not sideways. Using a drill for this task will cause the tool to kick back dangerously and will result in a messy, ruined board that can’t be used.
How do I know if the bit is dull?
A dull bit will leave dark, charred burn marks on the edges of the groove and will require more force to push. If you find yourself pushing hard to move the router, the bit is dull and must be replaced to prevent damage to your project.
Conclusion
Start by clamping your guide fence firmly to the workpiece, ensuring it’s parallel to your desired groove path. When you begin the cut, move the router at a consistent speed to get a smooth, clean slot. If the router starts to vibrate or smoke, stop immediately, as this means your depth is too high.