

You can achieve a straight, clean channel by using a specialized router bit or a sturdy metal drill bit to how to cut a groove in wood with a drill in a series of overlapping holes. This process requires a steady hand and a solid fence to guide the tool, ensuring the channel depth remains consistent across the entire length of the board.
The final result depends on the hardness of your wood and the sharpness of your bit. If you’re working with soft pine, the process is fast; if you’re using dense oak, you must move slower to avoid burning the wood. This guide assumes you’re using a standard power drill; if you have a router, that tool is generally preferred for this specific task.
Deciding if your wood project needs a drill groove
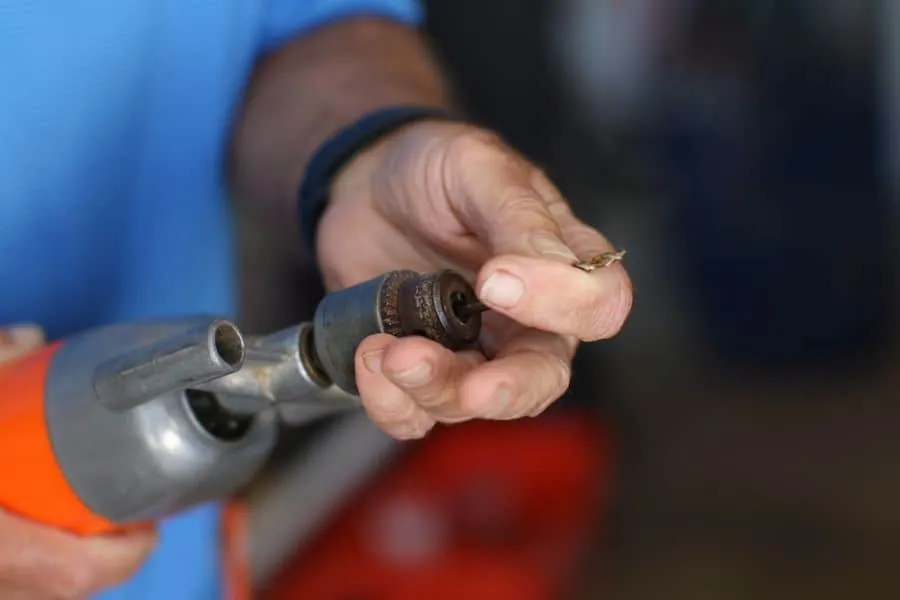
This guide is for the person who owns a standard power drill and needs to create a channel for a shelf, a sliding panel, or a decorative inlay. You likely have a basic set of drill bits and are looking for a way to avoid buying expensive, specialized woodworking machinery. This page serves the home DIY enthusiast who values practicality over precision.
If you’re a professional woodworker needing high-precision joinery, this method will likely fall short of your standards. You should use a table saw or a router table instead, as those tools produce cleaner walls and a perfectly flat bottom.
This article assumes you have basic safety gear, including eye protection, and that you’re working on a stable, clamped surface. If you don’t have clamps to hold your wood firmly, you should stop now to prevent the wood from shifting during the drilling process, which could lead to accidental injury.
Factors that change your results
The primary factor is the width of your drill bit compared to the desired width of the groove. If you need a wider groove, you’ll have to make two or more passes; if the bit is exactly the size you need, one pass is sufficient. You can check the bit size by holding it against a ruler or using a caliper to measure the diameter before you begin.
The second factor is the speed of your drill. High speed is best for soft woods, while low speed prevents overheating in hardwoods. If you see smoke or smell burning wood, your speed is too high or your bit is dull. You can tell your speed is correct when the drill creates clean chips rather than fine, burnt dust.
Third, the material density changes how deep you can go in one pass. Most people make the mistake of trying to cut the full depth at once, which causes the drill bit to wander and creates a jagged, uneven trench.
How to create a channel safely
- Clamp your wood tightly to a workbench so it can’t slide while you work.
- Draw a pencil line where you want the center of the groove to be.
- Install a brad-point or twist drill bit that matches the width of your desired groove.
- Set a scrap piece of wood as a fence, clamping it parallel to your pencil line.
- Set your drill to a medium speed and start drilling your first hole at the edge of the line.
- Overlap the next hole slightly with the previous one, maintaining a consistent depth by using a depth stop collar.
- Repeat this until you reach the end of your marked line.
- Use a wood chisel to clean out the small ridges left between the holes.
- Check the groove depth with a ruler to ensure it’s uniform across the entire length.
The judgement call that separates a professional look from a messy one is the chisel work. If you rush the cleanup, you’ll leave uneven walls; take your time to pare down the ridges until the side walls of your groove are perfectly smooth and vertical. Always follow the safety guidelines for power tools provided by the Consumer Product Safety Commission to ensure your workspace remains secure.
Comparing your options for grooving
| Situation | Method | Effort | What to watch for |
|---|---|---|---|
| Single thin groove | Single bit pass | Low | Bit wandering off line |
| Wide channel | Multiple parallel passes | High | Uneven bottom surface |
| Hardwood project | Shallow repeated passes | Medium | Excessive heat build-up |
| Decorative inlay | Pilot hole then chisel | High | Chisel slipping out |
| Large volume work | Use a router | Low | Tool cost and setup |
When cutting a single thin groove, clamp a straightedge exactly one bit-radius away from your intended path. If the bit wanders, you have likely forced the tool; let the router or saw do the work.
For wide channels, use a router plane to flatten the ridges left by parallel passes. If you skip this, your inlay or shelf will rock on the high spots.
Deeper cuts cause friction that scorches the wood and dulls your edges in minutes.
If you’re performing decorative inlay, always score the perimeter with a marking knife before chiseling. This prevents the wood fibers from tearing out.
Finally, calculate your total linear footage before starting. If you have more than 20 feet of grooving, the setup time for a router table is always worth the investment.
Getting the best finish every time
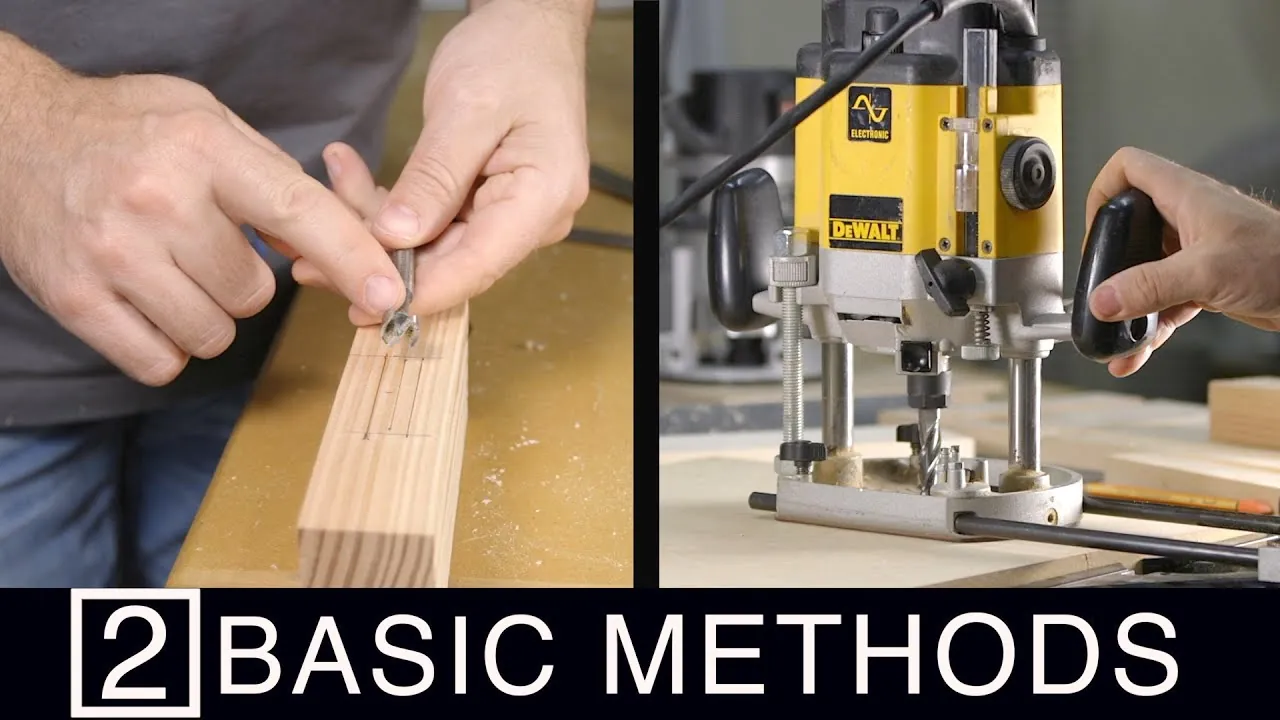
Preparation and setup
Experienced woodworkers always secure a fence before they start the drill. Without a fence, the bit will naturally pull toward the side of the grain, resulting in a crooked groove. A simple piece of straight scrap wood clamped to the workpiece acts as a guide, keeping your drill bit perfectly aligned from start to finish.
Refining the bottom
Beginners often leave the bottom of the groove rough and uneven after drilling. A sharp wood chisel is the essential tool for flattening the base of the channel. Work from the center of the groove toward the edges, using light taps to shave away the excess material until the surface is level and consistent.
Troubleshooting common issues
| What you notice | What it usually means | What to do first | How to stop it |
|---|---|---|---|
| Burnt wood smell | Friction is too high | Lower drill speed | Use sharper bits |
| Groove is crooked | Lack of a fence | Clamp a guide | Secure a fence |
| Bit wanders off | Starting hole shifted | Use a center punch | Start with a pilot |
| Rough wall edges | Dull drill bit | Sharpen the bit | Use new bits |
| Uneven depth | No depth control | Use a stop collar | Mark bit depth |
If you smell smoke, stop immediately. Pushing harder to compensate for a slow cut only glazes the wood, making it harder for the bit to bite. If the wood is hardwood, reduce your drill speed by half to prevent heat buildup.
A crooked groove often stems from the bit catching the grain. If you’re working on a piece wider than six inches, always use a secondary clamp to prevent the wood from shifting mid-cut.
If your bit wanders, you likely skipped the center punch. A shallow dimple keeps the tip centered during the initial rotation. If you’re drilling into metal, apply a drop of cutting oil to reduce heat.
When your hole depth is inconsistent, check your stop collar. If it slips, wrap a piece of masking tape around the bit at your target depth. This provides a visual marker that’s impossible to miss.
Rules for safe drilling
The most important rule is to never force the drill bit. If the tool is struggling, it’s usually because the bit is dull or you’re trying to remove too much material in a single pass. You should always wear safety glasses to protect your eyes from flying wood chips, as required by standard shop safety protocols.
If you’re working with treated lumber, be aware that the chemicals inside can be harmful when inhaled as dust. Always work in a well-ventilated area or use a dust mask. If you find that the drill is vibrating excessively, check that your chuck is tightened properly and that the bit isn’t bent. If a bit is bent, discard it immediately; a bent bit will never cut a straight line and is a safety hazard.
Understanding the real costs
The cost of this method is primarily your time. While a router can cut a groove in seconds, the drill-and-chisel method takes significantly longer because you must manually clean up the ridges between holes.
If you already own a drill and a set of bits, your financial cost is near zero. If you need to buy a specific size bit, it’s quite inexpensive depending on the material and coating of the bit. High-speed steel bits are sufficient for most softwoods, but consider carbide-tipped bits if you’re working with hardwoods, as they stay sharp much longer.
Most beginners underestimate the cost of the chisel itself. A dull chisel forces you to apply excessive pressure, which inevitably leads to slipping and gouging the workpiece. If your chisel can’t shave hair off your forearm, stop and sharpen it before touching the wood. A sharp edge saves you twenty minutes of sanding later.
Long-term maintenance of your work
Once your groove is cut, it’s important to sand the inside walls to prevent splinters. Use a small piece of sandpaper wrapped around a thin stick or a small dowel to reach into the channel. If the wood is meant to hold a sliding panel, apply a light coat of wax to the groove to ensure the panel moves smoothly.
If you notice the groove widening over time due to wood movement or wear, you may need to fill it with a wood shim or filler and re-cut it. Always store your drill bits in a dry place to prevent rust, which can cause them to dull quickly. A sharp bit is the key to a clean groove, so keep them organized and check their edges before every new project.
When to choose another method
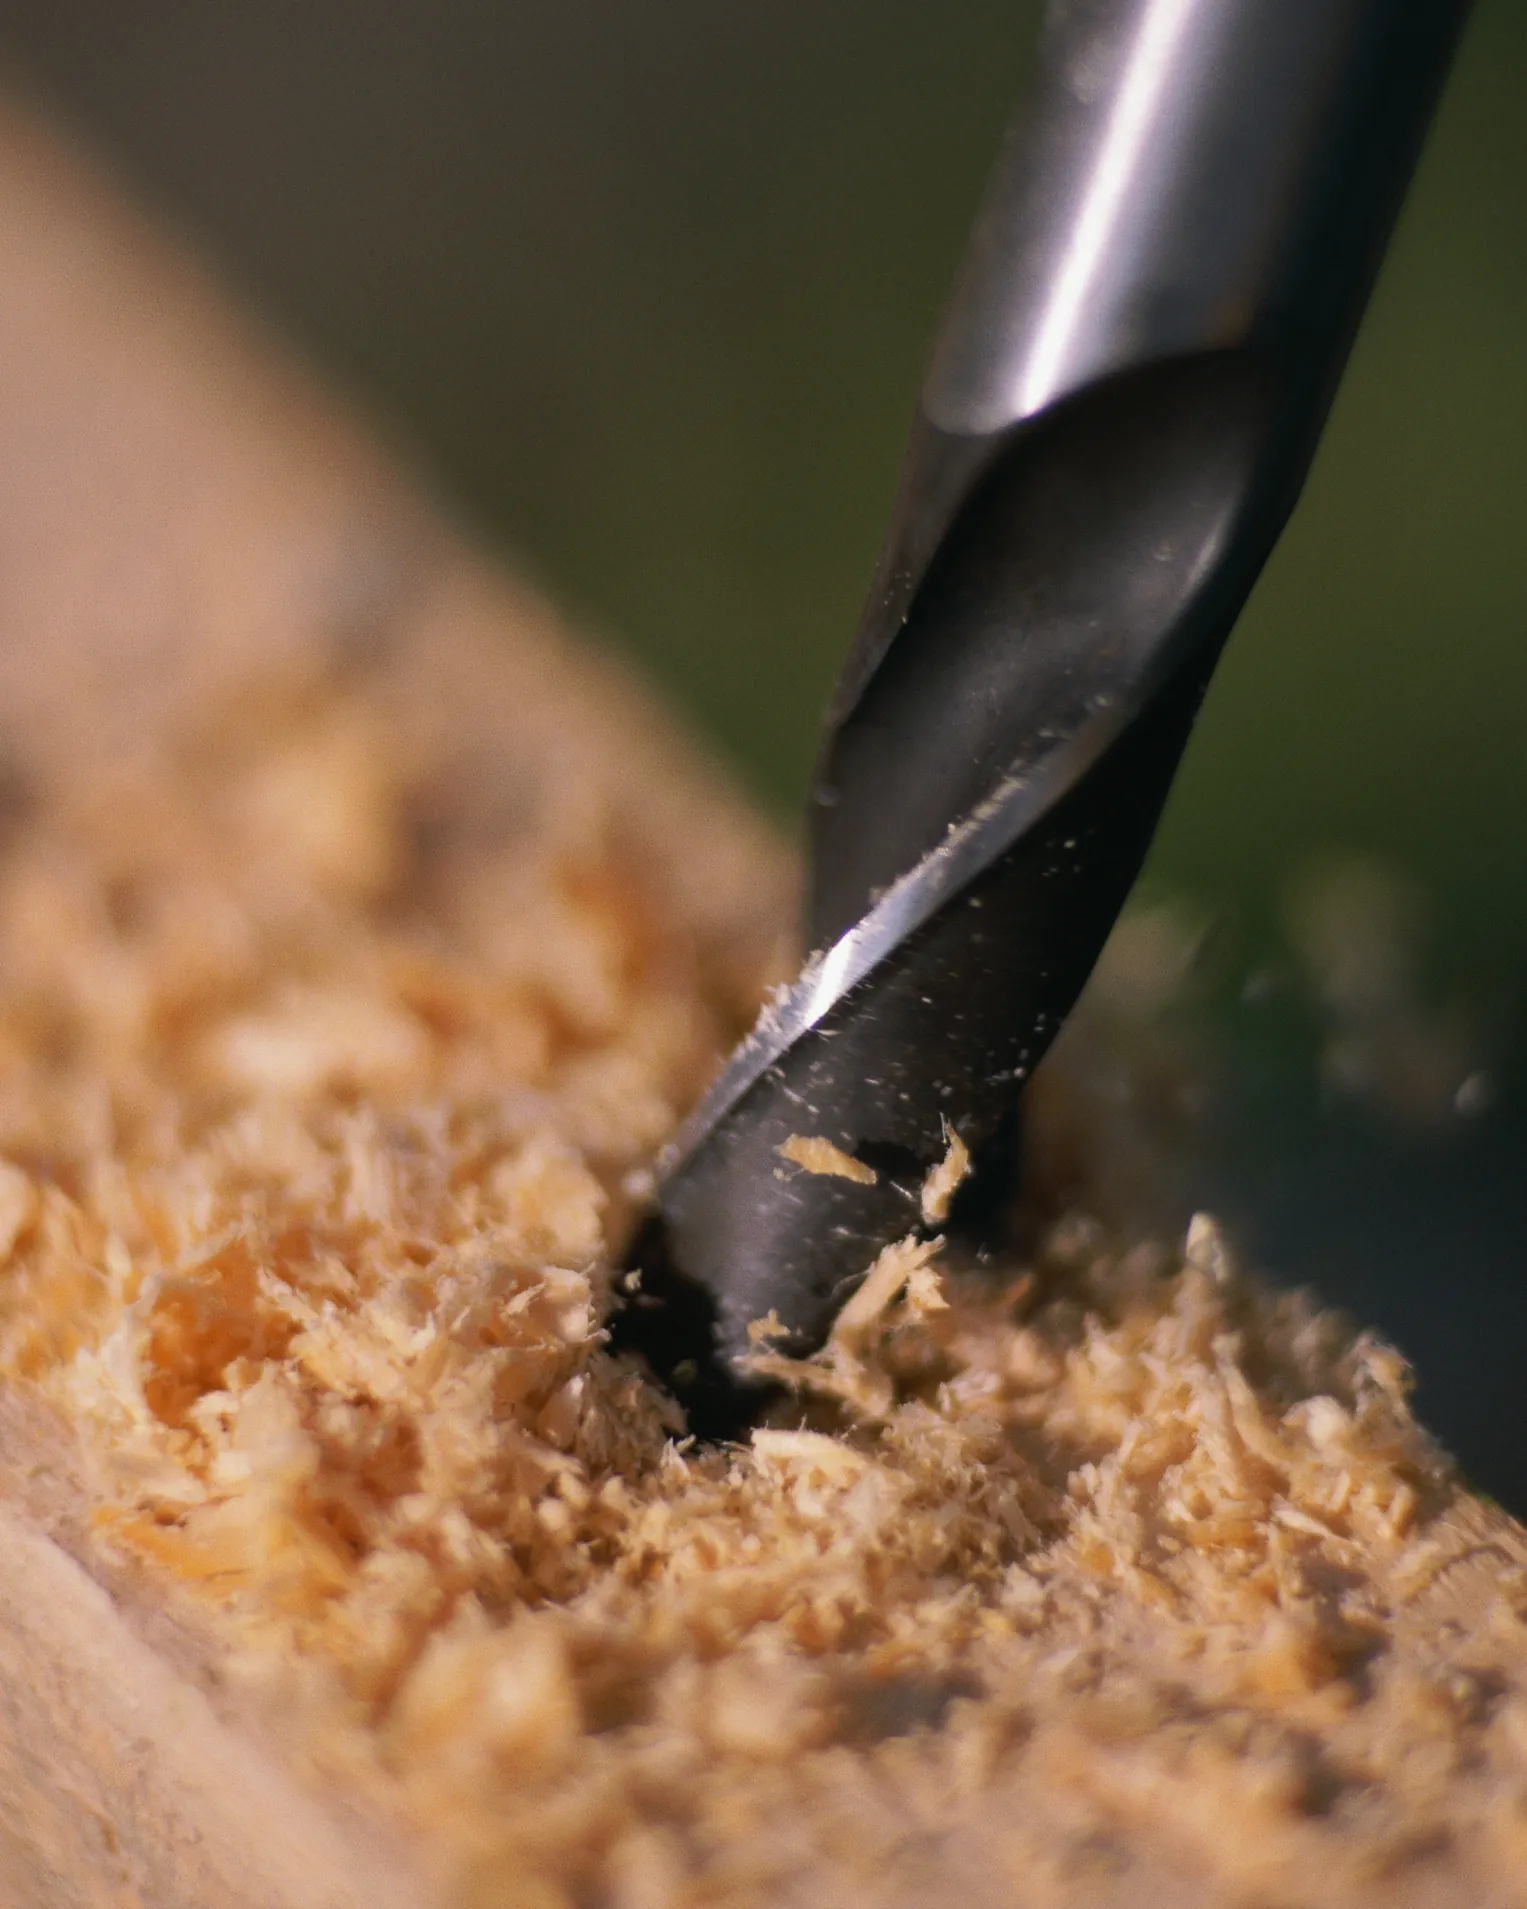
If you need to make a groove that’s longer than 3 feet, this method is inefficient and prone to error. You should consider renting a router or using a table saw with a dado stack to ensure consistent results across the entire length. These tools are built to handle long, straight cuts and will save you hours of manual labor.
If your project requires a very specific, complex shape for the groove, a hand-held drill can’t provide the necessary control. In these cases, a jigsaw or a specialized plunge router is the correct choice. If you aren’t confident in your ability to control the drill, don’t attempt to force it; seek assistance from a more experienced woodworker or use a tool designed for the specific cut you need.
Frequently asked questions
Can I use a regular drill bit for wood?
Yes, you can use a regular twist drill bit, but a brad-point bit is better because it has a sharp center spur. This spur prevents the bit from walking when you start the hole, which is critical for keeping your groove perfectly straight.
How deep can I cut with a drill?
You can generally cut to the full length of the drill bit’s flute, which is usually 3 to 4 inches. If you need to go deeper, you’ll need an extended-length bit, but these are harder to control and can bend under pressure.
Is it safe to cut a groove in a wall?
Always check with a professional if you’re unsure.
What happens if the drill bit breaks?
If a bit breaks, stop the drill immediately and unplug it from the power source. Use pliers to remove the broken fragment from the wood, and never attempt to continue using a broken or damaged drill bit.
Does the wood type matter?
Yes, the wood type determines your speed and the amount of pressure you apply. Softwoods like pine are forgiving, while hardwoods like oak or maple require slower speeds and lighter pressure to prevent the bit from burning the wood fibers.
How long does it take to cut a 1-foot groove?
This includes the time needed to clamp the fence, drill the overlapping holes, and chisel the remaining ridges to get a smooth, professional finish.
Conclusion
Start by marking your line clearly with a pencil and clamping a straight piece of scrap wood as a guide. You should expect a clean, uniform channel if you keep the drill vertical throughout the process. If the drill begins to smoke or the wood starts to splinter, stop immediately and check your bit sharpness.