

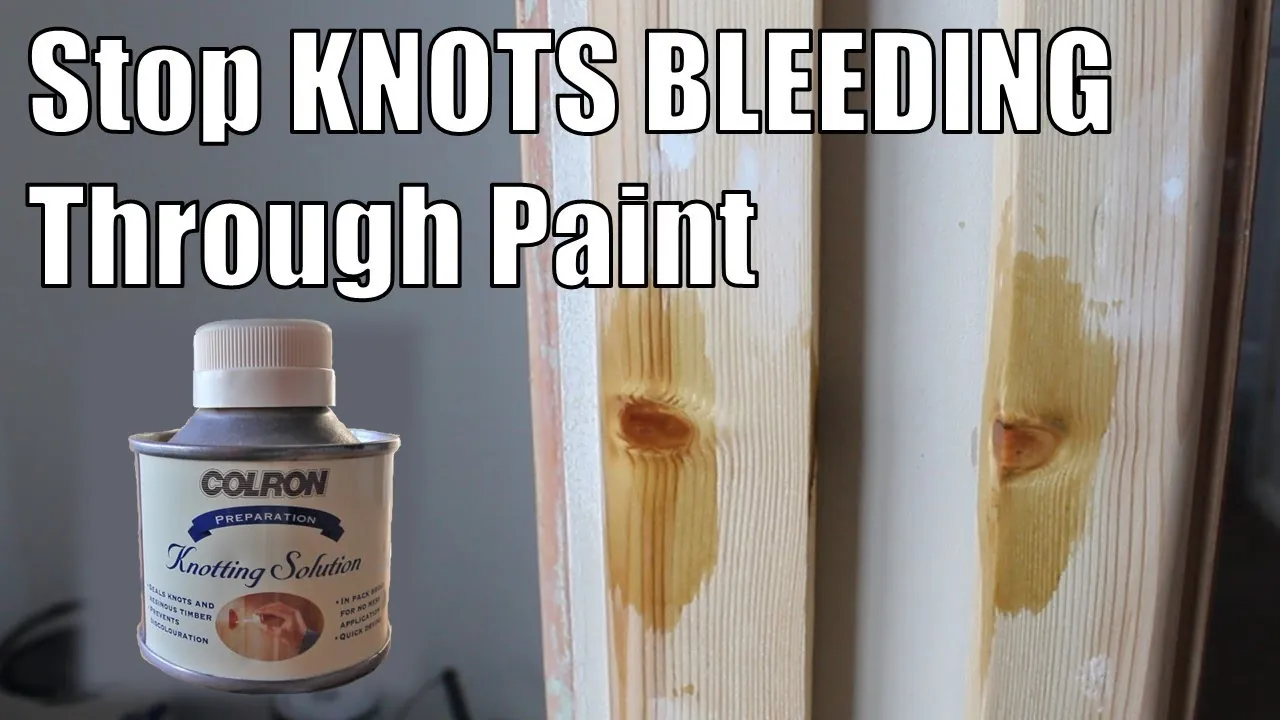
You can effectively use a shellac-based primer to seal the wood surface because it creates a physical barrier that prevents resin from migrating to the top coat. Applying a coat of this specific primer helps you stop knots from bleeding through paint by locking the tannins inside the wood fibers.
This result depends on two main factors: the state of the wood and the specific product you choose. Raw, untreated wood requires more preparation than previously finished wood.
Who needs to stop knots bleeding through
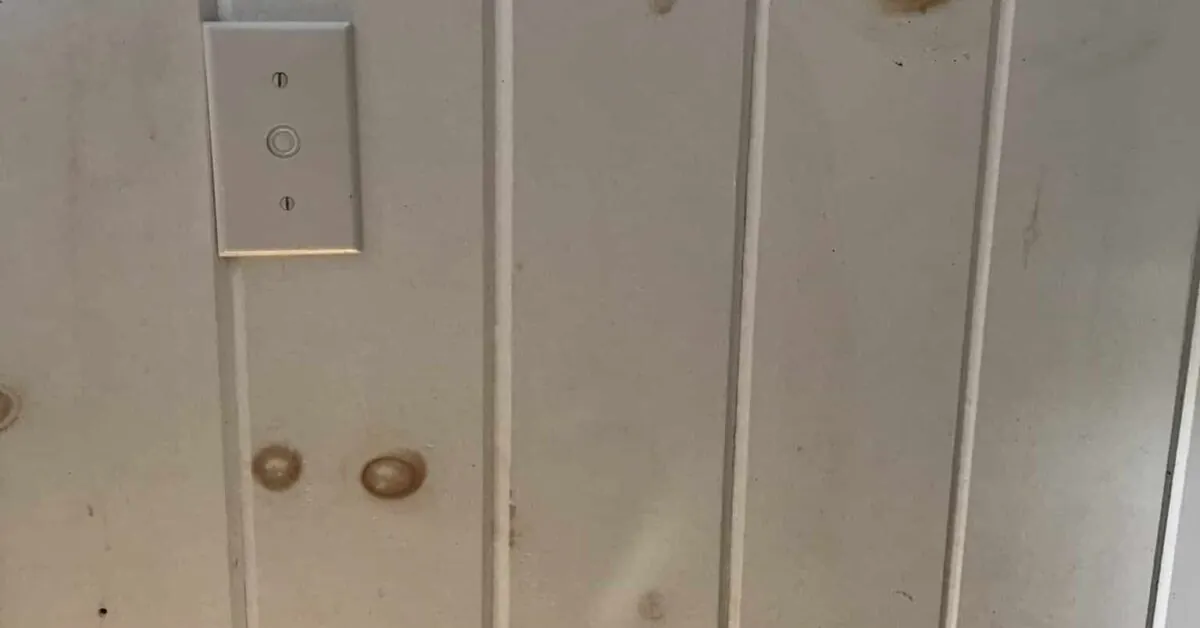
This guide is for homeowners or DIY painters working on interior wood projects, such as pine furniture, trim, or wall paneling. You’re likely frustrated because you spent hours painting a surface, only to see dark, yellow, or brown spots appearing through your new finish. You need a reliable way to fix the issue on existing surfaces or prevent it before your first coat of paint.
This page serves those working with interior wood projects where traditional water-based primers have failed to hold back sap. If you’re working on exterior wood surfaces exposed to direct sunlight or high heat, this method may not be sufficient because extreme temperatures can soften the resin and force it through even the best primers.
We assume you’re using standard acrylic or latex topcoat paints. If you’re using oil-based paints, you should check the product label for specific compatibility requirements with high-tannin woods.
Factors that change the result
The moisture content of the wood is the most critical variable. If the wood is still “green” or damp, resin will continue to push outward regardless of the primer you use. You can check the moisture level using a pin-type moisture meter, which is available at most hardware stores. Wood intended for indoor use should generally stay below 12% moisture content.
The temperature of the room during application also plays a role. Shellac-based primers dry very quickly, often within 30 to 45 minutes. If your room temperature is below 50°F, the primer won’t flow or bond correctly, leading to a weak seal. Aim for a room temperature between 65°F and 75°F for the best results.
The severity of the knot itself determines if one coat is enough. A small, tight knot usually needs only one pass. A large, dark knot that already shows signs of “weeping” sap needs two thin coats. People often make the mistake of applying one very thick coat instead of two thin ones. A thick coat can crack as it dries, creating new paths for the resin to escape.
Steps for sealing wood knots
- Clean the surface thoroughly using a degreaser or mineral spirits to remove any surface sap or wax.
- Sand the knot area lightly with 120-grit sandpaper to open the wood pores and remove loose fibers.
- Remove all dust with a tack cloth; any remaining dust will prevent the primer from sticking.
- Apply a thin, even coat of a shellac-based primer specifically labeled for blocking stains.
- Wait at least 45 minutes for the primer to dry completely to the touch.
- Check for any brown bleed-through; if you see color, apply a second thin coat of the same primer.
- Lightly sand the primed area with 220-grit sandpaper to ensure a smooth transition to the surrounding wood.
- Apply your topcoat paint once the primer is fully cured and smooth.
The judgement call that defines a successful job is the visual inspection after the first coat of primer. If the knot looks “thirsty” or the color is still visible, the primer hasn’t formed a complete seal.
Don’t rush to paint over a knot that still shows color, as the resin will eventually ruin your final finish. If you encounter deep, open cracks in the wood, you should fill them with a high-quality wood filler before priming, according to the EPA lead-safe renovation guidance for safe handling of surfaces.
Primer selection at a glance
| Situation | Product Type | Prep Required | Watch For |
|---|---|---|---|
| Minor knots | Shellac primer | Light sanding | Bleed-through |
| Heavy weeping | Shellac primer | Degreasing | Sticky residue |
| Large cracks | Wood filler | Filling/sanding | Uneven surface |
| Exterior wood | Oil-based primer | Weather check | Heat exposure |
Use shellac-based primers when you see amber-colored sap or dark knots. These seal resins that bleed through latex paints within weeks. If the knot feels tacky to the touch, wipe it with denatured alcohol before priming to ensure a proper bond.
For exterior projects, choose oil-based primers if the ambient temperature is between 50 and 85 degrees Fahrenheit. If the surface temperature exceeds 90 degrees, the primer will dry too quickly, leading to brittle films that flake off within a single season.
When dealing with deep cracks, avoid liquid fillers for gaps wider than a quarter-inch. These will inevitably shrink and crack as they cure. Instead, use a two-part epoxy wood filler. It remains stable under thermal expansion, preventing the paint from webbing later.
The most common mistake is applying primer over a dirty surface. If you skip the degreasing step on weeping wood, the primer will fail to adhere, turning into a gummy mess that requires complete stripping. Always test a small, inconspicuous area first. If the primer remains tacky after two hours, the surface is still contaminated and needs further cleaning.
Details that matter for professionals
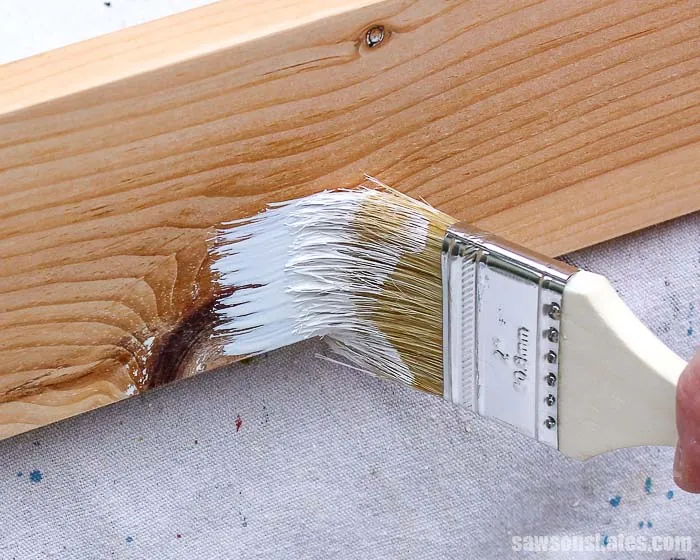
Surface preparation
Experienced painters always treat the knot as a separate project before painting the whole board. They ensure the area is completely free of wax, as shellac won’t adhere to oily or waxy surfaces. If the knot is sticky, they wipe it with denatured alcohol until the surface feels dry and hard to the touch. This extra minute of cleaning saves hours of rework later.
Application technique
Professionals use thin layers rather than one heavy application. They apply the primer using a high-quality synthetic brush or a small foam roller, which provides better control over the thickness. By keeping the layers thin, they prevent the “sagging” that occurs when shellac is applied too heavily. They also wait the full recommended drying time, even if the surface feels dry sooner, to allow the solvents to evaporate fully.
Troubleshooting common issues
| What you notice | What it means | What to do first | How to stop it |
|---|---|---|---|
| Yellow spots | Resin seepage | Sand and re-prime | Use two thin coats |
| Sticky surface | Uncured sap | Clean with alcohol | Remove loose sap |
| Primer peeling | Poor adhesion | Sand and clean | Use proper degreaser |
| Uneven texture | Thick application | Sand flat | Use thinner coats |
Rules for wood treatment
Wood naturally contains tannins and resins that interact with water-based paints. The American Wood Council specifies that proper sealing is necessary to prevent these natural extractives from staining finishes.
You must follow the manufacturer’s instructions for drying times, as these are based on controlled laboratory conditions. If you’re working in a high-humidity environment, you should allow for additional drying time beyond what the label suggests.
A common mistake is applying a second coat before the first has fully cured, which traps moisture and causes the finish to peel within months. If the wood feels cool or damp to the touch, don’t proceed; wait until the surface matches the ambient temperature of the room.
Always work in a well-ventilated area, as shellac-based primers contain solvents that require fresh air for safe use. If you’re working indoors, place a box fan in a window facing outward to pull fumes away from your workspace.
Apply the rule of thumb for penetration: if the wood grain is tight, like maple, use a thinner, oil-based sealer to ensure it bites into the fibers. If the wood is porous, like pine, ensure you apply a sufficient, even coat of primer to seal the surface. Failing to match your primer to the wood density results in uneven absorption and a blotchy final appearance.
The real cost of the job
The financial cost is low, as shellac-based primer is inexpensive relative to the alternative and covers many knots. The real cost is your time. You must factor in the wait times between coats, which can turn a single-day project into a two-day process.
If you try to speed up the process by using a hair dryer or heat gun, you risk softening the resin inside the knot, which makes the bleeding worse. This mistake often forces you to strip the entire area back to bare wood, effectively doubling your labor.
If the knot is tight and dry, one or two coats of primer are usually sufficient. If the knot is loose or weeping, ensure the surface is thoroughly cleaned and primed until the stain is fully blocked.
You can tell which category you’re in by pressing a fingernail into the center of the knot. If it leaves a slight indentation, the wood is still active and requires extra drying time before you apply any finish. Ignoring this test leads to yellow rings appearing through your final paint job months later.
Expect to spend at least forty-five minutes on prep work for every ten knots. Rushing this stage is the primary reason DIY finishes fail within the first year.
Keeping your finish pristine
Once the paint is dry, the knot is sealed, but it remains a weak point in the wood structure. Keep the painted surface away from direct, high-heat sources like radiators or intense, direct sunlight. Heat causes the natural resins inside the knot to expand and liquefy, which will force their way through even the highest quality latex paint.
If you notice a spot reappearing after several months, the wood may have shifted, causing a micro-crack in the primer. You can fix this by lightly sanding the spot, touching it up with a small amount of shellac primer, and repainting that specific area.
When choosing your primer, distinguish between water-based and shellac-based products. If you’re working with softwoods like pine, always reach for a shellac-based primer. Water-based primers often fail to hold back resinous knots, leading to yellow stains within the first year.
A common mistake is applying the finish coat too quickly. Wait at least twenty-four hours after priming to ensure the shellac has fully cured. If you paint over tacky primer, the finish will lose its bond and eventually peel. Use a high-quality synthetic brush for these touch-ups to avoid visible lap marks on the finished surface.
When to use a different approach
If the wood is severely damaged or rotting, no amount of primer will stop the bleed. In this case, you should replace the board entirely, as the structural integrity of the wood is compromised.
Test the wood by pressing a screwdriver into the surface. If the metal sinks deeper than a quarter-inch with minimal pressure, the rot has reached the core. Surface treatments will only trap moisture, accelerating the decay of the surrounding frame.
If you’re working on a piece of antique furniture with a valuable finish, don’t attempt to paint over it. Consult a professional furniture restorer instead, as stripping the old finish and applying a proper sealer is a delicate job.
Check for a maker’s mark or a dovetail joint before you pick up a sander. If the piece was manufactured before 1950, assume the finish contains nitrocellulose lacquer or shellac. Applying modern latex paint over these finishes causes a chemical reaction that creates a bubbling, tacky mess. If the finish is crazed or looks like alligator skin, stop immediately. You need a solvent-based stripper to remove the layers safely without damaging the underlying wood grain.
Frequently asked questions
Can I use water-based primer for knots?
No, water-based primers generally don’t block resin or tannins effectively. You must use a shellac-based or high-quality oil-based stain-blocking primer to stop the bleed.
How long does shellac primer take to dry?
It typically dries to the touch in 30 to 45 minutes. You should wait at least one hour before applying a second coat or your topcoat paint to ensure full curing.
Is it safe to paint over wet sap?
No, you must remove the sap first. If you paint over wet sap, it will continue to flow and will eventually push through your primer and paint layers.
What happens if I skip sanding?
Skipping sanding creates a weak bond between the wood and the primer. This often leads to the primer peeling off the knot, which makes the bleeding look even worse.
Does it matter if the knot is small?
Yes, even small knots contain enough resin to cause a yellow or brown stain. You should prime every knot, regardless of its size, to ensure a uniform finish.
Why does the stain come back after a year?
This happens when the wood expands and contracts with seasonal temperature changes. A tiny crack can form in the finish, allowing a small amount of resin to escape.
Conclusion
Start by cleaning the knot with denatured alcohol to ensure it’s free of surface oils. Once the area is dry, apply a thin coat of shellac-based primer and look for a uniform, matte finish. If you see any brown color after drying, get professional help, as the wood may be too damp to seal.