

Bending balsa wood is achieved by utilizing moisture and heat to soften the lignin, the natural glue that holds the wood fibers together, allowing you to manipulate the material into curves without snapping it. Because balsa is highly porous and lightweight, it responds exceptionally well to external conditioning, making it the premier choice for model aircraft, architectural prototypes, and intricate craft projects. Whether you’re creating a curved fuselage or a decorative scroll, the process relies on patience and controlled tension to ensure the wood takes a permanent shape once it dries.
Key Takeaways
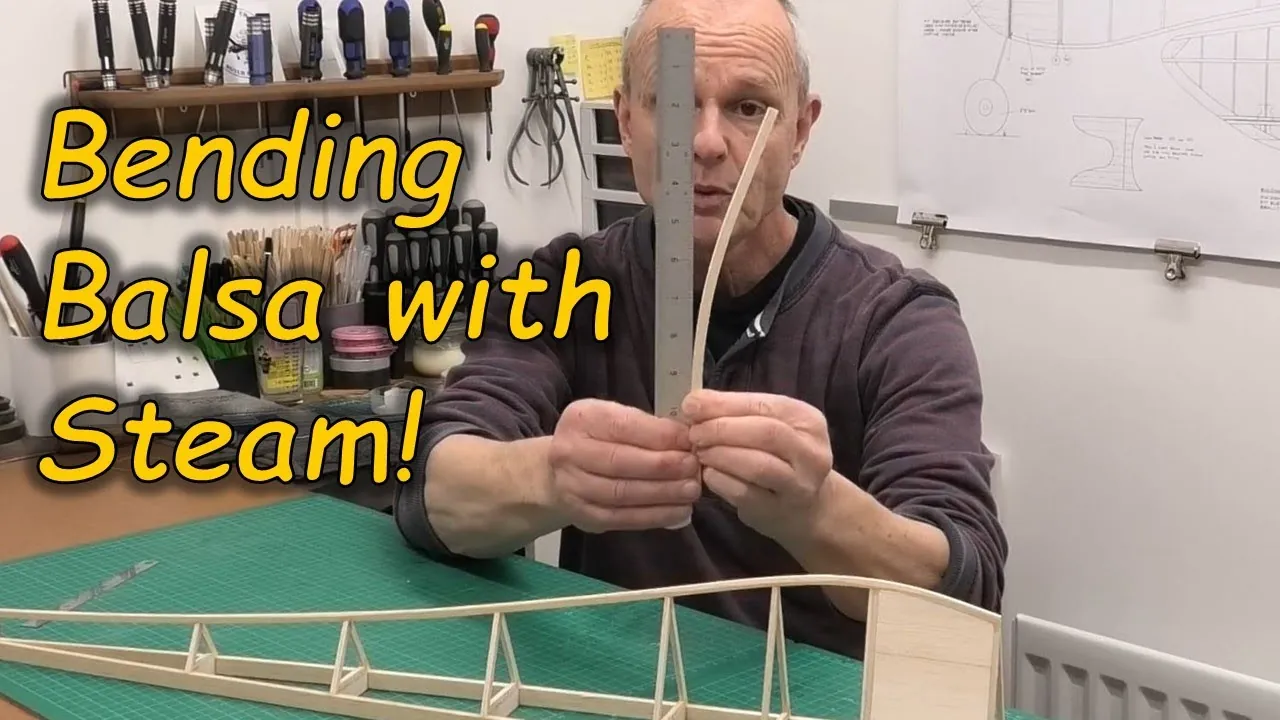
- Always select “A-grain” balsa for bending, as it has a flexible, cross-grain structure that resists cracking better than stiffer, straight-grained pieces.
- The soaking process typically requires between 30 and 60 minutes of submersion to achieve maximum pliability.
- Steam is the most effective way to bend thicker pieces of balsa that would otherwise splinter under simple cold-soaking methods.
- Creating a physical form or jig is essential for holding the wood in place while it cures to ensure uniform curvature.
- Allow the wood to dry completely in its constrained position for at least 24 hours to prevent “spring-back” after the clamps are removed.
Why Is My Balsa Wood Cracking?
The most common reason for balsa failure is attempting to force a dry piece into a tight radius. Balsa wood is a cellular structure; when you bend it dry, the outer fibers stretch and the inner fibers compress, eventually reaching a point where the wood fibers simply can’t expand further, leading to immediate fractures. Furthermore, the selection of the wrong grain orientation often causes frustration.
Grain selection is the secret to success. When shopping for materials, look for sheets that feel slightly flexible when gently pressed. If the wood feels brittle or snaps easily under light pressure, it’s likely “C-grain” or “B-grain,” which are designed for structural rigidity rather than flexibility. You want pieces that show a long, wavy grain pattern, which indicates the fibers are oriented for bending. If you’re working on a project that requires a very tight radius, you may need to laminate several thinner sheets together rather than attempting to bend one thick piece of stock.
How to Prepare Wood for Bending
Before you begin the actual shaping, you must soften the wood. There are three primary methods to achieve this, each suited to different project scales and thicknesses.
| Method | Best Use Case | Soaking Time |
|---|---|---|
| Warm Water Soak | Thin sheets (1/32″ to 1/16″) | 30–60 minutes |
| Ammonia Bath | Intricate, tight curves | 15–30 minutes |
| Steam Treatment | Thick stock (1/8″ and up) | 5–10 minutes |
The Water Soak Method
This is the safest and most accessible approach for beginners. Simply fill a shallow tray with warm water and submerge your balsa strips. Adding a drop of dish soap to the water can help break the surface tension, allowing the moisture to penetrate the wood fibers more efficiently.
Keep the wood weighted down so it stays fully immersed. Once the wood becomes dark and pliable, remove it from the water and gently pat it dry with a paper towel before moving it to your jig.
The Ammonia Technique
Household ammonia is a powerful agent for softening lignin. Because ammonia is a chemical agent, it can sometimes discolor the wood, so test it on a scrap piece first if your project has a natural finish. Using a safety data sheet for ammonia as a guideline, always ensure you’re working in a well-ventilated area, as the fumes can be irritating. Dip the wood into the solution, wait until it feels like wet leather, and then proceed to shape it.
Setting Up Your Bending Jig
You can’t bend balsa effectively in your hands; you need a rigid form to hold the shape while the moisture evaporates. A jig can be as simple as a piece of scrap wood with nails driven into it, or a complex wooden mold shaped to the desired curve.
Pro Tip: Use wax paper between your wood and your jig. This prevents the balsa from sticking to the mold if any adhesive or moisture causes the wood to bond to the surface of your form.
Once the wood is soaked, place it against your jig and use clamps or rubber bands to secure it. If you’re using nails, place them on the outside of the curve so they hold the wood against the interior form.
Work slowly; if you hear any audible “clicking” or “popping” sounds, stop immediately. Those sounds indicate that the fibers are tearing. If this happens, apply more heat or steam to the area and wait a few minutes before continuing the bend.
The Role of Steam in Shaping
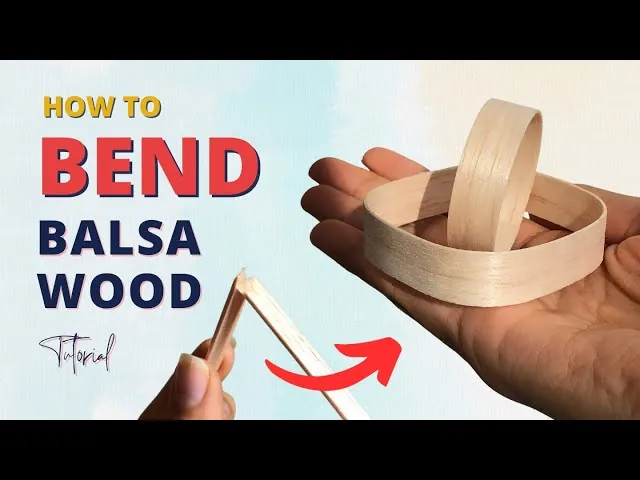
For thicker pieces of balsa, such as 1/8-inch or 1/4-inch stock, cold soaking is often insufficient. Steam penetrates the cellular structure more deeply and provides a more permanent set. You can create a simple steamer using a tea kettle and a piece of PVC pipe. Hold the balsa strip in the path of the steam—taking extreme care to avoid burns—until the wood becomes soft and hot to the touch.
Once steamed, the wood will be extremely pliable. You must move quickly, as the wood will begin to stiffen as it cools. Place it onto your pre-prepared jig immediately and clamp it down firmly. The heat also helps to evaporate excess moisture faster than a cold soak, which can reduce the total drying time required for the project.
Troubleshooting Common Bending Issues
Even with the best preparation, things can go wrong. If you’re experiencing consistent failures, review the following table to identify the cause of your issue.
| Problem | Likely Cause | Solution |
|---|---|---|
| Splintering | Grain direction or dryness | Use A-grain; soak longer |
| Spring-back | Insufficient drying time | Leave in jig for 24+ hours |
| Dark staining | Ammonia or dirty water | Use fresh, clean water |
| Uneven curves | Improper clamping pressure | Use more clamps for consistency |
Warning: Never use a hair dryer or heat gun to speed up the drying process once the wood is on the jig. Rapid, uneven drying will cause the wood to warp, twist, or crack as the outer fibers shrink faster than the interior ones. Always allow the wood to air dry at room temperature in a low-humidity environment.
Advanced Lamination Techniques
When you need a curve that’s tighter than the wood’s natural bending radius, or if you need a very thick piece to be curved, lamination is the superior technique. Instead of bending one thick sheet, take two or three very thin sheets—such as 1/32-inch stock—and glue them together while they’re held in the desired shape.
Use a high-quality wood glue or aliphatic resin. Apply a thin, even coat of glue to the surfaces, stack the sheets, and clamp them tightly to your jig. The glue acts as a structural bond that prevents the individual layers from trying to return to their original, flat state. Once the glue has fully cured, the resulting laminated piece will be significantly stronger and more resistant to deformation than a single piece of bent balsa of the same thickness.
Choosing the Right Adhesives
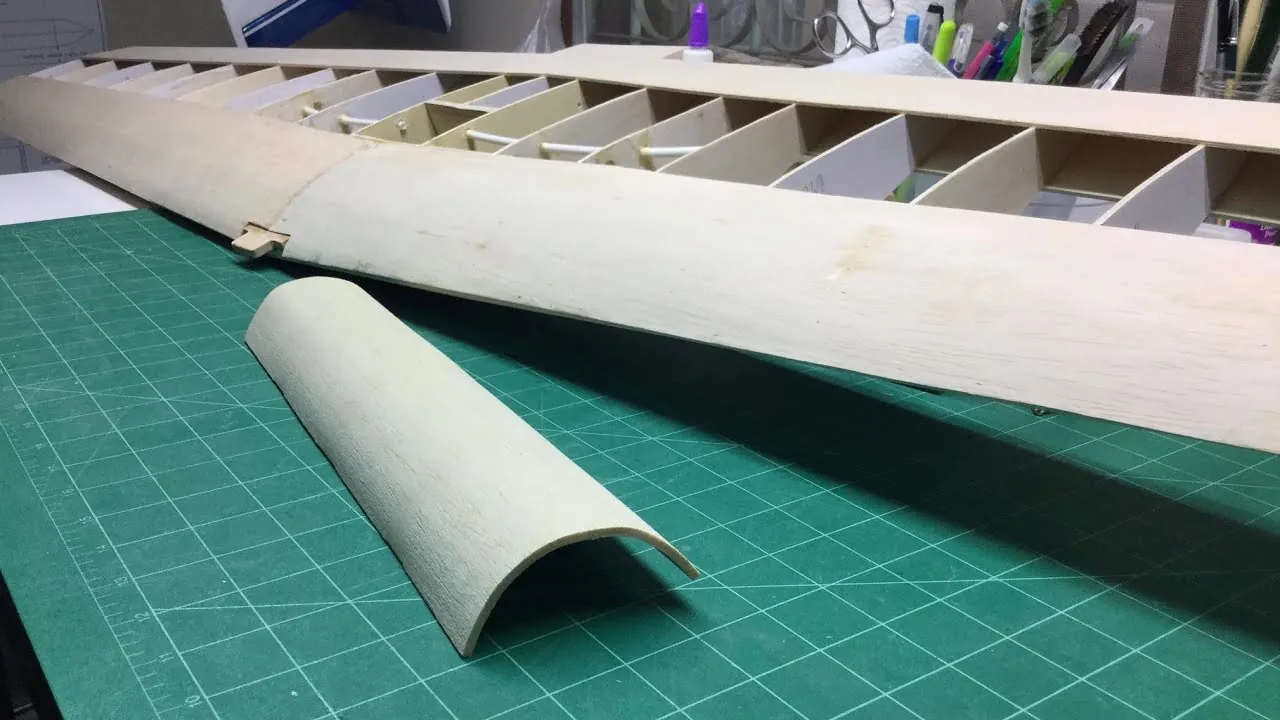
The type of adhesive you choose will impact the final flexibility and strength of your bent wood. For standard models, a thin cyanoacrylate (CA) glue is popular because it sets almost instantly. However, CA glue is brittle and can create “hard spots” in the wood that make finishing difficult.
For projects requiring more durability, use a slow-setting wood glue. This gives you time to align your pieces correctly and creates a more flexible bond that moves slightly with the wood as humidity changes. If you’re laminating, avoid water-based glues that might re-soften the wood fibers and cause the shape to distort during the drying process. Always check the manufacturer’s instructions for the specific drying and curing times, as these can vary significantly between brands.
Related guides
Frequently Asked Questions
Can I bend balsa wood without water?
You can bend very thin balsa (1/32 inch or less) slightly without water, but for any significant curve, moisture is required. Without water or steam, the lignin remains rigid, and the fibers will reach their breaking point almost immediately. If you’re trying to avoid water for a specific reason, you must use the lamination technique with thin, dry sheets to achieve a curve.
How long does balsa take to dry?
After you have successfully bent and clamped your balsa, you should allow it to remain in the jig for at least 24 hours. While the wood may feel dry to the touch after a few hours, deep-seated moisture can remain in the center of the fibers. Removing the clamps too early will result in “spring-back,” where the wood loses its curve and flattens out.
Will balsa stay bent forever?
Balsa wood has a natural tendency to return to its original shape if it’s exposed to high humidity after being bent. To lock in the shape permanently, it’s best to seal the wood with a sanding sealer, wood varnish, or a clear coat after it has fully dried. This moisture barrier prevents the wood from absorbing atmospheric humidity, which is the primary cause of lost curvature over time.
What is the best tool for bending balsa?
The best tool is a custom-made jig that matches the radius of your desired curve. You can build this using scrap plywood or MDF. Other helpful tools include metal spring clamps, rubber bands for applying uniform pressure, and a spray bottle filled with warm water to keep the wood pliable if the process takes longer than expected. Using professional-grade wood glue is also essential for laminating.
Does the wood type change the process?
Balsa is unique due to its low density and high porosity, which makes it easier to bend than denser hardwoods like oak or maple. Denser woods require much longer soaking times and often require boiling or professional steam-bending equipment to soften the lignin. Balsa is much more forgiving for hobbyists, but its softness also means it can be crushed easily if your clamps are too tight.
Conclusion
When you’re ready to begin, start by selecting a piece of A-grain balsa and testing your desired radius on a scrap piece to gauge how much tension the wood can handle. Take your time during the soaking and steaming phases, and remember that patience is the most important tool in your kit. Once you have successfully set your first curve, you’ll find that the process becomes intuitive and opens up a wide range of possibilities for your projects.