

For most wood painting projects, you should apply exactly one coat of primer to achieve a balanced surface, though two coats are necessary when covering dark colors or highly porous, damaged wood. Applying the correct amount of primer ensures your topcoat adheres properly, prevents bleed-through from tannins or knots, and creates a uniform sheen. Expect to spend $15.00 to $45.00 per gallon for high-quality primer, depending on whether you choose a synthetic or natural base.
Key Takeaways
- One coat is sufficient for most interior projects on previously painted surfaces.
- Two coats are required when transitioning from dark wood to light paint colors.
- Always sand lightly between coats to remove raised grain and debris.
- Check the manufacturer’s technical data sheet for specific dry-time requirements.
- Use oil-based primers for blocking stains and water-based primers for general projects.
How Many Coats of Primer on Wood?
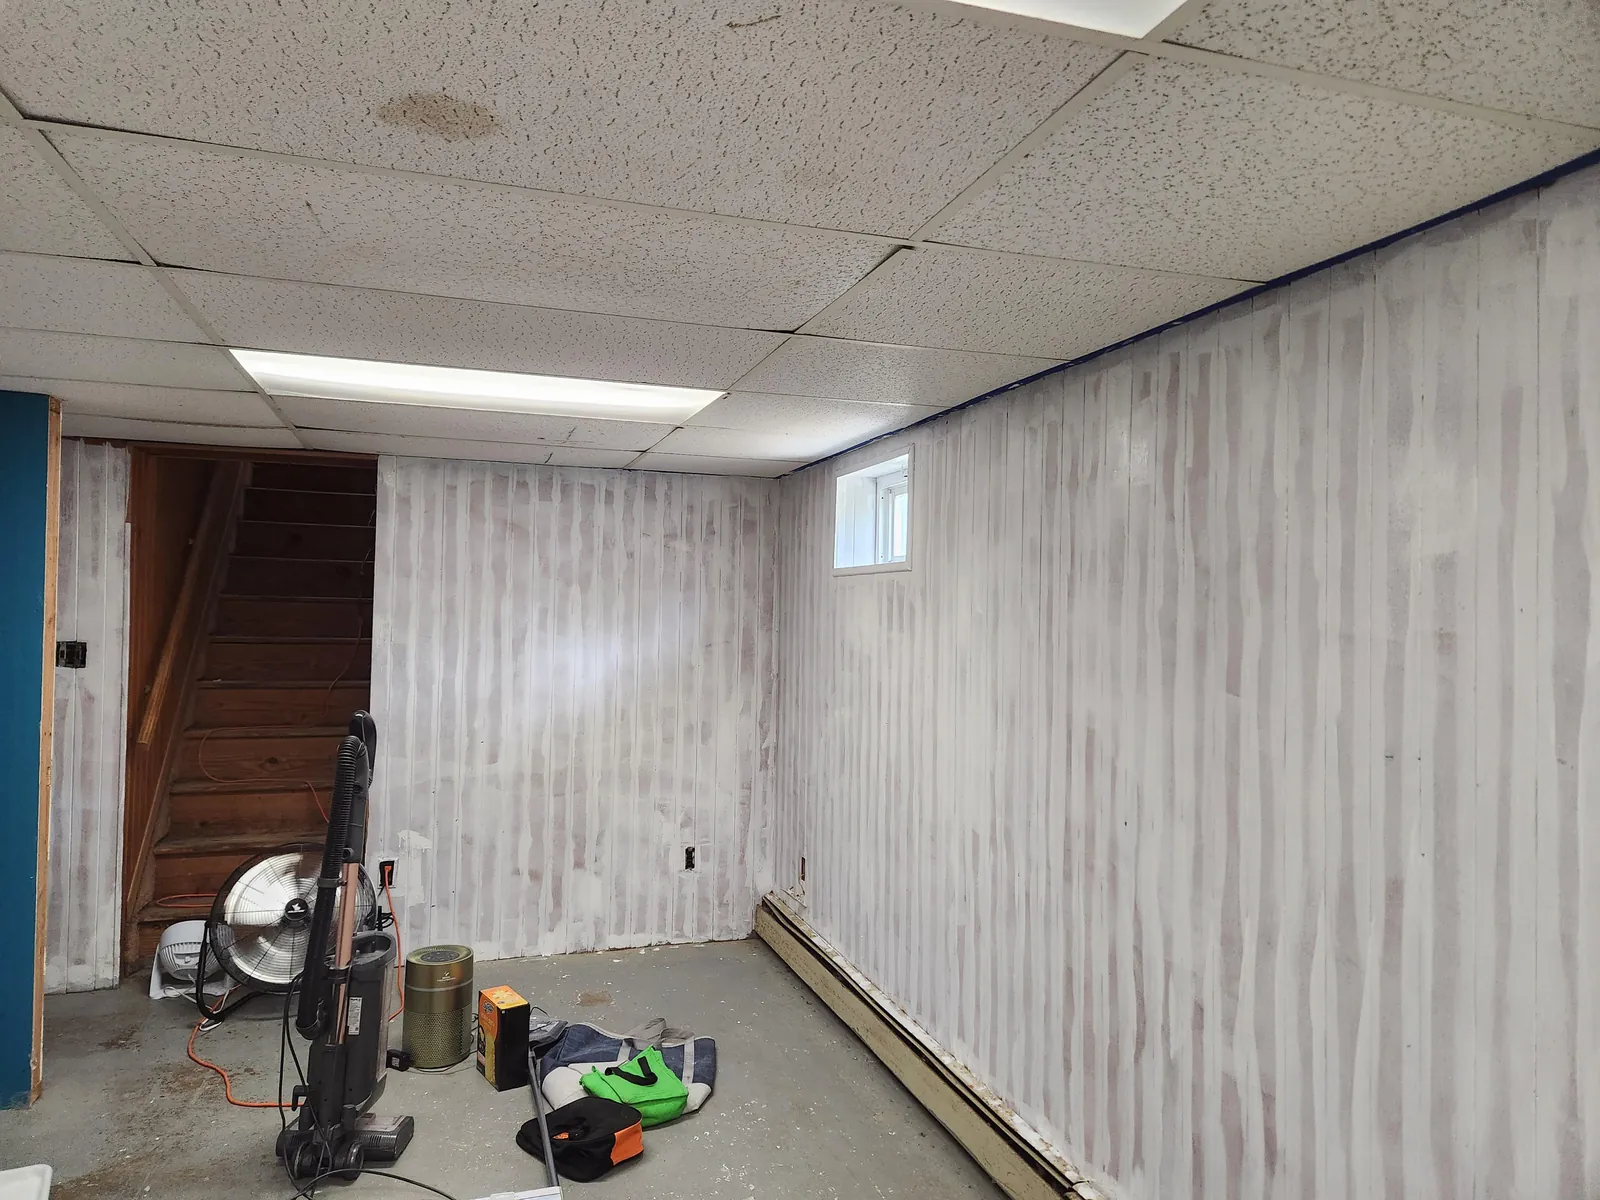
Determining the number of coats depends heavily on the condition and color of your substrate. For raw, unfinished wood, one coat is typically enough to seal the pores and create a uniform surface for your topcoat. However, if you’re painting over wood that has been previously stained or varnished, or if you’re working with an aggressive wood species like cedar or redwood, you may find that a single coat leaves “holidays” or missed spots.
In professional painting standards, the primary goal of the primer is to provide a consistent surface porosity. If the wood is highly absorbent, the first coat will soak in unevenly, leaving some areas dull and others shiny. A second coat acts as a sealer that locks down the fibers. If you notice the grain of the wood still appearing through the first layer, don’t skip the second coat.
Why Primer Is Always Necessary
You might feel tempted to use a “paint and primer in one” product, but for raw wood, a dedicated primer is almost always superior. Wood is a living material that expands and contracts with humidity changes. A specialized primer contains high-solids resins that anchor into the wood fibers, creating a bridge that the final paint layer can grip.
Without this bonding layer, your topcoat is prone to peeling, especially in high-moisture areas like kitchens or bathrooms. Furthermore, wood contains natural resins and tannins that can migrate through the paint over time, causing ugly yellow or brown spots. A high-quality stain-blocking primer creates a chemical barrier that stops these substances from reaching your final finish.
Selecting the Right Primer Type
The type of primer you choose determines how well it performs on your specific wood project. Not all primers are compatible with all wood types or topcoats.
| Primer Type | Best Use Case | Drying Time |
|---|---|---|
| Water-Based | General interior, softwoods | 1–3 hours |
| Oil-Based | Stained wood, tannin-rich species | 8–24 hours |
| Shellac-Based | Knots, smoke damage, odors | 30–60 minutes |
Water-Based Primers
These are the most common choice for interior trim, doors, and furniture. They’re low-odor, easy to clean up with soap and water, and dry quickly. They work exceptionally well on pine and poplar.
Oil-Based Primers
If you’re working with exterior wood or wood that has been previously finished with an oil-based stain, use an oil-based primer. These penetrate the wood more deeply than water-based alternatives, providing a superior foundation for durability.
Shellac-Based Primers
When you have severe issues like pet odors, fire damage, or persistent sap bleeding through from knots, shellac-based products are the industry standard. They’re incredibly thin and dry almost instantly, making them perfect for spot-priming problem areas.
Assessing Your Wood Condition
Before you reach for the brush, perform a quick assessment of your wood surface. If the wood is smooth and already painted, a light sanding followed by one coat of primer is usually enough. If the wood is raw, weathered, or severely damaged, your approach must change.
Warning: Always wear a respirator when sanding old wood finishes, as they may contain lead or other hazardous components that require specific containment procedures.
If you’re dealing with weathered exterior siding, you may need to apply a wood conditioner or a specialized exterior primer. Weathered wood is often soft and porous; applying too little primer will result in a finish that fails within a season. In these cases, two coats are mandatory to ensure a consistent film thickness.
Tools for Professional Results
Using the right tools will make the priming process faster and result in a better finish. For large, flat surfaces, a high-quality nap roller is ideal. For intricate trim, crown molding, or furniture legs, a tapered sash brush is essential.
- Synthetic Bristle Brushes: Best for water-based and latex primers.
- Natural Bristle Brushes: Best for oil-based primers and shellac.
- Foam Rollers: Excellent for smooth furniture surfaces to reduce brush marks.
- Microfiber Rollers: Great for picking up more primer and covering rougher wood textures.
Step-by-Step Priming Process
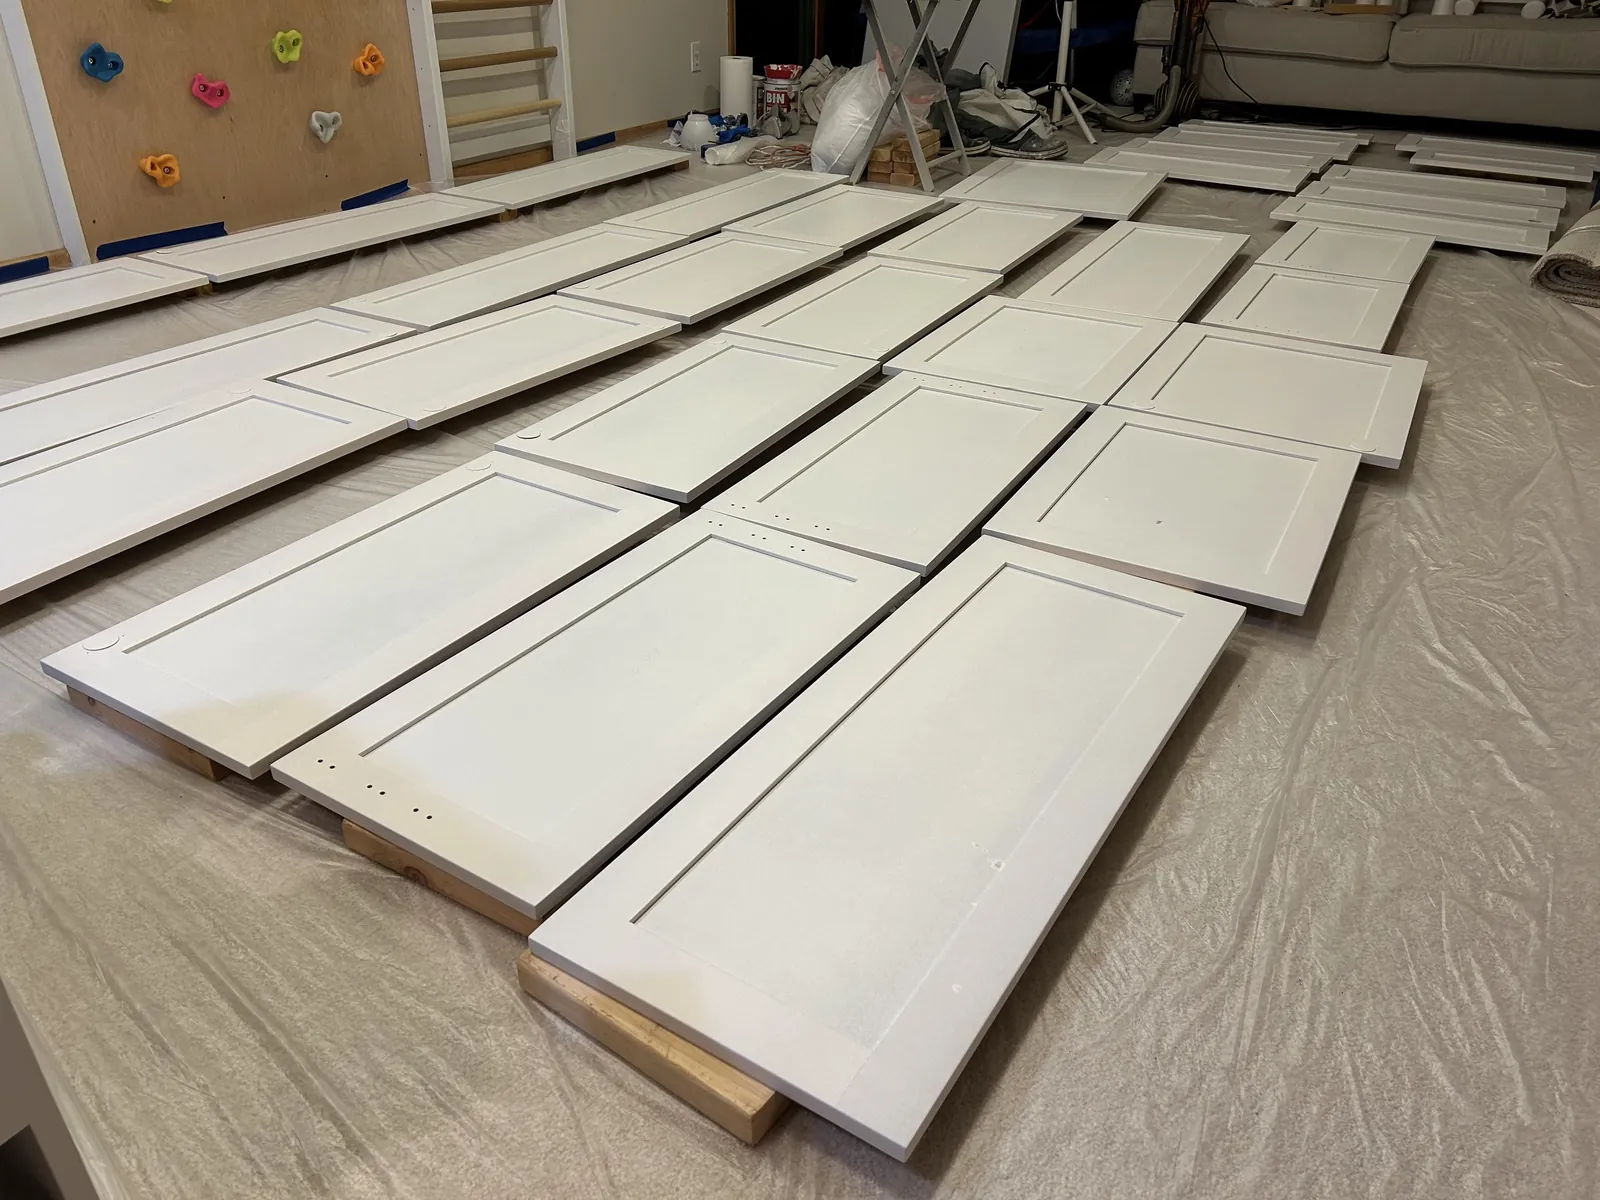
Following a systematic approach ensures that you don’t miss spots and that the primer cures properly.
- Preparation: Clean the wood surface thoroughly to remove dust, grease, and grime.
- Sanding: Use 120-grit sandpaper to remove any loose fibers or old, peeling paint.
- Dust Removal: Wipe the wood with a tack cloth or a damp rag to ensure no dust remains.
- First Coat: Apply an even, thin coat of primer. Don’t over-apply, or you’ll create drips.
- Inspection: Check for “holidays” or areas where the wood grain is still clearly visible.
- Sanding Between Coats: Once the primer is fully dry, lightly sand with 220-grit paper to smooth out any “nibs” or raised grain.
- Second Coat: If required, apply the second coat, ensuring complete coverage.
The Role of Sanding
Sanding is perhaps the most overlooked step in the painting process. Priming raises the grain of the wood, which can make the surface feel fuzzy or rough. If you apply your topcoat directly onto this rough surface, your final paint job will look amateurish.
By sanding after the first coat of primer, you’re essentially leveling the surface. Think of this as the final shaping of your project. After sanding, you must remove the sanding residue completely. Any dust left behind will create small bumps that will be magnified once the glossy topcoat is applied. A quick pass with a vacuum followed by a tack cloth is the best way to ensure a clean surface.
Troubleshooting Common Issues
Even with careful planning, things can go wrong. Here is how to handle the most common issues encountered during the priming phase.
| Issue | Cause | Solution |
|---|---|---|
| Peeling Primer | Poor surface prep | Sand back, clean, and re-prime |
| Yellow Stains | Tannin migration | Apply a second coat of stain-blocker |
| Rough Texture | Raised wood grain | Sand lightly with 220-grit paper |
| Drips and Runs | Over-application | Sand smooth and apply thinner coats |
If you encounter tannin bleed, which appears as yellow or brown streaks, don’t try to cover it with more latex paint. It will continue to bleed through. You must use an oil-based or shellac-based primer to chemically seal the wood. Once the stain-blocking primer has cured, you can safely apply your topcoat.
How to Calculate Primer Needs
Most primers cover approximately 350 to 400 square feet per gallon. To determine how much you need, measure the length and height of the surface you’re painting. Multiply these to get the square footage. If you’re painting both sides of a door or complex furniture, remember to double your total square footage calculation.
Pro Tip: Buy 10% more primer than your calculation suggests to account for waste, drips, and the potential need for a second coat on edges or porous end-grain.
If you’re working on end-grain, be prepared to use more primer. The ends of boards are like bundles of straws and will soak up significantly more liquid than the face of the board. You might need to spot-prime these areas two or three times before they’re fully sealed.
Selecting Between Brands
There are many reputable manufacturers that produce high-quality primers. Choosing a well-regarded brand can save you time and money by ensuring you get the job done in the fewest coats possible.
- Sherwin-Williams: Known for their Multi-Purpose and Extreme Bond primers.
- Benjamin Moore: Offers excellent options like Fresh Start for various wood types.
- Zinsser: The industry leader for specialty primers like B-I-N and Cover Stain.
- KILZ: A widely available choice for general-purpose stain blocking and sealing.
Managing Drying Times
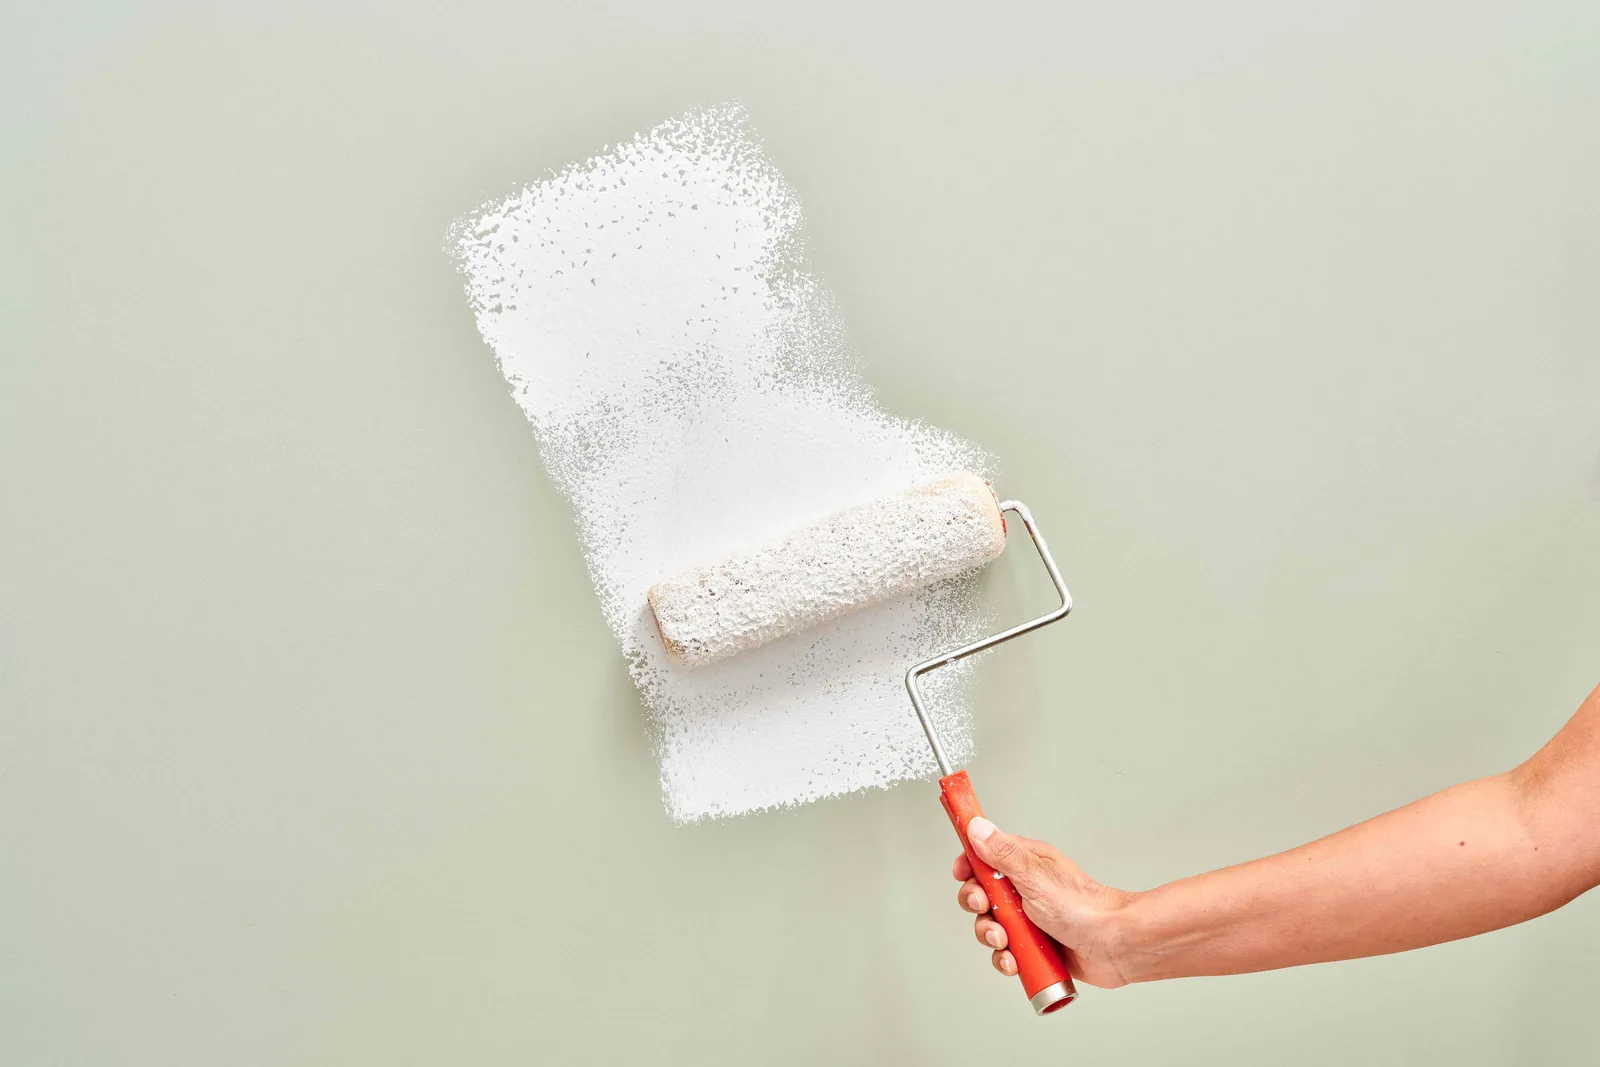
Patience is a virtue when waiting for primer to dry. If you apply your topcoat too soon, you risk trapping moisture or solvents within the primer layer, which can cause the finish to crack or bubble later. Always follow the manufacturer’s instructions on the container regarding recoat times.
In high-humidity environments, increase the drying time by at least 50%. If you’re working in a cold basement or a drafty garage, the primer will also take longer to cure. Using a space heater or a dehumidifier can help speed up the process, but be careful not to introduce too much dust into the air while the primer is still wet.
Related guides
Frequently Asked Questions
Can I paint over primer immediately?
No, you must wait until the primer is fully dry to the touch and has reached its recoat window. Applying paint too early can lead to poor adhesion and bubbling. Check the product label for specific dry times, which typically range from one hour for water-based products to twenty-four hours for certain oil-based primers, depending on the environment.
Do I need to prime previously painted wood?
If the existing paint is in good condition, you don’t need a full coat of primer. However, you should still scuff-sand the surface to ensure the new paint adheres. If the old paint is glossy, oil-based, or damaged, applying a bonding primer is a wise insurance policy to prevent the new paint from peeling or failing over time.
How do I know if the wood is sealed?
The wood is properly sealed when the surface has a uniform, matte appearance across the entire area. If you see patches that look duller or “thirsty,” the wood has absorbed the primer unevenly. In these cases, that specific area needs an additional coat of primer to ensure the topcoat receives a consistent surface to bond with.
Is one coat of primer enough for furniture?
For furniture, two coats of primer are often better than one. Furniture undergoes significant wear and tear, and a thicker, more durable primer base provides a sturdier foundation. Additionally, if you’re changing the color of the furniture, two coats will provide better color holdout, ensuring that the original wood color or stain doesn’t influence the final appearance of your topcoat.
Does primer prevent wood from rotting?
Primer itself doesn’t prevent rot, but it acts as a critical moisture barrier that helps protect the wood. To truly prevent rot, you must use exterior-grade wood, treat it with a preservative, and ensure that your paint system is fully sealed, including the edges and back of the wood. A high-quality primer is just the first line of defense in a total wood-protection strategy.
Conclusion
Once you have assessed your wood and selected the appropriate primer, your next step is to perform a small test patch in an inconspicuous area. This allows you to observe how the primer interacts with the surface and how quickly it dries before you commit to the entire project. If the test patch adheres well and covers the grain, proceed with your full application.