
Most wood glues reach a functional bond in 30 to 60 minutes, but you should understand the duration required for wood glue to dry fully before you can stress the joint. A full cure typically requires 24 hours at room temperature. This time changes based on the type of glue you use, the humidity in your workshop, and the density of the wood you’re bonding.
Who needs to use wood glue
This guide is for woodworkers and home DIYers who need to know when they can safely remove clamps or begin sanding a project. It serves people using common polyvinyl acetate (PVA) glues, such as standard yellow or white wood glue. If you’re using specialized epoxies, polyurethane adhesives, or hot hide glues, these timelines won’t apply to your specific material.
This article assumes you’re working in a standard indoor environment with temperatures between 65°F and 75°F. If you work in a cold garage or a high-humidity basement, your drying times will increase significantly.
If you’re a professional cabinet maker looking for technical data sheets on industrial-grade cross-linking adhesives, you should consult the manufacturer’s specific product label. Readers who are new to woodworking will find the most value here, as this information helps prevent joint failure caused by removing clamps too early.
Factors that change drying time
The most important factor is the type of glue, as some formulations are designed to set faster than others. PVA glues, for example, cure as the water is absorbed into the wood fibers, so they cure slower in humid air. Check the bottle label for the specific manufacturer’s “clamp time” and “cure time” specifications.
Temperature plays a major role in how fast the water leaves the glue. If your shop is below 50°F, the chemical process slows down, and you should wait twice as long as the label suggests. Always keep your glue stored in a room-temperature space; cold glue doesn’t penetrate wood fibers well.
Wood density also changes the result because porous woods like pine absorb the liquid faster than dense hardwoods like oak. If you’re gluing oily woods like teak, the surface may prevent the glue from bonding properly, which can make the joint feel weak even after 24 hours.
Finally, the fit of your joint matters more than the glue itself. If you have gaps between your boards, the glue must bridge that space, which takes longer to harden and results in a weaker bond. A tight-fitting joint requires less glue and reaches its full strength much faster than a loose one.
Proper clamping and drying steps
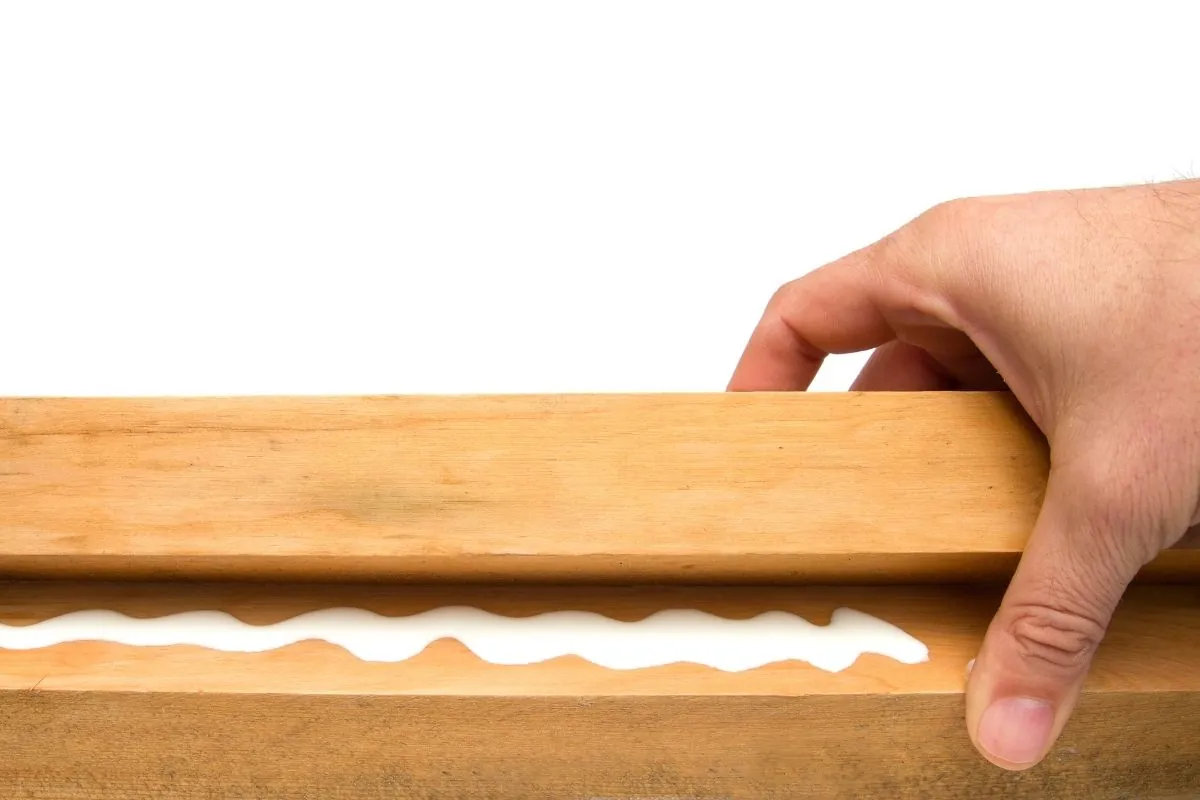
- Apply a thin, even layer of glue to both surfaces of your joint.
- Press the pieces together firmly until you see a small amount of “squeeze-out” along the entire seam.
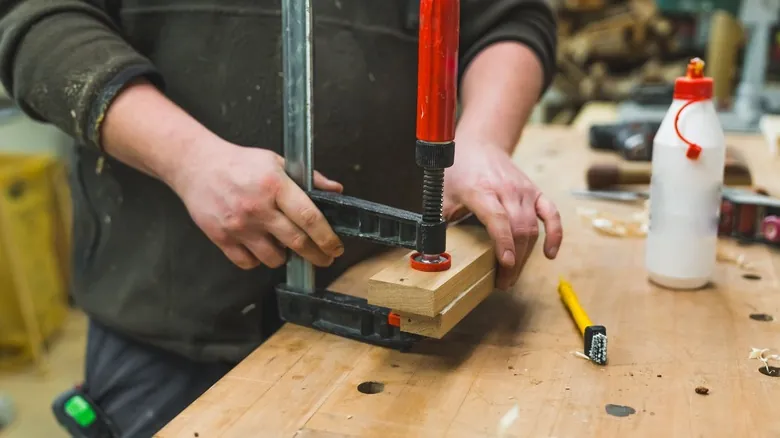
- Apply clamps to the joint, using enough pressure to hold the wood pieces stationary.
- Wipe away excess glue with a damp cloth immediately, as it’s harder to remove once it skins over.
- Leave the clamps in place for the duration listed on the Titebond product technical data sheet for your specific glue type.
- Remove the clamps carefully after the minimum clamp time has passed.
- Allow the project to sit undisturbed for the full 24-hour curing cycle before you apply any mechanical stress, such as sanding or heavy assembly.
The main judgment call is knowing when a joint is “done.” If you remove clamps too early, the wood can shift, which ruins the bond and requires you to scrape the glue off and start over. A joint is ready for light handling when it feels firm to the touch, but it’s only ready for heavy work after the full 24-hour cure.
How long wood glue takes to dry
| Glue Type | Clamp Time | Full Cure Time | Best Use |
|---|---|---|---|
| Standard PVA | 30-60 min | 24 hours | Indoor furniture |
| Fast-Set PVA | 15-30 min | 24 hours | Small repairs |
| Waterproof PVA | 60 min | 24 hours | Outdoor items |
Clamp time marks the moment you can safely remove pressure, but the joint remains fragile. Don’t stress the bond until the full cure time passes. If you sand or machine the wood before 24 hours, the joint line will likely creep or open.
Temperature dictates the pace of these reactions. If your shop drops below 60°F, double the clamp time to ensure the glue sets properly. High humidity also slows the process, especially with polyurethane glues that rely on moisture to trigger their expansion.
Most people make the mistake of testing the bond by wiggling the workpiece. This movement breaks the molecular chains as they form, leading to a permanent weak spot. If you’re working with oily hardwoods like teak or rosewood, wipe the surfaces with acetone first. Without this step, the cure time becomes irrelevant because the glue will never achieve a true mechanical lock. If the joint feels tacky after the suggested window, leave the clamps on for another four hours.
Achieving a strong bond
Preparation and application
Experienced woodworkers always dry-fit their joints before applying glue to ensure everything lines up perfectly. If the pieces don’t fit together without clamps, you should trim them until they do. Beginners often make the mistake of using too much glue, which creates a mess and actually makes the joint weaker by creating a thicker, more brittle layer between the wood surfaces.
Managing the environment
Professionals monitor the humidity in their shop, as high moisture levels prevent glue from hardening correctly. If you’re working in a damp space, use a dehumidifier to keep the air dry during the 24-hour curing process. Never attempt to “speed up” the drying process with a heat gun, as this can cause the glue to skin over and fail to cure deep inside the joint.
Common gluing issues
| What you notice | What it means | What to do first | How to prevent it |
|---|---|---|---|
| Glue remains tacky | Humidity is too high | Use a heater | Run a dehumidifier |
| Joint pulls apart | Clamps were loose | Re-glue immediately | Use more clamps |
| Glue line visible | Joint fit is poor | Sand the surface | Improve wood cuts |
| Weak, brittle bond | Glue is expired | Check bottle date | Buy fresh glue |
| Messy squeeze-out | Used too much | Wipe with cloth | Apply thinner layer |
If you notice a tacky residue even after 24 hours, check if your shop humidity exceeds 60 percent. In these conditions, the water in the adhesive can’t evaporate, effectively stalling the chemical bond.
If a joint pulls apart, verify your clamping pressure by checking for a thin, consistent bead of squeeze-out along the entire seam. If no bead appears, you have applied insufficient pressure, which leads to a starved joint.
For visible glue lines, test your mating surfaces with a precision square before applying adhesive. If you see light passing through the seam, the wood isn’t square; sanding will only round the edges, making the gap worse.
When dealing with brittle bonds, look for a “shelf life” stamp on the bottle. Most wood glues lose their structural integrity after 12 months, even if they appear liquid. If the glue looks stringy or separates into layers, discard it immediately. Using expired adhesive risks catastrophic failure under load, which often ruins the finished project.
Rules for wood bonding
The primary rule is that wood glue isn’t a filler; it’s an adhesive designed to hold wood-to-wood contact. If your joint has gaps wider than 1/64 of an inch, the glue won’t provide a structural bond, according to the American Wood Council’s guidelines on wood connection standards.
If you’re building items that must support heavy weight or human safety, such as chairs or bunk beds, you should use mechanical fasteners like screws or dowels in addition to the glue. Never rely on glue alone for structural joints that will be under constant tension. If you’re unsure about the strength requirements for your build, consult a local professional carpenter or structural engineer.
The cost of the process
The actual cost of wood glue is low, as it’s inexpensive relative to the alternative. However, the true cost is the time you lose if a joint fails. If you rush the process and the glue doesn’t cure, you’ll spend twice as much time cleaning the old glue off the wood and re-gluing the project.
The biggest variable in cost is the type of project. Simple home repairs use very little glue, while large furniture builds can consume an entire bottle. Always check the expiration date on the bottom of the bottle before you start. Expired glue loses its chemical ability to bond, which wastes your time and materials.
If the glue has thickened into a gel or shows visible separation, discard it immediately. Using compromised adhesive creates a brittle bond that will snap under minimal stress. If you’re working in a workshop below 50 degrees Fahrenheit, the glue won’t cure properly. In cold conditions, you must warm the wood to room temperature first. Otherwise, you’re simply paying to create a future failure.
Maintaining your work
Once the glue has fully cured, your joint is typically stronger than the wood itself. You don’t need to do anything to “maintain” the glue, but you should keep the project away from extreme heat or constant water exposure unless you used a specialized waterproof adhesive.
If you see a joint start to separate months later, it usually means the wood has moved due to seasonal humidity changes. You can often fix this by injecting a small amount of fresh wood glue into the gap and re-clamping the piece. If the joint is loose, you might need to add a small wooden shim to tighten the fit before re-gluing.
Avoid the common mistake of sanding the gap before applying new adhesive. Sanding creates fine dust that prevents the glue from penetrating the wood fibers, leading to a weak bond that will fail again within weeks. If the gap is wider than a business card, the wood has likely warped beyond the reach of simple glue. In those cases, use a mechanical fastener like a screw or a dowel to provide the structural tension the adhesive can no longer maintain.
When to use a different method
If you’re bonding wood to metal, glass, or plastic, standard wood glue will fail because it relies on porous surfaces to create a mechanical lock. In these cases, use a two-part epoxy or a construction adhesive designed for mixed materials. These products are available at any hardware store and will state their specific bonding capabilities on the back of the package.
If you’re working on a project that will be submerged in water, such as a boat, wood glue is also the wrong choice. Moisture breaks down the polyvinyl acetate bonds, leading to catastrophic joint failure. You must use a marine-grade epoxy or a resorcinol adhesive instead.
These materials require specific mixing ratios and precise temperature control. If the ambient temperature falls below 60 degrees Fahrenheit, the chemical reaction slows, resulting in a brittle, weak bond. If you’re unsure about the environment, perform a test joint on scrap material first. If the glue remains tacky after 24 hours, the humidity is likely too high for the adhesive to cure properly.
Related guides
Frequently asked questions
How long does wood glue take to dry on pine?
It takes 30 to 60 minutes for the glue to set on pine, but you must leave it for 24 hours to reach a full cure. Pine is porous and absorbs glue quickly, so you may need a slightly heavier application than you would for dense hardwoods.
Is it safe to leave wood glue to dry overnight?
Yes, leaving the glue to dry overnight is the best practice for ensuring a strong, permanent bond. A full 24-hour cycle allows the water to be absorbed into the wood and the polymers to set, which provides the maximum possible strength for your wooden joint.
How do I know if wood glue is dry?
You can tell the glue is dry when the squeeze-out feels hard and brittle to the touch rather than rubbery or soft. If the excess glue still feels like a gel, it hasn’t finished curing, and you should leave the clamps on for more time.
Does wood glue get stronger over time?
No, wood glue reaches its maximum strength after the initial 24-hour curing period. While it remains stable for many years, it doesn’t gain additional structural integrity once the chemical reaction is complete and the water has fully evaporated from the joint.
Can I sand wood glue after 1 hour?
No, you shouldn’t sand the glue after only one hour because the joint is still soft and could shift under the pressure of a sander. Wait the full 24 hours to ensure the bond is rigid and won’t move while you’re finishing the wood surface.
What happens if I remove clamps too early?
Removing clamps too early causes the joint to shift, which creates internal stress and weakens the final bond significantly. If the wood pieces move even slightly while the glue is still curing, the microscopic bond between the wood fibers will be permanently broken.
Conclusion
Start your project by dry-fitting your boards to ensure they sit flush without any gaps. Once you apply the glue, expect the joint to feel stable after one hour, but wait a full 24 hours before you begin sanding or adding weight. If the glue remains soft after 24 hours, stop and check your shop temperature.