

To carve a precise channel, you use a rotary tool with a router attachment and a straight bit, which is how to cut a groove in wood with a dremel for clean, professional results. This method is ideal for creating slots for inlay, decorative accents, or joinery.
The accuracy of your groove depends on the speed setting of your tool, the sharpness of your bit, and the stability of your guide. These factors determine whether you get a smooth cut or a ragged, burned channel.
Woodworking enthusiasts and project builders
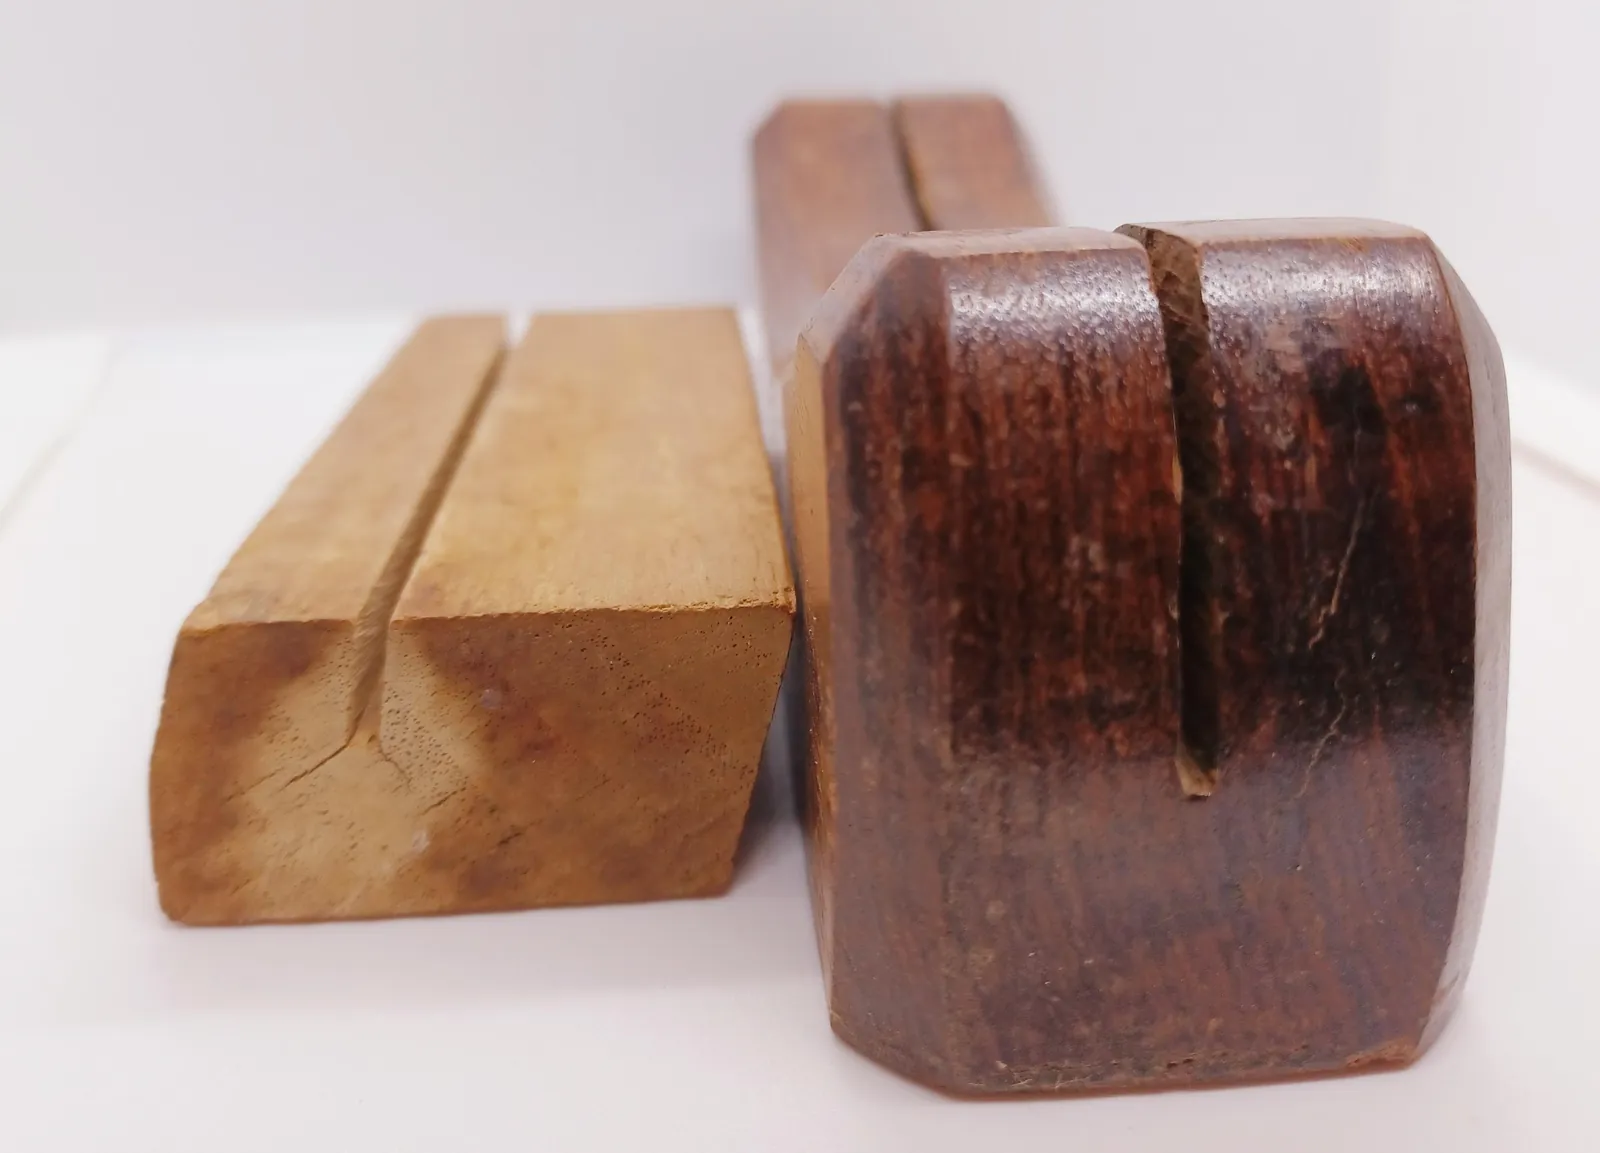
This guide is for hobbyists and makers who own a rotary tool and want to add decorative or functional grooves to wood projects. You likely have a basic understanding of tool safety but need specific guidance on the setup required for consistent, straight lines. If you’re looking for information on industrial-scale milling or massive furniture construction, this page won’t serve you; those tasks require dedicated stationary routers.
We assume you have a standard rotary tool kit with at least a routing attachment base. If you’re using a generic tool without a depth-adjustable base, you’ll struggle to maintain consistent depth and should consider purchasing a proper plunge router attachment before starting. This article focuses on the hobbyist level, where precision is managed through steady hands and proper tool configuration rather than high-end automation.
Factors that influence your cutting precision
The quality of your groove is primarily determined by your choice of bit and the speed at which you move the tool. A high-speed steel or carbide cutter is necessary for wood, as softer bits will dull quickly and burn the material. You should always test your bit on scrap wood of the same species to gauge how the wood reacts to the cutter.
Stability is the next most important factor. If you don’t secure your workpiece with clamps, the tool will pull the wood or wander off your intended path. A guide fence or a straight edge clamped to your board is essential for long, straight grooves. People often skip this step to save time, but a shaky hand inevitably ruins the project.
Finally, the depth of your cut changes the outcome significantly. Don’t attempt to cut the full depth of the groove in one pass. A shallow pass of about 1/8 inch is standard; for deeper grooves, repeat the process in multiple passes. If you force the tool, it will bog down, causing the motor to overheat and the wood to char. Always check the Dremel rotary tool safety guidelines to ensure you’re using the correct accessories for wood-based applications.
How to cut a groove in wood with a dremel
- Secure your workpiece to a sturdy workbench using at least two heavy-duty clamps.
- Install a straight router bit into your rotary tool and tighten the collet nut firmly with a wrench.
- Attach the router base to the tool and adjust the depth of the bit to approximately 1/8 inch for the first pass.
- Clamp a straight piece of scrap wood or a metal ruler to your board to act as a physical fence.
- Set your tool to a medium-high speed, typically between 15,000 and 25,000 RPM, depending on the wood hardness.
- Place the router base against your guide fence and turn the tool on before it touches the wood.
- Move the tool slowly and steadily along the guide, keeping constant pressure against the fence.
- Turn off the tool and let it come to a complete stop before lifting it from the wood.
- Adjust the depth for additional passes if you need a deeper groove, repeating the steps carefully.
The mark of a properly finished job is a groove with smooth, consistent walls and no burn marks. If you see dark, charred edges, it means you moved the tool too slowly or your bit is dull.
Variations for different project needs
| Situation | Adjustment | Time/Effort | What to watch for |
|---|---|---|---|
| Softwood | Lower speed | Low effort | Avoid tearing fibers |
| Hardwood | Multiple shallow passes | High effort | Bit overheating |
| Decorative inlay | Use V-shape bit | Medium effort | Alignment errors |
| Wide channels | Multiple parallel passes | High effort | Uneven floor depth |
| Curved grooves | Remove guide fence | High effort | Loss of control |
When working with softwood, keep your router speed below 15,000 RPM to prevent the cutter from burning the grain. If you see fuzzy edges, your bit is likely dull rather than too fast.
Hardwood demands a different approach. Limit each pass to 1/8 inch of depth to prevent the motor from straining. If the wood smells like charcoal or shows dark marks, stop immediately. You’re pushing the bit too hard, which will ruin your edge geometry.
For wide channels, overlap your passes by at least 25 percent of the bit diameter. This eliminates the small ridges left between cuts. If you notice a wavy floor, check your router base for debris buildup before the final pass.
When cutting curves, never rely on a standard fence. Use a shop-made template and a flush-trim bit instead. This setup keeps the tool stable through the entire arc. If you feel the router pulling away from your template, ease your feed rate instantly to prevent a kickback.
Details that define professional results

Proper preparation and setup
Experienced woodworkers always prepare their workspace by clearing away dust and ensuring the workpiece is at a comfortable height. They check the bit sharpness by hand and replace it the moment it feels blunt. Beginners often rush this stage, leading to poor control and uneven grooves that are difficult to fix once the wood is cut.
Handling the tool during operation
The secret to a clean groove is letting the bit do the work. Professionals maintain a steady, forward motion without pushing the tool into the wood. If you push too hard, the bit will chatter and create a wavy bottom. They also ensure the vacuum is nearby to clear dust, which helps them see the line clearly while cutting.
Common issues and quick fixes
| What you notice | What it usually means | What to do first | How to stop it |
|---|---|---|---|
| Burn marks | Moving too slowly | Sand the area | Increase travel speed |
| Uneven depth | Inconsistent pressure | Check base plate | Use a solid guide |
| Jagged edges | Dull cutting bit | Change the bit | Use sharp cutters |
| Wandering line | Loose guide fence | Re-clamp the guide | Use two clamps |
| Motor stalling | Too much depth | Reduce depth setting | Take thinner passes |
Rules for safe operation
You must follow the manufacturer’s speed recommendations for the specific bit you’re using. Every bit has a maximum rated RPM; exceeding this limit can cause the accessory to shatter. Check the shank of the bit for the etched speed rating before you engage the motor. If the bit lacks a clear rating, cap your speed at 15,000 RPM to maintain structural integrity.
Always wear safety glasses to protect your eyes from flying wood chips, as required by the Occupational Safety and Health Administration for any power tool operation. If you’re working with treated wood, use a dust mask to avoid inhaling potentially harmful chemicals or fine particulates.
Never attempt to modify the tool’s housing or safety guards. This voids your warranty and creates a significant risk of personal injury. If the guard obstructs your view, use a wider-base jig instead of removing the safety hardware. A tool modified for convenience is a tool that will eventually fail under load.
Managing your project costs
The cost of this process is mostly in the bits and the initial purchase of the router attachment. A set of quality carbide router bits is generally inexpensive, depending on the number of profiles included.
The time investment is low, but the risk of ruining a piece of expensive lumber is high if you don’t practice on scrap first. Always factor in the cost of wasted material if your first few attempts aren’t perfect. If you’re working with exotic hardwoods like walnut or cherry, that waste represents a significant financial hit.
If your project requires high-precision joinery, buy a dedicated jig to ensure consistent depth. If you’re only rounding edges, a handheld pass is sufficient. Beginners often skip the test cut to save time, but this mistake usually costs the price of a second board. Check your local hardware store for current pricing.
Keeping your tools ready
After you finish your grooves, clean the resin and sawdust from the bit using a specialized solvent or a stiff brass brush. Even a thin layer of pitch acts as an insulator, causing heat to build up rapidly and dulling the carbide edges in minutes rather than hours.
Store the bits in their original container to prevent the edges from bumping against other metal tools, which causes micro-chipping. If you lack the original case, drill holes into a scrap block of hardwood to keep each bit isolated.
If you notice the tool vibrates more than usual during your next project, check the collet for debris or wear. A collet that has lost its spring tension will fail to grip the shank perfectly, leading to chatter marks that ruin your workpiece. If the shank shows a blue tint, the bit was slipping; replace the collet immediately to prevent a dangerous kickback.
A clean, well-maintained bit will last significantly longer and produce much cleaner grooves than one left dirty in a drawer. Always inspect the carbide for hairline fractures before every deep cut.
When to use a different tool
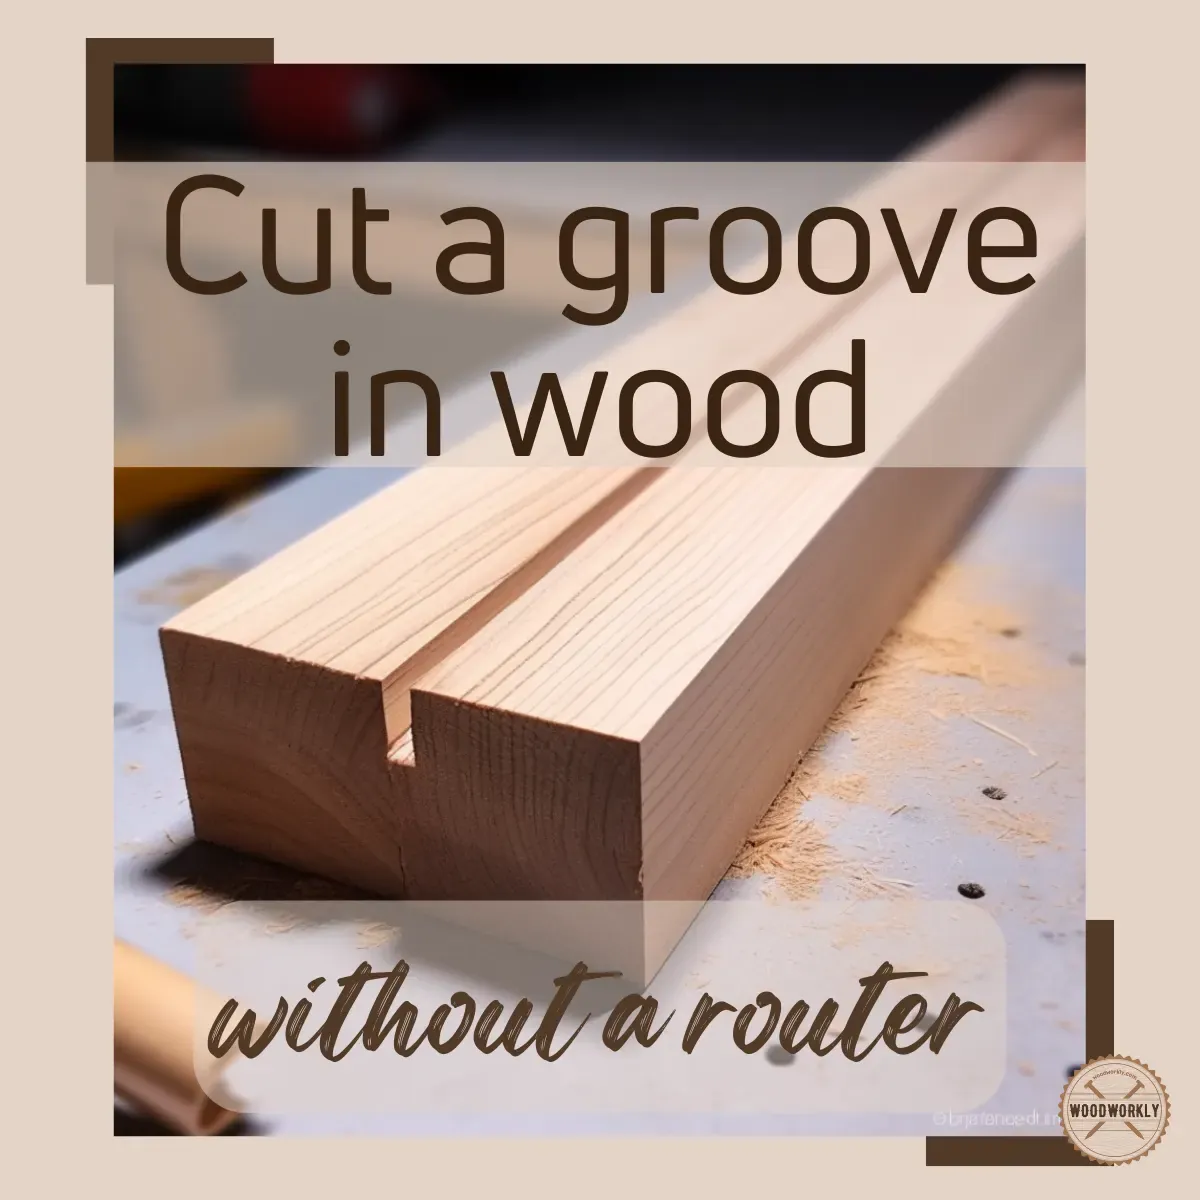
If you need to create grooves that are longer than 3 feet or deeper than 1/2 inch, a rotary tool is the wrong choice. The motor isn’t designed for heavy-duty material removal, and you’ll likely burn out the tool. In these cases, use a dedicated plunge router or a table saw with a dado stack. These tools are built for high-torque, long-duration tasks and will produce a straighter, cleaner result in a fraction of the time.
Most users make the mistake of forcing the rotary tool through deeper passes by taking multiple shallow cuts. This approach rarely works because the small diameter bits lack the necessary chip clearance, causing friction to build up rapidly. You’ll notice the wood darkening or smoking long before the bit snaps or the motor stalls.
If you’re working with hardwoods like oak or maple, cap your depth at 1/4 inch per pass regardless of the tool. If the project requires a groove width exceeding 3/8 inch, stop immediately and switch to a table saw. Trying to widen a groove with a rotary tool inevitably leads to uneven, wavy edges.
Frequently asked questions
Can I cut a groove without a router attachment?
No, you can’t safely cut a straight groove without a router attachment or a stable base. Using the tool freehand will result in an uneven, wandering line that’s impossible to control. Always use a proper base to keep the bit perpendicular to the wood surface.
How long does it take to cut a 12-inch groove?
It typically takes 5 to 10 minutes to cut a 12-inch groove, including the time to set up your clamps and guide fence. This assumes you’re making two shallow passes to reach your final depth. Rushing this process will only lead to mistakes.
Is it safe to use a dremel on hardwood?
Yes, it’s safe to use a rotary tool on hardwood, provided you use carbide bits and take very shallow passes. Hardwood requires a slower feed rate than softwood to prevent burning the wood fibers. Always test on a scrap piece of the same wood species first.
What happens if the bit gets stuck?
If the bit gets stuck, turn off the power immediately and let the tool stop spinning before trying to remove it. Attempting to pull the tool out while it’s still running will damage the wood and potentially snap the bit. You may need to back the tool out manually by rotating the collet.
Does it matter which way I push the tool?
Yes, you should always move the tool against the rotation of the bit to maintain control. Most rotary tools spin in a way that requires you to move from right to left when using a fence on the left side of the tool to maintain control. If you move in the wrong direction, the tool will “climb” and jump out of the groove.
How do I know if my bit is dull?
You know your bit is dull if you have to push harder than usual to make progress or if you smell burning wood. A sharp bit should glide through the wood with minimal resistance. Replace the bit immediately if you notice these signs to protect your project.
Conclusion
Start by clamping your guide fence firmly to your workpiece, ensuring it’s perfectly parallel to your intended path. You should expect a clean, uniform groove that’s free of burn marks and jagged edges. If the tool starts to vibrate excessively or the motor sounds strained, stop immediately and get help.