
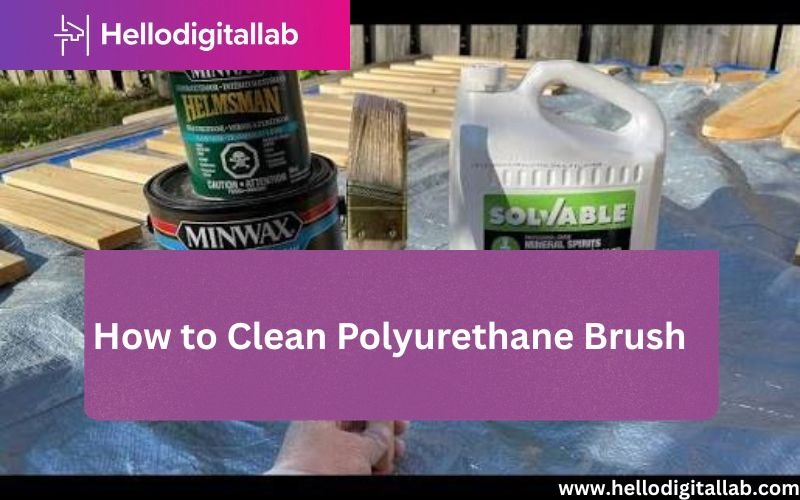
Cleaning a polyurethane brush requires using mineral spirits or paint thinner immediately after application to dissolve the uncured resin before it hardens within the bristles. Because polyurethane is a synthetic oil-based or water-based polymer designed to cure into a rock-hard protective film, allowing it to dry inside your brush will permanently ruin the tool. Proper maintenance involves a systematic process of solvent immersion, mechanical agitation, and final conditioning to keep the filaments flexible and ready for your next woodworking or furniture project.
Key Takeaways
- Clean oil-based polyurethane brushes using mineral spirits, while water-based versions require only warm, soapy water.
- Never use hot water on natural-bristle brushes, as it can damage the hair and cause shedding.
- Always perform the cleaning process in a well-ventilated area to avoid inhaling volatile organic compound fumes.
- Store your cleaned brushes hanging by their handles to maintain the original shape of the bristles.
- Properly dispose of solvent-soaked rags by laying them flat to dry outdoors to prevent spontaneous combustion.
How to Clean Polyurethane Brushes
To clean your brush effectively, you must identify whether the polyurethane you used was oil-based or water-based. Oil-based finishes are common for high-durability projects like flooring or tabletops, while water-based finishes are increasingly popular for lighter applications due to their lower odor and easier cleanup. Using the wrong solvent will either fail to remove the finish or potentially damage the brush construction.
Preparing for the cleaning process
Before you begin, gather all necessary supplies to ensure you can finish the job without interruption. If the polyurethane begins to dry while you’re searching for a rag or a container, your brush may be compromised.
- Solvent selection: Use odorless mineral spirits or paint thinner for oil-based products.
- Cleaning container: A metal or glass jar works best, as some solvents can melt plastic containers.
- Protective gear: Always wear nitrile gloves to protect your skin from chemical absorption.
- Cleaning tools: A wire brush or a specialized bristle comb helps remove stubborn buildup.
Why is my brush stiff?
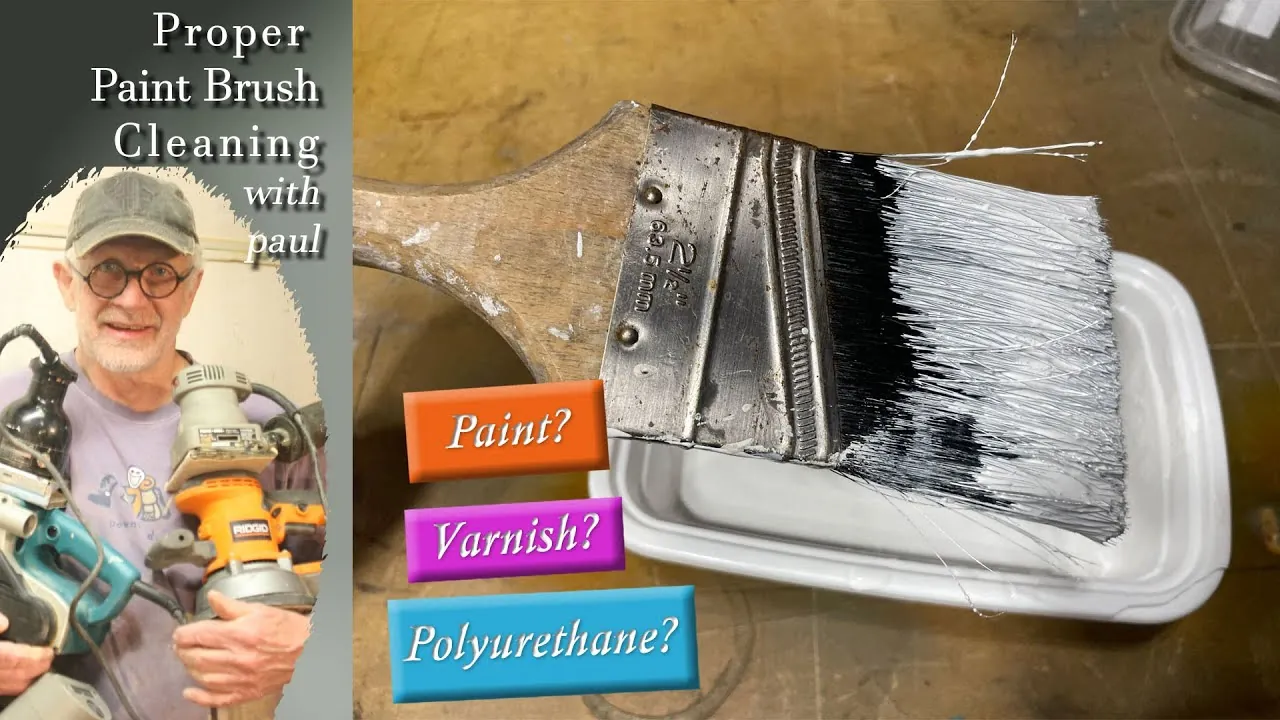
A stiff brush is almost always the result of incomplete cleaning. When you finish a coat of polyurethane, residue remains deep in the “heel” of the brush—the area where the bristles meet the ferrule. If this residue isn’t fully dissolved, it cures into a hard, plastic-like mass.
Over time, this buildup pushes the bristles apart, causing them to “fish tail” or lose their ability to lay down a smooth, even finish. If your brush feels crunchy or stuck together, it’s a clear sign that the previous cleaning session was insufficient or that you waited too long to start the process.
Essential Tools and Materials
| Material | Use Case | Safety Note |
|---|---|---|
| Mineral Spirits | Oil-based polyurethane | Flammable; use outside |
| Mild Dish Soap | Water-based polyurethane | Safe for skin contact |
| Wire Comb | Removing dried residue | Can break natural hair |
| Nitrile Gloves | Protecting hands | Change if punctured |
| Paper Towels | Initial wiping | Dispose of safely |
Cleaning Oil-Based Polyurethane Brushes
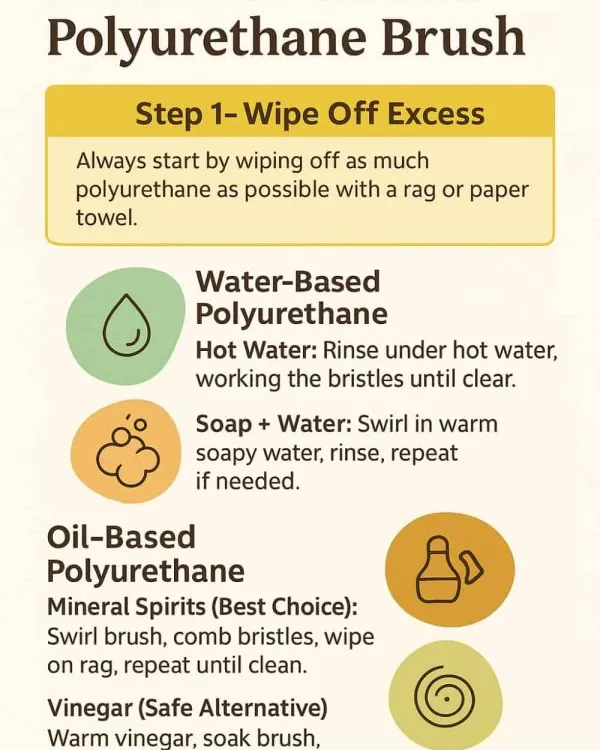
For oil-based finishes, you must work the solvent deep into the bristles. Pour about two inches of mineral spirits into a glass jar. Dip the brush into the solvent and swirl it vigorously, pressing the bristles against the side of the container to force the solvent into the heel. Repeat this process in a fresh jar of solvent until the liquid remains clear after agitation.
Warning: Never soak a brush for an extended period in the solvent, as this can soften the epoxy glue holding the bristles in the ferrule, causing the brush to shed during future use.
Once the brush is clean, shake off the excess solvent and wash the bristles with warm water and a drop of dish soap to remove the oily residue left behind by the mineral spirits. Rinse thoroughly until the water runs clear.
Can I clean water-based brushes?
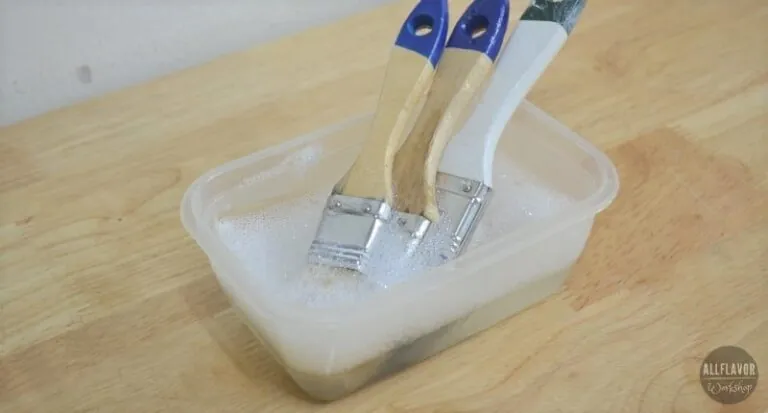
Cleaning water-based polyurethane brushes is significantly simpler and safer than working with oil-based solvents. Because water-based resins are designed to be soluble in water until they cure, you can often clean them right at the kitchen or workshop sink. Start by wiping as much excess finish off the brush as possible using a paper towel.
Run the brush under warm, soapy water. Use a mild dish detergent, which is excellent at breaking down the polymer chains before they cross-link. Massage the bristles with your fingers, paying close attention to the heel. Continue rinsing until you no longer see white or milky streaks coming from the brush.
Proper Drying and Storage Methods
After washing, your brush will be saturated with water. Squeeze out the excess moisture gently—don’t wring the bristles, as this can deform them. Shake the brush vigorously to remove trapped water.
Shaping the bristles
While the brush is still damp, use a comb to straighten the filaments. If the brush came with a cardboard sleeve or a plastic cover, keep it. Slide the cover back onto the brush to help it maintain its shape while it dries.
Hanging for longevity
Always store your brushes hanging by the hole in their handle. If you stand a wet brush on its bristles, the weight of the water and the brush handle will cause the tips to bend permanently, ruining the “flagged” ends that are essential for a smooth finish.
Comparing Solvent and Water Cleanup
| Feature | Mineral Spirits | Soap and Water |
|---|---|---|
| Solvent Type | Petroleum Distillate | Aqueous Solution |
| Environmental Impact | High (VOCs) | Low (Biodegradable) |
| Cleaning Speed | Fast | Moderate |
| Brush Compatibility | Best for Natural Hair | Best for Synthetic |
Troubleshooting Common Cleaning Issues
Even with the best intentions, you may encounter problems during the cleaning process. If you find that the bristles are still tacky after cleaning, it means there’s still finish trapped in the heel.
- Tacky Bristles: Re-soak the brush in fresh solvent for 10 minutes and repeat the agitation process.
- Shedding: If your brush is shedding, the cleaning chemicals may have weakened the adhesive; it’s time to replace the tool.
- Bent Bristles: If the brush is bent, try dipping it in very hot (but not boiling) water for 30 seconds, reshaping it, and letting it dry while hanging.
Can I reuse a hardened brush?
If a brush has fully cured with polyurethane, it’s extremely difficult to restore it to its original condition. While some chemical strippers can dissolve cured polyurethane, they’re often harsh enough to damage the brush handle or the epoxy holding the bristles.
Generally, the time and cost involved in attempting to strip a ruined brush exceed the cost of purchasing a high-quality replacement. If you have a professional-grade brush, it may be worth trying a specialized brush cleaner, but for standard hardware store brushes, it’s usually better to recycle the tool and start fresh.
Best Practices for Future Projects
Prevention is the best way to avoid the tedious task of deep-cleaning a brush. When you’re applying polyurethane, avoid dipping the brush deeper than halfway into the can. This prevents finish from reaching the ferrule, where it’s most difficult to clean.
Pro Tip: If you need to take a break for a few hours, wrap your brush tightly in plastic wrap or a plastic bag. This prevents the air from reaching the polyurethane and keeps the brush moist for up to 24 hours, saving you from having to clean it mid-project.
Frequently Asked Questions
Is it safe to pour mineral spirits down the drain?
No, never pour mineral spirits or paint thinner down the drain. These are hazardous chemicals that can contaminate groundwater and damage your plumbing. Instead, collect the dirty solvent in a sealed jar and allow the solids to settle. You can reuse the clear liquid on top for future cleaning and take the remaining sludge to your local household hazardous waste collection site for proper disposal.
How do I know if my brush is natural or synthetic?
Natural brushes are made from animal hair, such as hog bristles, and are typically tan or black. They’re best for oil-based finishes. Synthetic brushes are made from polyester, nylon, or a blend, and are often white, gold, or blue. Synthetic brushes are required for water-based polyurethanes because they don’t absorb water, which would cause natural bristles to swell and become limp.
Can I use vinegar to clean a polyurethane brush?
Vinegar is an acidic solution that’s excellent for removing mineral deposits or cleaning latex paint, but it’s ineffective at dissolving oil-based or water-based polyurethane resins. Attempting to use vinegar will simply result in a brush that’s still contaminated with finish. Always stick to the manufacturer-recommended solvent, which is almost always mineral spirits for oil-based products or warm soapy water for water-based ones.
How often should I replace my brushes?
A high-quality brush can last for years if maintained properly. However, you should replace it if the bristles become permanently splayed, if they start shedding significantly during application, or if the adhesive in the ferrule begins to crack. If you notice a “stiff” feeling at the base of the bristles that no amount of cleaning can remove, the brush has reached the end of its functional life.
What is the best way to store cleaning rags?
Solvent-soaked rags are a major fire hazard because they can undergo spontaneous combustion as the solvent evaporates. Never bunch them up in a pile. Instead, lay them flat in a single layer on a non-combustible surface, such as a concrete floor or a metal tray, in a well-ventilated area outdoors until they’re completely dry and stiff. Only then can they be safely disposed of in your regular trash.
Conclusion
Maintaining your tools is an essential skill that saves money and ensures the quality of your finished woodwork. By following the cleaning steps outlined above, you keep your equipment in peak condition for every coat of finish you apply.
If you have a brush that’s currently stiff, start by identifying the type of finish you used and choose the appropriate solvent immediately. Taking the time to properly clean, reshape, and hang your brushes after every session will significantly extend their lifespan and improve the results of your next project.