
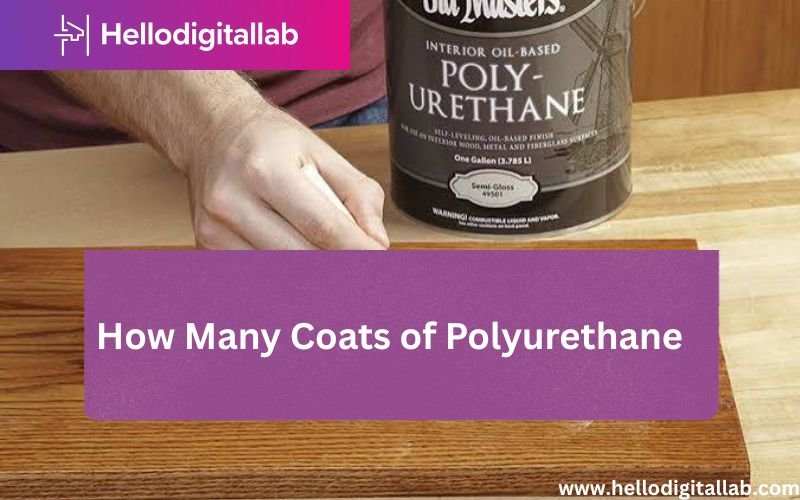
For most wood finishing projects, applying three coats of polyurethane is the industry standard for achieving a durable, protective barrier that withstands daily wear and tear. While some lightweight decorative items may only require two coats, high-traffic areas like dining tables or hardwood floors necessitate at least three, and occasionally four, to ensure the wood remains sealed against moisture, spills, and physical abrasions.
Key Takeaways
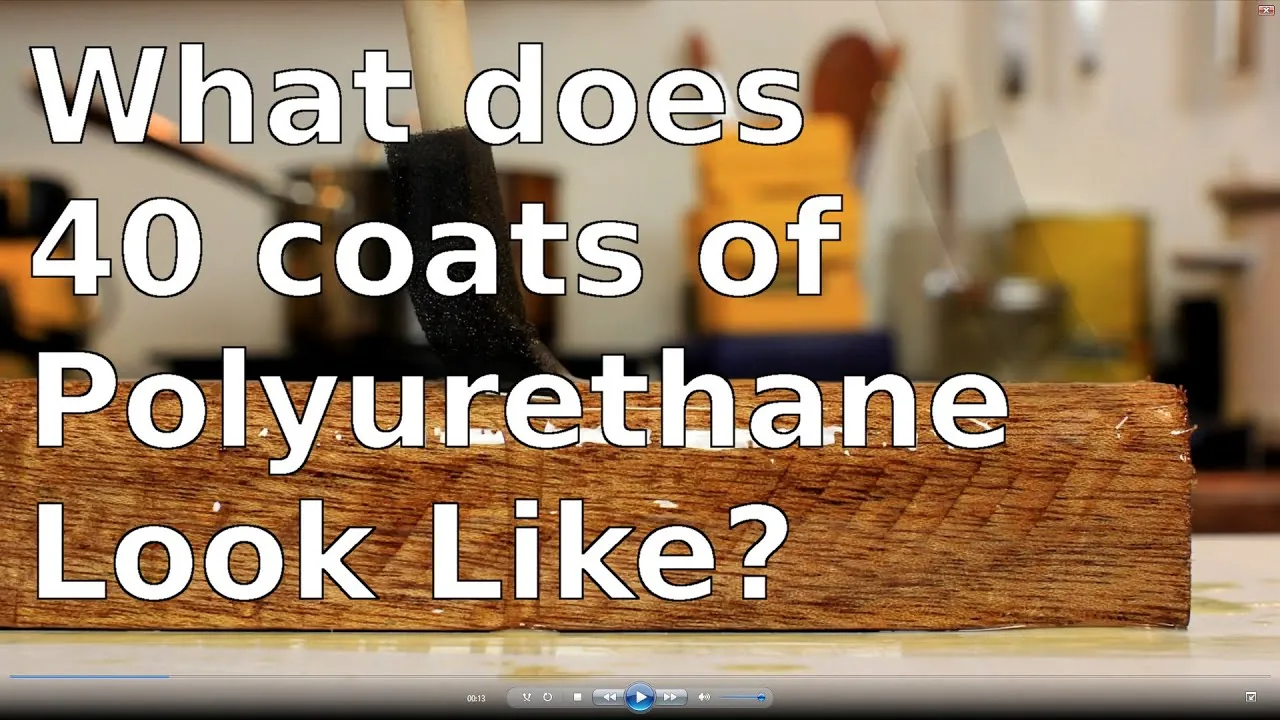
- Three coats is the baseline for most indoor furniture and flooring projects.
- Always sand lightly between coats with 220-grit sandpaper to promote adhesion and smoothness.
- Water-based polyurethane dries faster but often requires more coats than oil-based versions.
- High-traffic surfaces benefit from an extra layer to increase the overall film thickness.
- Proper environmental conditions, such as temperature and humidity, dictate drying times.
How Many Coats of Polyurethane?
Determining the exact number of layers depends on the type of product you’re using and the intended use of the surface. As a general rule, oil-based polyurethane provides a thicker build per coat than water-based alternatives, which means you might achieve the desired protection with fewer applications. However, water-based finishes are clearer and dry significantly faster.
When deciding on the number of coats, consider the porosity of the wood. Softwoods like pine absorb more finish than hardwoods like oak or maple. In these instances, a “sealer” coat—often a thinned layer of finish—might count as your first layer, meaning you should apply three additional full-strength coats on top to achieve an even, professional-looking surface.
Factors Influencing Finish Requirements
Several variables dictate whether you should stop at two coats or proceed to four or more. If you’re refinishing a floor in a busy hallway, four coats are often recommended to provide a sacrificial layer that can be buffed and recoated later without exposing the raw wood. If you’re working on a decorative shelf that will never be touched, two coats are usually sufficient to provide a subtle sheen and basic protection.
| Surface Type | Recommended Coats | Expected Durability |
|---|---|---|
| Low-Use Decor | 2 Coats | Minimal |
| Dining Tables | 3-4 Coats | High |
| Hardwood Floors | 3-4 Coats | Very High |
| Cabinets | 2-3 Coats | Moderate |
Preparing Surfaces for Success
Before you even open the can, the quality of your base layer determines the final outcome. Proper surface preparation is the most critical step in any wood finishing project. You must ensure the wood is sanded smooth, starting with coarse grits like 80 or 100, and progressing to 150 or 180. Removing all dust with a tack cloth or a vacuum is mandatory, as any trapped particles will be magnified by the polyurethane.
Applying a stain or sealer before the polyurethane can also affect how many coats you need. If the stain is oil-based, you must allow it to cure fully according to the manufacturer’s instructions before applying water-based polyurethane to prevent peeling or bubbling. Always check the technical data sheet provided by the coatings manufacturer to ensure compatibility between your chosen stain and the final topcoat.
Tools for Professional Results
The method of application significantly changes how much finish stays on the wood versus how much is wasted. Using a high-quality synthetic brush for water-based finishes or a natural bristle brush for oil-based finishes allows for better control. Foam brushes are popular for beginners because they’re inexpensive and disposable, but they can sometimes leave air bubbles if the finish is applied too aggressively.
- Synthetic brushes (e.g., Wooster or Purdy).
- Natural bristle brushes (for oil-based).
- High-density foam brushes (for small, flat surfaces).
- Lint-free tack cloths (for dust removal).
- 220-grit sandpaper or sanding sponges (for between-coat abrasion).
How to Apply Layers Correctly
Application isn’t just about spreading the liquid; it’s about creating a uniform film. Pour a small amount of polyurethane into a separate container so you don’t contaminate the main can. Load your brush about halfway and apply the finish in long, even strokes that follow the grain of the wood. Avoid “overworking” the finish by brushing back and forth too many times, as this creates bubbles that will dry into the surface.
Leveling the finish is vital after the first coat has dried. Because the wood fibers may raise slightly when they come into contact with the finish, the surface will feel rough. A light sanding with 220-grit paper will knock down these “nibs” and create a mechanical bond for the next layer. Wipe the surface clean after sanding; failing to remove the sanding dust will result in a gritty, uneven final texture.
Drying Times and Recoat Windows
Patience is a virtue in wood finishing. Every product has a “recoat window,” which is the specific time frame during which you can apply a new layer without needing to sand extensively. If you wait too long—usually 24 to 48 hours—the previous layer will be too hard, and you’ll need to scuff-sand it thoroughly to ensure the next coat sticks.
- Oil-based: Typically 8-12 hours between coats.
- Water-based: Typically 2-4 hours between coats.
- Curing time: Full hardness may take 7-30 days.
Warning: Don’t rush the drying process by using heat guns or excessive fans, as this can cause the finish to skin over while the bottom remains wet, leading to long-term cracking or “blushing” in the finish.
Should You Sand Between Every Coat?
Yes, sanding between every coat is the secret to a professional, glass-like finish. While you might be tempted to skip this step to save time, doing so will result in a finish that feels rough to the touch and looks cloudy. The goal of intermediate sanding isn’t to remove the previous coat, but to smooth out the surface and provide a “tooth” for the next layer to grip.
Use a light touch when sanding. You’re simply removing the high spots. If you sand too aggressively, you risk burning through the finish and into the stain or bare wood, which will require you to touch up the color and start the process over. A light pass with a 220-grit sanding block is usually perfect for this task.
Common Polyurethane Mistakes
Even experienced DIYers run into issues during the finishing process. The most common problem is the formation of air bubbles. This is often caused by shaking the can rather than stirring it. Always stir the finish slowly to avoid introducing air. If bubbles do appear, they can sometimes be tipped off by lightly dragging a clean, dry brush across the wet surface.
Another common issue is “fisheye,” which occurs when there’s a contaminant—like silicone or wax—on the surface of the wood. This causes the polyurethane to pull away and form small craters. Always ensure your workspace is clean and that you haven’t used furniture polish or wax in the area, as these chemicals are notoriously difficult to remove from wood pores.
Managing Environmental Conditions
The environment in which you apply the finish plays a huge role in how the product behaves. High humidity can significantly extend the drying time of water-based polyurethane, making it feel tacky for hours longer than expected. Conversely, high heat can cause the finish to dry too quickly, preventing it from leveling out properly and leaving brush marks on the surface.
- Optimal temperature: 65°F to 80°F.
- Optimal humidity: 40% to 60%.
- Avoid direct sunlight during application.
- Ensure good ventilation to prevent fume buildup.
Pro Tip: If you’re working in a dusty environment, set up a simple box fan with a furnace filter attached to the intake side to pull airborne particles away from your project while the finish is wet.
Troubleshooting Finish Issues
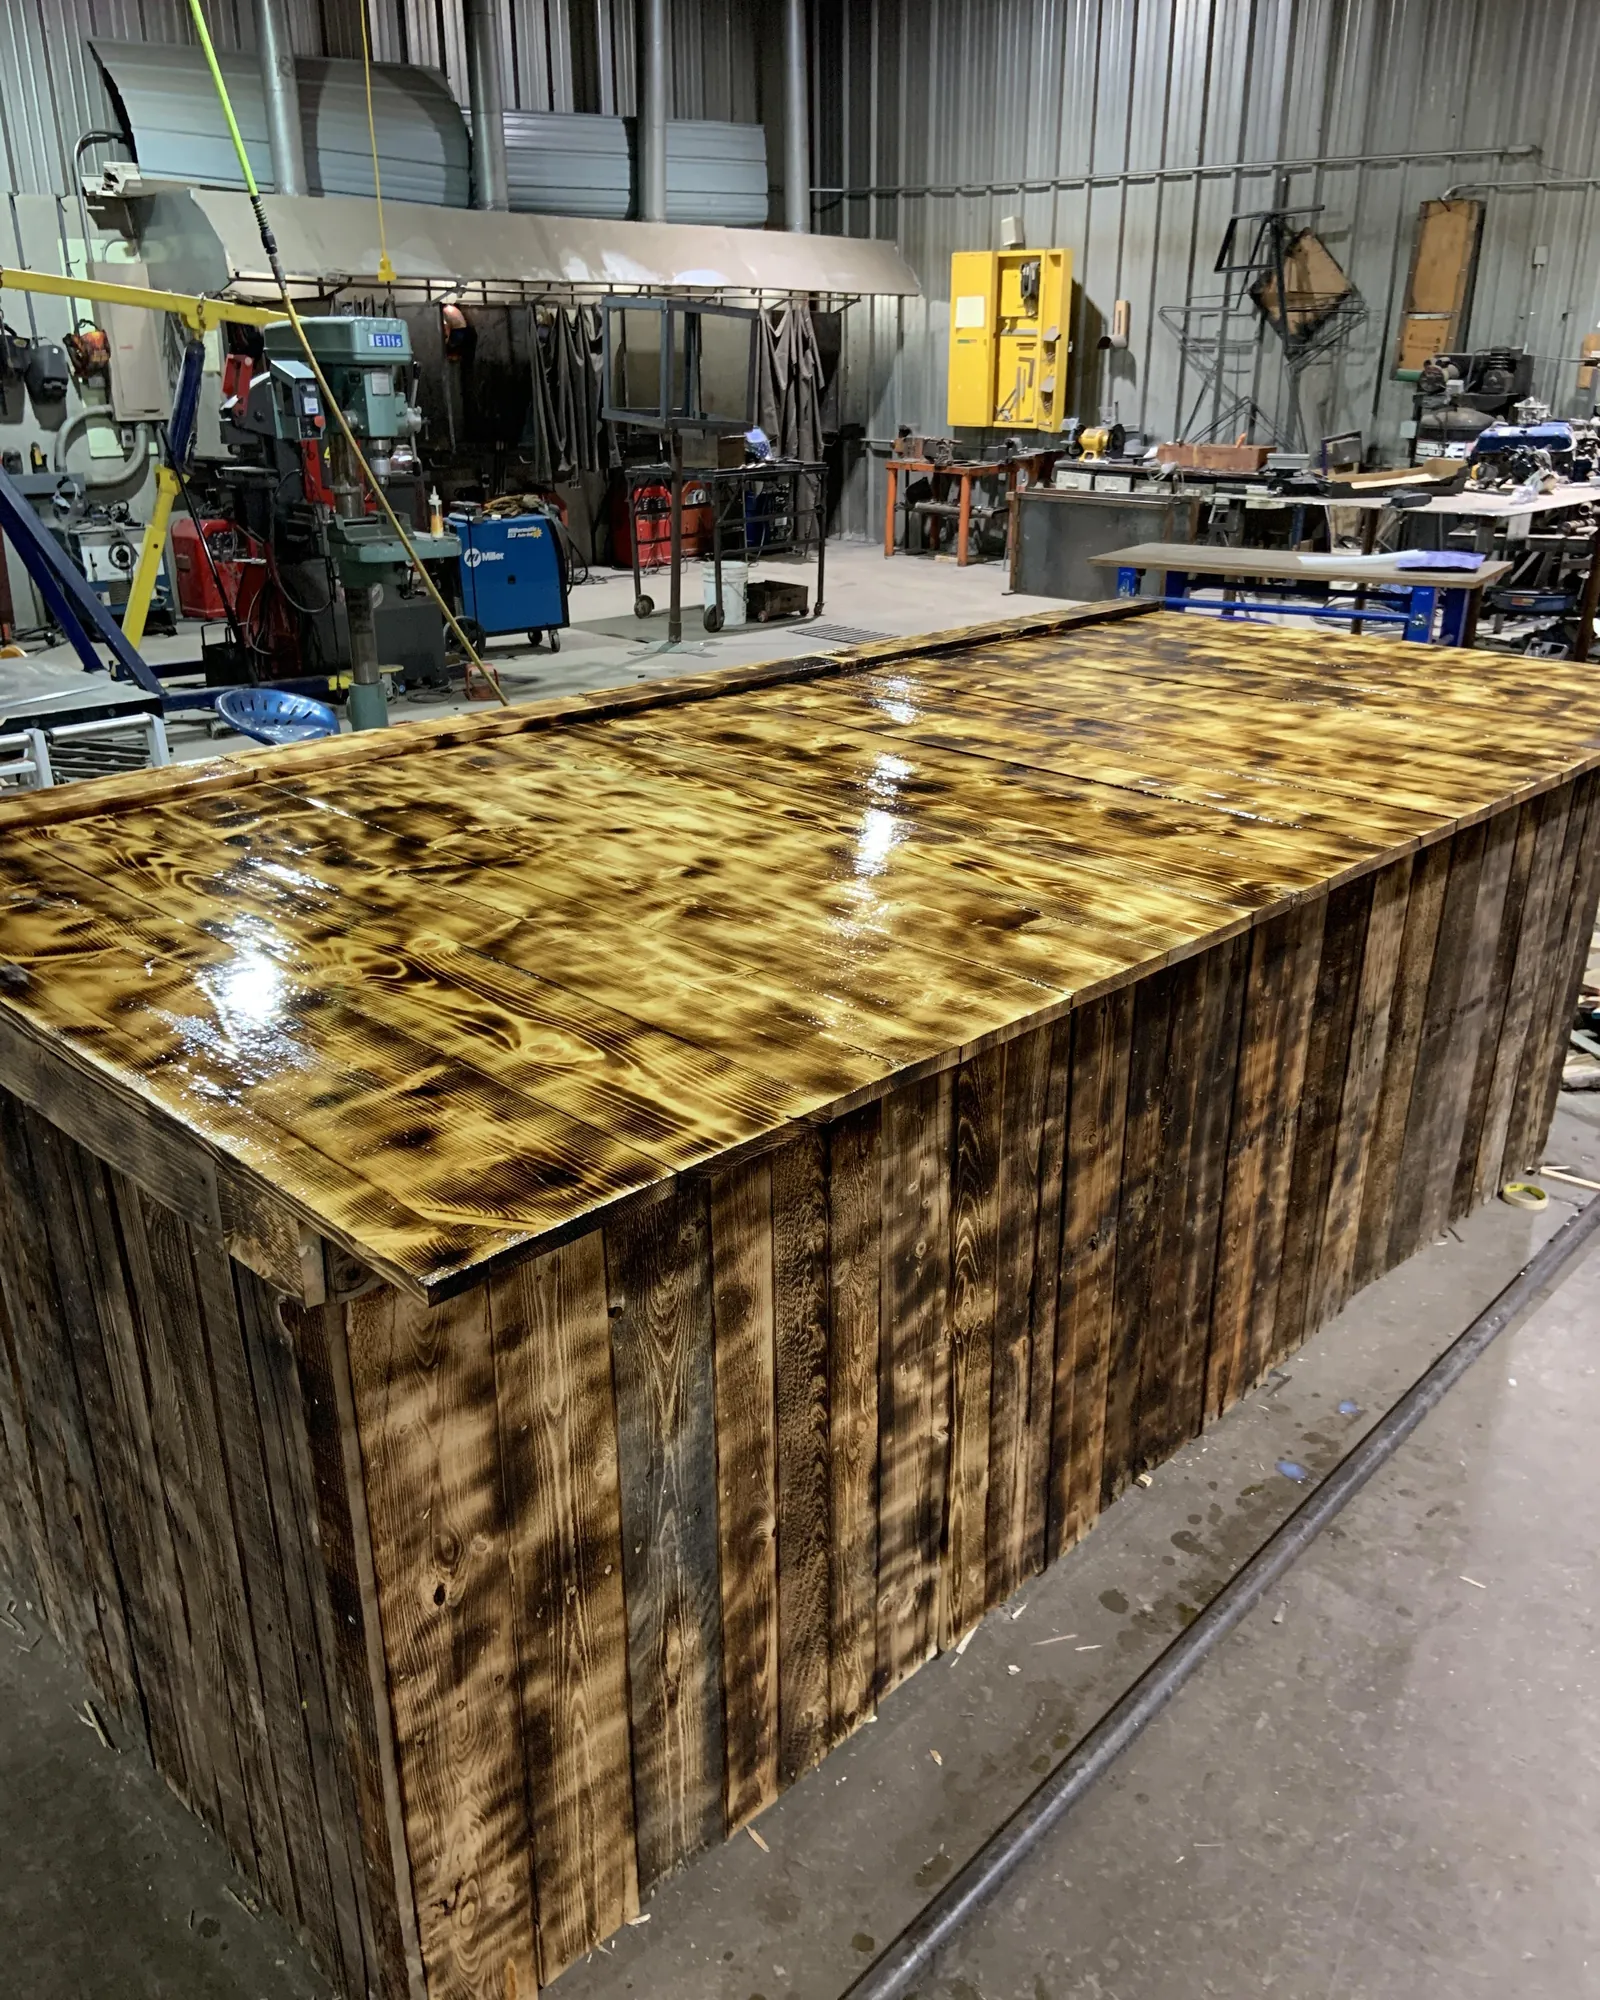
If your finish doesn’t look right, you may need to intervene before applying the next coat. If you see streaks, it usually means your brush was too dry or you were brushing against the grain. If the finish is tacky after the recommended drying time, it’s likely due to high humidity or an excessively thick application.
Handling Sagging and Drips
If you notice drips or “curtains” of polyurethane on the vertical edges of your project, you have applied too much material. You must wait for the area to dry completely, then carefully sand the drips flush with the surrounding surface. Once the area is level, you can apply a very thin, controlled coat to blend the repair into the rest of the piece.
Addressing Cloudiness
Cloudiness or “milky” spots often indicate that you have applied the finish in an environment that’s too cold or too humid. If this happens, stop immediately. Check the manufacturer’s instructions for the acceptable application temperature range. Sometimes, you can fix a slightly cloudy finish by applying a very thin, final coat under better conditions, but severe cases may require stripping and starting over.
Frequently Asked Questions
How do I know if I need another coat?
You need another coat if the surface still looks uneven, has visible wood grain texture, or if you have sanded through the previous layer during your routine prep. A finished piece should have a consistent sheen across the entire surface. If some areas look duller than others, the wood is likely still absorbing the finish, and an additional layer will provide the necessary uniformity.
Can I mix oil and water-based finishes?
You should never mix oil-based and water-based polyurethane in the same container. However, you can apply water-based polyurethane over a fully cured oil-based stain or finish, provided the surface is scuff-sanded and cleaned. Never attempt to apply an oil-based finish over a water-based one, as the lack of adhesion will likely cause the topcoat to peel off in large sheets.
What is the difference between satin and gloss?
The difference is the amount of flattening agents added to the finish. Gloss polyurethane contains fewer solids that scatter light, resulting in a high-shine surface. Satin and semi-gloss contain more flattening agents to diffuse light. Regardless of the sheen, the chemical protection provided by the polyurethane remains the same across all varieties, so choose the look that fits your aesthetic preference.
How do I clean my brushes?
Cleaning depends entirely on the product type. For oil-based polyurethane, you must use mineral spirits or paint thinner to dissolve the resins. For water-based polyurethane, warm soapy water is usually sufficient. Always clean your brushes immediately after use; if polyurethane dries in the bristles, the brush will be permanently ruined. Never pour leftover solvents down the drain; dispose of them at a local hazardous waste center.
Is polyurethane safe for food surfaces?
Most standard polyurethanes aren’t considered food-safe once they have cured. While they’re technically inert once dry, they aren’t tested or certified for direct food contact. For surfaces like cutting boards, butcher blocks, or serving trays, use a dedicated food-grade mineral oil or a beeswax-based finish instead, as these are specifically designed to be safe for accidental ingestion during food preparation.
Conclusion
Once you have completed your final coat of polyurethane, allow the piece to cure in a dust-free environment for the full duration recommended by the manufacturer. Avoid placing heavy objects on the surface for at least one week, as the finish continues to harden even after it feels dry to the touch. Your next step is to gently wipe the surface with a soft, dry cloth to remove any lingering dust before putting the item into regular use.