
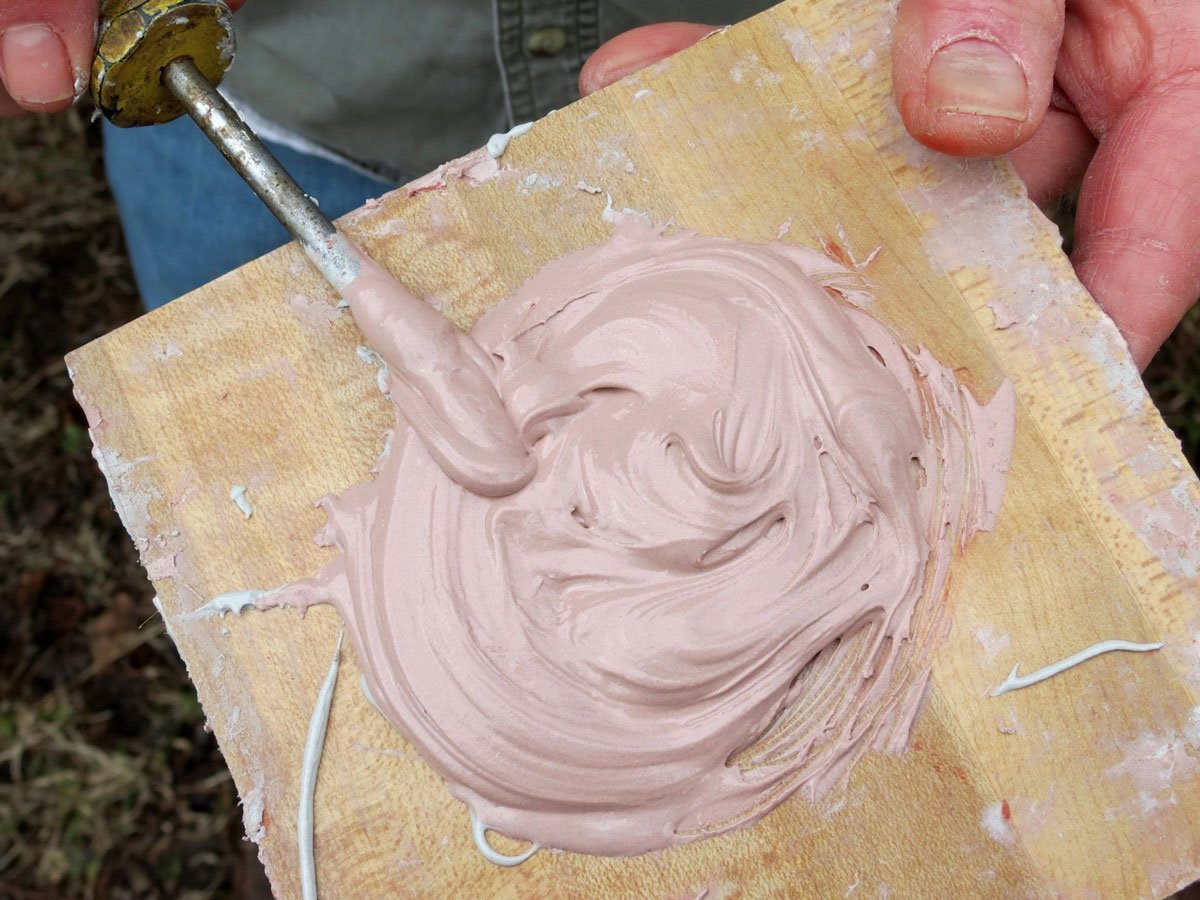
Bondo filler sets in about 20 to 30 minutes at an ambient temperature of 75°F. This estimate assumes you have used the standard red cream hardener at the correct ratio of 2% by volume, as the cure time changes significantly based on the surrounding air temperature and the amount of hardener added. If you work in colder conditions or use less hardener, the process will take longer, while high heat or excess hardener can cause the material to harden almost instantly.
Quick reference for filler curing
75°F is the standard baseline for a 20 to 30-minute working window. If the shop temperature dips below 60°F, the chemical reaction stalls, leaving the filler gummy and prone to shrinking later. In these cold conditions, use a heat lamp positioned three feet away to force the cure.
Mix a ribbon of hardener equal to the diameter of your filler puddle. Adding more hardener to speed up the process is a common mistake that causes “bleeding,” where the excess catalyst ruins your topcoat.
The filler reaches a firm state for cheese-grater shaping in 15 minutes. Wait at least 30 minutes before switching to 80-grit sandpaper to avoid clogging the abrasive.
Allow 24 hours for a full chemical cure before applying primer. If you paint too early, trapped solvents will create pinholes or bubbling in the finish. Every 10°F drop below 75°F roughly doubles the cure time. If you’re working in a damp garage, increase that wait time by an additional six hours to ensure the surface is truly inert.
Why temperature and mixing control the cure
The chemical reaction that hardens Bondo is an exothermic process, meaning it generates its own heat as it cures. When you mix the polyester resin with the benzoyl peroxide hardener, you trigger a chain reaction that cross-links the polymer chains. This reaction is highly sensitive to the environment, which is why your working time is strictly limited by the temperature of both the metal surface and the air in your workspace.
If the air temperature is below 65°F, the chemical reaction slows down significantly. In these conditions, the filler may remain tacky or soft for hours, making it impossible to sand without gumming up your sandpaper. You can test the surface temperature with an infrared thermometer; if the metal reads below 60°F, use a heat lamp to warm the panel before applying the filler.
Conversely, if you work in direct sunlight or temperatures above 90°F, the reaction accelerates, potentially causing the filler to harden before you can finish spreading it flat. If the ambient temperature exceeds 85°F, reduce the hardener ratio by 25 percent to extend your working window. Always keep the filler container in the shade to prevent the resin from pre-heating before it ever hits the mixing board.
The amount of hardener you add is the second critical variable. People often think adding more hardener will make the filler dry faster, but this is a common mistake that ruins the final result. Using too much hardener creates “bleed-through” where the excess peroxide can react with your topcoat, leaving permanent stains or soft spots in your paint job.
Follow the “golf ball to pea” rule: for a golf-ball-sized amount of filler, add a bead of hardener roughly the size of a pea. If you add too little, the filler may never reach its full structural strength, leading to cracks or shrinking later on. If the mixture remains a streaky, uneven color after thirty seconds of folding, you haven’t achieved the uniform chemical distribution required for a consistent cure.
How long Bondo takes to dry
| Situation | What changes | What to do instead |
|---|---|---|
| Cold weather | Reaction slows down | Use a heat lamp nearby |
| High humidity | Moisture slows curing | Work in a dry area |
| Thick application | Deep fills cure slower | Apply in thin layers |
| Excess hardener | Mixture sets too fast | Use standard 2% ratio |
| Metal surface | Cold metal absorbs heat | Warm panel with hair-dryer |
Epoxy resins require a consistent ambient temperature of at least 65°F to initiate a proper chemical bond. If your workspace drops below 60°F, the resin may remain tacky indefinitely, leading to a brittle finish that fails under pressure.
Humidity levels above 60% often cause amine blush, a waxy, white film that prevents subsequent layers from adhering correctly. If you see a cloudy surface after the initial set, you must sand it down completely before reapplying. Skipping this step forces you to strip the entire project later.
When filling deep gouges, never exceed a 1/4-inch depth per pour. Deep applications generate internal heat that causes cracking or shrinkage as the material cools. If you have a large void, fill it in stages, waiting for the material to reach a “gel state” before adding the next layer.
Most users mistakenly add extra hardener to speed up a project. This creates a weak, rubbery cure that never reaches full hardness. Always follow the manufacturer’s instructions to measure the hardener ratio by volume.
How to apply and cure body filler
Clean the repair area with a wax and grease remover to ensure the filler sticks to the metal, not to contaminants. If you skip this, the filler will eventually delaminate, leaving a hollow spot that cracks under pressure.
Squeeze a golf-ball-sized amount of filler onto a non-porous mixing board. Add a thin ribbon of cream hardener across the center of the filler pile, using about a 2% ratio. If you use too much hardener, the filler will cure brittle and bleed red stains through your final paint job. If you use too little, it will remain tacky and clog your sandpaper indefinitely.
Fold the hardener into the filler using a plastic spreader until the color is a uniform, streak-free pink. Avoid circular motions, which trap air bubbles that become pinholes once you sand.
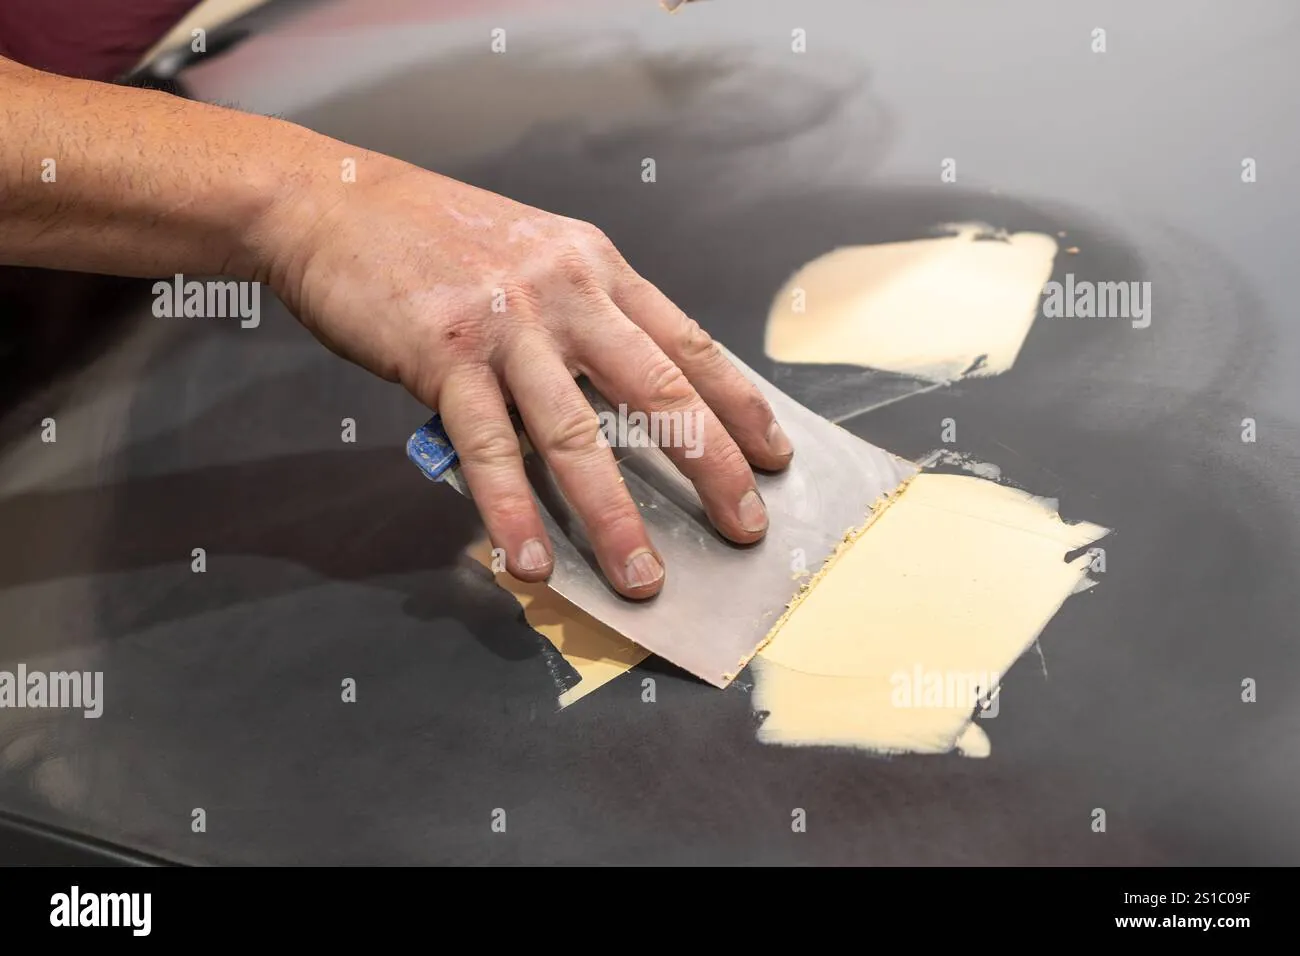
Apply the mixture firmly to the repair site, pressing down to force the material into the metal pores, and spread it slightly proud of the surface. Wait 20 to 30 minutes until the filler feels hard and doesn’t leave a mark when you press it with a fingernail.
Begin sanding with 80-grit paper to shape the contour. Once the shape is true, switch to 180-grit to smooth the transition to the surrounding paint. If you see dark spots while sanding, stop immediately; those are low spots that require a second, thinner skim coat rather than more sanding.
Mistakes that ruin your repair
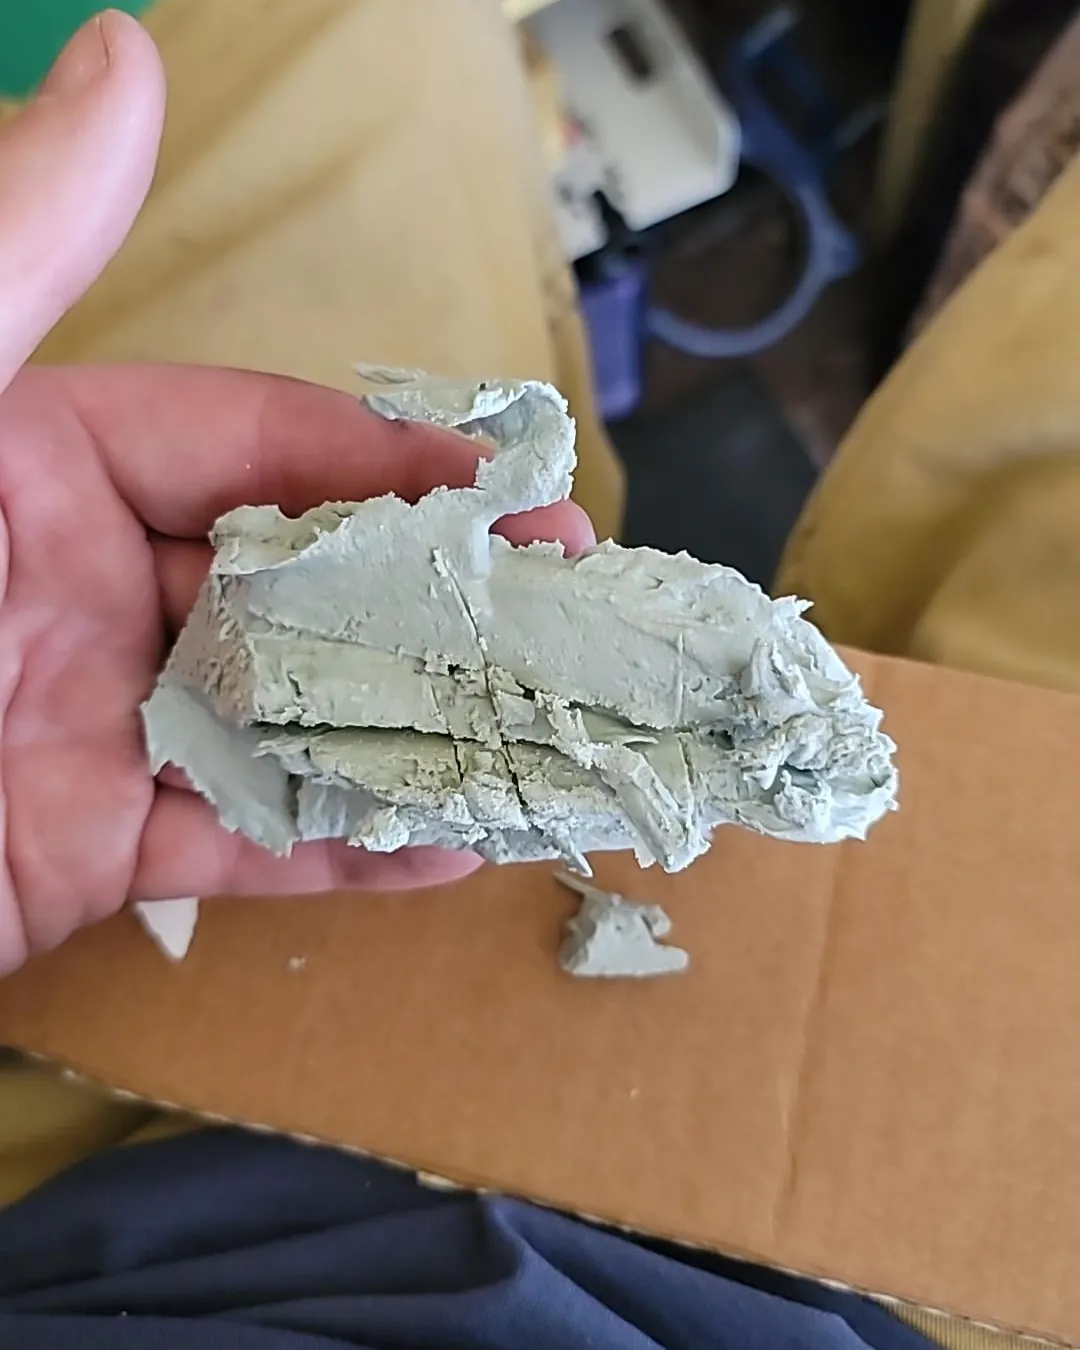
Mixing on cardboard remains the most common error. The porous fibers wick away the resin, throwing off the chemical ratio. If your mixture feels dry or remains tacky after an hour, you have likely compromised the catalyst balance. Always use a non-porous plastic spreader or a dedicated mixing board to ensure the filler cures to its intended hardness.
Aggressive stirring introduces microscopic air bubbles that remain trapped in the paste. These pockets become visible pinholes once you sand the surface, forcing you to apply a second layer of filler to achieve a smooth finish. Use a folding motion rather than a whipping one to incorporate the hardener.
Temperature dictates your working window. If the ambient air drops below 50 degrees Fahrenheit, the chemical reaction stalls, leaving you with a gummy, unworkable mess. Conversely, working in direct sunlight causes the filler to kick in under three minutes. If the material feels warm in the cup, apply it immediately.
Never rush the cure time. If you can leave a thumbprint in the material, it isn’t ready for sandpaper. Sanding too early simply drags the soft filler out of the dent.
Related guides
Frequently asked questions
How long does it take for bondo to be ready to sand?
The material is ready to sand in about 30 minutes at a standard temperature of 75°F. You can test this by pressing a fingernail into a scrap piece of the mixture left on your mixing board; if it leaves an indent, you must wait longer. Sanding before this point will clog your sandpaper immediately and potentially pull the filler away from the edges of the repair, ruining the bond.
Does bondo dry faster in the sun?
Yes, the chemical reaction speeds up significantly in direct sunlight because the heat from the sun acts as a catalyst for the hardening process. While this might seem helpful, it often works against you by limiting your window to smooth the filler to just a few minutes. If you must work in the sun, mix smaller batches at a time so you can finish spreading them before the material sets.
Can I use a hair dryer to make bondo dry faster?
You can use a hair dryer or heat gun to speed up the process, but you must keep the heat source at least 12 inches away from the surface. Direct, intense heat can cause the filler to crack or bubble as the solvents evaporate too quickly. Use a low setting and move the tool constantly to warm the panel evenly rather than focusing heat on one specific spot.
What happens if I use too much hardener?
Using too much hardener causes the filler to set prematurely and can lead to permanent discoloration of your final paint job. This is known as “bleeding,” where the unreacted peroxide eventually migrates to the surface of the paint. You’ll notice this as a yellow or brownish stain that appears through your primer or base coat, often requiring you to sand everything off and start over.
Why is my bondo still tacky after an hour?
Your filler remains tacky because the temperature of the air or the metal surface is likely too low for the chemical reaction to complete. When the ambient temperature drops below 60°F, the hardener can’t effectively trigger the cross-linking process. You should move the vehicle or part into a warmer environment, ideally 70°F or higher, to allow the chemical reaction to finish properly.
Does the thickness of the filler change the dry time?
The thickness of your application changes the cure time because thicker layers trap more heat, which can make the center set faster than the surface. If you apply a very deep layer, the center may cure faster and hotter than the surface, potentially causing cracking or shrinkage. It’s always better to build up the surface in several thin layers rather than trying to fill a deep dent in one single pass.
Conclusion
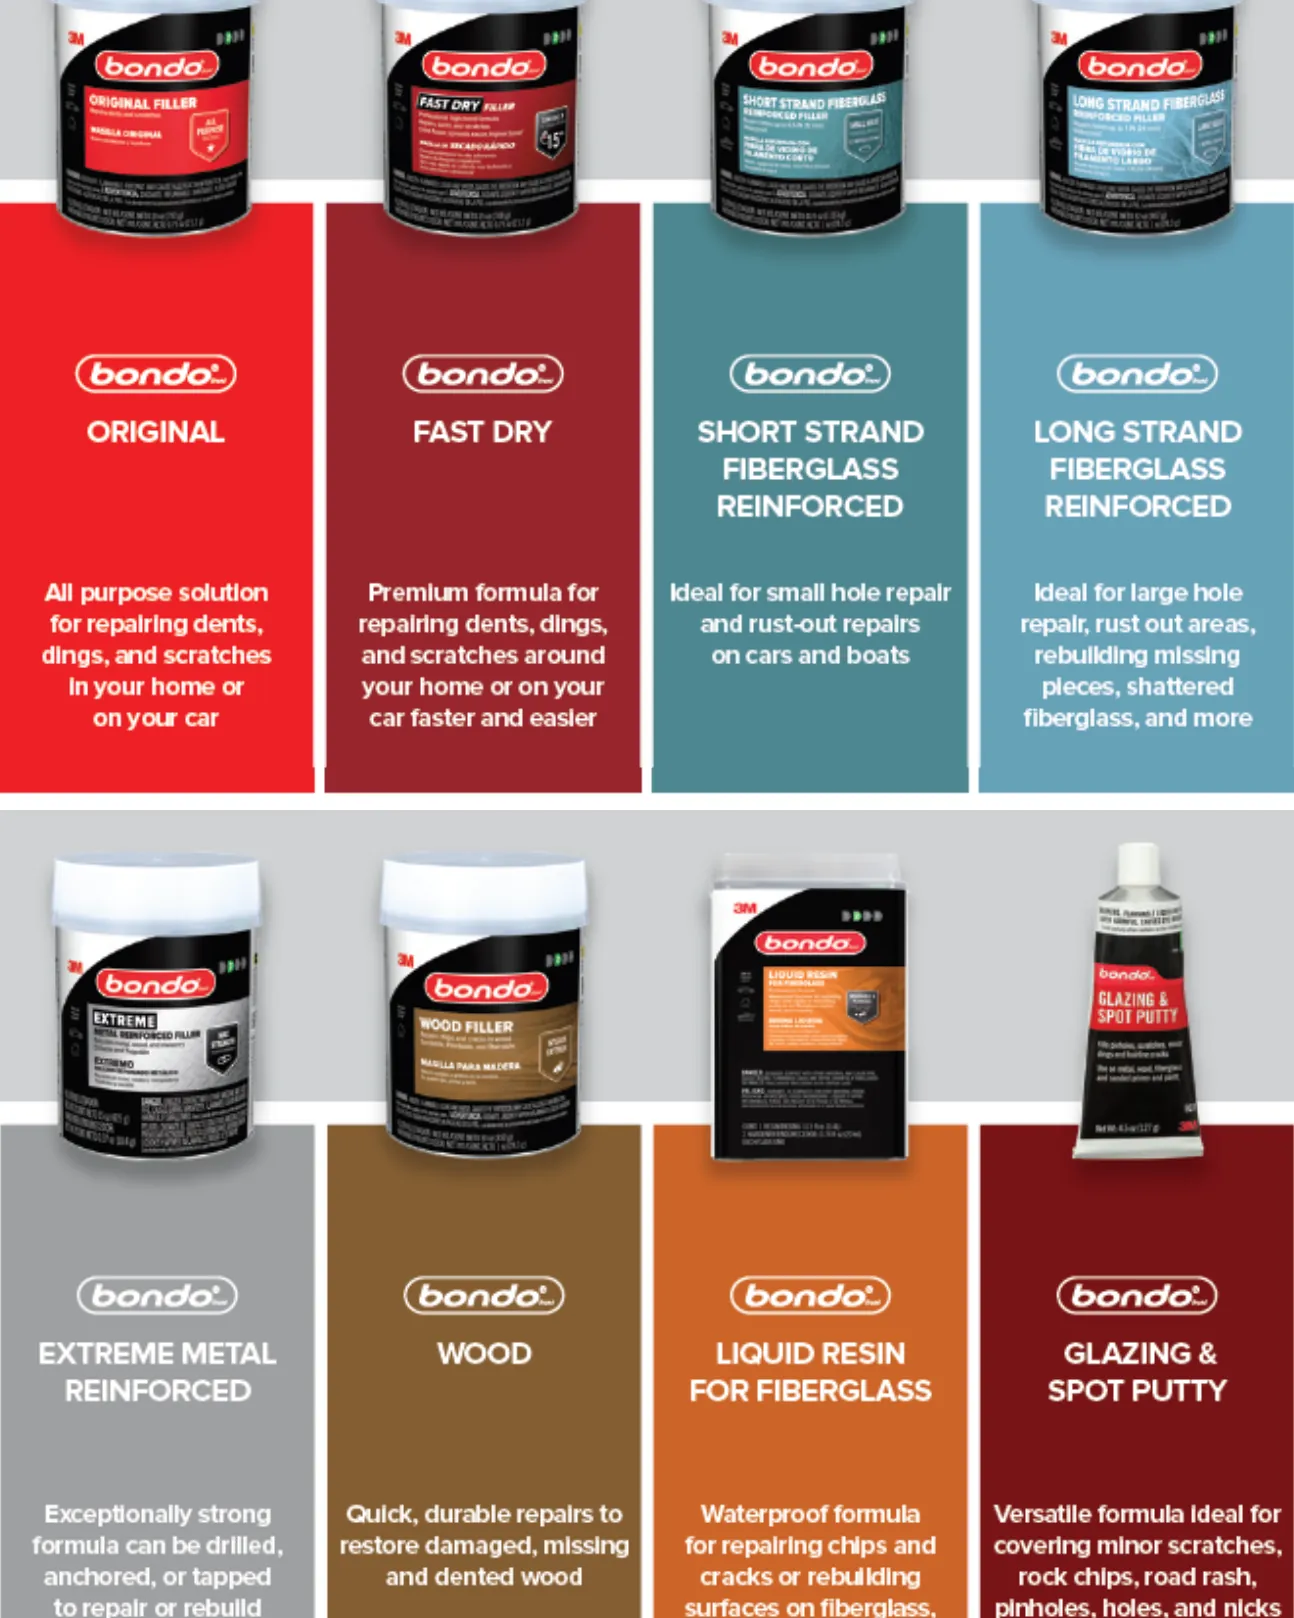
Always check the mixing instructions on the product packaging, as different versions of filler have specific requirements for the hardener ratio. If you’re unsure about the cure state, it’s safer to wait an extra hour before applying any primer or paint to ensure the chemical reaction has fully concluded.