
Finishing Jatoba wood, often marketed as Brazilian Cherry, requires a disciplined approach because its high density and oily nature create unique challenges for adhesion and curing. To achieve a professional result, you must focus on proper surface preparation, the selection of compatible resins, and strict adherence to moisture-content guidelines. Because this wood is exceptionally hard—ranking high on the Janka hardness scale—it doesn’t absorb liquids like softer domestic hardwoods, meaning surface films or specific penetrating oils are necessary to ensure long-term durability and color stability.
Key Takeaways
- Jatoba’s density requires aggressive sanding sequences to ensure coatings adhere properly to the surface.
- Always degrease the wood with a solvent like mineral spirits or denatured alcohol immediately before applying your finish.
- Avoid water-based finishes unless you use a high-quality de-waxed shellac as a barrier coat.
- Monitor your environmental humidity, as Jatoba is sensitive to rapid moisture shifts during the curing process.
- Test your chosen finish on a hidden scrap piece to observe how the deep red pigments react to the coating.
Understanding The Nature Of Jatoba
Jatoba is a tropical hardwood known for its dramatic color shifts, moving from a salmon-orange when freshly milled to a deep, rich reddish-brown after exposure to ultraviolet light. This color transformation is a natural characteristic of the species and should be considered when selecting stains or topcoats. If you attempt to use a dark wood stain, you may find the grain pattern becomes muddy, as the wood’s natural oils and tight pore structure often reject standard pigments.
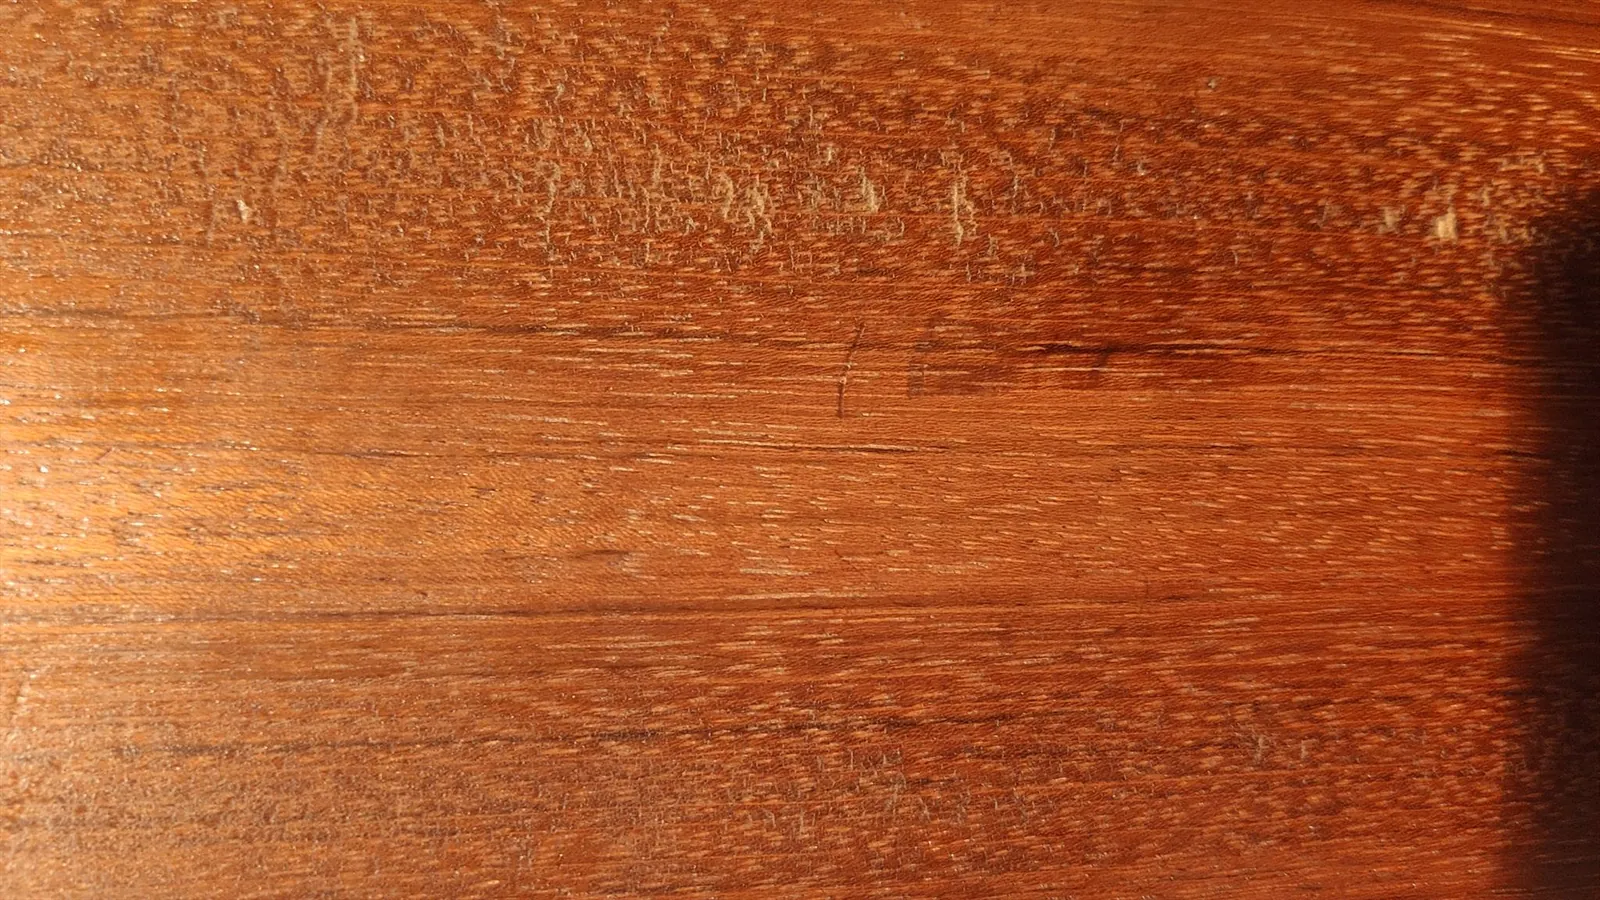
Because the wood is so dense, it’s prone to “burnishing” if you use dull sandpaper. Burnishing occurs when the friction of sanding heats the wood fibers, sealing the pores and creating a glassy, impermeable surface. If you sand past 220 grit, you risk making the surface too smooth for finishes like polyurethane to gain a mechanical bond. Stick to the 120-to-180 grit range for your final sanding pass to provide enough “tooth” for the finish to grip.
Preparation For A Superior Finish
The most common mistake woodworkers make with Jatoba is failing to clean the surface of natural oils. Like many tropical species, Jatoba contains extractives that can interfere with the chemical cross-linking of modern finishes.
You must wipe the surface thoroughly with a lint-free cloth dampened with high-quality mineral spirits. This step serves two purposes: it removes fine sanding dust that can cause bubbles in your finish, and it temporarily exposes any areas where residual oils might cause fish-eye or cratering in your topcoat.
Warning: Always dispose of rags soaked in oil-based finishes or solvents in a water-filled, sealed metal container, as they’re prone to spontaneous combustion when left bunched together in a workshop environment.
How To Finish Jatoba Wood
When you’re ready to apply the finish, you have several reliable pathways. Oil-based polyurethanes are the gold standard for this species because they highlight the natural red tones and provide a durable film that protects against scratches. If you prefer a more natural, hand-rubbed feel, a hard-wax oil is an excellent alternative. These products soak into the top layer of fibers and provide a matte or satin sheen that feels like bare wood but offers significant resistance to liquids.
| Finish Type | Durability Level | Application Difficulty | Dry Time |
|---|---|---|---|
| Oil-Based Poly | High | Moderate | 8-12 Hours |
| Hard-Wax Oil | Medium | Easy | 24 Hours |
| Water-Based Poly | Medium | High | 2-4 Hours |
| Tung Oil | Low | Easy | 48+ Hours |
Selecting The Right Topcoat
If you choose a water-based finish, you must verify that the product is formulated specifically for oily tropical woods. Many water-based polyurethanes will bead up or peel off Jatoba because the wood’s natural chemistry repels water-based resins. To mitigate this, apply a thin coat of a de-waxed shellac sealer first. Shellac acts as a universal bridge, bonding effectively to the wood and providing a neutral surface that allows water-based topcoats to adhere without difficulty.
The Sanding Sequence
Start your sanding process with 80-grit paper to remove any mill marks or unevenness from the raw lumber. Progress through 100, 120, and finally 150 or 180 grit. Never skip more than one grit level in the sequence, as the deeper scratches from the coarser paper will be impossible to remove with finer grits.
Use a random orbit sander for the bulk of the work, but always finish the final pass by hand, sanding with the grain to remove any swirl marks that might be magnified by the finish.
Managing Color And Grain
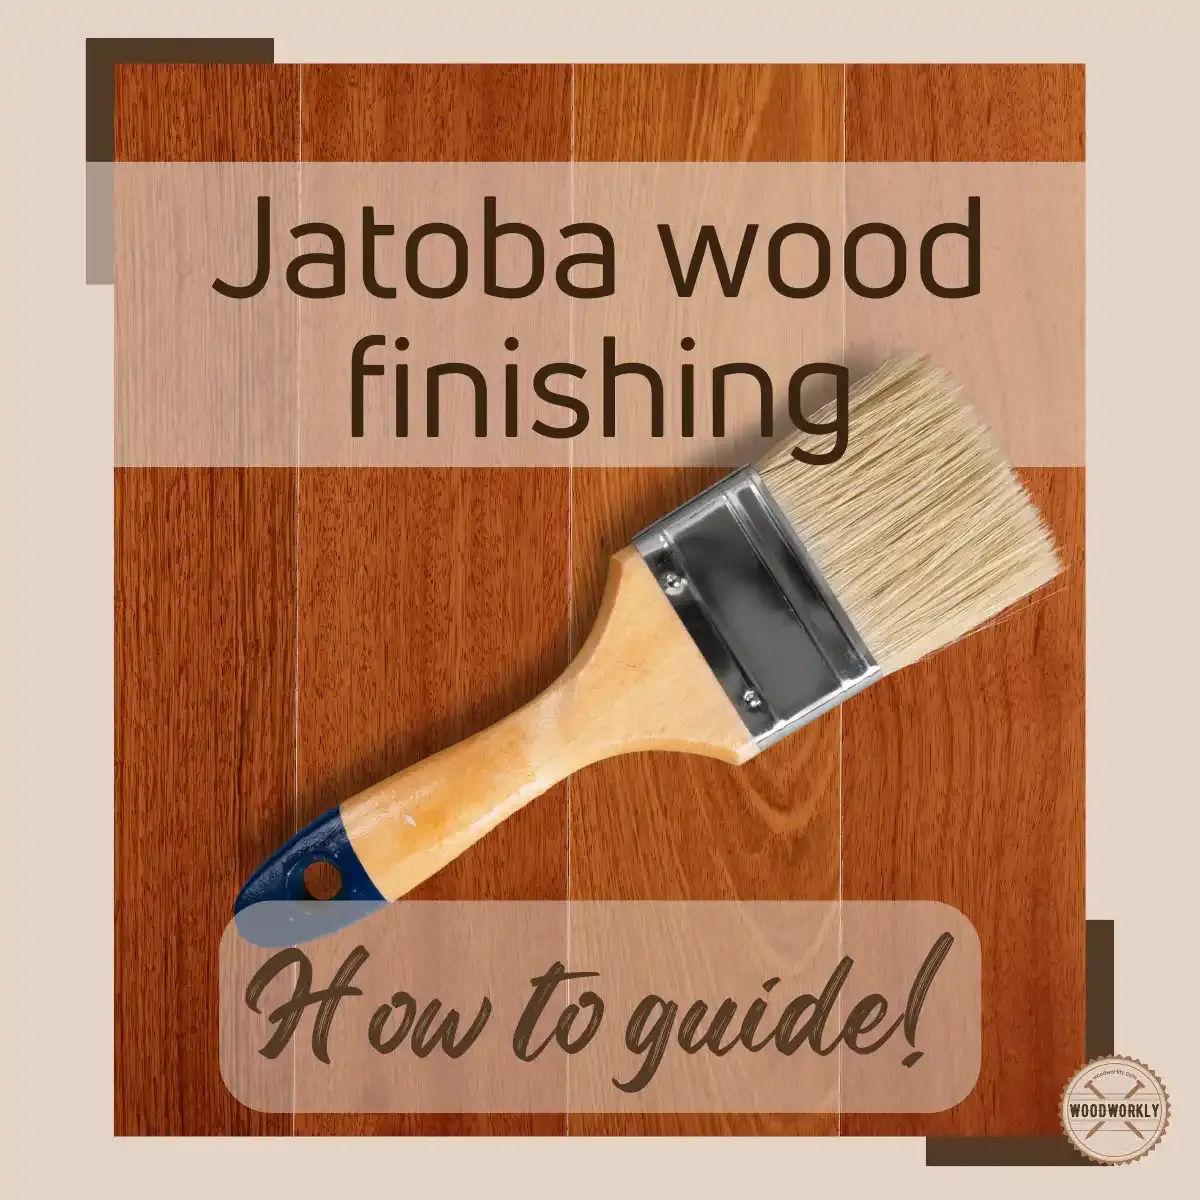
Jatoba is prized for its interlocking grain, which creates a shimmering, chatoyant effect under a clear finish. If you apply a heavy, pigmented stain, you’ll likely lose this depth. Instead of staining, consider using a clear finish that contains ambering agents. These agents will accelerate the natural darkening process, giving the wood that classic “aged” look immediately without obscuring the intricate grain patterns.
If you must stain the wood to achieve a specific color match, use a dye-based stain rather than a pigment-based one. Dyes are dissolved in a solvent and penetrate deeper into the dense fibers, whereas pigments sit on the surface and are prone to highlighting the grain in an uneven, blotchy fashion. Test your dye on a scrap piece and let it dry for at least 24 hours before applying your topcoat to ensure no chemical reactions occur.
Tools Required For Success
You don’t need an extensive collection of tools to finish Jatoba effectively, but you do need quality applicators. Synthetic bristle brushes are preferred for oil-based polyurethanes, while foam brushes or lint-free rags are ideal for hard-wax oils. A high-quality sander, such as those manufactured by Festool or Mirka, will provide better dust extraction, which is critical when working with Jatoba’s fine, irritating dust.
Pro Tip: Use a tack cloth after your final vacuuming pass to pick up the microscopic dust particles that the vacuum missed; a clean surface is the single most important factor in preventing bubbles and grit in your final finish.
Essential Equipment Checklist
- Random orbit sander with 5-inch backing pad.
- Abrasive discs ranging from 80 to 220 grit.
- High-quality natural or synthetic bristle brushes.
- Tack cloths or clean, lint-free cotton rags.
- Mineral spirits or denatured alcohol for cleaning.
- Respirator mask to protect against wood dust.
Troubleshooting Common Finish Issues
If you notice small, circular indentations in your finish, these are known as “fish-eyes.” They’re almost always caused by silicone contamination or residual wood oils. To fix this, you must sand back the affected area to bare wood, clean it aggressively with a solvent, and re-apply the finish. Never try to “brush out” a fish-eye while the finish is wet, as this will only spread the contaminant across a larger area.
Another common issue is bubbling. Bubbles occur when air is trapped in the finish during application. To avoid this, never shake your can of polyurethane; always stir it gently. When applying, use long, smooth strokes and avoid over-working the finish with your brush. If you see bubbles forming, you can lightly tip them off with the very tips of your brush bristles while the material is still wet.
Environmental Considerations For Jatoba
Jatoba is sensitive to the moisture content of your workshop. Before you begin finishing, ensure the wood has acclimated to your environment for at least 72 hours. If the wood is too wet, the finish will eventually crack as the wood fibers shrink during the drying process.
If you’re working in a garage or basement, consider using a dehumidifier to keep the relative humidity between 40% and 50%. High humidity will significantly increase the dry time of oil-based finishes, potentially leading to a tacky surface that collects dust. If you find your finish isn’t drying, increase air circulation in the room, but ensure the airflow isn’t so strong that it blows dust onto your wet surface.
Maintaining Your Finished Surfaces
Once the finish has fully cured—usually after 30 days for oil-based products—maintenance is straightforward. Avoid harsh household cleaners that contain ammonia or bleach, as these can dull the finish and damage the wood fibers. Instead, use a damp cloth with a mild soap solution for regular cleaning. Every few years, you may choose to apply a thin coat of furniture wax to refresh the sheen and add a layer of protection against minor scuffs.
If you have used a hard-wax oil, maintenance is even easier. These finishes are designed to be “spot repaired.” If a section of the wood becomes scratched or dull, you can simply sand that specific area lightly and re-apply a small amount of the original wax oil. The new finish will blend seamlessly with the old, making it an excellent choice for high-traffic pieces like dining tables or entry benches.
Comparing Finish Longevity
Choosing the right finish depends on how the object will be used. A floor, for instance, requires a high-solids polyurethane to withstand foot traffic, whereas a decorative jewelry box might benefit from a simple oil finish that emphasizes the tactile quality of the Jatoba.
| Application | Recommended Finish | Maintenance Frequency |
|---|---|---|
| Dining Table | Hard-Wax Oil | Every 1-2 years |
| Flooring | Polyurethane | Every 5-10 years |
| Decorative Box | Tung or Danish Oil | As needed |
| Cabinetry | Conversion Varnish | Rarely |
Related guides
Frequently Asked Questions
Why is my Jatoba finish peeling?
Peeling usually occurs due to poor adhesion caused by the wood’s natural oils or improper surface preparation. If you didn’t wipe the wood with a solvent like mineral spirits before finishing, the coating likely failed to bond with the fibers. Additionally, using a water-based finish directly on oily Jatoba without a shellac barrier coat will lead to premature delamination and peeling over time.
Should I use a grain filler?
Jatoba has relatively small, tight pores compared to species like oak or mahogany, so grain filler is typically not necessary for a smooth finish. However, if you’re aiming for a glass-like “piano” finish, you can use a clear paste wood filler to level the surface. Apply the filler after your first coat of finish, sand it back, and then proceed with your final topcoats for a perfectly level look.
Can I leave Jatoba unfinished?
While Jatoba is naturally rot-resistant and very hard, leaving it unfinished will cause it to gray over time due to UV exposure. Furthermore, the wood will feel rough to the touch and be susceptible to staining from spills or oils. If you want the most natural look possible, use a matte-sheen hard-wax oil, which provides protection while maintaining the appearance of raw wood.
How do I prevent the wood from darkening too much?
Jatoba naturally turns deep red and brown when exposed to light. To minimize this, you can use a finish that contains UV inhibitors. While no finish can completely stop the natural chemical changes caused by light exposure, high-quality exterior-grade varnishes or specialized indoor polyurethanes with UV blockers can significantly slow down the darkening process, keeping the wood closer to its original color for a longer period.
Is it safe to sand Jatoba without a mask?
No, you should never sand Jatoba without proper respiratory protection. The fine dust produced by this wood is a known irritant and can cause respiratory issues or skin rashes for some individuals. Always use a P100-rated respirator or a high-quality N95 mask, and ensure your workshop has adequate dust collection or ventilation to keep the air clean while you’re working.
Conclusion
To begin your project, start by selecting a high-quality, oil-based polyurethane or a durable hard-wax oil that matches your desired sheen level. Purchase enough material to complete your test pieces first, then proceed to your main project by carefully sanding and degreasing the surface before applying your first coat.