

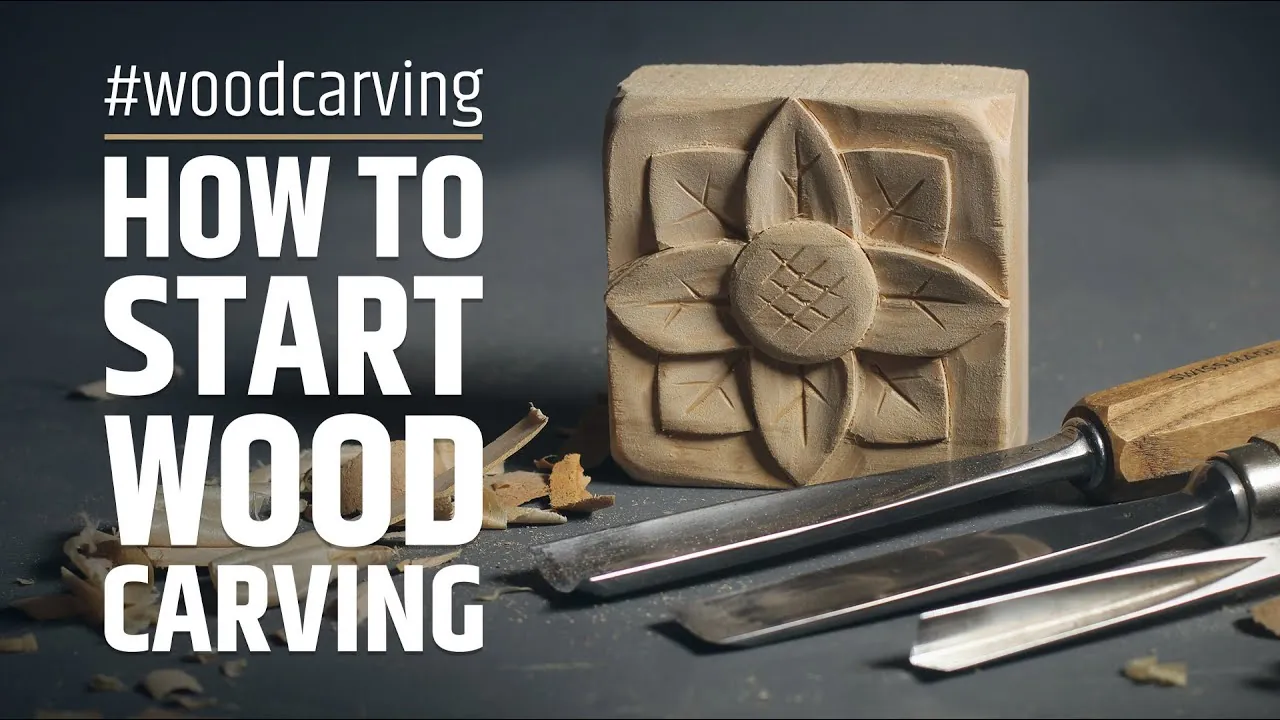
Starting wood carving involves acquiring a few essential cutting tools, selecting soft, workable lumber, and practicing basic cuts on scrap wood to build your muscle memory. If you’re curious about the price of entry, you can expect to spend between $45 and $180 for a starter kit that includes a basic knife, a sharpening stone, and a safety glove. Budgeting an additional $15 to $40 for initial wood stock will provide enough material for your first dozen projects, meaning a complete beginner’s setup typically ranges from $60 to $220 in total initial investment costs.
Key Takeaways
- Always carve away from your body to prevent deep lacerations during slips.
- Keep your blades razor-sharp; dull tools are significantly more dangerous than sharp ones.
- Start with softwoods like basswood or butternut to learn control without excessive force.
- Wear cut-resistant gloves on your non-dominant hand whenever you’re handling a blade.
- Focus on mastering three fundamental cuts: the paring cut, the stop cut, and the pull cut.
Essential Tools for Beginners
To begin your journey, you don’t need a massive workshop filled with power tools. Most beginners start with a “sloyd” knife or a dedicated whittling knife. These tools are designed with a fixed blade and a comfortable handle, allowing for precise control during intricate carving tasks. You’ll also require a sharpening solution, such as a diamond stone or a leather strop with honing compound, to maintain the edge of your steel.
| Tool Category | Recommended Item | Purpose |
|---|---|---|
| Primary Knife | Sloyd or Detail Knife | General shaping and fine detailing |
| Sharpening | Leather Strop | Maintaining a razor-sharp edge |
| Safety | Kevlar Cut-Resistant Glove | Protecting the non-dominant hand |
| Holding | Bench Hook or Vise | Securing wood for safer carving |
Safety gear is non-negotiable for beginners. A cut-resistant glove rated ANSI A5 or higher is the industry standard for hand protection during woodworking tasks, as explained by the American National Standards Institute guidelines on protective equipment performance. Never attempt to carve while tired, distracted, or under the influence of any substance that might impair your reaction time or judgment.
Choosing Your First Wood
Selecting the right timber is crucial for success. You want a wood that’s soft, consistent in grain, and lacks hard knots that can deflect your knife and cause injury. Basswood is the gold standard for beginners because it’s inexpensive, widely available, and has a very uniform grain structure that cuts easily in any direction.
Softwoods to Consider
- Basswood: The most popular choice due to its creamy color and soft density.
- Butternut: Slightly darker than basswood with a beautiful grain, often called “white walnut.”
- Pine: Readily available at hardware stores, though it can be “gummy” due to resin pockets.
- Cedar: Very soft and aromatic, but can be brittle if you carve against the grain.
Warning: Avoid using pressure-treated lumber or scrap wood found in construction dumpsters. These pieces often contain chemical preservatives, nails, or staples that can ruin your blade edges or expose you to harmful toxins when the wood is cut or sanded.
How to Start Wood Carving Safely
Safety is the foundation of every successful carving session. The most common mistake beginners make is carving toward their body, which places fingers directly in the path of the blade. Always maintain a “safety zone” around your work area. If your blade slips, it should ideally pass through thin air rather than through your skin.
Essential Safety Habits
- Keep blades sharp: A dull blade requires more force, increasing the chance of it slipping uncontrollably.
- Use a thumb guard: Even with a glove, a leather thumb guard provides extra protection during heavy pressure cuts.
- Manage your workspace: Keep your bench clear of wood chips, as they can make your footing or your grip unstable.
- Know your wood: Identify the grain direction before you begin; always carve “with the grain” to prevent tear-out.
Pro Tip: If you feel yourself getting frustrated or tired, stop immediately. Most accidents happen when a carver is fatigued and begins to take shortcuts with their technique or loses focus on their hand placement.
Mastering Basic Carving Exercises
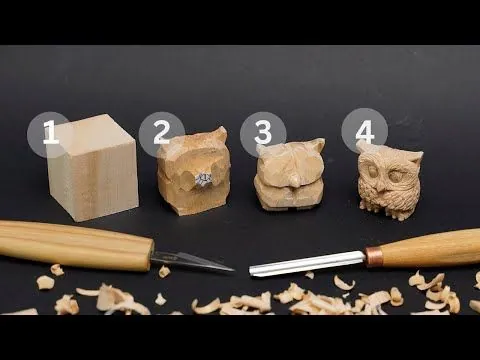
Before attempting a realistic figure or a complex spoon, practice the fundamental cuts on a square block of basswood. These exercises will help you understand how the steel interacts with the wood fibers. A paring cut involves moving the knife toward your thumb, which acts as the pivot point, while a stop cut uses a vertical downward motion to create a clean break in the wood grain.
Core Cutting Techniques
- The Paring Cut: Used for removing large amounts of material; always keep your thumb behind the blade.
- The Stop Cut: Used to define lines; push the blade straight down into the wood to act as a barrier for other cuts.
- The Pull Cut: Used for shaping curves; pull the blade toward your body, but keep your hands positioned to the side.
- The V-Cut: Used for detailing; remove a wedge of wood to create crisp lines for eyes, mouths, or decorative patterns.
Practice these until they feel like second nature. You should be able to create a smooth, clean surface without leaving “chatter marks” or jagged edges. If you find your wood is splintering, check your grain direction; you’re likely carving against the grain.
Maintaining Your Sharp Edges
A woodworker is only as good as their sharpener. You’ll spend as much time maintaining your knives as you do carving. A strop is a piece of leather glued to a wooden block, charged with a fine polishing compound. By dragging the knife blade backward across the strop at the same angle it was sharpened, you realign the microscopic burrs on the steel edge.
Sharpening Routine
- Honing: Strop your knife every 15 to 30 minutes of carving time.
- Sharpening: Use a diamond plate or water stone if the edge becomes dull or develops nicks.
- Checking: A truly sharp knife should be able to slice through a piece of paper without tearing it.
Proper maintenance extends the life of your tools significantly. If you use high-quality carbon steel knives, keep them lightly oiled when not in use to prevent rust, especially in humid environments.
Finding Your Carving Style
As you progress, you’ll naturally gravitate toward a specific niche. Some carvers prefer “relief carving,” where designs are carved into a flat board, while others prefer “caricature carving,” which focuses on exaggerated, humorous figures. Exploring these different paths will keep your interest high and help you refine your specific set of skills.
Popular Carving Styles
- Whittling: Focuses on small, portable projects using only a knife.
- Relief Carving: Creating 3D images on a 2D surface; ideal for wall art.
- Spoon Carving: Blends functional utility with artistic expression.
- Chip Carving: Uses geometric patterns to create intricate, decorative textures.
Experimenting with different styles is part of the fun. Don’t feel pressured to pick one immediately. Spend time on each to see which one resonates with your creative goals and the tools you enjoy using most.
Managing Your Wood Inventory
As you start collecting wood, you’ll find that proper storage is essential. Wood is a living material that reacts to changes in humidity. If you store your basswood blocks in a damp basement, they will swell; if you store them in a dry, heated room, they will shrink and potentially crack.
Storage Tips
- Seal the ends: Use wax or paint on the ends of larger logs to prevent them from splitting as they dry.
- Keep it flat: Store your planks on a flat surface to prevent warping.
- Airflow: Allow air to circulate around your wood stash to prevent mold growth.
- Inventory: Label your wood by species and date of purchase so you know what is ready to carve.
Warning: Never carve wood that feels damp or “green.” Freshly cut wood contains high levels of moisture that will cause the wood to shrink and split as it dries, ruining the project you spent hours perfecting.
Troubleshooting Common Carving Issues
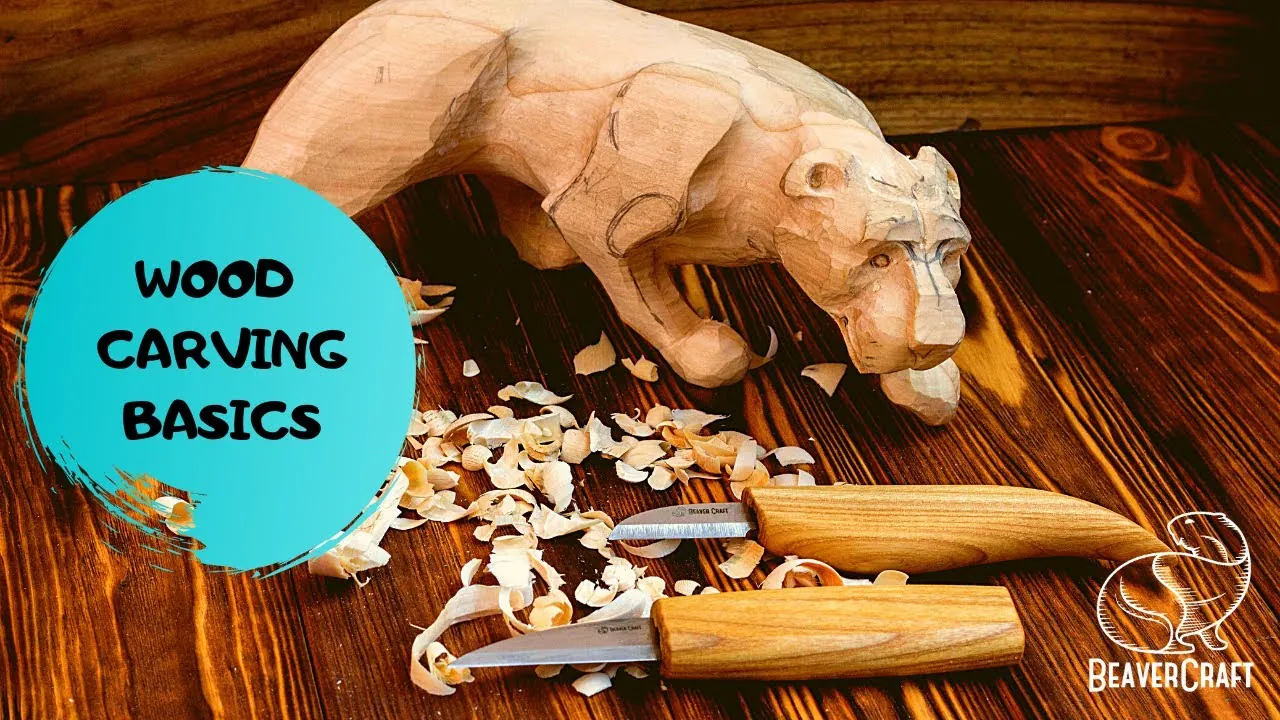
Even experienced carvers run into problems. If your knife feels like it is “sticking” or “tearing,” it’s usually a sign of a dull blade or a misunderstanding of grain direction. Take a step back, inspect your work, and adjust your approach. Most problems in wood carving are solved by slowing down and reassessing the angle of your cut.
Common Problems and Fixes
| Issue | Likely Cause | Solution |
|---|---|---|
| Wood Splintering | Wrong grain direction | Rotate the wood 180 degrees |
| Knife Sticking | Dull blade | Strop the blade thoroughly |
| Hand Fatigue | Over-gripping | Relax your hold and use your wrist |
| Uneven Surfaces | Rushing the cut | Use shallow, thinner slices |
If you feel pain in your joints, you’re likely gripping the knife too tightly. Your hand should hold the tool firmly, but not with white-knuckled intensity. Use your whole arm to guide the movement rather than relying solely on your fingers.
Related guides
Frequently Asked Questions
Is wood carving an expensive hobby?
Wood carving is one of the most accessible hobbies available. While professional-grade tools can cost hundreds of dollars, a functional beginner set consisting of a knife, a glove, and a sharpening strop can be assembled for under $100. Because wood is a renewable and relatively cheap resource, your ongoing costs remain low compared to hobbies that require expensive consumables like paint, electronics, or specialized chemical supplies.
Can I teach myself how to carve?
Absolutely. The vast majority of wood carvers are self-taught. With the abundance of high-quality instructional videos and step-by-step guides available online, you can learn at your own pace. The key is to start with simple, small projects, such as a basic mushroom or a small wooden egg, to build your confidence and technique before moving on to more complex, multi-day projects.
How do I know if my knife is sharp enough?
A sharp knife should glide through wood with minimal resistance. If you have to force the blade or if you hear a “tearing” sound as you cut, your edge is dull. You can perform the “paper test” by holding a piece of standard printer paper and trying to slice through it; a sharp knife will cut it smoothly without snagging or leaving jagged, torn edges on the paper.
What is the best wood for a complete beginner?
Basswood is widely considered the best wood for beginners. It’s a light-colored hardwood that’s soft enough to carve easily with hand tools but dense enough to hold fine detail without crumbling. Its lack of distinct grain patterns means it’s less likely to split unexpectedly, making it the perfect medium for learning the basic cuts without the frustration of fighting against the wood’s natural resistance.
How long does it take to get good at carving?
“Good” is subjective, but most people can expect to produce recognizable figures within their first few weeks of consistent practice. Mastering the subtle nuances of grain direction, blade control, and artistic finishing usually takes several months of regular carving. Like any craft, the speed of your progress depends entirely on how much time you dedicate to practicing your cuts and studying the anatomy of your subjects.
Conclusion
Starting your first project can be intimidating, but the most important step is simply picking up a piece of wood and making that first cut. Select a small, manageable block of basswood, ensure your knife is sharp, and focus on the feeling of the blade moving through the fiber. Once you complete your first basic shape, you’ll have the confidence to try more complex designs.