
To keep wood from rotting when it stays outside, you must ensure the boards are clean, dry, and sealed with a high-quality exterior finish. You can treat pallet wood for outdoor use by first checking for chemical safety marks, then sanding, and finally applying a protective oil or stain. This guide covers the essential safety checks, preparation methods, and maintenance schedules required to keep your pallet projects standing strong against rain and sun.
Understanding Pallet Safety and Preparation
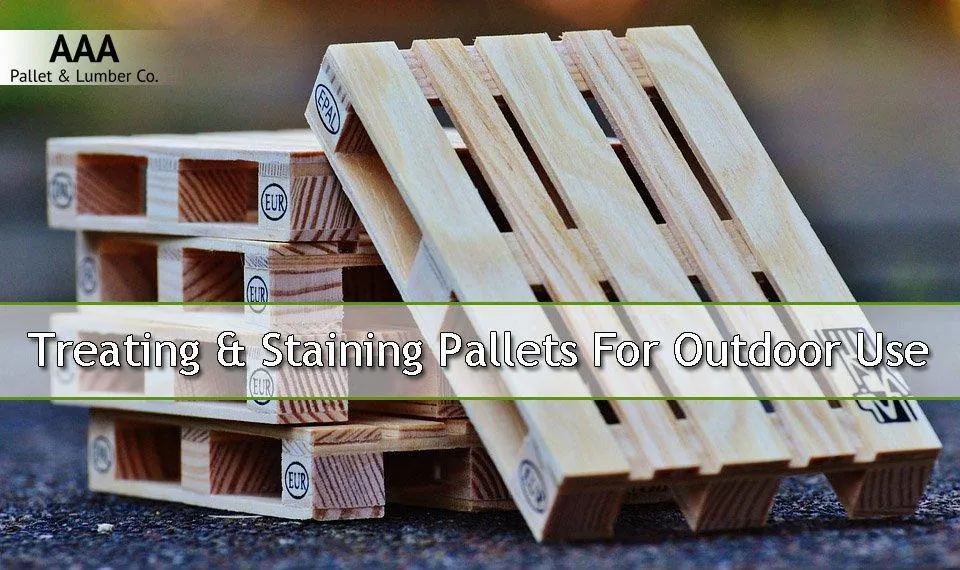
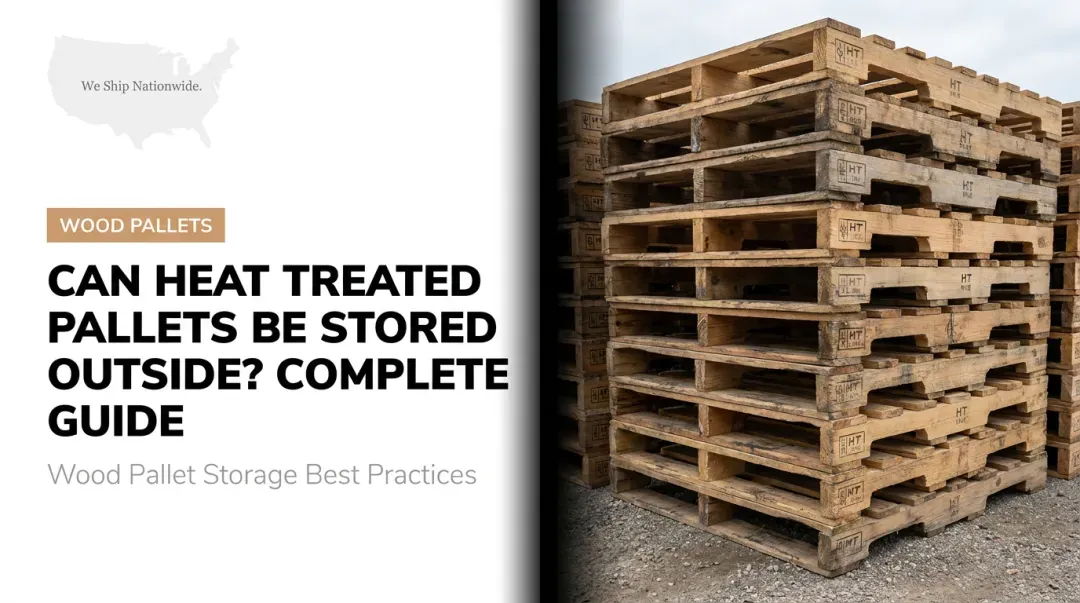
Pallets are often reused and treated with chemicals to prevent pests and mold during shipping. Before you start any project, look for a stamp on the side of the pallet. If it says “MB,” it was treated with methyl bromide, which is toxic and should never be used for furniture or garden beds. You want pallets marked “HT” for heat-treated, as these have been heated to kill pests without harsh chemicals.
The most common mistake people make is skipping the drying process. Pallets are often stored in wet, dirty warehouses. If you seal a damp piece of wood, you trap moisture inside, which leads to rot and mold growth under your finish.
Always store your wood in a dry place for at least two weeks before starting work. If you live in a humid climate, this period may need to extend to four weeks to ensure the wood is truly ready for treatment.
Essential Steps to Treat Pallet Wood for Outdoor Use
- Remove all loose dirt and splinters using a stiff wire brush. Scrub the boards until the surface feels solid and free of debris.
- Sand the wood surface with 80-grit sandpaper to remove rough edges and old grime. Move to 120-grit paper if you want a smoother finish for a table or chair.
- Clean the dust off with a damp cloth or a vacuum. Let the wood dry completely for at least 24 hours before you apply any product.
- Apply a base coat of wood preservative or a clear insect-repellent sealer.
- Use a brush to apply two coats of exterior-grade spar urethane or outdoor wood stain. Follow the drying time on the can, which is typically 6 to 8 hours between coats.
- Check that every edge and crack is covered. Water enters most easily through the end grain of the wood, so pay extra attention to those spots.
The difference between a lasting finish and a peeling mess is the quality of your prep work. If you don’t sand the wood, the sealer won’t soak into the fibers and will flake off after a single rainstorm.
Protection Figures and Application Guide
Using the right product for the right environment determines how long your project will survive. This table assumes you’re using standard pine or oak pallet boards stored in a moderate climate.
| Situation | What to use | How long | What to watch for |
|---|---|---|---|
| Ground contact | Copper-based preservative | 48 hours cure | Soft, spongy wood |
| Full sun exposure | UV-blocking exterior stain | 24 hours cure | Fading or grey color |
| Covered patio | Spar urethane | 12 hours cure | Bubbles in the finish |
| Garden planter | Food-safe linseed oil | 24 hours cure | Darkening of the wood |
| Decorative wall | Water-based sealer | 6 hours cure | Water spots or streaks |
Apply copper-based preservatives until the wood reaches saturation, typically indicated by a slight green tint and pooling on the surface. If you skip this, moisture wicks upward through the grain, rotting the base within two seasons.
For full sun, use a stain with a high pigment load. Clear sealers fail here because they lack the physical barrier needed to block radiation. You know you need a fresh coat when water beads stop forming on the surface during a light rain.
If you’re working with reclaimed wood, check for existing paint or varnish first. New products won’t bond to old finishes, leading to premature peeling. Strip the surface to raw fibers if you find any waxy residue.
When applying spar urethane, work in a dust-free zone to prevent debris from marring the finish. If you see bubbles, you’re likely brushing too aggressively. Use long, slow strokes to lay the product down flat.
Achieving a Professional Finish
Experienced builders know that the secret to long-lasting outdoor furniture is in the layering. They always apply a thin first coat, let it dry fully, and then lightly sand it with 220-grit paper before applying the second coat. This process knocks down the “grain raise” that happens when wood fibers get wet for the first time. If you skip this, the surface will feel rough to the touch even after it’s sealed.
Most beginners make the mistake of applying a heavy, thick first coat to save time. This traps moisture and prevents the finish from anchoring to the wood, leading to premature peeling within the first season. Always aim for a translucent initial layer that allows the wood grain to remain visible.
They also avoid working in direct, hot sunlight. If the wood exceeds 90 degrees Fahrenheit when you paint it, the finish dries before it can soak into the pores. This creates a brittle film that cracks easily when the wood expands and contracts with changes in temperature.
Always work in the shade or during the early morning hours when the surface temperature is lower. If you can’t move the piece, construct a simple canopy using a drop cloth to keep the surface cool. You’ll know the wood is ready to finish if it feels cool to the touch; if it feels warm, wait until the ambient air temperature drops.
Fixing Common Surface Problems
If you notice your finish is failing, you must address the cause before adding more product. Applying a new layer over a failing one will only trap the problem, leading to total coating failure within months.
| What you notice | What it usually means | What to do first |
|---|---|---|
| White patches | Moisture is trapped | Sand down to bare wood |
| Flaking finish | Poor surface prep | Strip the old layer off |
| Green or black spots | Mold or mildew growth | Scrub with a bleach solution |
| Grey, dry surface | UV damage | Sand and re-stain immediately |
Check for adhesion issues by pressing a piece of strong tape firmly onto the finish and pulling it back quickly. If any finish comes off with the tape, the entire surface is compromised and requires a full strip. You can’t spot-repair a surface that has lost its bond to the wood fibers.
If you’re dealing with moisture, wait for a week of dry weather before applying any new product. Moisture meters are inexpensive and prevent you from sealing in dampness that will rot the wood from the inside out. If the meter reads above 15 percent, hold off on the stain. Applying finish to wood that’s too wet forces the liquid back out, creating bubbles that ruin the final appearance.
Official Rules for Outdoor Wood
When working with wood for outdoor use, you must follow local building codes if you’re constructing a permanent structure like a deck. These codes often dictate the type of treatment required for wood that touches the earth. The International Code Council provides standards for wood durability in residential construction. If your project involves load-bearing elements, you must use pressure-treated lumber that meets these specific safety standards rather than standard pallet wood.
Check the end stamp on your lumber before purchasing. Any board touching the ground must be marked “Ground Contact” rather than “Above Ground.” Ground contact lumber contains a higher concentration of copper azole or other preservatives to prevent fungal decay. If you use “Above Ground” wood in a wet, buried application, it will rot within three years.
Never use salvaged pallets for structures that hold people, such as benches or swings, unless you have inspected every board for structural cracks. Pallet wood is usually a low-grade softwood that isn’t rated for weight-bearing applications.
If you’re unsure about the strength of a board, use it for decorative projects instead of seating. Pallets often contain hidden rot or internal splits caused by heavy forklift tines. If a board shows signs of gray discoloration or soft, spongy fibers, it has already lost its structural integrity. Avoid these boards entirely for any project that requires a reliable fastener hold, as the wood will likely crumble under the pressure of a screw.
Maintaining Your Outdoor Pallet Projects
Once your project is finished, keeping it in good shape requires simple, regular care. Inspect your wood every six months for signs of cracking or peeling. If you see the finish starting to wear thin, gently clean the surface and apply a fresh maintenance coat of your original sealer. This prevents water from reaching the wood fibers and stops the cycle of decay before it begins.
Don’t allow water to pool on the surfaces of your furniture. If you keep your items on grass or dirt, place small plastic or rubber feet under the legs to keep them off the ground. This simple step prevents the wood from wicking up moisture from the soil. If you live in an area with harsh winters, cover your projects or store them in a garage to extend their life significantly.
When to Choose Different Materials
Pallet wood is excellent for small, decorative projects, but it isn’t the right choice for everything. If you’re building a structure that must last more than a few years, such as a large shed or a deck, use pressure-treated lumber or cedar instead. These materials are naturally resistant to rot or are manufactured to withstand moisture without the constant maintenance that pallet wood requires.
If you’re unsure about the wood’s origin, check for the “HT” stamp, which indicates the wood was heat-treated rather than chemically fumigated. Pallets marked with “MB” were treated with methyl bromide, a toxic pesticide that off-gasses into your home. Never use these for indoor furniture, as the chemical residue poses a long-term inhalation risk.
Additionally, avoid using pallets for items that will touch food, such as dining tables or serving trays. Even if you clean the wood, you can’t be certain what materials were spilled on the pallets during their years of industrial use. Industrial spills often soak deep into the porous grain, making them impossible to sand away.
Use new, untreated timber for any project that will come into contact with things you eat. If the wood feels oily or smells like chemicals, discard it immediately. Using contaminated wood for food surfaces risks cross-contamination that no amount of varnish can seal.
Related guides
Frequently asked questions
How long does treated pallet wood last outside?
Treated pallet wood typically lasts for a period of time outside if you re-seal it regularly. The exact lifespan depends on your local climate and how much rain or direct sun the wood receives. If you keep the wood off the ground and under a covered roof, you can expect it to last for a longer duration before the structural integrity starts to fail.
Is it safe to build a garden bed from pallets?
It’s safe to build a garden bed only if you use heat-treated (HT) pallets and line the inside with a heavy-duty plastic barrier. You must ensure the barrier separates the soil from the wood to prevent any lingering chemicals from leaching into your plants. Always avoid pallets with “MB” stamps, as these were treated with pesticides that can remain in the wood fibers indefinitely.
How often should I re-seal outdoor pallet wood?
You should re-seal your pallet wood based on how frequently it’s used and how exposed it’s to the elements to maintain the protective barrier against water and UV rays. If you notice water no longer beads up on the surface when it rains, the sealer has worn away and it’s time for a new coat. In very dry or hot climates, you may need to check the finish more often.
Why is my pallet wood turning grey?
The grey color is caused by UV light breaking down the lignin in the wood fibers. This is a natural process that happens to all wood left exposed to the sun without a UV-blocking finish. You can restore the color by sanding the grey layer away and applying a stain that contains UV inhibitors to protect the wood from further sun damage.
What happens if I skip the sanding step?
If you skip sanding, your finish won’t stick properly to the wood and will likely peel or bubble within a few weeks. Pallet wood is often rough and covered in microscopic dirt or splinters that prevent the sealer from bonding to the surface. Sanding creates a clean, uniform texture that allows the product to penetrate deep into the wood grain for better protection.
Can I paint pallet wood instead of staining it?
Yes, you can paint pallet wood, but you must use a high-quality exterior primer first to seal the wood. Paint forms a thick film on the surface, which is good for sun protection but can trap moisture if the wood isn’t perfectly dry. Always use a paint designed for exterior wood and apply it in thin, even coats to avoid cracking as the wood moves.
Conclusion
The best way to enjoy your pallet projects is to view them as temporary pieces that you can easily refresh each year. By keeping your supplies on hand and performing a quick inspection before the rainy season starts, you ensure that your work stays beautiful and functional for as long as possible.