

Staining IKEA furniture is a rewarding project that transforms mass-produced pieces into custom-looking home decor, though it requires specific preparation because most IKEA items are finished with synthetic coatings rather than raw wood. To achieve a professional finish, you must navigate the difference between solid wood furniture, which absorbs stain, and the more common laminate or veneer surfaces that require priming and painting or specialized gel-based products. Whether you’re working with the popular Ivar pine shelving or a sleek Billy bookcase, the process hinges on removing existing finishes or applying products designed to adhere to non-porous surfaces.
Key Takeaways
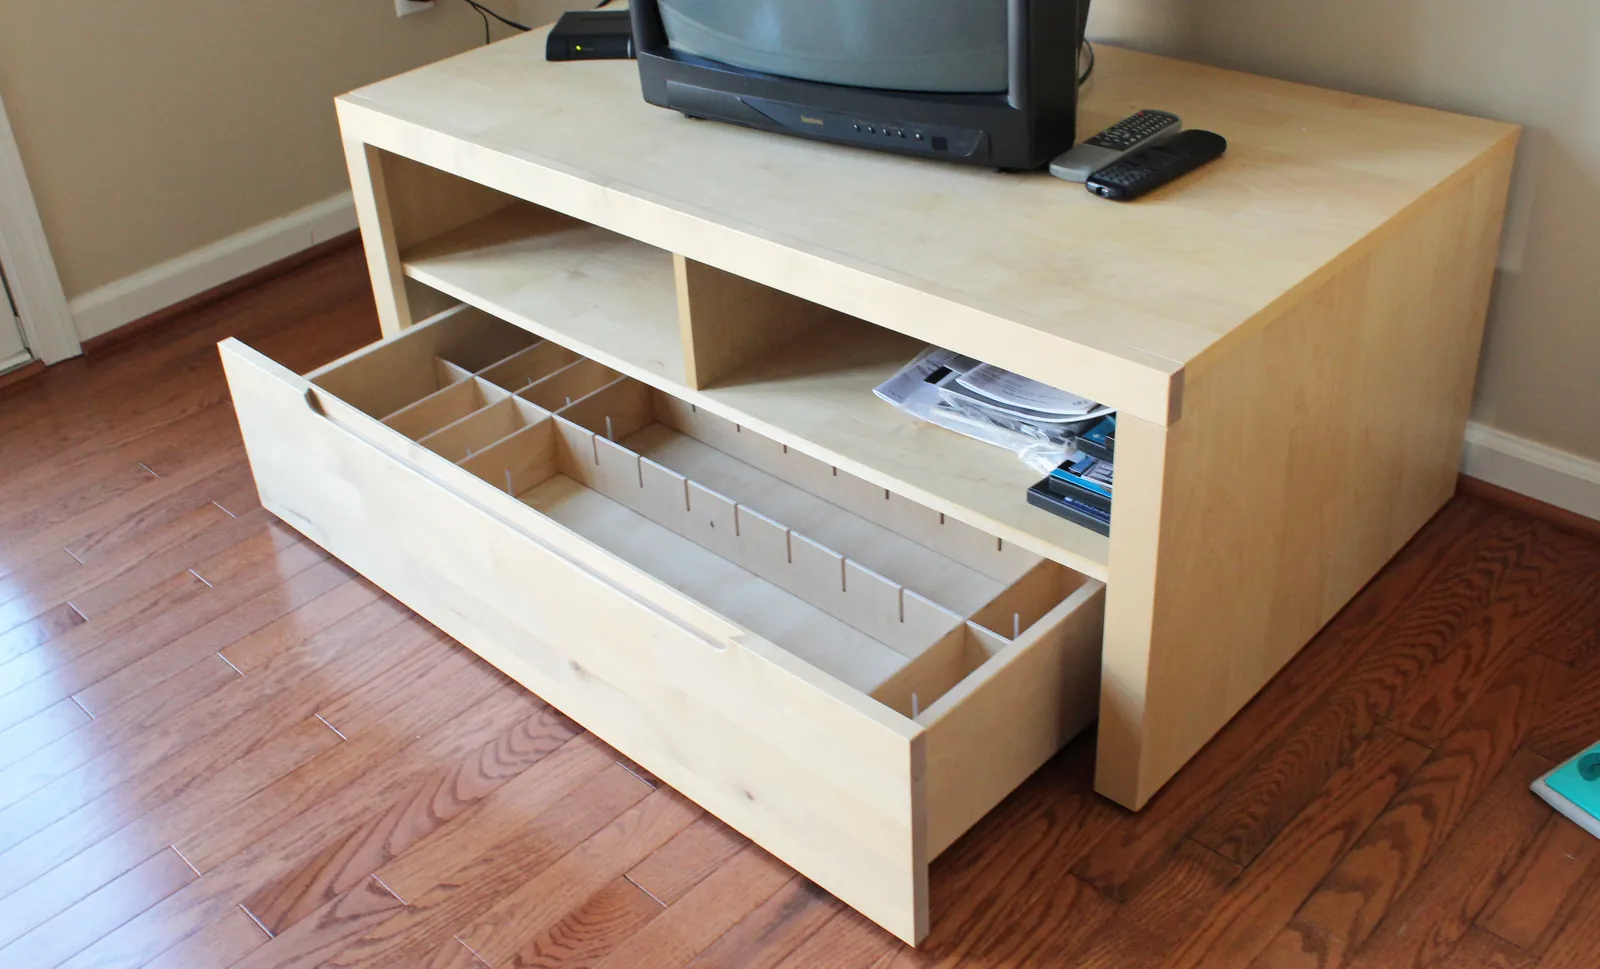
- Identify your furniture material: solid wood is easy to stain, while laminate requires a specialized gel stain or a conversion process.
- Surface preparation is the most critical step; without proper sanding or deglossing, your stain won’t bond to the finish.
- Always test your chosen color on an inconspicuous area, such as the underside of a shelf or an interior panel.
- Use high-quality brushes and lint-free cloths to ensure an even application and avoid brush marks or bubbling.
- Prioritize safety by working in a well-ventilated space and wearing appropriate protective gear such as gloves and a respirator.
Can You Stain IKEA Laminate Furniture?
Most IKEA furniture is constructed from particleboard covered in a synthetic laminate or paper foil finish. These surfaces are designed to be durable and moisture-resistant, which means they’re non-porous and won’t absorb traditional liquid wood stains. If you attempt to apply a standard penetrating stain to a laminate surface, it will simply pool on top and wipe away once dry, leaving the finish looking streaky or messy.
However, you can achieve a stained look on laminate by using a high-quality gel stain. Unlike traditional stains, gel stains are thick, pigment-heavy products that sit on top of the surface rather than penetrating it. This creates a semi-transparent layer that mimics the look of wood grain. If you prefer a more opaque finish, you may choose to use a bonding primer followed by a high-quality cabinet paint.
How to Stain IKEA Solid Wood
The Ivar and Tarva lines are among the few IKEA collections made from untreated solid pine. Because this wood is raw and porous, it’s the best candidate for traditional staining. To get the best results, you must sand the wood to open up the grain and ensure an even absorption of the pigment.
Step-by-Step Staining Process
- Preparation: Remove all hardware and disassemble the piece if possible.
- Sanding: Start with 120-grit sandpaper to remove any factory-applied wax or debris, then finish with 220-grit for a smooth surface.
- Cleaning: Use a tack cloth to remove all fine dust particles. Any remaining dust will create a rough, uneven texture once the stain is applied.
- Conditioning: Apply a wood conditioner to pine to prevent blotching, as pine is notoriously prone to absorbing stain unevenly.
- Staining: Apply your chosen stain using a lint-free cloth or a high-quality natural bristle brush, working with the grain.
- Wiping: Let the stain sit for the time recommended by the manufacturer, then wipe away the excess with a clean, dry cloth.
| Material Type | Staining Compatibility | Recommended Product |
|---|---|---|
| Solid Pine | Excellent | Penetrating Wood Stain |
| Birch Veneer | Moderate | Gel Stain or Dye |
| Paper Foil/Laminate | Poor | Gel Stain (Heavy Pigment) |
| Particleboard | Very Poor | Paint or Heavy Primer |
Selecting the Right Staining Tools
Investing in quality tools makes a significant difference in the final appearance of your furniture. Avoid cheap foam brushes, which can disintegrate when exposed to the chemicals in oil-based stains. Instead, look for synthetic or natural bristle brushes depending on the type of stain you’re using.
- Lint-free rags: Cotton t-shirt material or specialized staining pads work best for wiping away excess pigment.
- Sanding blocks: These provide even pressure across flat surfaces, preventing gouges.
- Drop cloths: Protect your workspace with heavy-duty canvas or plastic sheeting.
- Safety gear: Use nitrile gloves and an organic vapor respirator, especially when working with oil-based products in enclosed areas.
Preparing Surfaces Before You Start
Success in DIY furniture modification is 90% preparation. If you skip the cleaning phase, you risk trapping oils, dust, or factory residues under your finish, which can cause the stain to peel or bubble within a few months. For laminate surfaces, consider using a liquid deglosser. This chemical cleaner strips away the slick factory coating, creating a “tooth” that allows the gel stain or primer to adhere more effectively.
Warning: Always perform a patch test on a hidden section of the furniture to ensure the chemical deglosser doesn’t melt or warp the plastic foil covering the particleboard.
Why Use Gel Stains?
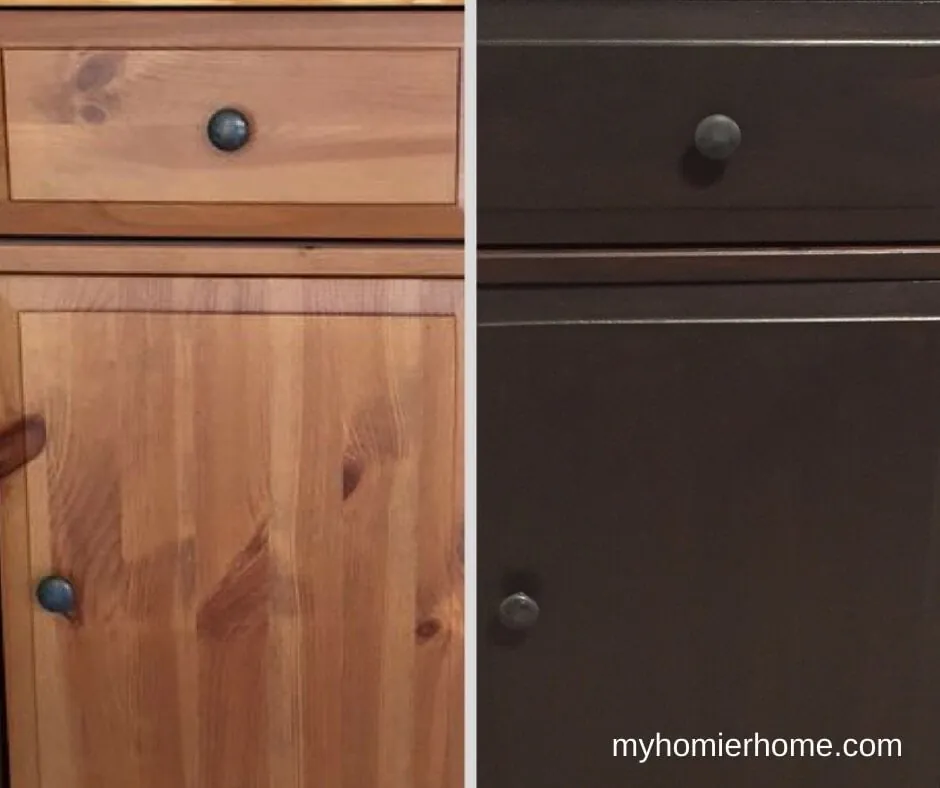
Gel stains are the industry standard for transforming IKEA laminate pieces. Because they’re thick and viscous, they provide more control and less mess than liquid stains. You can layer gel stains to achieve a darker, richer color, or wipe them off quickly for a lighter, more translucent effect. They also hide imperfections in the surface better than traditional stains, which is helpful if your IKEA piece has sustained minor scratches or dings over time.
Recommended Staining Brands
When selecting products, stick to reputable manufacturers known for durability. Many DIYers prefer products that offer a wide range of wood tones, from light oak to deep espresso.
- General Finishes: Renowned for their high-quality gel stains that are easy for beginners to use.
- Minwax: Offers a broad selection of traditional penetrating stains and wood conditioners.
- Varathane: Known for their fast-drying formulas that allow for quicker project completion.
- Rust-Oleum: Produces excellent bonding primers that are essential if you decide to paint the piece instead of staining.
Troubleshooting Common Staining Issues
Even with careful planning, things can go wrong. If you find your stain is looking patchy, it usually means the wood wasn’t sanded evenly or the conditioner wasn’t applied thoroughly. If the stain is too light, you can apply a second coat, but ensure the first coat is completely dry according to the product label.
| Common Problem | Likely Cause | Solution |
|---|---|---|
| Blotchy Finish | Uneven sanding or wood grain | Sand lightly and apply conditioner |
| Sticky Surface | Too much stain left on surface | Wipe with mineral spirits |
| Peeling Stain | Inadequate surface cleaning | Strip and degloss before reapplying |
| Uneven Color | Improper mixing of pigment | Stir the can thoroughly throughout |
Sealing Your Finished IKEA Piece
Once the stain has dried, you must apply a protective topcoat to prevent water rings, scratches, and fading. For high-traffic items like coffee tables or desks, a polyurethane finish is the most durable choice. You can select a matte, satin, or gloss finish depending on the aesthetic you want to achieve.
According to the United States Environmental Protection Agency, it’s vital to choose low-VOC or water-based topcoats when working indoors to minimize exposure to harmful vapors during the drying process. Apply at least two thin coats, sanding lightly with a very fine-grit paper between layers to ensure a glass-smooth finish.
Should You Paint Instead?
Sometimes, the effort required to stain laminate isn’t worth the visual payoff. If your piece is heavily damaged or has a very cheap, plastic-like veneer, painting might be a better route. Painting allows you to cover the grain entirely, providing a modern, uniform look that’s often easier to touch up if the furniture gets damaged later. Use a high-adhesion primer first to ensure the paint doesn’t flake off the slick IKEA surface.
Pro Tip: If you choose to paint, use a foam roller for the large, flat surfaces to achieve a smooth, spray-like finish without the appearance of brush strokes.
How to Maintain Stained Furniture
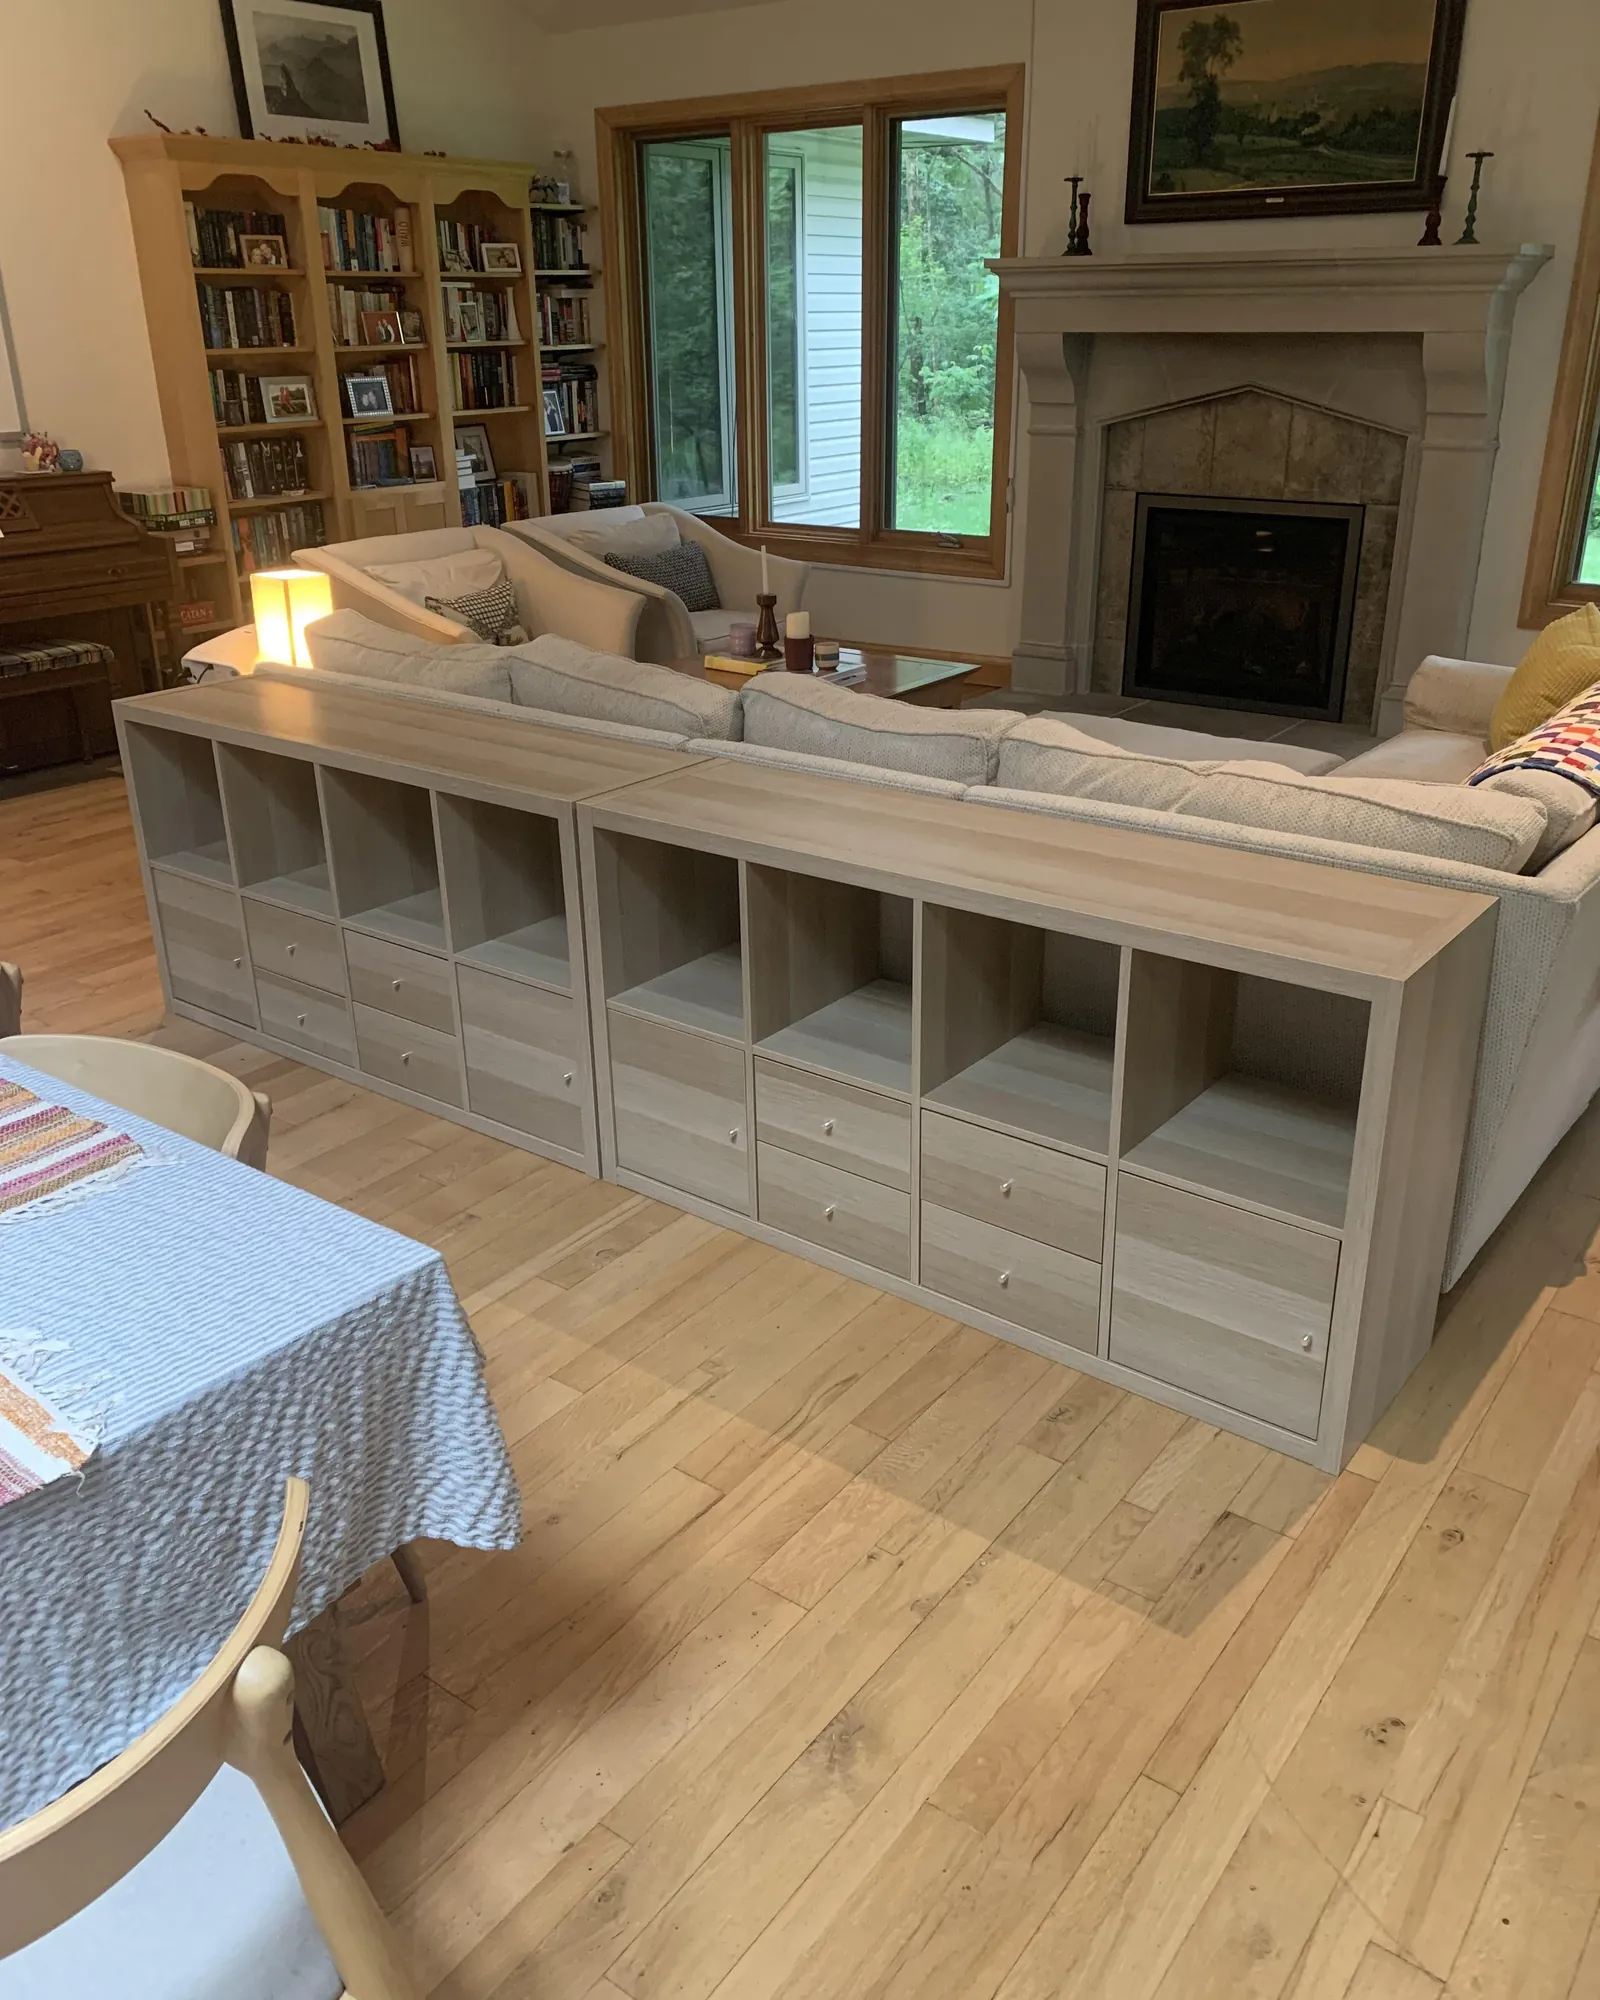
Proper maintenance ensures that your hard work lasts for years. Avoid using harsh household cleaners, which can break down the protective topcoat and dull the stain. Instead, use a damp, soft cloth for daily dusting. For deeper cleaning, a mixture of mild dish soap and water is usually sufficient. Keep the furniture away from direct sunlight if possible, as UV rays can cause the stain to fade or change color over time.
Frequently Asked Questions
Is it possible to stain IKEA particleboard?
Staining particleboard directly isn’t recommended because the material is highly porous and will absorb the liquid unevenly, leading to a dark, muddy appearance. It’s better to use a high-quality primer and paint to cover the surface. If you must have a wood look, consider applying a real wood veneer over the particleboard before staining, though this is an advanced DIY project.
How many coats of stain are needed?
For solid wood, one or two coats are usually sufficient to achieve the desired depth of color. For gel stains on laminate, you might need two or three thin layers to get complete coverage. Always wait for the manufacturer’s recommended drying time between coats, as applying subsequent layers too early can lift the previous ones and create a gummy, uneven mess.
Can I change the color of my IKEA furniture?
Yes, you can change the color of almost any IKEA piece, but the process depends on the material. Solid wood can be sanded down and restained in a different tone. Laminate pieces can be painted or covered with a gel stain. If you’re changing from a dark color to a light color, you’ll likely need to use a high-quality primer to block the original pigment.
How long does the staining process take?
The actual time spent applying stain is short, but the drying and curing time can take several days. Plan for at least 24 to 48 hours for the stain to dry, and another 24 to 48 hours for the topcoat to cure before placing heavy items on the furniture. Rushing the process often results in tacky finishes that collect dust and show fingerprints.
Do I need to strip the furniture first?
If the furniture has a thick, glossy factory finish, you must either sand it down or use a chemical deglosser. You don’t necessarily need to strip it to the raw wood unless you’re using a traditional penetrating stain on a piece that was previously finished with a heavy lacquer or varnish. For gel stains, a thorough scuff-sanding is usually enough to create the necessary adhesion.
Conclusion
To begin your transformation, gather your supplies and start by identifying the specific material of your IKEA piece. If it’s solid wood, proceed with light sanding and staining; if it’s laminate, prepare to use a high-quality gel stain or primer. Pick a small, hidden spot to test your technique, and you’ll soon have a unique, custom-finished piece of furniture.