
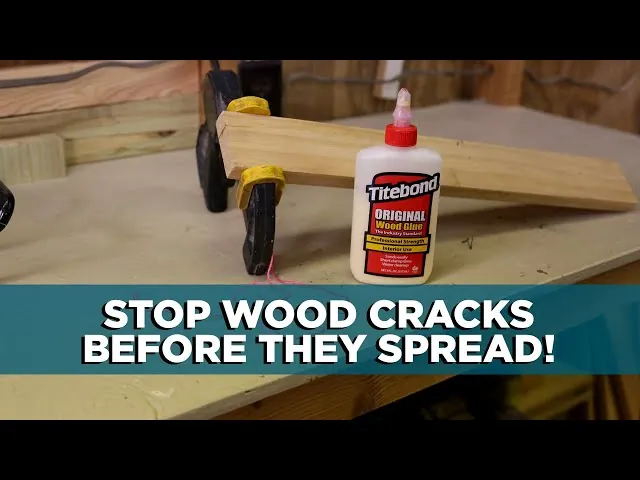
You can use a small drill to stop a crack in wood from spreading by relieving the internal tension at the end of the break. This method, often called stop-drilling, prevents the fibers from pulling further apart by removing the point where stress accumulates. If you notice a crack starting, act quickly before the wood expands or contracts due to changes in humidity, which is the most common cause of ongoing damage in timber.
Causes of wood splitting
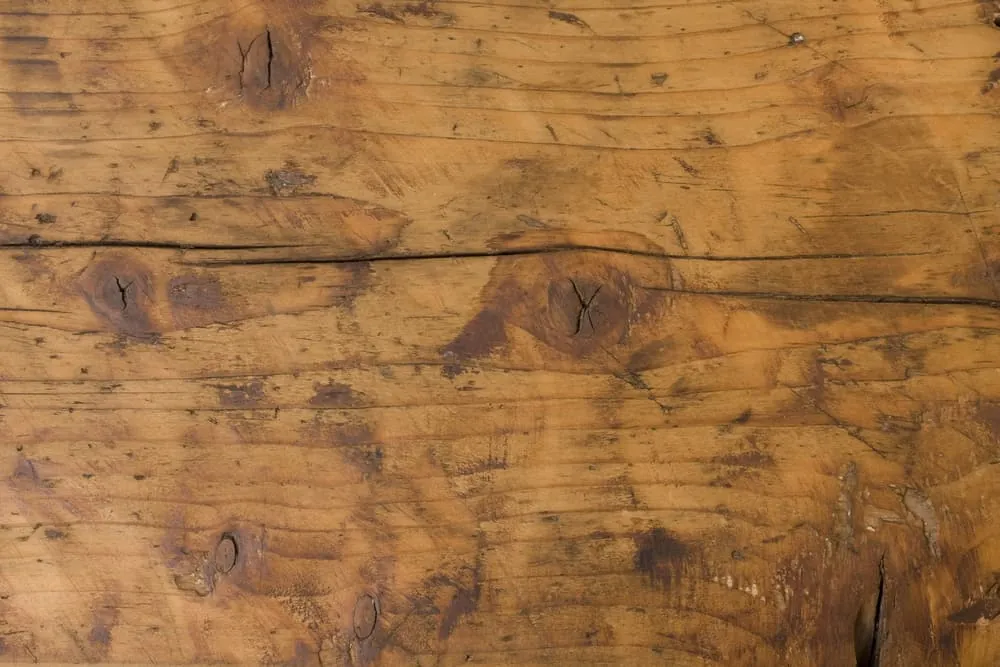
Wood is a natural material that constantly reacts to its environment. As the moisture content changes, the wood fibers expand or shrink. If the wood can’t move freely, the internal stress forces the fibers to separate, creating a crack. This happens most often in large, solid pieces like tabletops or structural beams that are held tightly by fasteners or glue.
Another primary cause is the natural grain structure of the tree. When wood dries, it shrinks more across the grain than along the length of the fibers. If you have a knot in the wood, the grain direction changes, which creates uneven tension.
This uneven pull eventually leads to a split that follows the path of least resistance. You can find detailed information on how these biological changes affect material stability by consulting the USDA Forest Products Laboratory research on wood moisture relationships.
Finally, physical impact or overloading can initiate a crack. If a piece of furniture is designed to carry a specific weight but is subjected to sudden, heavy pressure, the wood will fail. Once a crack appears, it acts as a lever. Every time the wood moves, the crack works itself deeper into the board. Identifying whether the cause is environmental or mechanical helps you choose the right repair method.
Drill holes to stop wood cracks spreading
This technique is best for structural cracks in solid wood where the crack hasn’t yet reached the edge of the board. You need a power drill and a drill bit that’s roughly 1/8 to 1/4 inch in diameter. This size is usually sufficient to break the line of stress without removing too much material.
Mark the very end of the visible crack with a pencil. Place your drill bit directly on that mark and drill straight through the wood. By creating a clean, round hole, you remove the sharp tip of the crack where stress is highest. The crack will lose its leverage and stop moving forward. If the crack is very long, you might need to drill a hole at both ends to fully isolate the tension.
This fix isn’t for decorative veneers or thin plywood, as drilling will permanently damage the surface. If you’re working on a piece with a fine finish, practice on a scrap piece of wood first to ensure your drill bit doesn’t tear the surface fibers. Once the hole is drilled, you can fill the void with a mixture of wood glue and sawdust for a seamless appearance.
Use butterfly keys for reinforcement
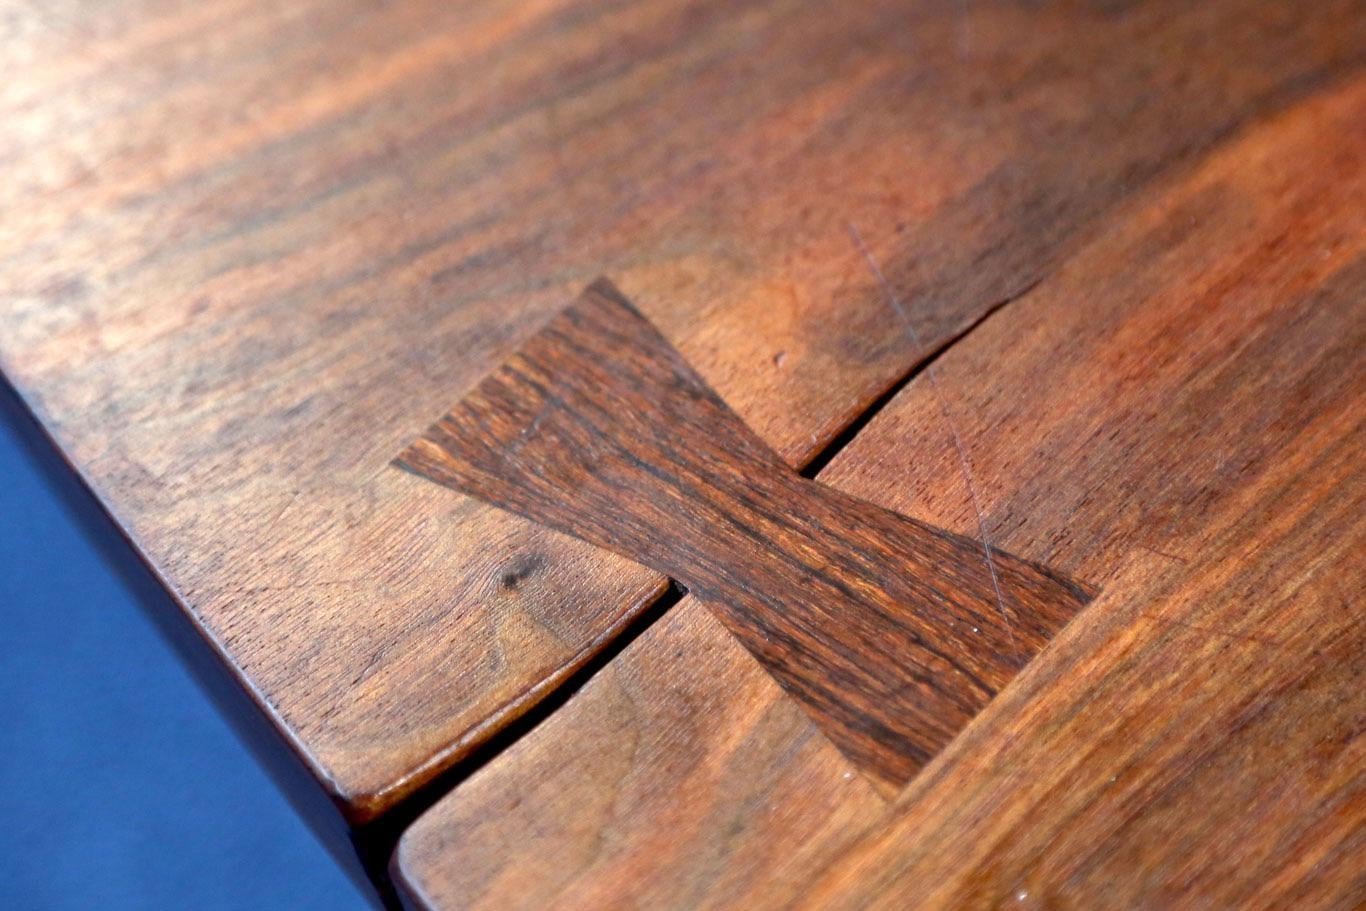
Butterfly keys, or dutchmen, are bowtie-shaped inserts used to bridge a crack and pull two sides of a slab together. This method is ideal for wide cracks or decorative pieces where you want to add structural integrity while highlighting the repair. It’s an advanced technique requiring sharp chisels and patience.
To start, place the key over the crack and trace its outline onto the wood surface with a marking knife. Use a knife rather than a pencil, as the thin line provides the precision needed for a tight fit.
Chisel out the marked area to a depth of 1/4 to 1/2 inch. Ensure the bottom of the mortise is perfectly flat so the key sits flush. Apply wood glue to the bottom and sides, then tap the key into place with a mallet.
If the crack is active or seasonal, orient the grain of the key perpendicular to the crack. This cross-grain orientation provides the necessary tension to prevent further separation. If the crack is merely cosmetic and stable, you may align the grain with the slab for a more subtle look.
This is a permanent mechanical fix. It isn’t for those seeking an invisible repair, as the key remains a prominent feature. If you lack sharp chisels or the confidence to cut a clean mortise, don’t attempt this. You risk widening the split or creating a loose, unsightly joint. In such cases, a professional furniture restorer is the safest person to handle the work.
Apply wood filler for narrow cracks
For hairline cracks that are mostly cosmetic, a high-quality wood filler can provide enough surface tension to keep the crack from widening. This is the simplest fix, but it only works if the crack is stable and not under active structural load. You should only use this for cracks that don’t go all the way through the material.
Clean the crack thoroughly with a vacuum to remove any dust or loose debris. Use a putty knife to press the wood filler deep into the gap, ensuring there are no air pockets. Overfill the area slightly, as most fillers shrink as they dry. Once the filler is completely cured, use fine-grit sandpaper to smooth the surface until it matches the surrounding wood.
If you can fit a credit card into the gap, the crack is too wide for standard filler. In that case, use a sliver of matching wood veneer glued into the space instead.
This fix isn’t for structural repairs, such as cracked chair legs or load-bearing beams. If the wood is still moving due to temperature changes, the filler will eventually crack again. This is a common mistake; people try to fill a crack that’s still under stress, which wastes time and masks the underlying failure.
To test for movement, mark the ends of the crack with a pencil. If the gap extends past your marks after one week, the wood is still shifting. In that scenario, stop using filler and install a mechanical fastener or a butterfly key to arrest the movement before finishing the surface.
Common wood repair mistakes
Filling a moving crack is a futile exercise if the wood remains under environmental stress. If the gap changes width by more than a sixteenth of an inch between seasons, you must bridge it with a flexible sealant rather than rigid filler. Otherwise, the material will inevitably pop out or fracture within weeks.
Avoid using high-strength epoxy on softwoods like pine or cedar. Because epoxy cures to a hardness exceeding the wood fibers, it creates a stress riser that forces the surrounding grain to split whenever the board expands. If you can dent the surface with a thumbnail, use a flexible wood-epoxy hybrid instead.
Never force a crack shut with clamps before relieving internal tension. If the wood is cupped or bowed, cutting a small relief kerf on the hidden underside allows the board to settle naturally. Without this step, your clamps will simply trigger new, unpredictable splits elsewhere in the piece.
Stop future wood splitting
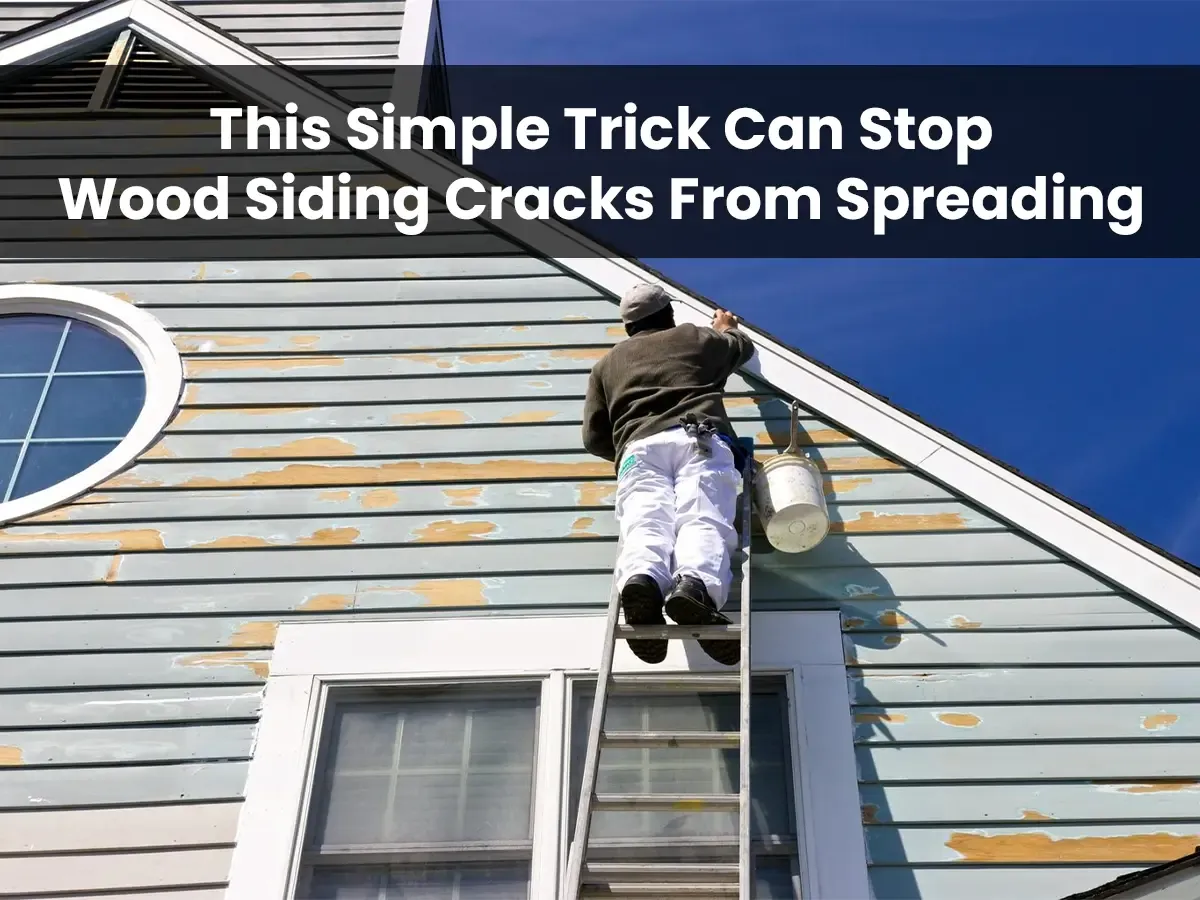
The best way to stop a crack from returning is to control the environment around the wood. Wood is constantly adjusting to the moisture in the air. If you keep the humidity levels steady, you prevent the expansion and contraction that lead to splitting.
Aim for a consistent relative humidity between 35% and 45%. If your hygrometer reads lower than 30%, the wood will shrink rapidly, pulling joints apart. If it climbs above 60%, the fibers swell and eventually crush themselves against fixed fasteners.
| If you’re doing this | Do this instead | Why |
|---|---|---|
| Storing wood in a damp garage | Use a dehumidifier in the room | Prevents moisture-related swelling |
| Placing furniture near a heat vent | Move it to an interior wall | Avoids drying out fibers too fast |
| Using thick, rigid finish coats | Use penetrating oil finishes | Allows the wood to breathe slightly |
| Forcing wood parts together | Use slotted holes for screws | Permits natural movement over time |
Many builders make the mistake of sealing wood with heavy polyurethane before it has acclimated to the home’s climate. This traps existing moisture and forces the wood to warp as it seeks equilibrium. Always wait at least one week for the material to stabilize in its final location before applying any finish.
Related guides
Frequently asked questions
Can I use super glue to fix a crack?
Super glue is too brittle to hold structural wood cracks. While it may work for tiny, non-structural hairline cracks, it won’t withstand the natural movement of larger pieces. For permanent repairs, use wood glue or high-quality epoxy.
How long does wood filler take to dry?
Most wood fillers dry to the touch within 30 minutes to 2 hours. You should wait at least 24 hours before sanding or staining for a professional result. Drying times will be significantly longer in high humidity.
Is it safe to leave a crack in a chair leg?
It isn’t safe to leave a crack in a load-bearing part, as it can fail suddenly under weight. A crack indicates the wood has lost its structural integrity. You must reinforce the leg or replace the part entirely.
What happens if I ignore a crack in wood?
If ignored, a crack will grow longer and wider as the wood expands and contracts. The crack acts as a stress riser, concentrating force into a weak point. Catching it early allows for a simple, quick repair.
How much wood glue should I use?
Apply enough glue to cover the crack surfaces, then clamp the wood firmly until excess squeezes out. Using too little glue creates a weak bond, while too much creates a difficult mess. Wipe away squeeze-out immediately with a damp cloth.
Conclusion
Once you’ve secured the area, keep an eye on the wood as the seasons change. Wood is a natural material that’s always shifting, so it’s wise to apply a light coat of wax or sealant. This simple habit protects the surface and keeps your piece looking great for years to come.