
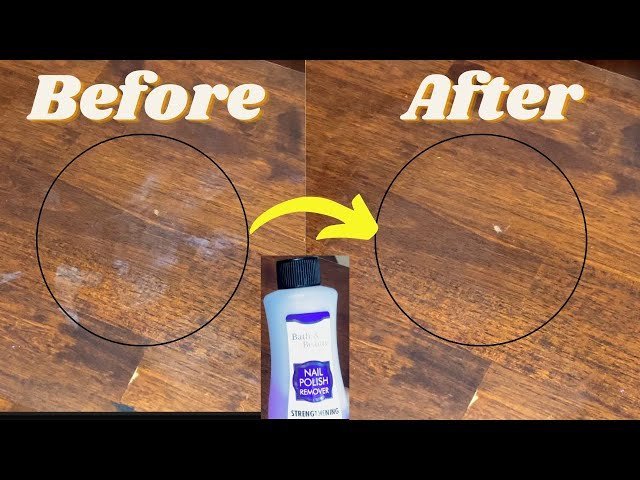
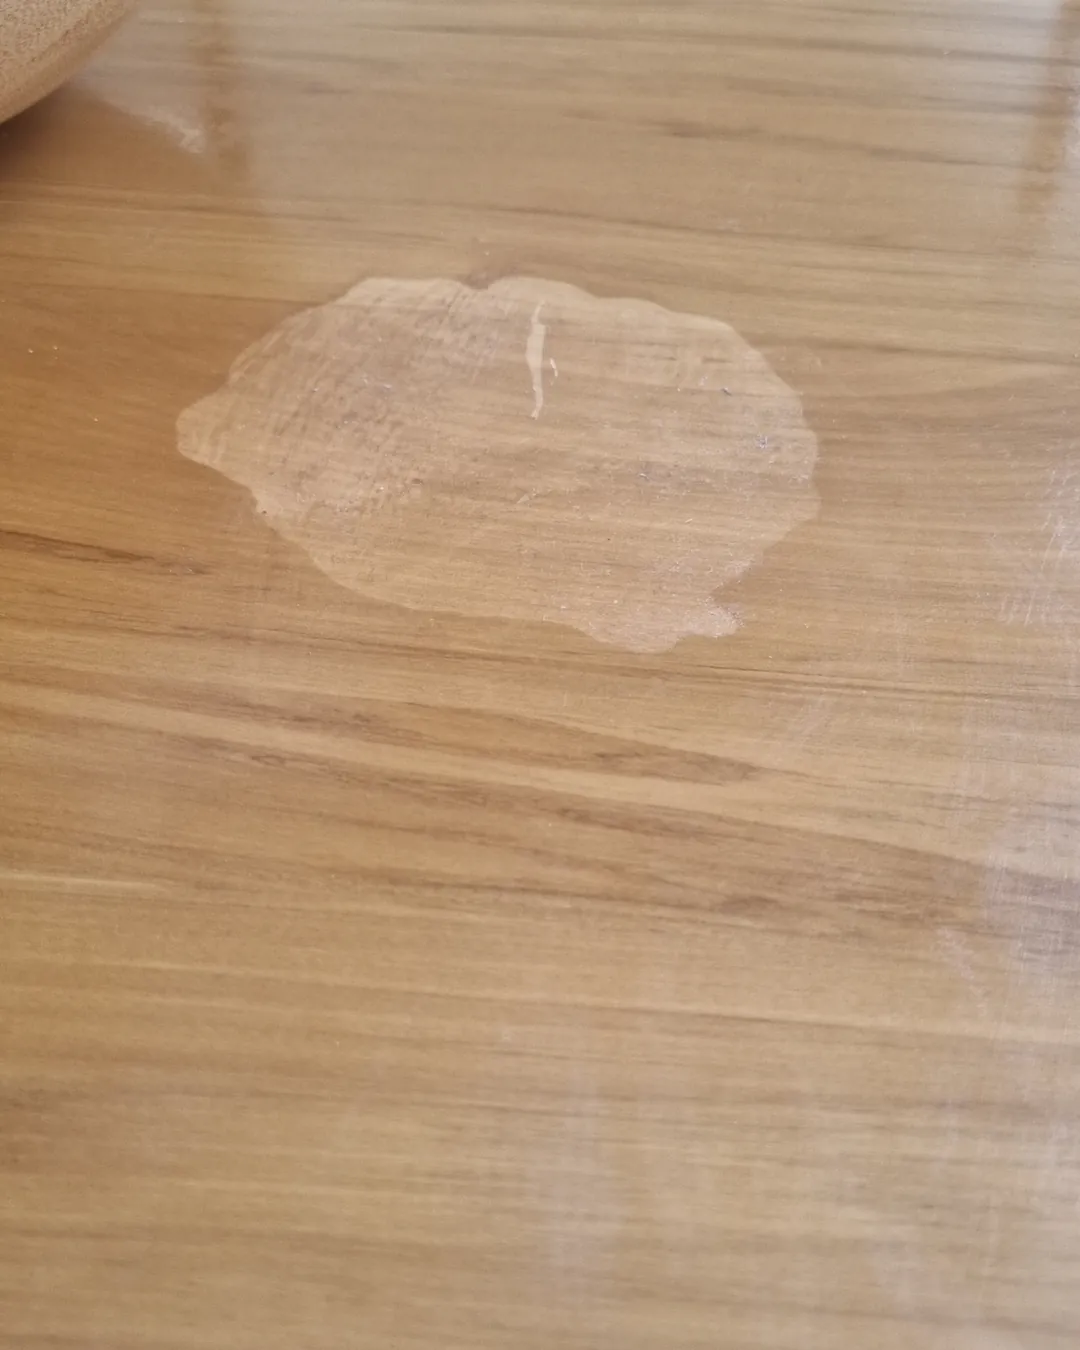
You can remove acetone from wood by quickly wiping the surface with a damp cloth and applying a high-quality furniture wax to restore the finish. If the acetone has already dried and left a white, cloudy mark, you’re likely dealing with a damaged finish rather than a spill that can simply be wiped away. Most spills happen because a container was opened too close to wood furniture, causing the chemical to dissolve the lacquer or varnish instantly.
Why acetone damages wood finishes
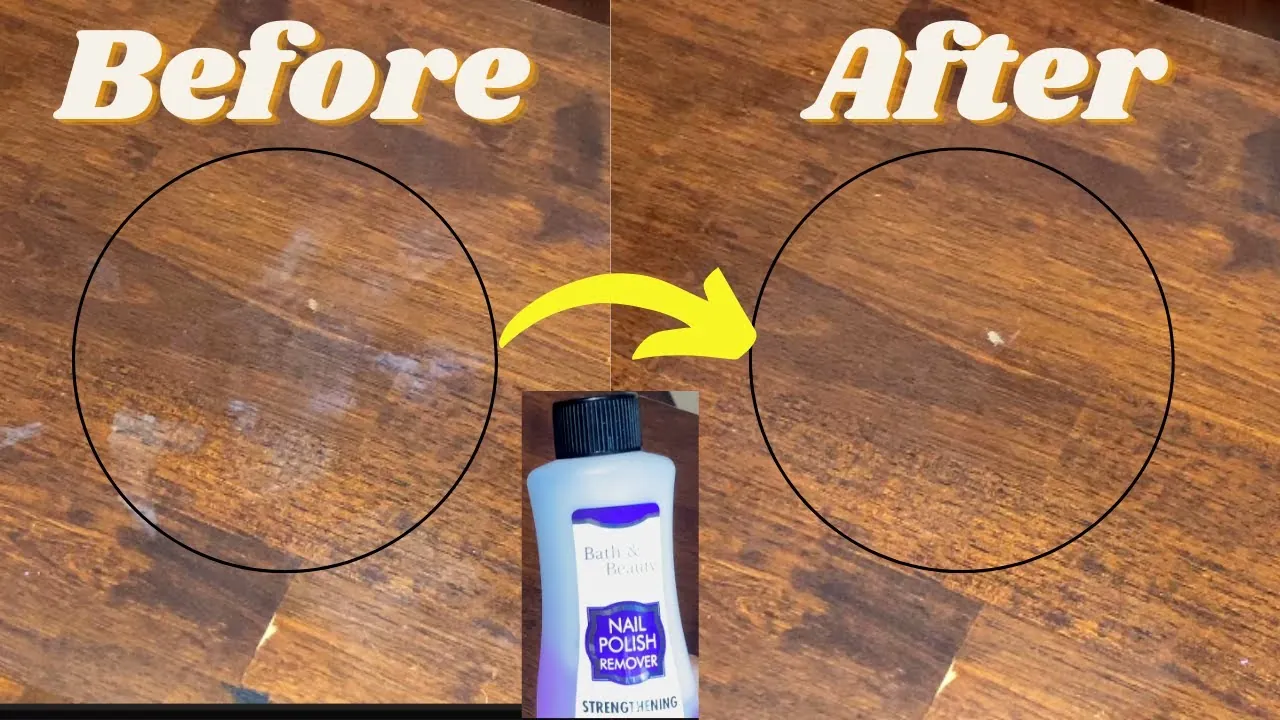
The primary reason acetone ruins wood surfaces is that it acts as a potent solvent for most common wood coatings. When you spill it, the chemical liquefies the finish on contact, turning it into a soft, sticky mess. Once the acetone evaporates, the finish hardens in a damaged, cloudy, or uneven state. This is a chemical reaction, not a stain, so you must treat the coating itself rather than trying to scrub the wood underneath.
Another factor is the type of finish on your wood. Polyurethane, lacquer, and shellac are all vulnerable to acetone, but they react at different speeds. If you have a thick, multi-layer finish, the acetone might only mar the top layer. If the finish is thin, it can strip the coating down to the raw wood in seconds.
Test your finish by rubbing a cotton swab dipped in acetone on an inconspicuous area, like the underside of a table leg. If the finish softens or transfers to the swab within ten seconds, it’s highly reactive. If the surface remains hard and glossy after a minute, you have a more resistant conversion varnish or catalyzed finish.
Many people mistakenly try to buff out these spots with abrasive pads, which only scratches the surrounding healthy finish. Instead, use a light touch of solvent to re-level the existing coating if the damage is minor. If the wood is exposed, you must lightly sand the area and apply a fresh topcoat to seal the grain.
Buff out light finish damage
If the acetone left only a faint, hazy white spot, you can often buff it out using a fine abrasive. This fix is best for small, surface-level blemishes where the wood grain itself remains untouched. You’ll need a very fine-grit automotive polishing compound or a specialized scratch-removing polish for wood.
Apply a pea-sized amount of the compound to a clean, soft microfiber cloth. Gently rub the affected area in a circular motion, following the direction of the wood grain. Don’t press hard, as you risk rubbing through the remaining finish and exposing the raw wood. Check the area every 30 seconds to see if the cloudiness is fading.
If the haze disappears, wipe the spot with a dry, clean cloth and apply a thin layer of furniture polish to blend the area with the surrounding wood. If you notice the wood becoming dull or if the color starts to fade, stop immediately; you have likely removed too much of the protective coating and will need to consult a professional refinisher.
Before you begin, test the compound on an inconspicuous spot, such as the underside of a table leg. If the test area develops a cloudy or uneven sheen, your finish is likely a soft lacquer that requires a liquid restorer rather than an abrasive. Never use toothpaste or baking soda; these contain uneven particles that create permanent, dull scratches on high-gloss surfaces.
Apply fresh finish to deep spots
If the acetone has stripped the finish down to the wood, you must reapply the coating to protect the surface. This method is for deep marks that feel rough to the touch or show bare, light-colored wood. You must first identify your original finish; shellac is soluble in alcohol, while most modern polyurethanes are not. If you’re unsure, test a small, hidden spot with a tiny amount of denatured alcohol to see if it softens the finish.
If the finish turns tacky or wipes away, you’re dealing with shellac. Use shellac flakes or a pre-mixed shellac sealer for a seamless repair. If the surface remains hard and unchanged, use a polyurethane or lacquer. Applying the wrong product leads to a cloudy, uneven patch that will eventually peel away from the surrounding wood.
Lightly sand the damaged area with 400-grit sandpaper to feather the edges of the old finish. Clean away all dust with a tack cloth. Apply a thin coat of a matching finish using a small foam brush or a lint-free rag. Allow it to dry according to the manufacturer’s label, which is typically 2 to 4 hours depending on the room’s humidity.
Once dry, lightly sand again and apply a second thin coat to ensure a smooth transition. If you have never applied wood finish before, practice on a scrap piece of wood first. This helps you gauge the application speed and pressure required to prevent drips or unsightly ridges at the border of your repair.
Use almond oil for minor haze
Sometimes, the white mark is simply a trapped moisture or a very minor disturbance that can be hidden with natural oils. This fix is useful for antique furniture where you want to avoid harsh chemicals or heavy sanding. It works by temporarily swelling the finish and filling the microscopic gaps created by the acetone.
Take a small amount of pure almond oil or a high-quality lemon oil furniture treatment. Apply it to the affected spot and let it sit for about 10 to 15 minutes. Use a soft, dry cloth to buff the oil into the wood, rubbing firmly but carefully. You’ll notice the white, cloudy appearance begin to darken and disappear as the oil penetrates the damaged finish.
If the spot remains after the oil is wiped away, it means the acetone has caused deeper damage that requires the sanding method described above. This process is safe for most oil-finished or waxed surfaces, but it won’t work on bare, unfinished wood. If the spot is very deep or the wood is beginning to splinter, don’t use oil; contact a professional furniture restorer to avoid further degradation of the wood fibers.
Avoid these common mistakes
Excessive water causes wood fibers to swell and warp, making the finish damage nearly impossible to level later. Use a damp cloth wrung until almost dry, never a soaking one.
Scrubbing with steel wool creates deep, permanent scratches that remain visible even after the acetone spot is repaired. If you must abrade the surface, use a fine-grit sanding sponge instead.
Applying too much polish leaves a greasy residue that acts as a magnet for dust. This eventually hardens into a dark, grimy patch that requires a chemical stripper to remove.
Always move your cloth or sandpaper parallel to the wood grain. Working against the grain creates swirl marks that catch the light and highlight the original damage.
If the finish feels tacky, you haven’t waited long enough between layers. A surface that isn’t fully cured will trap lint and debris, permanently ruining the final look.
Prevent finish damage effectively
| If you’re doing this | Do this instead | Why |
|---|---|---|
| Leaving bottles open | Use a secure, spill-proof tray | Prevents accidents if the bottle tips |
| Working near wood | Use a thick plastic drop cloth | Protects wood from chemical drips |
| Cleaning with acetone | Use mild soap and water | Acetone is too harsh for finished wood |
| Wiping spills quickly | Blot, don’t smear | Smearing spreads the solvent further |
Most people make the mistake of using paper towels to wipe up spills, which often leaves behind abrasive fibers or smudges the finish. Instead, use a microfiber cloth to lift the liquid vertically. If the spill involves a heavy solvent, blot until the area is dry, then immediately follow with a damp cloth to neutralize any residue.
If your surface feels sticky after cleaning, you have likely left behind a chemical film that will degrade the sealant over time. In this case, dilute a drop of dish soap in a cup of warm water and wipe gently. If the finish remains dull or tacky, the solvent has stripped the protective layer; you must lightly sand and reapply the appropriate finish (such as polyurethane or lacquer) to restore the protective barrier.
Related guides
- How to Get Green Off Pressure Treated Wood Using Oxygen Bleach in 2026
- How to Harden Wood Using Penetrating Epoxy Resin in 2026
- How Much Weight Can a Wood Closet Rod Hold Safely in 2026
Frequently asked questions
Can I use vinegar to fix acetone marks?
No, vinegar is acidic and can damage the finish or bleach the wood grain. It isn’t a solvent for lacquer or polyurethane and won’t repair the damage. Wipe it off immediately if already applied and use specialized wood-polishing compounds instead.
How long does the repair take to dry?
Light repairs with furniture polish take 30 minutes to set, while new polyurethane takes 2 to 4 hours to be touch-dry. Wait 24 hours before placing heavy objects on the surface. Cold or damp conditions may double these expected drying times.
Is it safe to use a hair dryer to speed up the drying?
No, using a hair dryer is unsafe because heat can cause the wood to expand and the finish to crack. Rapid drying prevents the finish from leveling out properly, resulting in an uneven surface. Allow your repair to dry naturally in a well-ventilated room.
What happens if I sand through to the raw wood?
If you sand through to raw wood, you must stain that spot to match the surrounding color before applying a clear finish. This requires a precise color match, which is difficult for beginners. Consult a professional woodworker to ensure the repair blends seamlessly.
How do I know if my wood is finished or raw?
You can test for a finish by placing a drop of water on an inconspicuous area for 5 minutes. If the water beads up, the wood has a protective finish like varnish or polyurethane. If the water soaks in, the wood is raw or oiled.
Conclusion
If the damage looks too deep to fix at home, don’t worry. You can always consult a professional furniture restorer to bring back that original shine. They’ll have the right tools to strip and refinish the piece safely, ensuring your favorite table looks brand new for many years to come.