
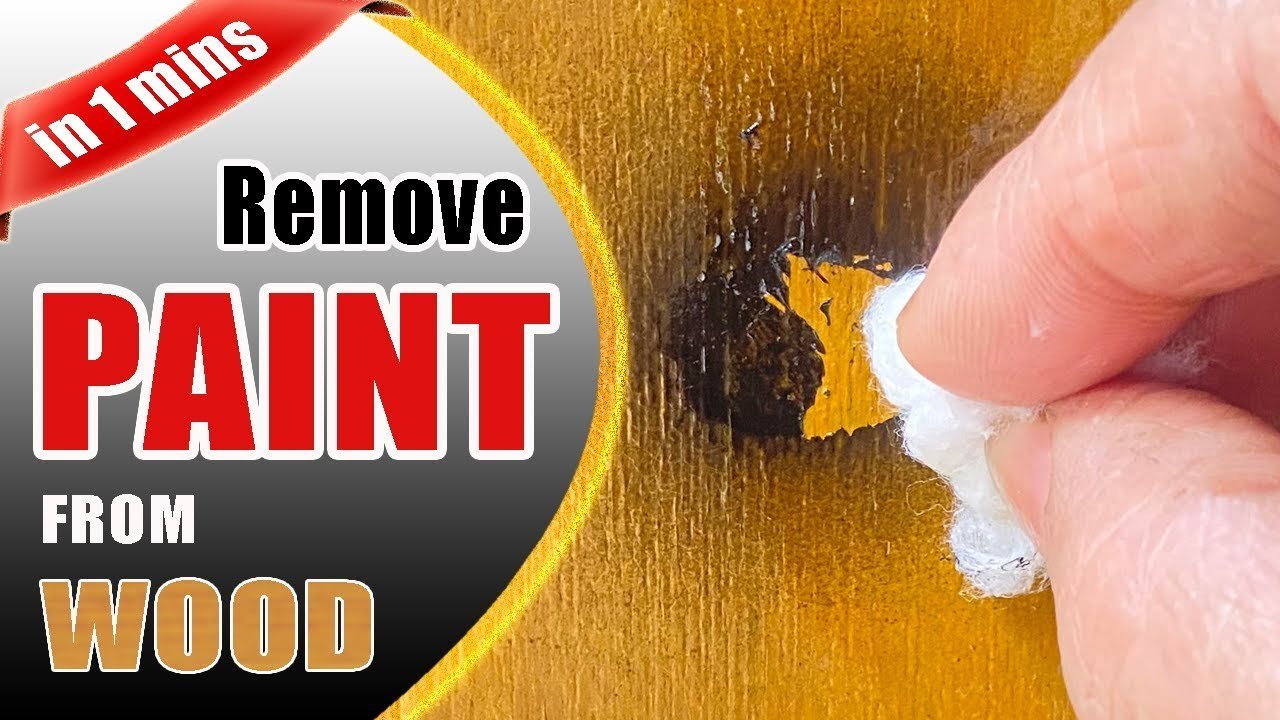
You can remove wet paint by wiping it with a cloth soaked in denatured alcohol, but you’ll need a plastic scraper or fine-grit sandpaper to remove dried spray paint. Avoid scrubbing too hard, as this damages the wood grain underneath. If you’re unsure about the finish, test a small, hidden area first.
Why paint bonds to wood fibers
Spray paint sticks to wood because the liquid particles seep into the natural pores and fibers of the grain. As the solvents in the paint evaporate, the pigment hardens into a solid film that grips the surface. If the wood was raw or porous before painting, the bond is much stronger than if the wood had a sealed or lacquered finish.
When you try to remove the paint, you’re essentially trying to break that mechanical grip without lifting the wood fibers themselves. If you use a liquid stripper that’s too aggressive, it can dissolve the wood’s natural resins or lift its grain, leaving the surface rough and fuzzy. This is why you should always start with the mildest method possible.
Test a hidden area with a small dab of denatured alcohol before reaching for heavy chemical strippers. If the paint softens immediately, it’s likely a shellac or alcohol-soluble finish; water-based latex paint typically requires specific latex removers or mechanical removal. If the surface remains hard and tacky, you’re likely dealing with an oil-based enamel, which typically requires a professional-grade chemical stripper.
If the paint is old or has been baked on by the sun, it may have become brittle, making it easier to flake off but harder to dissolve. Always prioritize mechanical removal with a plastic scraper before applying liquids. This prevents the chemicals from soaking deep into the grain, which can cause the wood to swell or warp permanently.
Scrape away loose paint layers
This method is for when the paint is already peeling or sitting on top of a hard, sealed finish. You’ll need a plastic scraper, which is less likely to gouge the wood than a metal one. Hold the scraper at a 45-degree angle to the surface and use light, steady pressure to push the blade under the edge of the paint.
If the paint doesn’t move, stop immediately. Applying more force will only result in deep scratches that require hours of sanding to remove. If you have a stubborn spot, try heating it gently with a hairdryer on a low setting for 30 seconds to soften the bond. Once the paint starts to lift, keep your strokes consistent and follow the direction of the wood grain.
If the paint is stuck in deep crevices or carvings, you should use a chemical stripper or a specialized detail pick. This technique isn’t for raw, soft woods like pine, as the scraper can easily leave permanent indentations. If the wood feels soft or spongy under your touch, you should avoid scraping entirely and use a chemical stripper instead.
Dissolve spray paint off wood
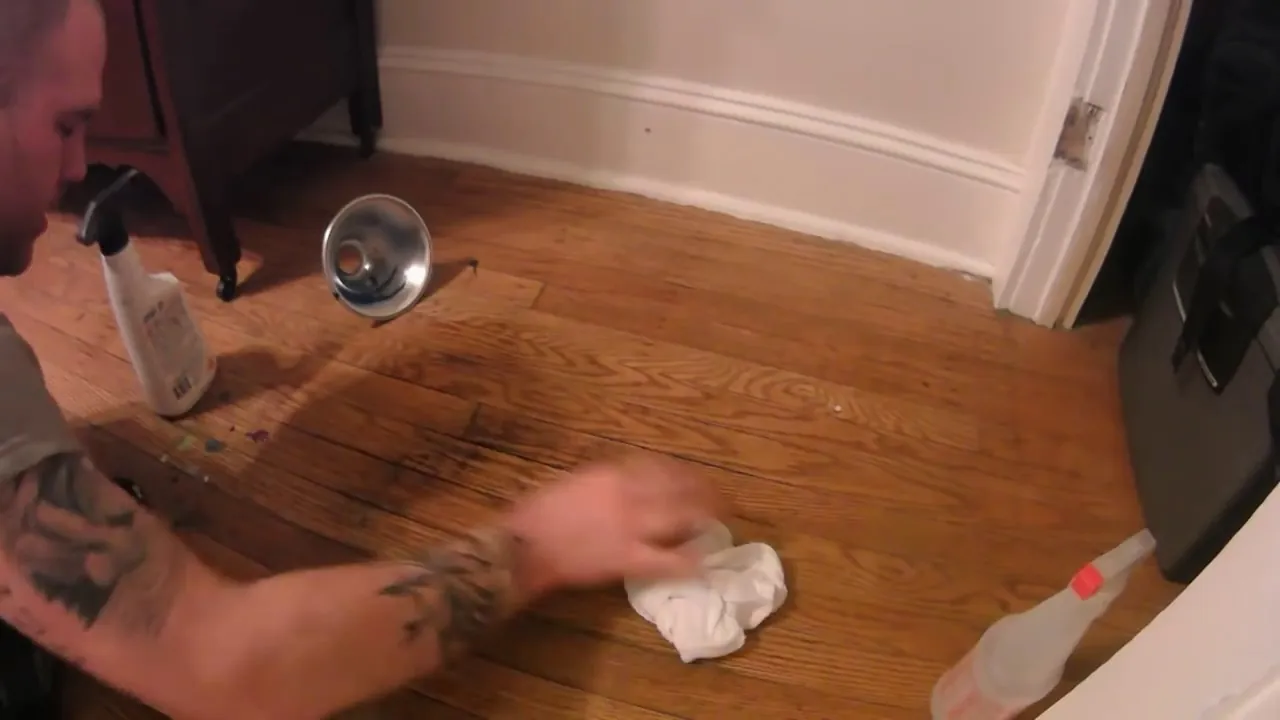
This method is ideal for paint that’s fresh or hasn’t fully cured. Dampen a clean, lint-free cotton cloth with denatured alcohol and press it firmly against the paint for 10 to 15 seconds. This gives the solvent time to soften the dried film. After the wait, wipe the area using a single, smooth motion in the direction of the grain.
Repeat this process, using a fresh section of the cloth each time, so you don’t smear the dissolved paint back onto clean areas. If the paint is thick, you might need to repeat this five or six times to reach the bare wood.
Avoid this technique on wood finished with shellac. Denatured alcohol dissolves shellac instantly, leaving a permanent white, cloudy mark. To identify your finish, rub a cotton swab dipped in alcohol on an inconspicuous spot. If the surface turns tacky or wipes away, you’re dealing with shellac or a water-based lacquer; stop immediately. In these cases, use a citrus-based stripper, which removes paint without damaging the underlying clear coat.
Many people make the mistake of scrubbing back and forth. This grinds pigment into the wood pores, making the removal process significantly harder. Always lift the cloth after each swipe to keep the surface clean. If you feel dizzy or notice a heavy chemical odor, move the project to an outdoor area. These solvents release strong fumes that require constant airflow to remain safe for your lungs.
Sand the surface for final removal
Sanding is the final resort for paint that has soaked deep into the wood fibers. Start with a 150-grit sandpaper for the bulk of the paint, then switch to a 220-grit paper to smooth the wood surface. Always wrap the sandpaper around a flat wooden block to ensure you don’t sand uneven dips into the wood.
If you find that the sandpaper clogs quickly, the paint is likely still too soft or gummy; stop and let the piece dry for another 24 hours. If the wood grain begins to look “fuzzy,” you’re sanding too aggressively or using a grit that’s too coarse for the wood type. For hardwoods like oak, you can use a lighter touch, but for softwoods like pine or cedar, you must be very careful not to remove too much material.
If the paint has penetrated deep into the grain, you might reach a point where you have to decide between leaving a light tint of color behind or removing so much wood that you change the shape of the object. Once the wood is bare, wipe away all dust with a tack cloth before applying any new finish.
Common mistakes that damage wood
Using a metal putty knife risks deep, permanent gouges. If you must scrape, use a plastic blade or a dull wood chisel held at a low angle. If you feel the metal bite into the surface, stop immediately.
Scrubbing with steel wool leaves microscopic metal shards in the grain. These fibers oxidize when moisture hits them, creating dark, rust-colored pinpricks that ruin a finish. Use a synthetic abrasive pad instead.
Harsh chemical strippers often dissolve the hide glue under thin veneers. If the wood feels spongy or starts to bubble, you have already gone too far. Test a hidden spot first; if the veneer softens, switch to a mechanical sanding process.
Sanding against the grain creates cross-scratches that trap pigment, making them stand out like scars. Always sand in the direction of the wood fibers, moving from coarse to fine grits.
Keep your wood finish safe
| If you’re doing this | Do this instead | Why |
|---|---|---|
| Using a metal scraper | Use a plastic scraper | It prevents deep gouges in the soft wood. |
| Sanding back and forth | Sand with the grain | It avoids creating visible, cross-grain scratches. |
| Soaking the wood | Use a damp cloth | Excess liquid causes the wood to warp or swell. |
| Using coarse sandpaper | Start with 150-grit | It removes paint without removing too much wood. |
Most beginners make the mistake of pressing too hard when removing old varnish. This often leaves permanent indentations that no amount of sanding can fix. If you feel your arm tiring, stop immediately. You’re likely forcing the tool rather than letting the abrasive do the work.
Apply this simple rule: if you can see a scratch after sanding, you have skipped a grit level. Move back to 120-grit to level the surface before moving forward. If you’re working on soft pine, be cautious with coarse grits to avoid deep scratches, but use them as needed for initial material removal.
Finally, always wipe your surface with a tack cloth before applying any finish. Even tiny dust particles trapped under a coat of polyurethane will create a rough, sandpaper-like texture. If the finish feels gritty once dry, you must lightly sand the entire piece again and reapply.
Related guides
- How to Get Green Off Pressure Treated Wood Using Oxygen Bleach in 2026
- How to Harden Wood Using Penetrating Epoxy Resin in 2026
- How Much Weight Can a Wood Closet Rod Hold Safely in 2026
Frequently asked questions
Can I use paint thinner to clean wood?
No, avoid standard paint thinner because its oily residue prevents new paint or stain from adhering properly. Use denatured alcohol or a dedicated furniture stripper instead, as these evaporate cleanly. If you accidentally use an oily product, you must clean the wood with mineral spirits and allow 24 hours to dry.
How long does it take to remove paint?
A small area typically takes 20 to 30 minutes to clean, though the time depends on the number of paint layers. Old, brittle paint often comes off quickly, while stubborn, multi-layered sections may require several hours of sanding. Always work in small, manageable sections to ensure you don’t miss any spots.
Is it safe to use a heat gun?
No, heat guns are risky because they can easily scorch the wood or start a fire. If you must use heat, use a standard hair dryer on a low setting held at least 6 inches away. Never use heat on wood treated with wax or old varnish, as these can release toxic fumes.
What happens if I sand too much?
You’ll remove the top layer of wood and change the profile of the object, which is impossible to reverse. If you’re working on a piece with decorative carvings or trim, sanding too much will round off the sharp edges and ruin the detail. Always check your progress by wiping away the dust with a clean, dry cloth every few minutes to see exactly how much paint remains on the surface.
How do I know if the paint is gone?
You know the paint is gone when the wood grain appears uniform and feels smooth across the entire surface. Use a stiff nylon brush to lift any tiny flecks of color remaining in the deep pores. Ensure the surface is completely clean, as leftover paint will block stain and create uncolored spots.
Conclusion
The best way to ensure success is to test your chosen method on the back or bottom of the wood piece first. If the wood reacts well to the stripper or sandpaper in a hidden spot, you can confidently proceed with the rest of the item, knowing your finish will remain smooth and undamaged.