
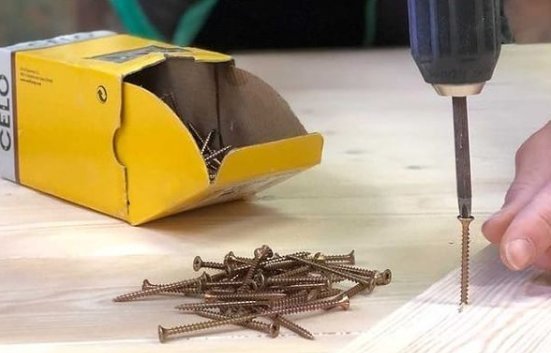
You can use a power drill or a manual screwdriver to install self-tapping screws into wood effectively by creating a small pilot hole first. While these fasteners are designed to cut their own threads in metal, wood fibers often split when you drive them in directly. Starting with a drill bit slightly smaller than the screw shank prevents damage to your project. This simple preparation ensures a tight, secure hold without compromising the structural integrity of the timber you’re working with.
Why wood needs self tapping screws
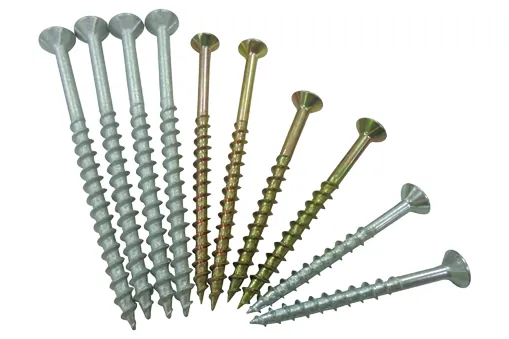
Self-tapping screws feature a sharp, hardened tip and aggressive threads that displace material as they enter. When you drive these screws into metal, the material is thin enough for the threads to clear the shavings easily. Wood, however, is a porous and fibrous material that doesn’t compress well. If you force a screw into solid wood without a pilot hole, the wood fibers are pushed outward, which creates internal pressure that leads to splitting or cracking.
Hardwoods are especially prone to this issue because they’re dense and brittle. If you use a screw with a diameter of 4mm or larger in oak or maple, the risk of a split is very high. Softwoods like pine are more forgiving, but they still benefit from a pilot hole to ensure the screw follows a straight path. Following their technical standards ensures that your joints remain stable over time and that the wood doesn’t pull apart under stress.
Drill the pilot hole carefully
To begin, select a drill bit that’s slightly smaller than the shank of your screw. The shank is the solid metal part of the screw, excluding the threads. If you choose a bit that’s too large, the screw won’t have enough wood to grip, and the connection will be loose. If the bit is too small, you risk splitting the wood when you drive the fastener home.
Test your bit selection by holding it behind the screw. You should see the threads clearly protruding on both sides of the bit, but the solid shank should be hidden behind it. If you see the shank, the bit is too large and will compromise the holding power of the fastener.
Align your drill bit perfectly perpendicular to the surface of the wood. If you tilt the drill, the screw will enter at an angle, which ruins the aesthetic of your project and weakens the joint. Drill to a depth that’s roughly equal to the length of the screw. If you’re working with a very long screw, mark the depth on your drill bit with a piece of tape so you don’t drill all the way through the material.
Drive the screw with steady pressure
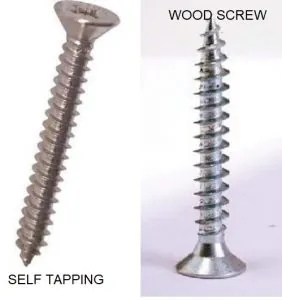
Once the pilot hole is ready, switch your drill to the driving bit that matches the head of your screw. A Phillips head requires a tight fit, while a Torx or square drive provides better control and less slipping. Place the tip of the screw into the pilot hole and begin driving it slowly. Applying steady, firm pressure is the key to keeping the bit seated in the screw head.
If you’re using a power drill, set the clutch to a low or medium torque setting. This prevents you from over-tightening, which can strip the threads inside the wood or snap the head off the screw. Stop driving the moment the head of the screw sits flush with the surface of the wood. If you continue, you’ll damage the wood fibers, and the screw will lose its holding power.
Most beginners make the mistake of leaning their entire body weight onto the drill. This often causes the bit to cam out of the screw head, scarring your workpiece. Instead, use your dominant hand to keep the drill perpendicular to the surface while your other hand stabilizes the back of the tool.
If the screw stops advancing before the head is flush, don’t force it. Back the screw out entirely and check the pilot hole for debris. If you’re joining two pieces of hardwood, apply a small amount of beeswax to the threads to reduce friction. This simple step prevents the screw from binding and snapping mid-drive.
Use the correct fastening technique
For the best results, use a lubricant on the threads of the screw before you drive it into dense wood. A small amount of beeswax or paraffin wax makes the process much smoother and reduces friction. This is especially helpful if you’re driving several screws into a large piece of furniture. If you feel the screw getting hot, stop immediately and let it cool down; heat can cause the wood to expand and the screw to seize in place.
If you’re working with thin boards, be extra careful with your spacing. Placing screws too close to the edge of a board will almost always cause a crack, regardless of whether you use a pilot hole. Always keep your screws at least 1.5 inches away from any edge to ensure the wood has enough mass to support the force of the threads.
If you’re joining end grain, the standard rules change. Screws have little purchase in end grain, so you must use a screw at least 25 percent longer than you would for face grain. If the wood begins to splinter, back the screw out and clear the debris from the hole.
Common mistakes to avoid
Skipping the pilot hole is the most common error. It leads to wood splitting, which is often impossible to repair without replacing the board. Always drill a pilot hole that’s roughly 80% of the screw’s shank diameter.
Using the wrong bit size creates its own set of problems. A bit that’s too thick results in a weak joint with no bite, while one that’s too thin puts unnecessary stress on the wood, often causing it to crack as you drive the fastener home.
Over-driving the screw is a frequent mistake. Forcing a screw past the surface of the wood crushes the fibers and destroys the grip. This leaves the connection loose and unreliable. Stop the moment the head sits flush with the surface.
Driving at an angle creates uneven pressure on the screw threads. This causes the fastener to bend or snap under tension. If you must drive at an angle, use a jig to ensure the screw enters the grain consistently.
Ignoring edge distance is the final trap. Driving screws closer than two times the board’s thickness from the edge exerts outward pressure that pushes the wood grain apart. This causes immediate failure. If you’re working with hardwoods, increase that distance by another half-inch to ensure the material holds.
Preventing wood damage in the future
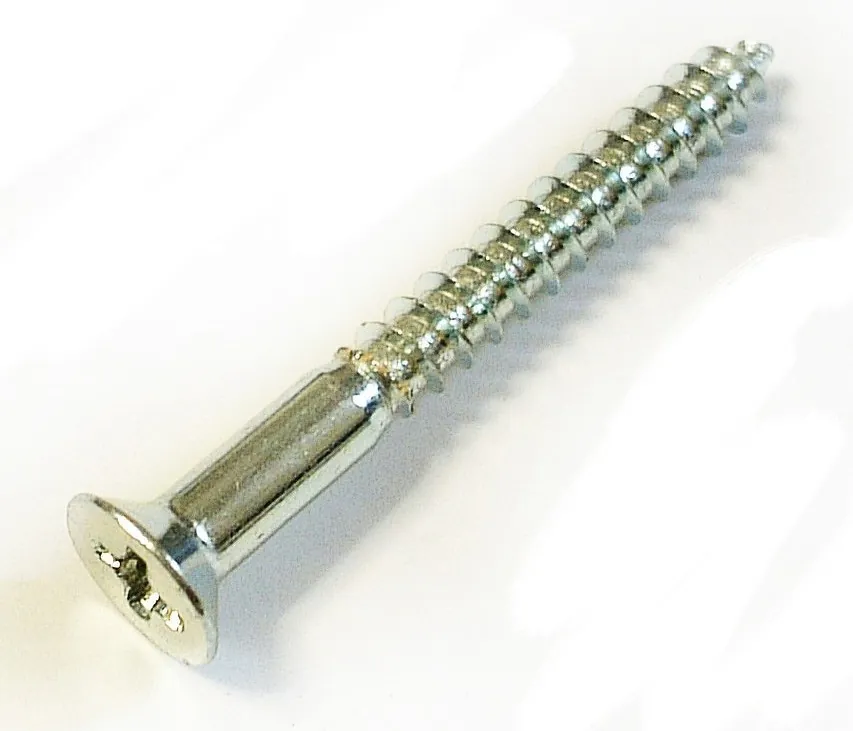
The success of your project depends on matching your technique to the type of wood and the size of the fastener. If you’re working with scrap wood, test your drill bit size first to see how well the screw sits.
| If you’re doing this | Do this instead | Why |
|---|---|---|
| Driving into hardwoods | Use a larger pilot hole | Hardwood is dense and splits easily |
| Driving into softwoods | Use a smaller pilot hole | Pine and cedar compress more easily |
| Using long screws | Use a depth stop on the bit | Prevents drilling through the back |
| Driving many screws | Apply wax to the threads | Reduces friction and heat buildup |
A common mistake is using a pilot bit that matches the screw’s shank diameter exactly. You should aim for the diameter of the screw’s solid core, leaving the threads to bite into the surrounding fibers. If the threads don’t grip, the joint will fail under tension.
When working with end grain, the wood fibers act like a bundle of straws that pull apart easily. Always use a pilot hole twice as deep as you expect, and drive the screw at half your normal speed. If you hear a sharp cracking sound, stop immediately. Back the screw out, fill the hole with a tapered wood plug, and drill a slightly larger pilot hole before trying again.
Related guides
- How to Harden Wood Using Penetrating Epoxy Resin in 2026
- How Much Weight Can a Wood Closet Rod Hold Safely in 2026
- How to Stop Sap From Coming Out of Wood: Proven Fixes in 2026
Frequently asked questions
Can I use self-tapping screws in wood without a pilot hole?
No, you shouldn’t use them without a pilot hole because the wood fibers will likely split. Drilling a hole slightly smaller than the shank prevents internal pressure and protects the material. Always ensure the hole is deep enough to accommodate the screw.
How deep should the pilot hole be?
The pilot hole should be the same depth as the length of the screw. You can use a piece of electrical tape on your drill bit to mark this exact length. Be careful not to drill too shallow, as the screw tip will force the wood apart.
Is it safe to use these screws for furniture?
Yes, it’s safe to use them for furniture if you use the right size and pilot holes. These screws provide excellent holding power for most structural frames. Always check that the screw head is rated for the weight it needs to support.
Why does my screw head keep stripping?
The screw head strips because your drill bit is the wrong size or you’re applying too much speed. Using a manual screwdriver for the final turns provides better control and prevents damage. Ensure the bit fits snugly to avoid slipping and chewing the metal.
How many screws do I need for a joint?
You should use at least two screws for most joints to ensure a stable connection. Using only one screw allows the wood to pivot, which creates a weak joint that will eventually fail. For boards wider than 4 inches, space at least two screws evenly across the width.
Conclusion
Once your fasteners are seated flush against the surface, take a moment to wipe away any loose sawdust with a damp cloth. You’ll find that a clean finish makes your hard work look professional. Don’t hesitate to start your next project; you’re ready to build something sturdy that’ll last for years.