
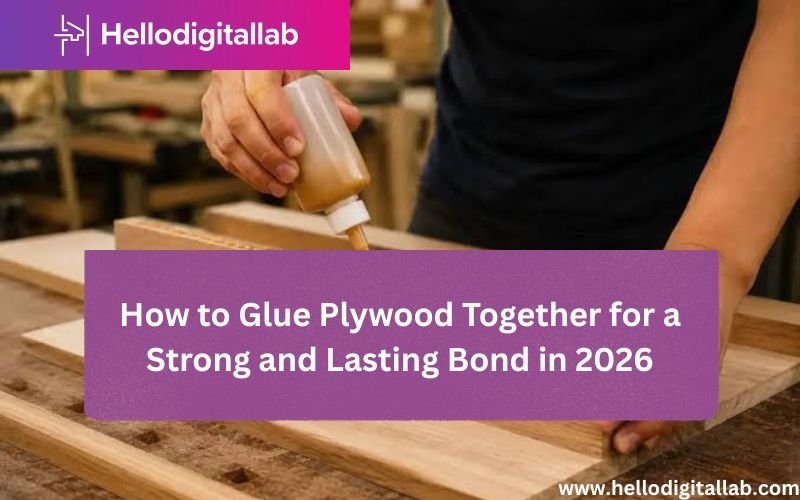
To glue plywood together effectively, you must prepare the surfaces by sanding them to expose fresh wood fibers, applying a high-quality wood glue evenly across the entire face, and clamping the pieces under consistent pressure until the adhesive fully cures. Achieving a bond that’s actually stronger than the wood itself requires more than just slapping glue between two sheets; it demands attention to grain orientation, moisture content, and the specific type of adhesive chosen for the environment. Whether you’re laminating sheets to create a thick workbench top or simply joining two panels for a structural project, the process relies on creating a continuous, gap-free interface that allows the polymer chains in the glue to penetrate the porous wood structure.
Key Takeaways
- Always sand the surfaces of factory-finished plywood to remove the thin, glossy wax or resin coating before applying any adhesive.
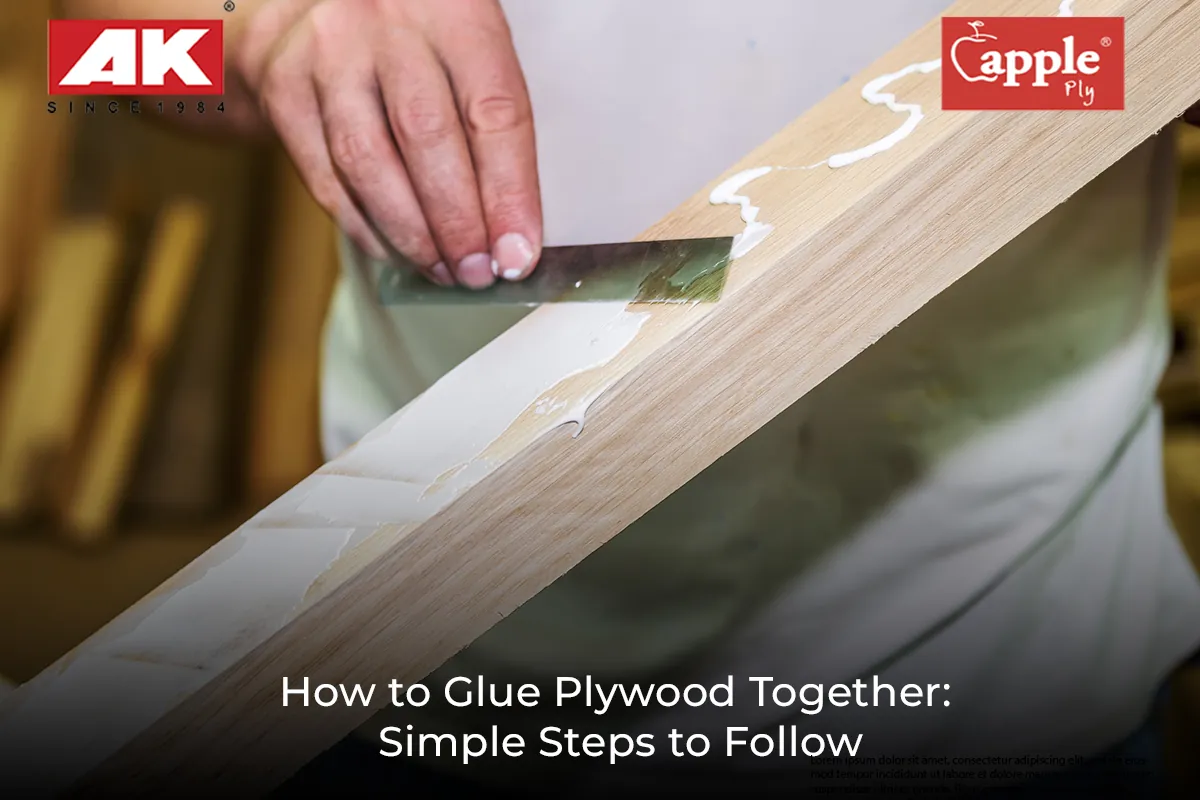
- Use a notched spreader or a foam roller to ensure the glue coverage is uniform across the entire surface area, preventing dry spots.
- Clamping pressure must be applied from the center outward to push excess air and glue out of the joint, ensuring a tight seal.
- Plywood grain should generally be oriented in alternating directions if you’re laminating many layers to prevent warping or bowing over time.
- Allow for a full 24-hour cure time before removing clamps or subjecting the piece to structural loads, regardless of the initial set time.
How to Glue Plywood Together Properly
The fundamental challenge when gluing plywood involves the nature of its construction. Because plywood consists of alternating layers of veneer, the surface is often quite smooth and may contain residual factory release agents. If you skip surface preparation, the glue will sit on top of the surface rather than penetrating the fibers, leading to a weak joint that may delaminate under stress.
Start by scuffing the bonding surfaces with 80-grit or 100-grit sandpaper. This creates a “tooth” for the adhesive to grip. Remove all dust thoroughly with a vacuum or a tack cloth, as sawdust trapped in the glue line acts as a spacer and prevents the two wood surfaces from making direct contact.
Surface preparation is non-negotiable for longevity. Once the surfaces are prepared, choose an adhesive that matches your project requirements. For indoor furniture, a standard polyvinyl acetate (PVA) wood glue is sufficient. For outdoor projects or environments with high humidity, you must select a Type I or Type II water-resistant glue. Apply a generous bead of glue and spread it with a notched trowel. The goal is to cover 100% of the surface without leaving large puddles that will squeeze out excessively and cause a cleanup nightmare.
Selecting the Right Adhesive Type
Choosing the correct glue depends on the intended use of the project. While many beginners assume all wood glues are identical, the chemical composition varies significantly between brands and intended applications. Using the wrong glue in a high-moisture environment can cause the plywood layers to separate as the adhesive softens or breaks down.
| Adhesive Type | Primary Use | Water Resistance | Typical Cure Time |
|---|---|---|---|
| PVA (Yellow) | Interior Furniture | Low | 12-24 Hours |
| PVA (Waterproof) | Outdoor Projects | High | 24 Hours |
| Epoxy Resin | Marine/Structural | Very High | 24-48 Hours |
| Polyurethane | Gap Filling | High | 24 Hours |
Selecting adhesives requires considering the “open time,” which is the window you have to move the pieces and apply clamps before the glue begins to skin over. If you’re gluing a large surface area, you’ll need a slow-setting glue to ensure you can reach every corner before the adhesive starts to harden.
Why is Clamping Pressure Essential?
Clamping isn’t just about holding the pieces together while the glue dries; it’s about forcing the adhesive into the wood fibers and minimizing the thickness of the glue line. A thick glue line is a weak glue line. By applying uniform, high-pressure clamping, you squeeze out the excess adhesive and bring the wood surfaces into intimate contact. This physical connection allows the adhesive to bridge the microscopic gaps in the wood surface, maximizing the surface area available for the bond.
Clamping pressure should be distributed evenly. If you use clamps only at the edges of a large plywood sheet, the center will likely remain uncompressed, leading to a hollow spot or a “drum” effect where the layers aren’t properly bonded. To prevent this, use a series of cauls—stiff pieces of scrap wood—across the face of the plywood to distribute the force of the clamps across the entire surface. Tighten the clamps starting from the center of the panel and moving toward the edges to force air bubbles out of the joint.
How Do You Laminate Multiple Sheets?
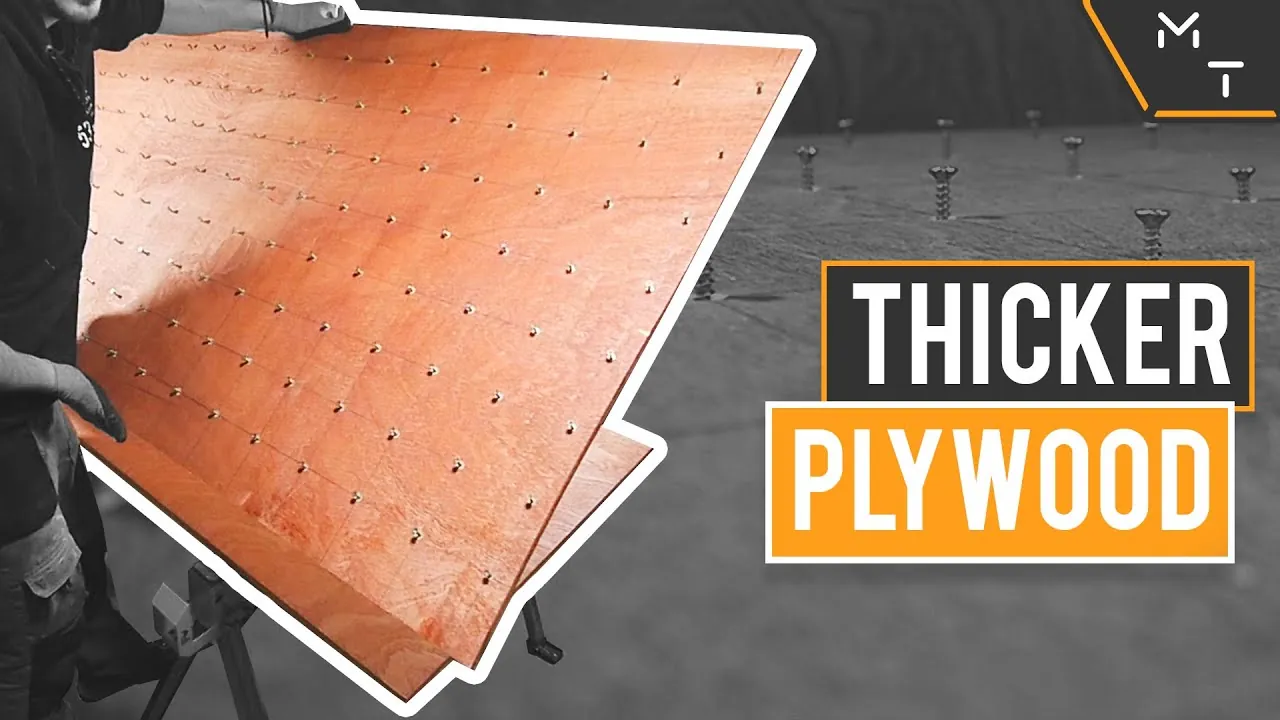
When laminating multiple layers of plywood, such as when building a heavy-duty workbench or a curved form, the process changes slightly. Because plywood is naturally prone to slight warping, you must counteract the internal stresses of the wood. If you stack three sheets of plywood together with all the grain running in the same direction, the entire assembly will likely bow as the moisture from the glue evaporates and causes the wood to move.
Grain orientation is the secret to a stable lamination. If possible, rotate the sheets so that the grain patterns of the outer plies of each layer are perpendicular or offset from one another. This “cross-banding” effect balances the internal forces of the wood. Furthermore, when laminating more than two sheets, don’t attempt to glue them all at once unless you have an extremely long open-time glue. It’s often better to glue two sheets, let them cure, and then add the third sheet in a separate session. This ensures that you have enough time to apply the glue and clamp the assembly before the adhesive begins to set.
Common Mistakes to Avoid
Even experienced woodworkers occasionally run into issues when gluing plywood. The most common mistake is failing to account for the “squeeze-out.” When you tighten your clamps, glue will inevitably ooze out of the edges. While this is a sign that you have applied enough adhesive, it can be problematic if it dries on the surface of your project.
Cleanup strategies are vital for a professional finish. Keep a damp rag nearby to wipe away excess glue immediately. However, be careful not to oversaturate the wood with water, as this can cause the veneer to swell or the plywood to delaminate. For some wood glues, it’s actually easier to wait until the glue reaches a “rubbery” stage—usually about 30 to 45 minutes after application—and then scrape the excess off with a chisel or a sharp putty knife. This prevents the glue from smearing across the surface, which can interfere with later finishing steps like staining or painting.
Can You Use Mechanical Fasteners?
While glue alone is often sufficient for a permanent bond, mechanical fasteners such as screws, nails, or staples can be used as “clamps” in situations where you lack enough physical clamps to cover the surface. If you’re using screws, pre-drill your holes to prevent the plywood from splitting, as the veneers can be brittle.
Mechanical fasteners should be viewed as secondary to the glue. The adhesive provides the primary structural strength, while the screws hold the pieces in place while the glue sets. If you choose to use screws, ensure they’re long enough to bite into the bottom layer of plywood but not so long that they poke through the finished surface. Countersink the heads so they can be filled with wood filler later if you desire a seamless look. Note that relying solely on screws without glue in plywood often leads to “creaking” over time as the fasteners loosen and the layers of the plywood move against one another.
Dealing with Uneven Edges
Plywood is rarely perfectly square, and when you glue two pieces together, the edges will almost never align perfectly. Trying to align the edges while the glue is wet is a recipe for frustration, as the pieces will tend to slide around like they’re on ice.
Alignment tips include using “register pins” or biscuits. If you drill small holes and insert short dowels or biscuits, you can lock the two pieces of plywood into position before you tighten your clamps. This prevents the sheets from drifting. Alternatively, you can cut your plywood slightly oversized and then trim the edges with a circular saw or a router after the glue has fully cured. This is the most reliable way to achieve a perfectly flush edge on a laminated stack of plywood.
How to Glue Plywood to Other Materials
Sometimes you need to glue plywood to different substrates, such as solid wood or metal. Gluing plywood to solid wood requires extra care because the two materials expand and contract at different rates due to seasonal humidity changes. If you glue a large panel of plywood to a solid wood frame, the plywood will eventually crack or the glue joint will fail as the wood tries to move.
Material compatibility is key when working with cross-grain construction. If you must join plywood to solid wood, use a flexible adhesive or design your joints to allow for some movement. For gluing plywood to non-porous surfaces like metal or plastic, standard PVA wood glue won’t work. You’ll need a construction adhesive or an epoxy that’s specifically rated for bonding dissimilar materials. Always check the manufacturer’s technical data sheet to ensure the adhesive is compatible with the specific plywood grade and the secondary surface. According to the USDA Forest Service, moisture-related dimensional changes in wood products can significantly impact the long-term integrity of bonded joints if the assembly doesn’t account for natural movement.
Troubleshooting Glue Failures
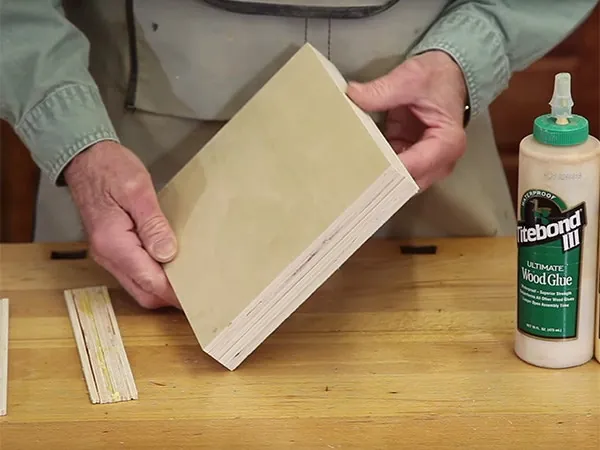
If you discover that your plywood layers are separating after the glue has cured, you’re likely dealing with a “starved joint” or improper surface preparation. A starved joint occurs when you apply too little glue or you apply too much clamping pressure, forcing all the adhesive out of the interface.
Troubleshooting steps should start with an inspection of the failed joint. If the glue is brittle and has pulled away from the wood cleanly, the surfaces were likely dirty, waxy, or too smooth. If the wood itself is torn and the glue remains on one side, your bond was strong, but the wood fibers were weak. If the glue line is visible and thick, you likely didn’t apply enough clamping pressure. To fix a failed joint, you may need to pry the layers apart, sand the surfaces back down to raw wood, and re-apply the adhesive. If the plywood is warped, you might need to use more clamps and potentially add a few strategic screws to pull the layers back into alignment.
Frequently Asked Questions
Can I use super glue on plywood?
While cyanoacrylate, or super glue, can bond plywood, it isn’t recommended for structural or large-scale applications. Super glue is designed for small, tight-fitting parts and cures too quickly to allow for proper alignment on large plywood surfaces. It also tends to be brittle, meaning it may crack under the stress of wood movement over time. Stick to PVA wood glue for reliable, long-lasting plywood bonds.
How long should I leave the clamps on?
For most PVA wood glues, you should leave the clamps on for at least one hour to allow the initial set to occur. However, for a full structural cure, you should leave the clamps in place for 24 hours. Removing clamps too early can cause the joint to creep or spring back, especially if there’s any tension in the plywood layers. Patience is essential for a permanent bond.
Does the temperature affect the glue?
Yes, temperature significantly affects glue performance. Most wood glues should be applied in environments between 50°F and 80°F. If the temperature is too low, the glue won’t cure properly, leading to a weak, chalky joint. If the temperature is too high, the glue will dry too quickly, preventing it from penetrating the wood fibers. Always check the label for the manufacturer’s recommended application temperature range.
Can I glue factory-finished plywood?
You can’t glue factory-finished or melamine-coated plywood without removing the finish first. The factory coating is designed to be non-stick, meaning standard wood glues won’t penetrate or bond to it. You must sand the surface thoroughly with 80-grit sandpaper until you reach the raw wood fibers. If you don’t remove the finish, the glue will peel off as soon as any pressure is applied to the joint.
What is the best glue for exterior plywood?
For exterior plywood applications, you must use a waterproof adhesive, typically labeled as “Type I” or “Type II” water-resistant. Polyurethane glues or high-quality exterior-grade PVA glues are common choices. These adhesives are formulated to withstand moisture, temperature fluctuations, and exposure to the elements without degrading. Always ensure the plywood itself is rated for exterior use, such as pressure-treated or marine-grade plywood, to match the longevity of the glue.
Conclusion
To ensure your project remains solid for years, your next step is to purchase a high-quality wood glue appropriate for your specific environment and a few extra clamps to guarantee even pressure. Start by practicing on two scrap pieces of plywood to perfect your application technique, then move to your main project with confidence in your new bonding skills.