
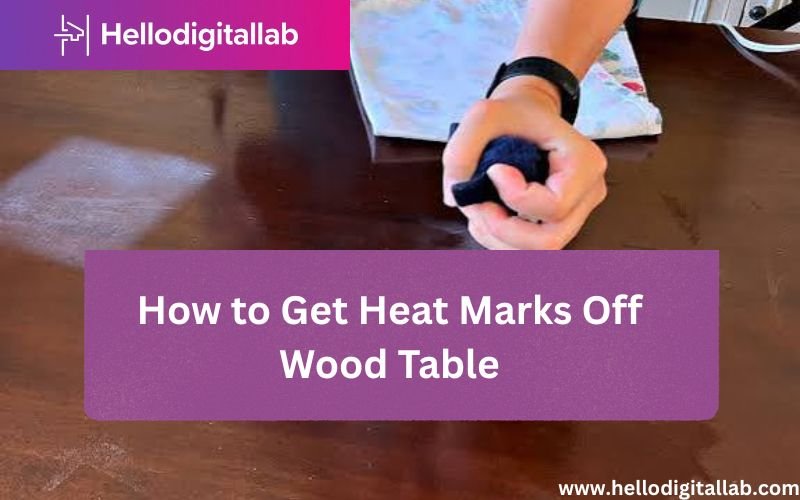
You can usually remove a white heat mark from wood by using a low-heat iron or a hair dryer to evaporate the trapped moisture. If the mark is dark or black, it indicates the wood finish or the wood itself has burned, which requires sanding and refinishing rather than simple moisture removal.
These marks vary based on the depth of the damage and the type of finish on your table. You’ll need to determine if the cloudiness is in the wax, the lacquer, or the wood fibers themselves before choosing your method.
Who this guide is for
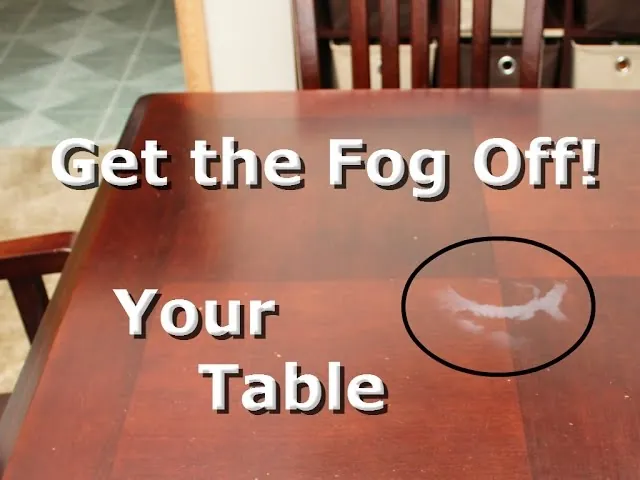
This page helps homeowners who have accidentally placed a hot pan or mug on a wooden surface and are left with a white, hazy ring. It’s written for those with traditional wood furniture finished with lacquer, varnish, or oil. If you have a modern laminate or plastic-coated table, the heat has likely melted the surface material permanently, and these methods won’t work for you.
We assume the table is made of solid wood or high-quality veneer with a standard clear coat. If your table is an antique with a delicate shellac finish, you must proceed with extreme caution as heat can easily blister the finish.
This page is best for those looking for a quick, non-invasive fix using common household items. If your furniture is a high-value heirloom or the wood is charred black, you should contact a professional furniture restorer instead of attempting these steps yourself.
Factors that influence repair success
The biggest factor is the age of the mark. Fresh marks are easier to fix because the moisture hasn’t yet fully settled into the grain. If the mark has been there for months, it may be harder to lift.
The type of finish on the wood changes your approach. A hard, catalyzed lacquer is more resistant to heat, while a soft oil finish or wax surface can be damaged by the iron itself. You should always test your chosen method on an inconspicuous area, like the underside of the table, before working on the top surface.
The depth of the heat penetration matters significantly. If the heat only affected the wax layer, a simple polishing might work. If the heat went through the finish and into the wood, you’re dealing with trapped humidity that needs to be drawn out slowly. People often make the mistake of using too much heat, which can cause the finish to bubble or crack.
Finally, the wood species plays a role in how the finish reacts. Open-grained woods like oak hold moisture differently than tight-grained woods like maple. If you’re unsure of the finish, start with the gentlest method, such as a mild abrasive or a dry cloth, before moving to heat-based tools.
Removing heat marks off your wood table
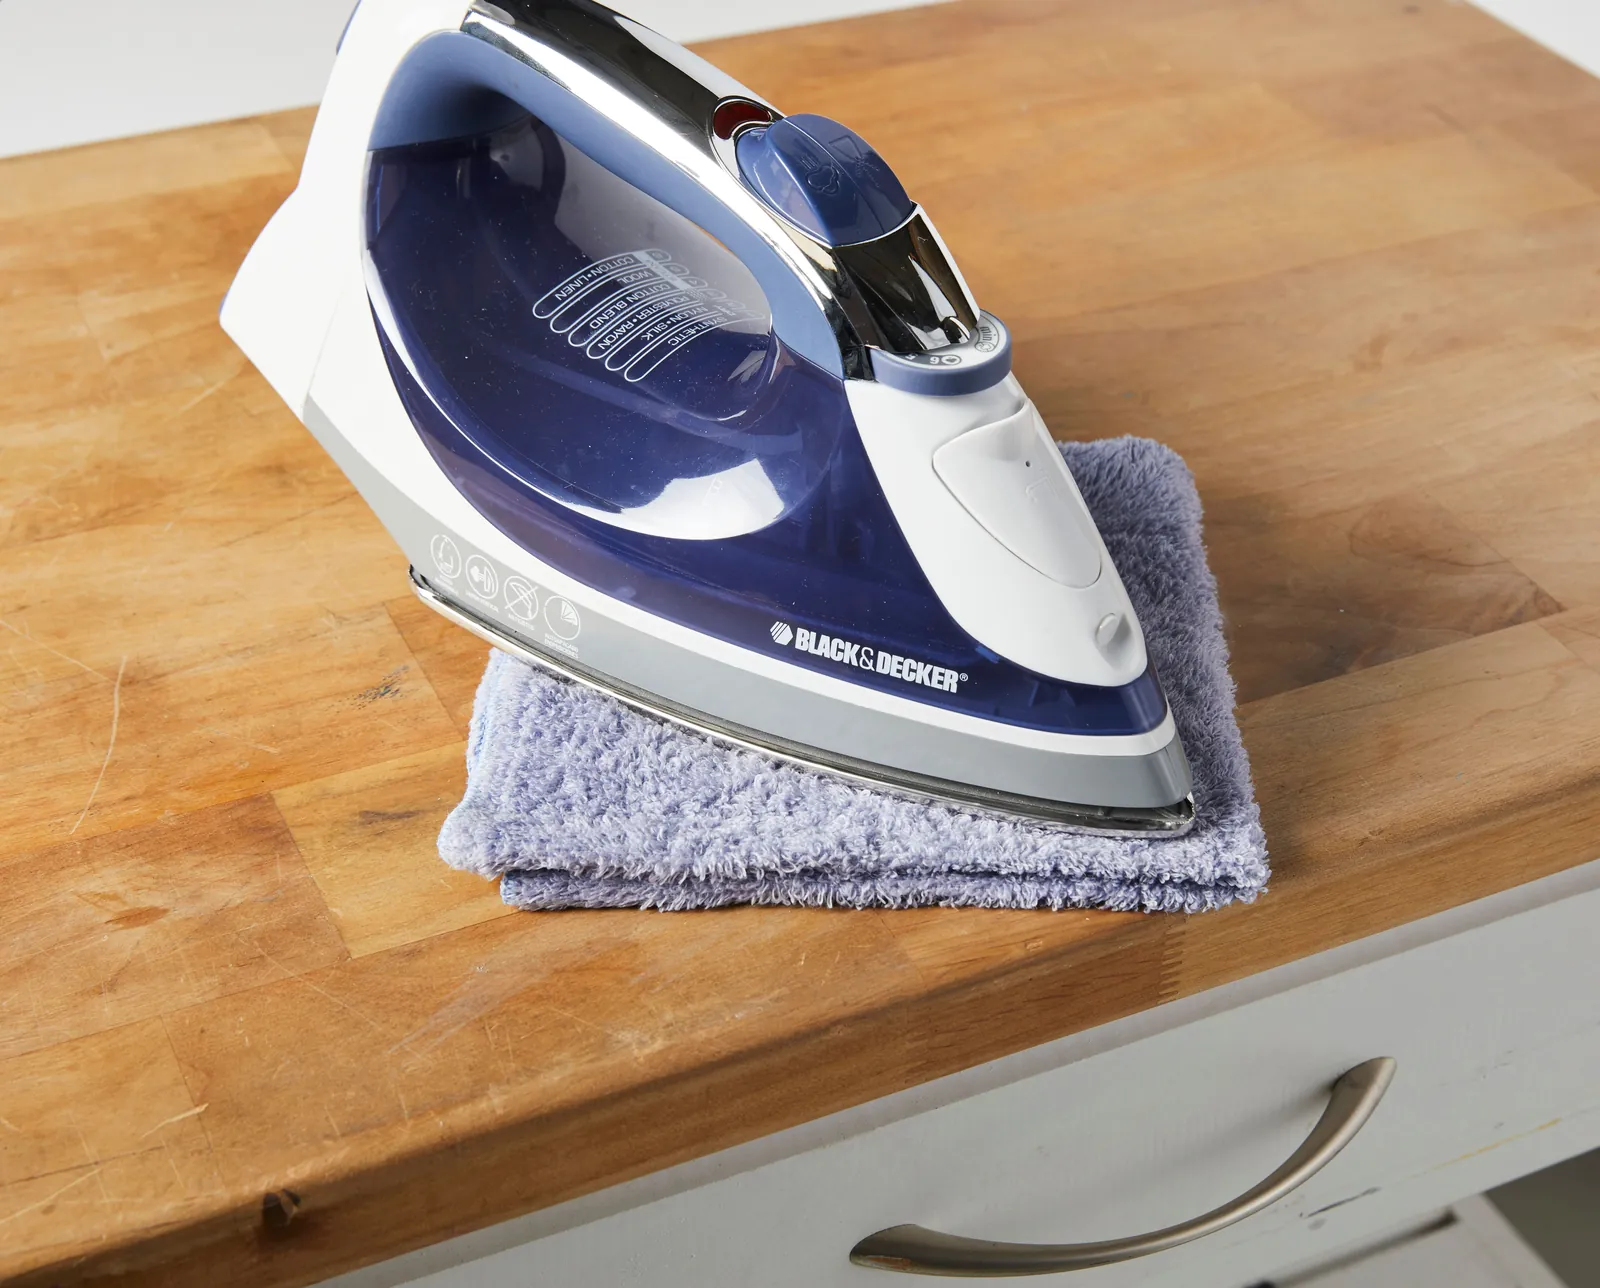
- Place a clean, dry cotton cloth over the white mark to protect the wood finish.
- Set your iron to the lowest heat setting, ensuring the steam function is completely turned off.
- Press the iron onto the cloth for 5 to 10 seconds at a time.
- Lift the iron and check the wood surface to see if the cloudiness is fading.
- If the mark remains, wait 30 seconds for the wood to cool, then repeat the process.
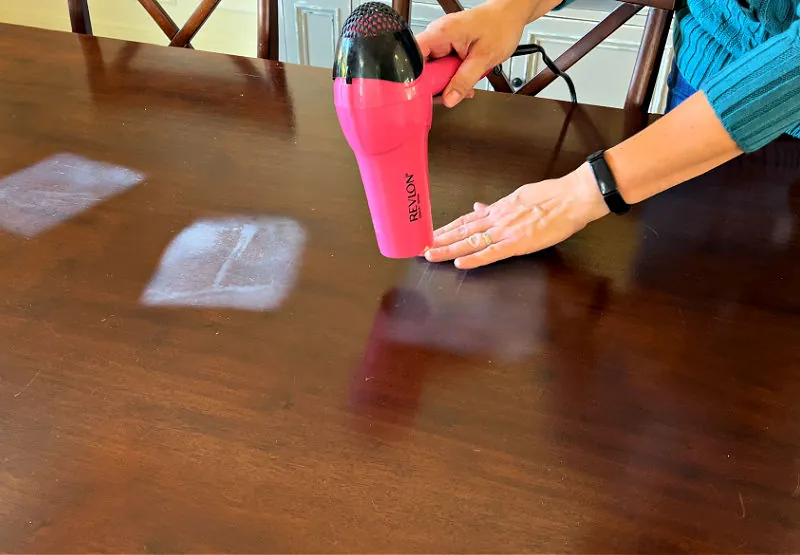
- If using a hair dryer, hold it 6 inches away from the mark on a medium setting for 2 minutes.
- Wipe the area with a soft, dry cloth to remove any remaining haze.
- Apply a high-quality furniture polish to restore the sheen to the treated area.
This process works by gently pulling the moisture out of the finish. If you keep the iron on the wood for too long, you risk burning the finish or causing it to lift. The U.S. Consumer Product Safety Commission provides guidance on household maintenance safety that can help you avoid further damage during these repairs. Stop immediately if you smell burning wood or see the finish changing color, as this means the heat is too high.
Repair methods at a glance
| Situation | Method | Effort | What to watch for |
|---|---|---|---|
| Light white haze | Dry cotton cloth | Low | Surface scratches |
| Persistent white ring | Low-heat iron | Medium | Finish bubbling |
| Deep moisture spot | Hair dryer | Medium | Drying the wood |
| Dark or black mark | Sanding/Refinishing | High | Removing too much wood |
| Wax-based finish | Mineral spirits | Low | Removing too much wax |
If the white haze remains after a dry rub, place a clean microfiber cloth over the area and pass a dry iron on the lowest setting for ten seconds. If you smell burning, stop immediately.
When using a hair dryer for moisture, hold it six inches away and move it constantly. If you keep the heat in one spot for more than thirty seconds, you risk cracking the finish.
Dark spots indicate water has reached the raw wood grain. If the stain is deep, sanding is the only fix. Use 220-grit paper and work with the grain to avoid visible cross-scratches.
If you aren’t sure if the finish is wax or lacquer, apply a drop of mineral spirits to an inconspicuous area. If the finish softens or wipes away, it’s wax. If it remains hard, you’re dealing with a synthetic finish that requires chemical stripping rather than solvent cleaning. Never use mineral spirits on shellac, as it will dissolve the surface instantly.
Details that matter for a perfect finish
Preparing the surface
Experienced restorers always clean the table thoroughly before applying any heat. Any dust or debris left on the surface can be pressed into the wood by the iron, leaving permanent scratches or marks. Use a soft, lint-free microfiber cloth to remove all particles from the area. If the table is greasy, use a tiny amount of mild dish soap and water, then dry it completely before you start.
Managing the heat
The most common mistake is impatience. People often turn the iron to a high setting thinking it will work faster, but this almost always damages the lacquer. You should only use the lowest setting that produces enough warmth to evaporate the moisture. If you’re using a hair dryer, keep it moving constantly; never let it sit in one spot, or you’ll create a new, larger heat mark.
Troubleshooting common issues
| What you notice | What it means | What to do first | How to stop it |
|---|---|---|---|
| Finish bubbling | Too much heat | Stop immediately | Use lower heat |
| Mark getting darker | Heat reaching wood | Let it cool | Use less time |
| Haze stays white | Moisture is deep | Increase time slowly | Use a desiccant |
| Surface feels sticky | Finish is softening | Wipe with oil | Let it cure |
| Ring is gone | Success | Apply wax | Use coasters |
If the finish bubbles, you have exceeded the resin’s thermal threshold. Stop the heat source immediately to prevent permanent scorching. If you continue, the finish will lose its bond to the wood fibers.
When marks darken, the heat has bypassed the finish and begun to toast the wood grain. This is a sign of irreversible damage. If the wood remains pale, you can still buff out the blemish.
White haze indicates trapped moisture. Adding more heat will only trap the water deeper.
Regulations and material limits
The finish on your table is a chemical layer that has specific heat tolerance limits. If your table was manufactured recently, the manufacturer’s care guide will often state the exact temperature limit for hot items. Check the underside of the table for a brand tag, then look up the care instructions on the company’s official website.
If you’re dealing with an older piece, assume the finish is brittle and prone to cracking under any direct heat. Never use harsh chemical strippers or high-grit sandpaper unless you’re prepared to refinish the entire tabletop.
The true cost of repair
The cost of this repair is usually limited to your time, as most people already have an iron and cotton cloths. If you need to buy a specialized furniture polish or a light abrasive, the expense is minimal compared to other options.
The real cost arises if you damage the finish, which may require a professional to strip and re-lacquer the entire table. That service is significantly more expensive than the DIY approach.
You can keep costs low by sticking to the gentlest methods and stopping the moment the mark disappears. If the wood remains damp or dark after three attempts, stop immediately. Continuing past this point often burns the wood fibers, turning a simple surface repair into a permanent gouge that requires sanding.
If you’re working on an antique with a delicate shellac finish, avoid heat entirely. Shellac melts at a much lower temperature than modern polyurethane. Test an inconspicuous area on the underside of the table first. If the finish softens or becomes tacky under your cloth, put the iron away and use a chemical solvent instead.
Keeping your table looking new
Once you have removed the heat mark, you must protect the wood to prevent it from happening again. Apply a thin layer of high-quality furniture wax to the area, which acts as a barrier against minor heat and spills. If the wood looks dry, a light application of lemon oil can help keep the grain flexible.
The best sign that your table needs attention is when water no longer beads up on the surface. When you notice that, it’s time to re-wax or polish the wood to maintain its protective seal.
Avoid the common mistake of using aerosol furniture sprays, which often contain silicone. These products create a slick, artificial sheen that prevents future wax or oil from bonding to the wood fibers. If you have already used silicone-based sprays, you must clean the surface with a mild mineral spirit solution before applying fresh wax.
If your table is finished with polyurethane, skip the wax entirely. Instead, use a damp microfiber cloth for daily cleaning. Waxing a sealed surface only creates a hazy, sticky film that attracts dust and dulls the finish.
When to seek a professional
If the mark is black, the wood itself is scorched. No amount of heat or moisture removal will fix a burn, as the fibers are physically altered. You must sand the area to raw wood, bleach the stain, and re-finish the spot to match the rest of the table.
This is a complex process requiring specific woodworking skills. If you have an expensive or antique piece, don’t attempt this yourself. You risk permanently lowering the furniture’s value through uneven sanding or poor color matching.
Consult a professional if the burn spans a joint or covers a veneer surface. Veneer is often thinner than a dime; a single pass with a coarse sanding block will strip the finish and ruin the piece entirely.
If you can catch your fingernail on the edge of the burn, the damage is deep enough to require professional refinishing. Professionals use specialized grain-matching techniques that prevent the “halo effect” common in amateur repairs. If the piece is a family heirloom, the cost of a pro is cheaper than the cost of a ruined finish.
Related guides
Frequently asked questions
Can I use a steam iron to remove heat marks?
No, you should never use steam to remove a heat mark. Steam introduces more moisture into the wood, which can cause the finish to turn permanently white or cloudy. Always use a completely dry iron on the lowest setting.
How long should I leave the iron on the mark?
You should only leave the iron on the cloth for 5 to 10 seconds at a time. Checking the wood frequently is the only way to ensure you aren’t overheating the finish or causing it to bubble.
Is it safe to use a hair dryer on all wood finishes?
No, a hair dryer can melt some types of wax or soft oil finishes if held too close. Keep the dryer at least 6 inches away and keep it moving constantly to prevent the finish from softening or becoming tacky.
What happens if the white mark doesn’t go away?
If the mark remains after several attempts, the moisture has likely penetrated too deep or the finish has been damaged. You should stop at this point, as further heat won’t help and may cause more damage to the wood surface.
Does it matter what kind of cloth I use?
Yes, you must use a plain, white, 100% cotton cloth. Colored fabrics can transfer dye onto the wood when heated, and synthetic fabrics may melt onto the table surface, causing a much worse problem than the original heat mark.
Why did the mark turn black?
The mark turned black because the heat was high enough to char the wood fibers beneath the finish. This is a physical burn, not a moisture issue, and it requires professional sanding and refinishing to repair correctly.
Conclusion
Start by placing a clean cotton cloth over the mark and using a low-heat iron for 5-second intervals. If the white haze begins to fade, continue until it disappears, then apply a light coat of furniture wax. If the spot turns black or starts to bubble, stop immediately and contact a professional restorer.