
Yes, you can cut mdf with a table saw, provided you use the right blade and keep your dust collection running. Medium-density fiberboard is a dense, man-made material that creates fine dust and dulls blades quickly, so your primary concern is maintaining a clean cut without burning the edges. You should prepare your vacuum system immediately to handle the large volume of fine particulate matter this material produces during every pass.
Best situations to cut MDF on a table saw
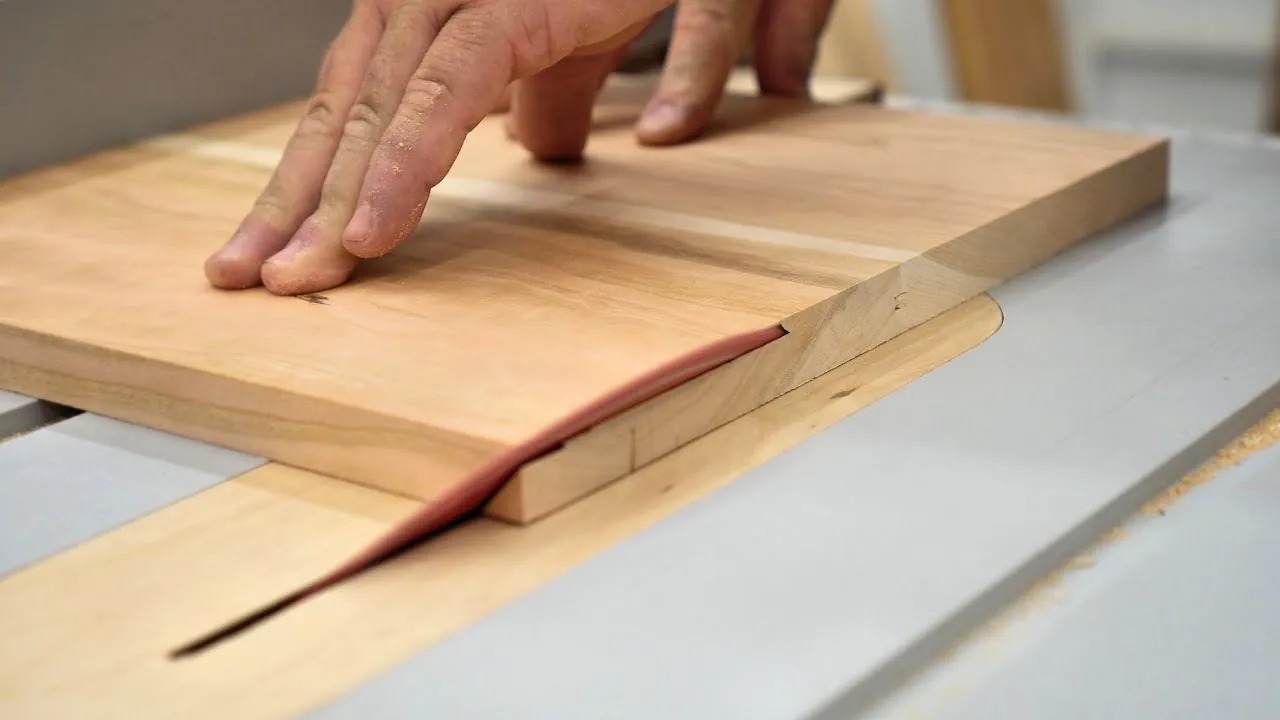
The table saw is excellent for long, straight cuts in medium-density fiberboard. However, how you approach the cut depends on your specific goals and the thickness of the board.
| Your situation | Answer | Why |
|---|---|---|
| Ripping long panels | Yes | Best for straight, accurate edges |
| Cutting intricate curves | No | Table saws can’t handle curved paths |
| Crosscutting small pieces | Yes | Use a miter gauge for safety |
| Cutting very thick sheets | Yes | Requires multiple shallow passes |
| Cutting melamine-faced mdf | Yes | Needs a high-tooth-count blade |
If you’re ripping a panel longer than four feet, always use an outfeed support. Without one, the weight of the MDF will cause the board to dip at the end of the cut, resulting in a visible “snipe” or gouge on the trailing edge.
When cutting sheets thicker than one inch, never attempt a full-depth pass in one go. This puts excessive strain on the motor and risks burning the material. Instead, set your blade height to half the thickness of the board and make two passes. If the board is dense, drop the height to one-third to ensure a cleaner edge.
For melamine-faced MDF, the coating is prone to chipping. Use a blade with at least 60 teeth for a standard 10-inch saw. If the finish still splinters, score the melamine with a utility knife along your cut line before running the board through the saw.
Never use your hands to push small pieces past the blade. If the distance between the blade and the fence is less than four inches, use a push stick. A common mistake is using a scrap piece of wood as a pusher; this often slips.
Use a dedicated plastic push stick with a rubberized heel to maintain constant downward and forward pressure. If you’re cutting pieces smaller than two inches wide, use a dedicated narrow-rip push block or jig to keep your fingers well away from the danger zone.
Factors that decide your success
The primary factor determining your success is the choice of saw blade. Because this material contains resins and glues, it’s more abrasive than natural wood and will dull standard carbon steel blades in just a few feet of cutting.
You need a carbide-tipped blade with a high tooth count, typically 60 to 80 teeth for a 10-inch blade, to ensure the edges stay smooth and don’t chip. If you see charred, dark edges on your test cuts, your blade is already losing its edge; switch to a fresh blade immediately to prevent the material from burning.
Dust management is the second factor that decides the quality of your work. The fine dust from fiberboard can clog internal saw components and create a significant respiratory hazard. Prolonged exposure to wood dust can cause serious health issues, meaning you must always run a shop vacuum or dust collector whenever the saw is powered on.
If your vacuum hose lacks a dedicated HEPA filter, the finest particles will simply pass through the bag and linger in your shop air. Use a filter rated for fine particulates to ensure you’re actually removing the hazard rather than just redistributing it.
Humidity and storage also play a role in how the material behaves under the blade. If you store your boards in a damp garage, they may swell or lose their flatness, which leads to binding against the fence. A flat board is essential for a safe cut; if you notice the material is warped, don’t force it through the blade, as this increases the risk of kickback.
Always check for flatness by laying the board on your table saw surface before you power up the motor. If you see a gap larger than 1/16 of an inch between the board and the table, the material is too unstable for a safe rip cut.
If the board is flat and the blade is sharp, proceed with the cut. If the board is warped, you must flatten it or cut it into shorter, more manageable lengths to remove the tension. If the blade is dull, stop and replace it before continuing.
Using a dull blade on fiberboard creates excessive friction, which causes the resin to melt and fuse to the teeth, further accelerating the degradation of the tool. When in doubt, perform a test cut on a scrap piece of the same thickness. If the feed rate feels inconsistent or the motor labors, stop immediately to inspect your equipment.
Safe cutting procedures
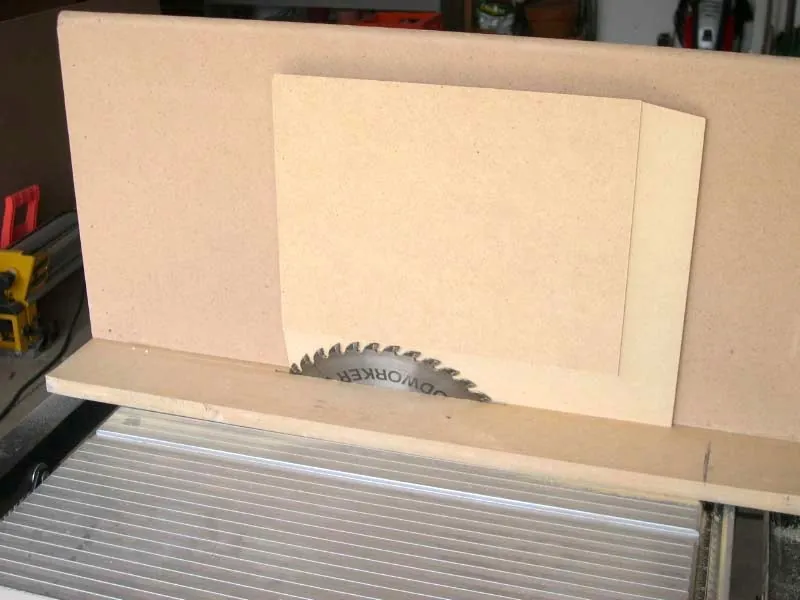
Install a carbide-tipped blade. Choose a blade designed for fine finishing, such as a high-atb (alternate top bevel) grind, to prevent fraying the edges. A blade with at least 60 teeth for a 10-inch saw ensures the cleanest finish on hardwoods like oak or maple.
Set your blade height. Adjust the blade so it sits only 1/8 inch above the top surface of the board. This minimizes the angle of the teeth as they exit the wood, which drastically reduces the surface area for potential burning. If you see dark, charred lines on the edge of your cut, your blade is likely set too high, causing it to scrape rather than slice.
Attach a vacuum hose. Connect your dust extraction system directly to the saw port to capture fine particles before they spread into your workspace. A shop vacuum is rarely enough for a table saw; use a dedicated dust collector with a 4-inch hose to maintain the necessary airflow.
Use a push stick. Always keep your hands at least 6 inches away from the blade. For any rip cut narrower than 4 inches, use a push stick to maintain full control and keep your fingers clear of the danger zone. If you find yourself reaching over the blade to complete a cut, stop immediately and reset your fence to the opposite side.
Check for binding. Feed the material at a steady, moderate pace. If you hear the motor laboring or the pitch of the blade drops, stop and check for debris or friction. Binding often occurs when the wood releases internal tension and pinches the blade. If the wood begins to close in behind the blade, use a riving knife to prevent the board from kicking back toward you.
When working with warped stock, always keep the concave side facing down against the table. This prevents the board from rocking during the cut, which is the most common cause of uneven edges and dangerous binding. If the board doesn’t sit flat, joint one face before attempting to rip it.
The common mistake with feed rates
The most common error is feeding the material through the saw too slowly. While it seems safer to move carefully, a slow feed rate allows the blade teeth to rub against the same spot on the fiberboard repeatedly. This friction generates intense heat, which quickly burns the edge of the board and leaves dark, charred marks that are difficult to sand out.
This mistake costs you both time and material, as burnt edges often require significant sanding or even trimming away the damaged section. You can avoid this by maintaining a consistent, confident feed speed. If you’re unsure of the right pace, perform a test cut on a scrap piece of the same thickness to find the speed where the blade cuts smoothly without leaving dark burn marks.
Watch the sound of the motor for your primary cue. A high-pitched whine indicates the blade is spinning against the wood without clearing chips, which is the exact moment burning begins. You want to hear a steady, lower-frequency hum that signals the teeth are biting into the material.
Thicker stock requires more force to ensure each tooth clears the kerf before the next one strikes the same fibers.
When you see smoke, stop the machine instantly. If you continue, you’ll permanently glaze the carbide tips of your blade. A glazed blade loses its ability to cut cleanly and will burn every subsequent piece of wood regardless of how fast you push it. If the blade feels dull to the touch after a burn, it likely needs professional sharpening.
Use this rule to calibrate your movement: if the board vibrates against the fence, you’re moving too fast. If the edge shows brown discoloration, you’re moving too slow. Aim for a pace that feels like a firm, continuous slide, keeping your hands steady and your eyes on the blade’s exit point.
When to stop and seek help
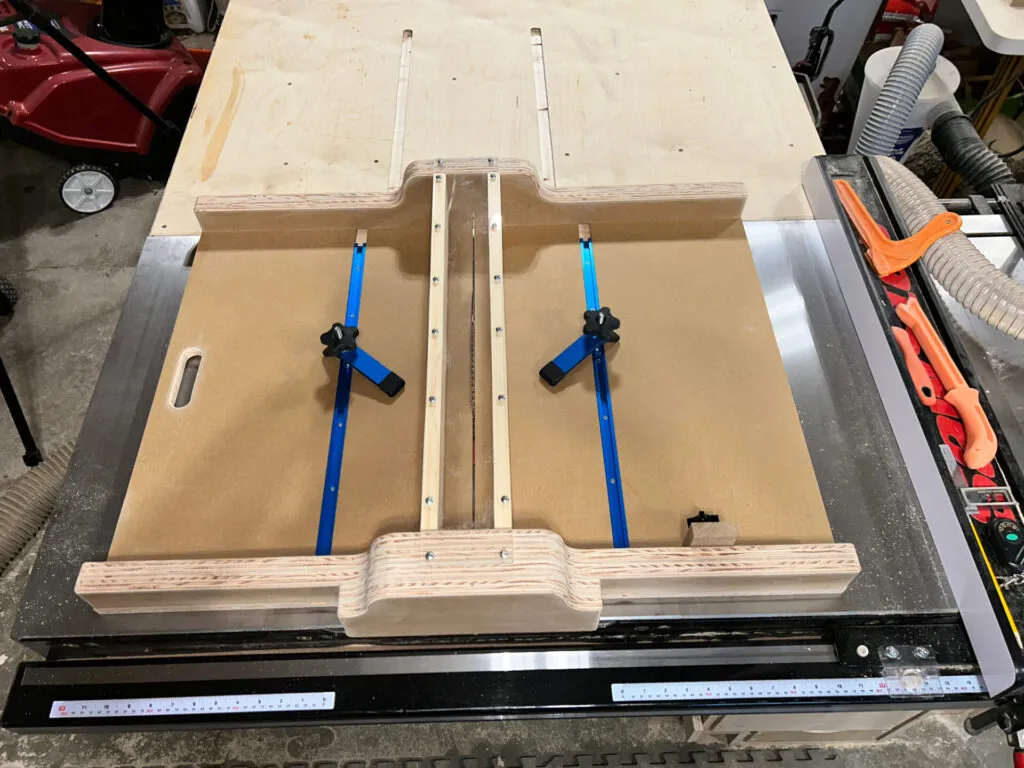
If the saw motor smokes or smells like burning rubber, the resistance is too high for your current setup. Stop immediately. Continued operation will fuse the internal windings, turning a simple blade change or speed adjustment into a total motor failure that costs more to repair than the tool is worth.
If you need to cut curves or complex patterns, the table saw is the wrong tool; a jigsaw or band saw is required. Attempting to force a radius on a table saw leads to binding, which almost always results in a violent kickback.
If the board is wider than your saw’s outfeed capacity, you risk losing control of the piece. If you can’t support the board at least three feet past the blade, use a track saw or circular saw instead. Trying to balance a large, heavy sheet while pushing it through a stationary blade creates a dangerous pivot point that pulls the wood away from the fence.
If you lack a functioning dust extraction system, you shouldn’t cut this material indoors. The dust is extremely fine and hangs in the air for hours, coating your lungs and every surface in the room. If you can see a visible haze in the air after a single pass, your filtration is insufficient.
When the wood begins to vibrate or chatter against the fence, stop. This indicates the wood isn’t flat or the blade is dull. If the wood is cupped or bowed, it will rock during the cut, creating an uneven edge that can trap the blade.
If you feel the wood pulling away from the fence, back off and check the board for internal tension. If the cut closes up behind the blade, the wood is releasing stress; stop and use a wedge to keep the kerf open.
Related guides
Frequently asked questions
Is it safe to cut mdf without a mask?
No, it’s never safe to cut this material without a respirator. The dust particles are microscopic and contain formaldehyde resins that irritate the lungs and eyes. Always wear an N95 or P100 rated mask, even if you have a dust collection system hooked up to your saw.
How often should I change my blade?
Because this material is so abrasive, you’ll notice the cuts becoming rough or the motor working harder long before the blade is technically broken.
Can I cut mdf with a standard wood blade?
You can, but the edges will likely chip and tear, and the blade will lose its sharpness very quickly. A standard blade typically has 24 to 40 teeth, which is too few for the smooth finish required for cabinetry or furniture projects.
What happens if the mdf gets wet?
The material will swell and lose its structural integrity if it absorbs moisture. If you notice your boards are damp or were stored in a wet area, don’t cut them, as they won’t hold screws or glue properly after the fibers have expanded.
Does the thickness of the mdf change the blade setting?
For standard cuts, set your blade height so the gullets of the teeth just clear the top of the board, typically 1/8 inch above the surface. This ensures the teeth hit the material at the most efficient angle while keeping the blade stable during the cut.
How do I stop the edges from chipping?
You can prevent chipping by using a zero-clearance insert on your table saw and a fresh, high-tooth-count blade. If you still see chips, apply a strip of painter’s tape along the cut line before you run the board through the saw.
Conclusion
Start by checking that your blade is sharp and your dust collection system is working properly. You should expect a clean, smooth edge without any dark burn marks if your feed speed is steady and consistent. If you find the material is binding against the fence or the motor is struggling to maintain speed, stop the saw immediately and check the board for flatness or the blade for resin buildup.