
You can use a chemical stripper or a mechanical sander to remove solid stain from wood deck surfaces. This project usually takes 2 to 4 days for a standard 200-square-foot deck, depending on the wood type and the number of layers present. It’s a medium-difficulty job that requires patience and steady hands. Before starting, you must ensure you have a clear, dry weather window for at least 48 hours to allow for proper application and drying.
Tools to remove the stain
| Item | How much | Why it’s needed | A substitute |
|---|---|---|---|
| Chemical stripper | 2-3 gallons | Dissolves the solid stain | none — don’t swap this |
| Orbital sander | 1 unit | Removes stubborn residue | Hand sanding block |
| Stiff nylon brush | 1 unit | Scrubs wood grain | Wire brush (risky) |
| Pressure washer | 1 unit | Rinses away chemicals | Garden hose with nozzle |
| Safety goggles | 1 pair | Protects eyes from spray | none — don’t swap this |
| Work gloves | 1 pair | Prevents skin irritation | none — don’t swap this |
Calculate your chemical stripper volume based on 150 square feet per gallon. If you’re stripping a multi-level deck or a large fence, buy the five-gallon pail to save roughly 20% on unit costs. Don’t attempt to use heat guns on solid stains, as the finish often contains lead if applied before 1978.
For the orbital sander, use 80-grit discs for the bulk removal of finish. If you switch to a hand block, expect to spend four times longer on the surface. Only use a wire brush if the wood is cedar or redwood, as steel bristles will leave behind fragments that rust and permanently blacken the grain.
When using a pressure washer, keep the tip at least 12 inches from the wood surface. If you see the wood fibers fraying or “furring,” you’re too close and risking permanent surface damage. If you lack a pressure washer, use a high-pressure nozzle on your garden hose, but plan for an extra day of drying time before sanding.
Never substitute standard latex gloves for chemical-resistant nitrile versions. Standard gloves degrade within minutes of contact with stripper, leading to chemical burns on your palms. If the stripper touches your skin, rinse the area for 15 minutes immediately. If you feel a cooling or burning sensation, you have already breached your protection. Always keep a gallon of clean water nearby as a dedicated wash station.
Preparation before you begin
Clear all furniture, potted plants, and decor from the surface to ensure you have full access to every board. If you leave heavy items in place, you’ll inevitably end up with uneven patches where the stripper failed to penetrate or the sander couldn’t reach.
Sweep the deck thoroughly to remove all loose debris, leaves, and dirt that could interfere with the chemical stripper. Use a stiff-bristled push broom rather than a leaf blower to ensure you dislodge grit trapped between the boards.
Cover nearby siding, delicate shrubs, or flowers with plastic drop cloths to protect them from chemical runoff or sanding dust. If you’re working on a windy day, weigh the edges of these cloths down with bricks or stones to prevent them from blowing away and exposing your plants to caustic agents.
Wear long sleeves, pants, and safety glasses, as chemical strippers can cause skin irritation or eye damage upon contact. If you’re working with older decks painted before 1978, assume the presence of lead paint and wear a NIOSH-approved respirator. Always check the product label for specific safety gear requirements before beginning any chemical removal process.
Check the wood moisture level. If the boards are saturated from recent rain, wait at least 48 hours of dry weather before starting. Wet wood fibers remain swollen, preventing the stripper from penetrating the grain and causing the final finish to peel prematurely.
You can test this by sprinkling a few drops of water on the surface; if the water soaks in quickly, the wood is dry enough to accept a new stain. If the water soaks in immediately, the wood is dry and ready for staining.
Steps to remove solid wood stain
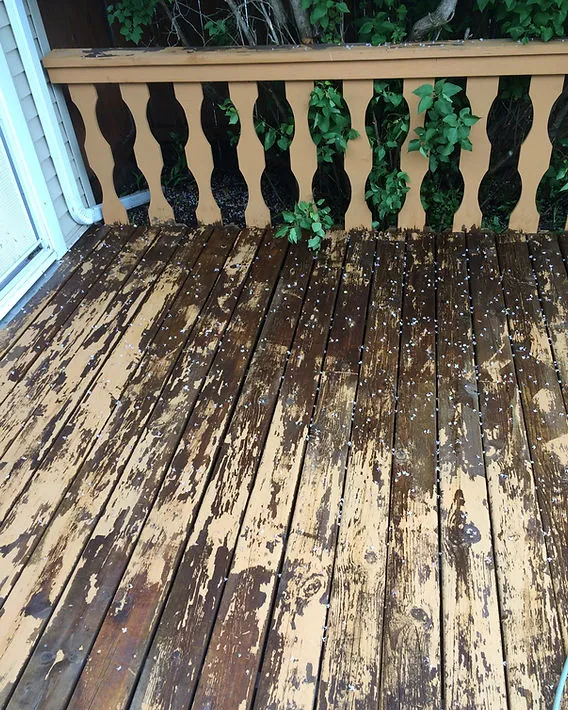
Apply a generous layer of wood stripper to a 4-by-4-foot section using a synthetic brush. Ensure you coat the surface evenly without letting it dry out. If the stripper turns chalky or pale before the time is up, you have applied too thin a layer.
Wait 15 to 30 minutes for the chemicals to soften the stain. Keep the surface damp by misting it lightly with water if it starts to dry too quickly. If you’re working in direct sunlight or temperatures above 85 degrees, work in smaller 2-by-2-foot sections to maintain the necessary chemical reaction.
Scrub the section using a stiff nylon brush. Move in the direction of the wood grain to lift the softened stain out of the porous fibers. Avoid wire brushes, as they leave microscopic metal shards in the wood that will cause black rust stains once you apply a new finish.
Rinse the area thoroughly with a pressure washer set to a low-pressure wide-fan nozzle. Hold the wand at least 12 inches away to avoid gouging the wood surface. If you see wood fibers fraying or lifting, pull the nozzle further back immediately.
Repeat these steps for the entire deck. Work in manageable sections to prevent the stripper from hardening before you reach it.
Allow the deck to dry for 24 to 48 hours. Use a moisture meter to confirm the wood moisture content is below 15% before attempting to sand. If you sand while the wood is damp, the grain will clog your sandpaper instantly and you’ll fail to achieve a smooth finish.
Sand the remaining stubborn spots or rough grain using 80-grit sandpaper on an orbital sander. Move slowly to create a uniform surface. If you press too hard, you’ll create divots that become highly visible once the stain is applied.
Clean the deck one final time with a leaf blower or soft broom to remove all sanding dust before you apply any new finish.
Signs of a successful strip
A successful strip leaves the wood looking raw, clean, and uniform across all boards. You should see the natural grain patterns clearly, and the wood should feel slightly porous when you run your hand over it. If you notice patches of old color or glossy spots, those areas still contain residue and will prevent new stain from soaking in properly.
If the wood remains dark or blotchy after the first round, you must apply a second coat of stripper to those specific areas. Don’t attempt to mask these spots with new stain, as the finish will fail to adhere and will likely peel within a few months.
When the wood is uniformly light in color and free of any “tacky” feeling, the surface is ready. If you see deep, dark streaks remaining after two rounds of stripping, you may need to use a wood brightener to balance the pH levels of the boards before staining.
Test the surface by wiping it with a clean, white rag dampened with mineral spirits. If the rag picks up pigment, the wood isn’t yet clean. If the rag stays white, the pores are open and ready for the finish.
Most beginners make the mistake of sanding while the wood is still damp from the stripper. This pushes remaining finish deep into the grain and creates permanent, muddy streaks. Wait at least 24 hours for the moisture to evaporate completely before you touch the surface with sandpaper.
If you’re working with hardwoods like oak or walnut, look for a consistent tone across the entire surface. If the wood appears gray or “fuzzy,” you have likely over-stripped and raised the grain. In this case, use a fine 220-grit sanding block to lightly buff the surface until it feels smooth to the touch. If the wood remains dark, stop stripping and accept the natural patina; forcing the wood to be lighter often destroys the structural integrity of the fibers.
Troubleshooting common deck problems
| What happened | Why | What to do |
|---|---|---|
| Wood looks gray | UV damage | Sand lightly until bright |
| Stripper dries fast | High heat | Work in early morning |
| Stain won’t budge | Thick layers | Apply second stripper coat |
| Gouges in wood | Pressure too high | Use lower pressure setting |
| Uneven texture | Uneven sanding | Sand entire board again |
If you see gray fibers, check the depth of the discoloration. If the gray wipes away with a damp cloth, it’s likely surface mildew rather than UV degradation. In that case, use a sodium percarbonate cleaner instead of sanding. Sanding removes healthy wood, which shortens the lifespan of your deck boards.
When working with chemical strippers, the biggest mistake is allowing the product to sit in direct sunlight. If the temperature exceeds 85 degrees, the solvents evaporate before they can break down the finish. If you can’t work in the morning, cover the treated area with thin plastic sheeting to trap the moisture.
For stubborn stain, check the consistency of your first application. If you see pools or heavy ridges, you applied too much product. A thin, even coat is always superior to a heavy one. If you have already created a thick, gummy layer, wait 24 hours for the stripper to fully react before scraping.
When cleaning, keep your nozzle at least 12 inches from the surface. If you see light-colored streaks or splintering, stop immediately. You have stripped the natural lignin from the wood, which creates a fuzzy texture that traps future moisture. If this happens, you must wait for the wood to dry completely, then lightly sand the area with 80-grit paper to restore a smooth, sealed surface.
Frequency of deck maintenance
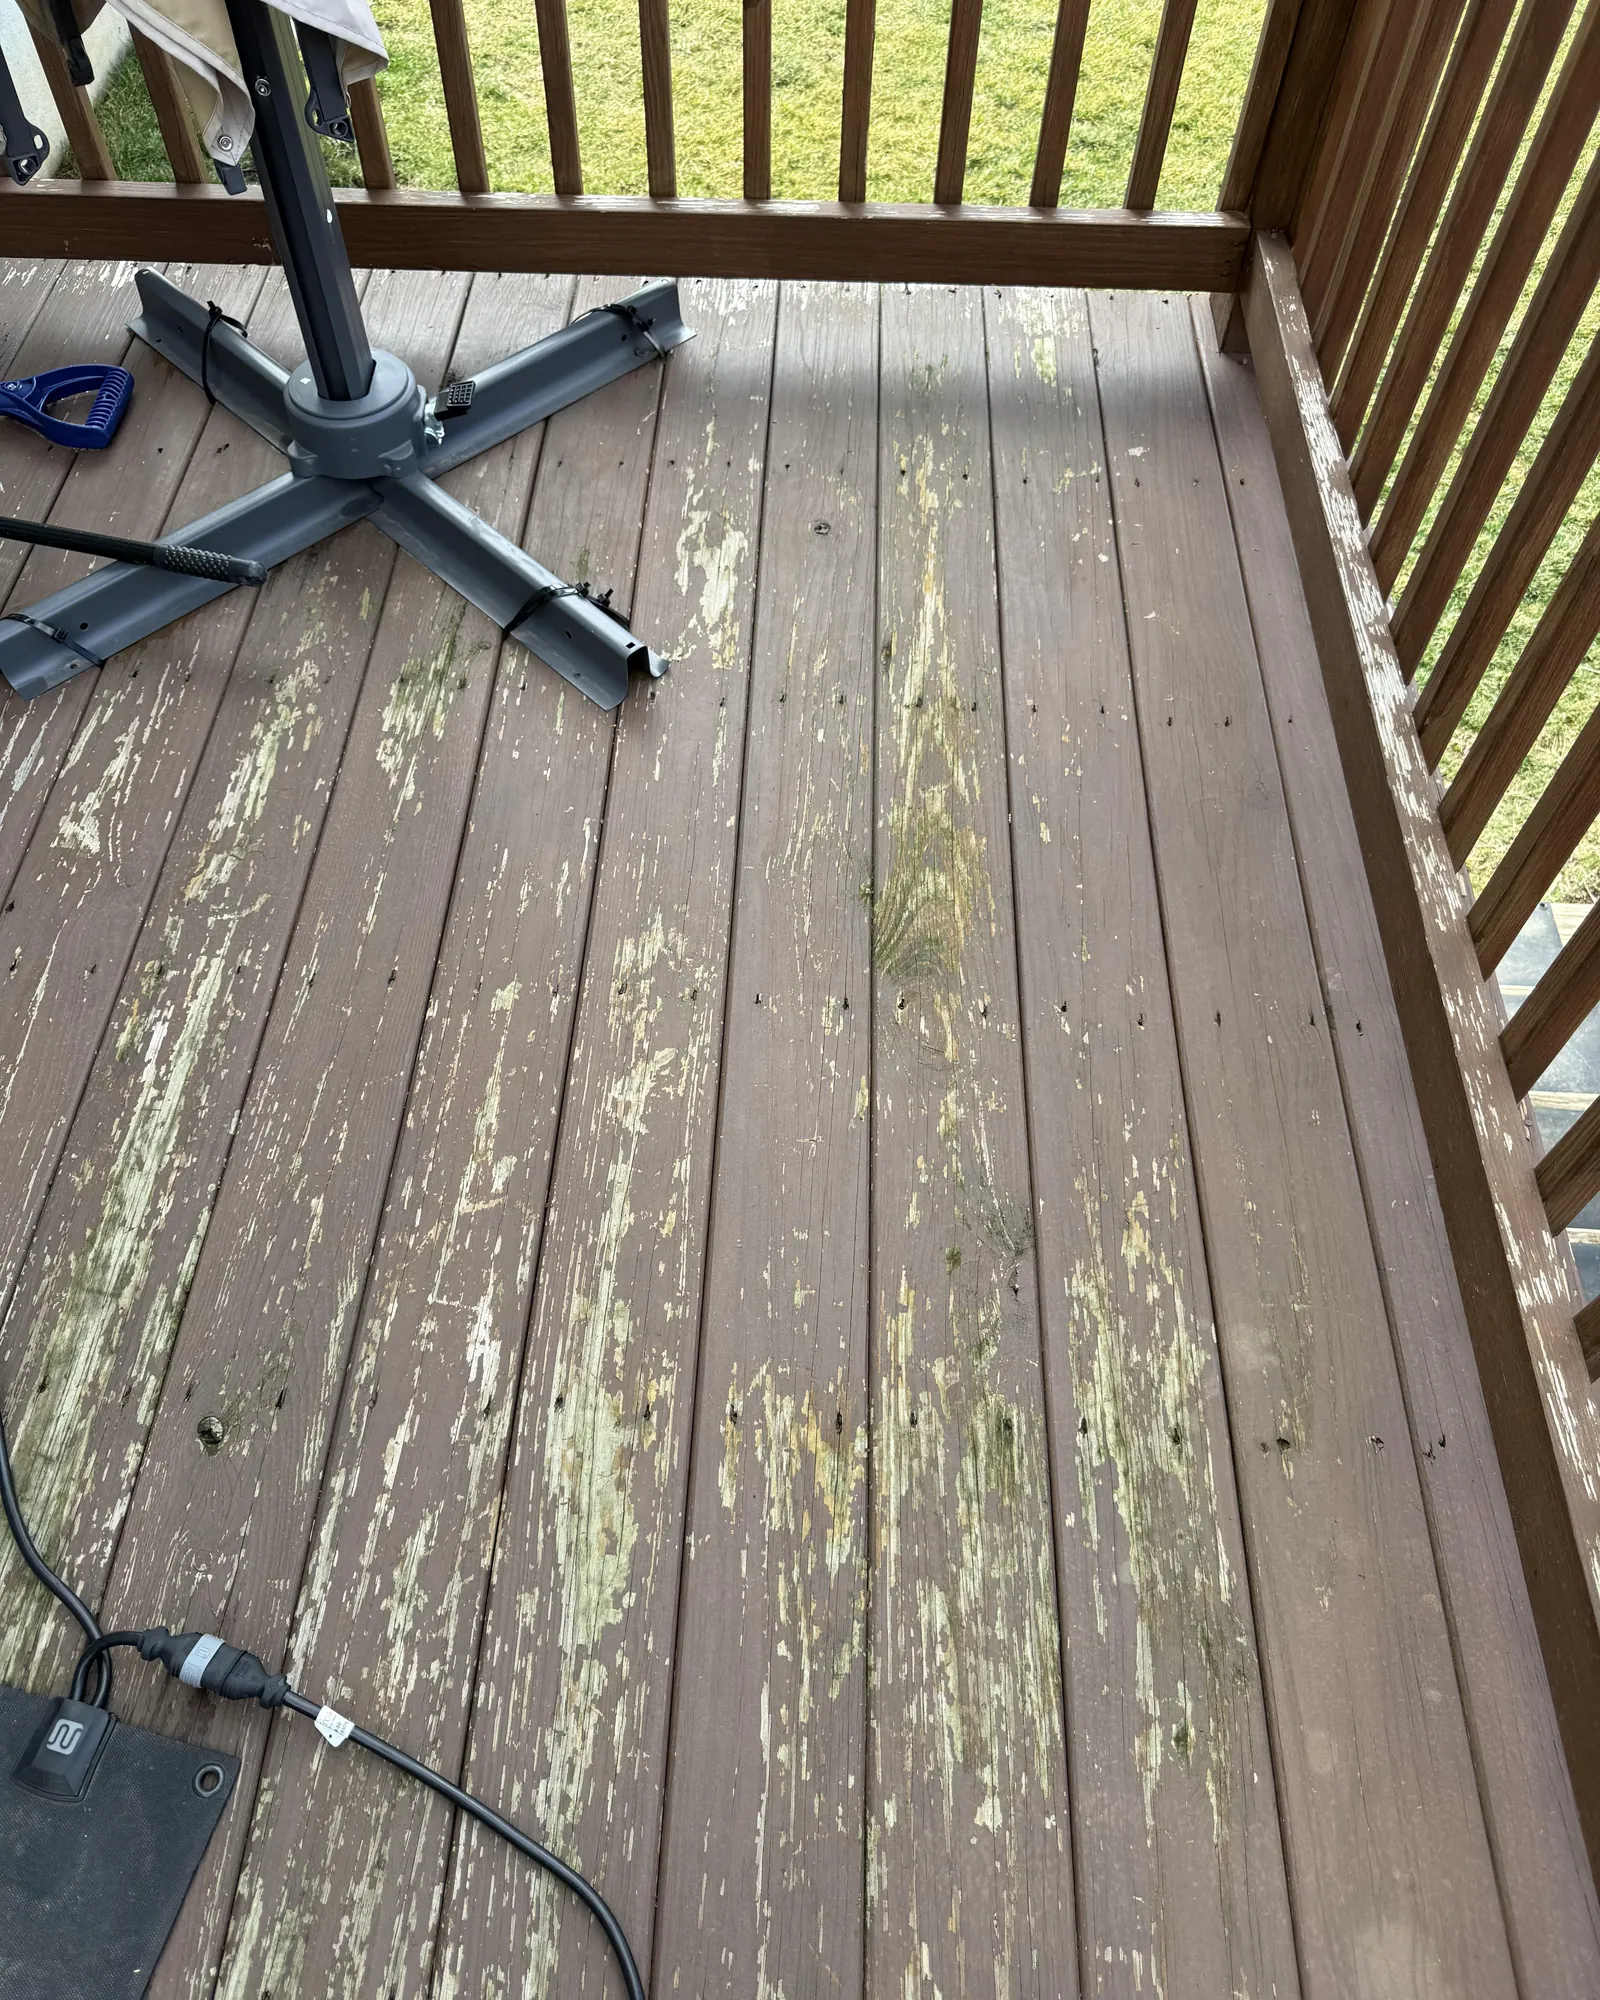
You should aim to clean and refinish your deck every 2 to 3 years to maintain the wood’s integrity. The exact interval depends on your local climate and the amount of direct sun exposure the deck receives. Decks in high-humidity areas often require more frequent attention because moisture can trap dirt and encourage mildew growth under the stain.
Conversely, if your deck is in a dry, shaded area, the finish may last longer before it starts to crack or fade. You can test your finish by pouring a small amount of water on the boards; if the water beads up, the protection is still active.
If the water soaks in quickly, the wood is exposed and requires a new coat of stain to prevent long-term rot. Always check your specific product’s technical data sheet for the manufacturer’s recommended service life, as some high-quality synthetic stains are designed to last longer than traditional oil-based options.
Related guides
Frequently Asked Questions
How do I know if the stripper is safe for my wood?
Most chemical strippers are safe for cedar, pine, and pressure-treated lumber, but you must test a small, hidden area first. Apply the product to a corner, wait the recommended time, and rinse it off to see if it damages the wood grain or causes discoloration. If the test patch shows no damage, you can proceed with the rest of the deck.
Can I leave the stripper on overnight?
No, you should never leave chemical stripper on the deck overnight, as it will dry out and become nearly impossible to remove. The chemicals must remain active and moist to work correctly. If you have a large deck, only apply the stripper to the amount of space you can realistically scrub and rinse within one hour.
What happens if I skip the sanding step?
Skipping the sanding step often leaves behind “dead” wood fibers or small amounts of old stain that will prevent your new finish from bonding. This usually leads to premature peeling or a blotchy appearance after the first winter. Sanding effectively opens the pores of the wood, which is necessary for the new stain to penetrate deeply and provide long-lasting protection against the elements.
Is it safe to use a pressure washer?
Yes, a pressure washer is safe if you use a wide-angle nozzle and keep the pressure below 1,500 PSI. Using a high-pressure concentrated stream can easily cut into the wood fibers, causing permanent damage or deep gouges. Always keep the wand moving in a sweeping motion and maintain a consistent distance from the surface to ensure an even, safe cleaning process.
How long does it take for the deck to dry?
The deck typically takes 24 to 48 hours to dry completely after stripping and rinsing. This time frame assumes the weather remains dry with low humidity and moderate temperatures. If it rains or the air is very damp, you must wait longer, as applying a new stain to damp wood will trap moisture inside, leading to bubbling and peeling.
Does the temperature matter for stripping?
Yes, the ideal temperature for stripping a deck is between 50°F and 85°F. If it’s too cold, the chemicals won’t react effectively with the stain layers. If it’s too hot, the chemicals will evaporate or dry out before they have enough time to break down the finish, making the entire process much more difficult and time-consuming.
Conclusion
Once the surface is clean and completely dry, you’ll be ready to apply a fresh coat of protective finish. Don’t rush this final stage, as a high-quality sealant will keep your deck looking great for years. You’ve put in the hard work, so enjoy the beautiful, natural grain of your refreshed outdoor space.