
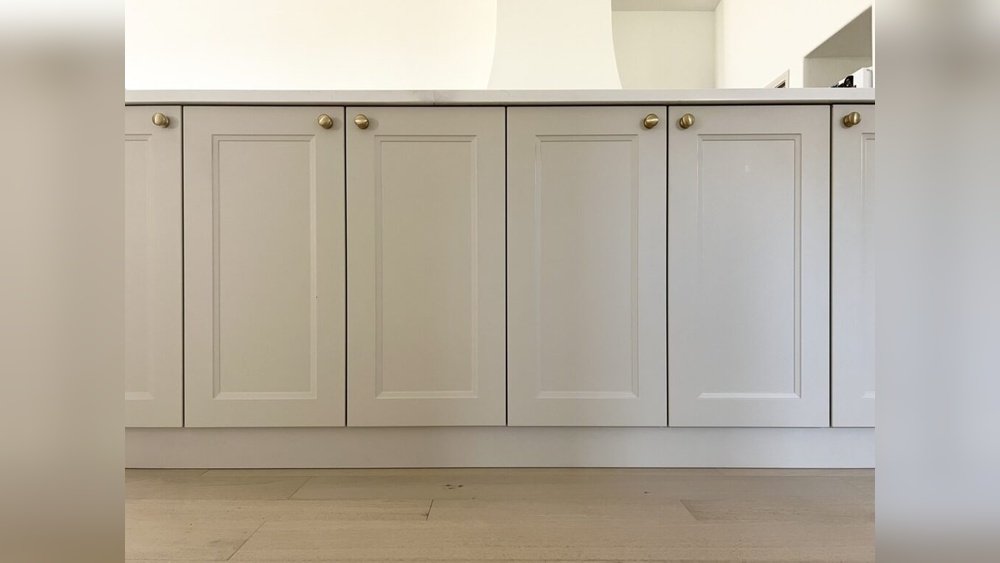
The allure of a fresh, updated kitchen is undeniable. For many homeowners, the dream kitchen often involves sleek cabinetry, but the price tag associated with brand-new custom or high-end replacements can be daunting. This is where IKEA kitchens enter the picture. Known for their affordability and modularity, IKEA cabinets offer a fantastic base for many kitchens. But what if their standard finishes don’t quite match your vision? The question then arises: Can you paint IKEA kitchen cabinets? The answer is a resounding yes, and with the right preparation and techniques, you can achieve a professional-looking finish that transforms your kitchen without breaking the bank.
Painting IKEA cabinets is a popular DIY project and a cost-effective way to achieve a custom look. While IKEA cabinets are typically made with particleboard or fiberboard and finished with laminate or thermofoil, these materials can be successfully painted. The key lies in understanding the surface, choosing the right products, and diligently following a step-by-step process.
This guide will walk you through everything you need to know to confidently paint your IKEA kitchen cabinets, from initial assessment to the final coat.
Key Takeaways
- Painting IKEA kitchen cabinets is a feasible and cost-effective DIY project.
- Proper preparation, including cleaning, degreasing, and sanding, is crucial for paint adhesion.
- Priming with a high-quality bonding primer is essential, especially for laminate or thermofoil surfaces.
- Choosing the right paint type (e.g., cabinet-grade enamel, alkyd, or latex with a urethane additive) is vital for durability.
- Application methods like brushing, rolling, or spraying all have their pros and cons, with spraying often yielding the smoothest finish.
- Allowing adequate drying and curing times between coats and before heavy use is critical for a long-lasting finish.
- Painting IKEA cabinets can significantly update a kitchen’s aesthetic for a fraction of the cost of replacement.
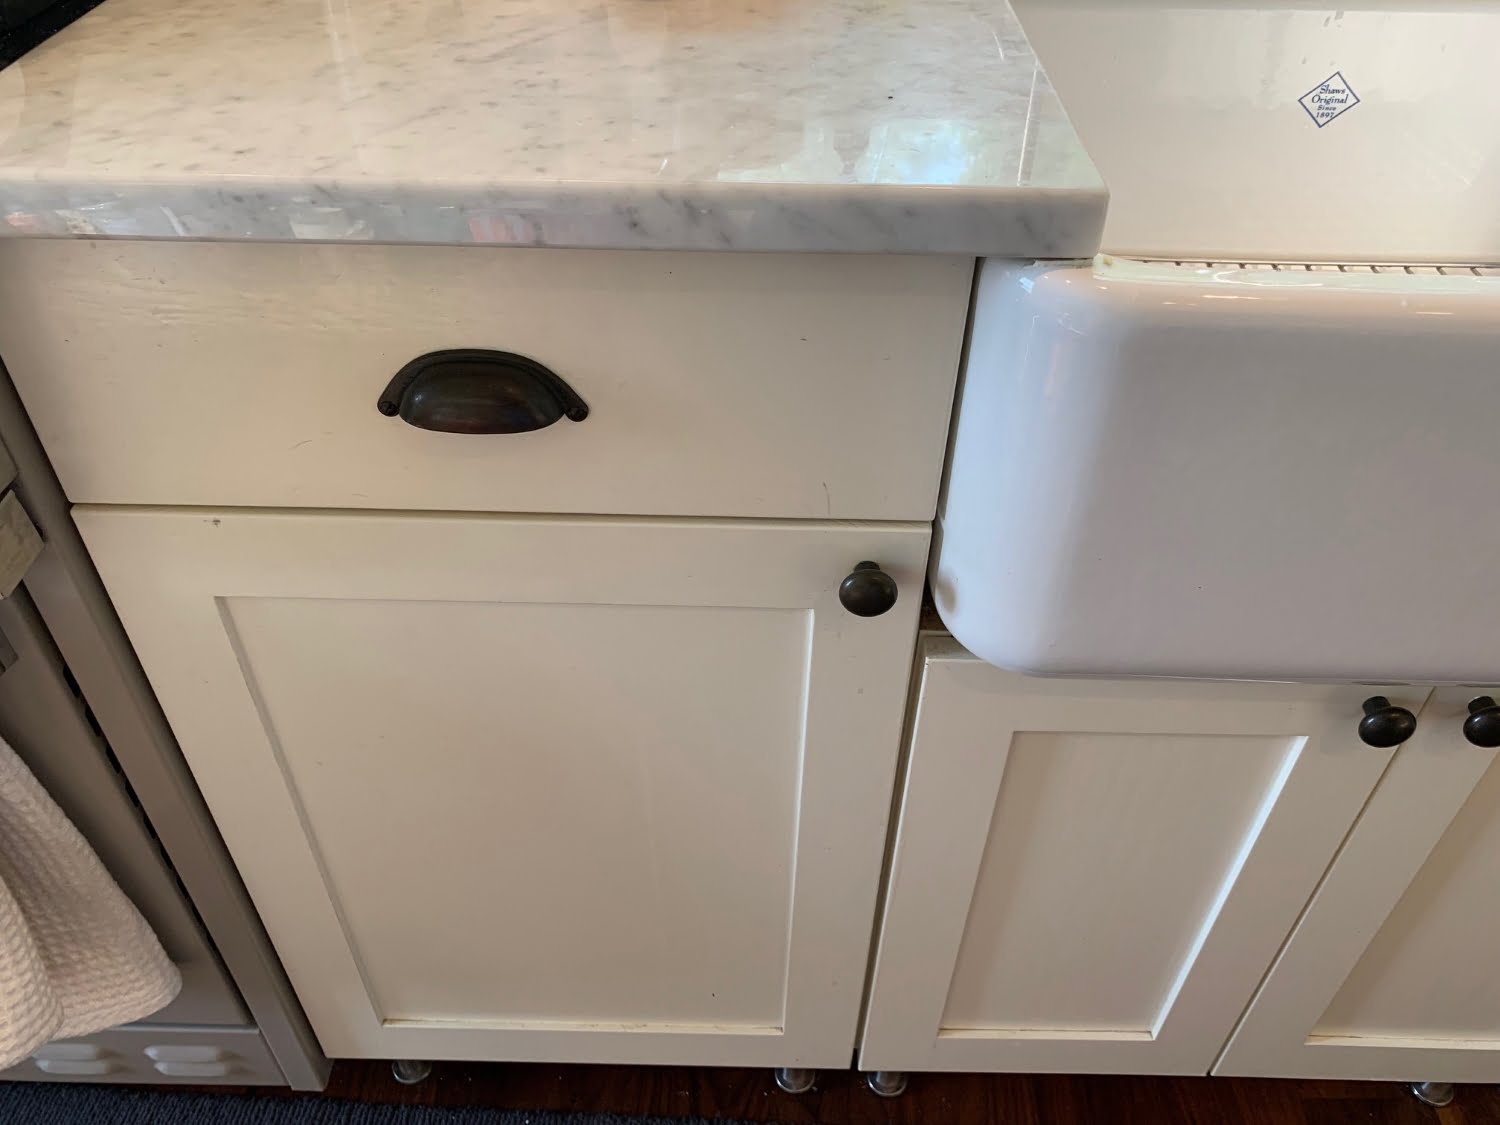
Credit: cabindiy.com
Understanding Ikea Cabinet Surfaces
Before you even think about picking up a paintbrush, it’s essential to understand the material you’re working with. IKEA cabinets are generally constructed from particleboard or fiberboard, which are then covered with a decorative laminate, veneer, or thermofoil. These finishes are designed to be durable and easy to clean, but they can also be smooth and non-porous, presenting a challenge for paint adhesion.
Laminate Vs. Thermofoil
IKEA has used various finishes over the years, but the most common ones you’ll encounter for painting are laminate and thermofoil.
- Laminate: This is a paper-thin layer of plastic or resin-impregnated paper bonded to a substrate. It’s generally more durable than thermofoil but can be prone to chipping. Painting laminate requires thorough preparation to ensure the paint adheres properly.
- Thermofoil: This is a vinyl film that is heat-fused to a substrate, often MDF. Thermofoil can be more susceptible to peeling or bubbling, especially in areas exposed to heat and moisture, like above the oven or dishwasher. Painting thermofoil can be trickier, as the vinyl surface needs to be scuffed up significantly for adhesion.
Identifying your cabinet’s finish is the first step. If they have a distinct wood grain pattern that feels like a sticker, it’s likely thermofoil. If the surface feels smoother and more uniform, it could be laminate. Some older IKEA cabinets might even have a painted finish from the factory, which would require a different approach.
The Importance Of Surface Preparation
No matter the finish, thorough surface preparation is the single most critical step in successfully painting IKEA cabinets. Skipping or rushing this process is the primary reason why paint fails to adhere, leading to chipping, peeling, and an overall disappointing result. The goal is to create a surface that the primer and paint can grip onto. This involves cleaning, degreasing, and creating a slight texture through sanding.
Step-by-step Guide To Painting Ikea Cabinets
Achieving a professional, durable finish on your IKEA cabinets requires a systematic approach. Here’s a detailed breakdown of the process:
1. Disassembly And Cleaning
- Remove Doors and Drawers: Take all cabinet doors, drawer fronts, and any visible hardware off their hinges and slides. This allows for easier access and a smoother finish.
- Label Everything: Use painter’s tape and a marker to label each door and drawer front with its corresponding location (e.g., “Upper Left,” “Drawer 3”). This will save you a lot of time and frustration during reassembly.
- Deep Clean: IKEA cabinets, especially those in kitchens, are prone to grease buildup. Use a strong degreaser (like TSP substitute or a dedicated kitchen degreaser) and a sponge or cloth to thoroughly clean every surface you intend to paint. Rinse well with clean water and allow the cabinets to dry completely. Any residual grease will prevent paint adhesion.
2. Sanding For Adhesion
This is a crucial step for ensuring your paint sticks.
- Light Sanding: For laminate and thermofoil, you don’t need to remove the finish, but you do need to create a “tooth” for the primer to adhere to. Use a fine-grit sandpaper (150-220 grit) or a sanding sponge.
- Scuff the Surface: Lightly sand all surfaces that will be painted. The goal is to dull the sheen and create a slightly rough texture. You should no longer see a high gloss.
- Clean Again: After sanding, wipe down all surfaces with a tack cloth or a damp microfiber cloth to remove all dust particles. This is vital; any dust left behind will result in a bumpy finish.
3. Priming For Durability
A good primer is your best friend when painting slick surfaces like laminate or thermofoil.
- Choose the Right Primer: Opt for a high-quality bonding primer. These primers are specifically designed to adhere to difficult surfaces. Look for primers labeled for use on laminate, plastic, or slick surfaces. Kilz Adhesion or Zinsser B-I-N are popular choices.
- Apply Thin Coats: Apply one to two thin, even coats of primer. Avoid applying it too thickly, as this can lead to drips and an uneven surface. Ensure complete coverage, especially in corners and edges.
- Allow Drying Time: Let the primer dry completely according to the manufacturer’s instructions. This usually means several hours, and sometimes overnight, before moving to the next step.
4. Painting The Cabinets
Now For The Color!
- Choose Your Paint: For kitchen cabinets, you need a durable, washable paint. Cabinet-grade enamel paints are ideal. These are typically oil-based (alkyd) or high-quality water-based (latex) paints with a urethane additive for extra durability. Alkyd paints offer excellent hardness and leveling but have strong fumes and require mineral spirits for cleanup. Water-based options are easier to clean up and have lower VOCs but may require a good quality product for optimal durability.
- Application Methods:
- Spraying: This method yields the smoothest, most professional finish, mimicking factory-applied paint. It requires a paint sprayer (HVLP is recommended for DIY) and a well-ventilated area, ideally outdoors or in a garage with good airflow. You’ll need to mask off surrounding areas meticulously.
- Rolling and Brushing: This is the more common DIY approach. Use a high-quality foam roller for smooth surfaces and a good angled paintbrush for cutting in edges and details. Apply paint in thin, even coats.
- Apply Multiple Coats: Most projects will require at least two to three thin coats of paint for full coverage and durability.
- Sand Lightly Between Coats (Optional but Recommended): After the first coat of paint has dried, you can lightly sand with a very fine-grit sandpaper (320-400 grit) to smooth out any imperfections or dust nibs. Wipe clean with a tack cloth before applying the next coat.
5. Drying And Curing
This is where patience pays off.
- Drying vs. Curing: Paint dries to the touch relatively quickly, but it takes much longer to cure. Curing is the process where the paint hardens fully, reaching its maximum durability.
- Allow Ample Time: Let the painted doors and drawer fronts dry thoroughly (at least 24-48 hours) before reattaching hardware or reassembling. For full curing, it can take up to 30 days. During this time, be gentle with the cabinets. Avoid slamming drawers or doors, and clean spills immediately.

Credit: www.younghouselove.com
Choosing The Right Paint And Primer
The success of your painted IKEA cabinets hinges significantly on the products you choose. Not all paints and primers are created equal, especially when dealing with the slick surfaces of IKEA cabinetry.
Primer Selection
As mentioned, a bonding primer is non-negotiable for IKEA cabinets. These primers are formulated with special resins that allow them to adhere to challenging surfaces like laminate, thermofoil, metal, and glass.
- Oil-Based (Alkyd) Bonding Primers: These offer superior adhesion and durability. They create a hard, sandable surface. However, they have strong odors, require mineral spirits for cleanup, and can yellow over time, especially in lighter colors. Examples include Zinsser B-I-N (shellac-based, excellent adhesion) or Kilz Original.
- Water-Based (Latex/Acrylic) Bonding Primers: Modern water-based bonding primers have significantly improved. They are easier to use, have lower VOCs, and clean up with soap and water. They are a good choice for most DIYers. Look for products specifically labeled as “bonding primers” or for use on “slick surfaces.” Examples include Kilz Adhesion or Zinsser Bulls Eye 1-2-3.
Pro Tip: Always test your chosen primer on an inconspicuous area of an IKEA cabinet door (e.g., the back edge) to ensure it adheres well before committing to the entire project.
Paint Selection
For cabinet painting, durability and washability are paramount.
- Cabinet-Grade Enamels: These are specifically formulated for high-traffic areas like kitchen cabinets. They offer excellent hardness, resistance to chipping and scratching, and can be wiped clean.
- Water-Based Enamels (Latex/Acrylic): High-quality water-based enamels with a urethane additive are a popular choice for DIYers due to their ease of use and low VOCs. Look for terms like “urethane-fortified” or “cabinet & trim enamel.” They offer good durability and a smooth finish. Brands like Benjamin Moore Advance, Sherwin-Williams Emerald Urethane Trim Enamel, or Behr Premium Plus Interior Enamel are good options.
- Oil-Based (Alkyd) Enamels: These provide a very hard, durable finish and level out beautifully for a smooth look. However, they have strong fumes, longer drying times, and require mineral spirits for cleanup. They can also yellow over time, especially lighter colors.
- Sheen: For cabinets, a satin, semi-gloss, or gloss finish is generally recommended. These sheens are more durable and easier to clean than matte or eggshell finishes. Satin offers a soft sheen, while semi-gloss and gloss provide higher durability and a more modern look.
Data Point: A survey by Houzz found that 43% of homeowners undertaking kitchen renovations chose painted cabinets, with white being the most popular color, highlighting the enduring appeal of this finish.

Credit: www.younghouselove.com
Application Techniques For A Flawless Finish
How you apply the paint is just as important as the products you use. Each method has its advantages and disadvantages.
Spraying
- Pros: Achieves the smoothest, most professional finish with minimal brush strokes or roller marks. Offers excellent coverage.
- Cons: Requires specialized equipment (paint sprayer), meticulous masking of surrounding areas, good ventilation, and practice to achieve consistent results. Can be messy if not done properly.
- Technique: Thin the paint according to the sprayer manufacturer’s recommendations. Apply in thin, even coats, maintaining a consistent distance from the surface and using a steady motion. Overlap each pass by about 50%.
Rolling And Brushing
- Pros: More accessible for DIYers without specialized equipment. Less messy than spraying.
- Cons: Can leave visible roller texture or brush marks if not done carefully. Requires more effort to achieve a perfectly smooth finish.
- Technique (Rolling): Use a high-quality foam roller designed for smooth surfaces. Load the roller evenly with paint, avoiding overloading. Apply in smooth, even strokes, working in one direction. Avoid pressing too hard.
- Technique (Brushing): Use a high-quality angled sash brush for cutting in edges and detailed areas. Apply paint in the direction of the wood grain (if applicable) or in smooth, even strokes. Avoid over-brushing, which can create texture.
Comparison Table: Application Methods
| Feature | Spraying | Rolling & Brushing |
|---|---|---|
| **Finish Quality** | Excellent (smoothest) | Good to Very Good (can show texture) |
| **Skill Level** | Moderate to High | Low to Moderate |
| **Equipment** | Paint Sprayer (HVLP recommended) | High-quality rollers & brushes |
| **Time Investment** | High (prep/masking), Moderate (app.) | Moderate (prep), High (application detail) |
| **Mess Factor** | High (overspray) | Low to Moderate |
| **Cost of Tools** | High | Low |
2-3 Coats Are Key
Regardless of your chosen method, applying at least two to three thin coats of paint is crucial for achieving full coverage, durability, and a rich color. Thin coats are always better than one thick coat, as they dry more evenly and are less prone to drips and imperfections.
Common Challenges And How To Overcome Them
Even with careful planning, you might encounter a few hurdles. Here’s how to address them:
Peeling Thermofoil
If your IKEA cabinets have thermofoil that is already starting to peel, especially around edges or corners, you have a few options:
- Carefully Re-adhere: For minor peeling, you might be able to carefully apply a strong adhesive (like Loctite or a construction adhesive) and clamp the peeling section back down. Let it dry completely before proceeding with sanding and priming.
- Remove the Thermofoil: If the peeling is extensive, you might consider carefully scoring the thermofoil with a utility knife and peeling it off. This can be a tedious process. Once removed, you’ll be left with the particleboard or MDF substrate, which will need thorough sanding and priming.
- Accept Imperfection: If the peeling is minor and cosmetic, and you’re opting for a less glossy finish, you might be able to sand it down and prime over it, accepting that the underlying texture might still be slightly visible.
Visible Wood Grain (on Mdf Doors)
Some IKEA doors are made of MDF, which has a very fine, uniform texture. Others might have a subtle wood grain pattern.
- Smooth Finish: If you desire a perfectly smooth, lacquered look, you might consider using a high-build primer and sanding thoroughly between coats to fill in any minor texture. For a truly flawless finish on MDF, some professionals opt for a skim coat of wood filler or a specialized filler primer before painting.
- Embrace Texture: If your cabinets have a slight texture, and you’re using a satin or semi-gloss paint, it will likely be subtle and add to the character rather than detract from the finish.
Hardware Holes
When reattaching hardware, you’ll want to ensure the holes align perfectly.
- Marking and Drilling: After painting, carefully align the door or drawer front with its original position. Use a ruler or template to mark the exact locations for your new hardware. You may need to drill new pilot holes, especially if you’re changing the size or type of hardware.
- Filling Old Holes: If you’re changing hardware and want to fill old holes, use wood filler or an epoxy putty. Sand smooth once dry and prime before painting.
Example Case Study: Sarah, a homeowner in suburban Ohio, wanted to update her dated oak kitchen cabinets. Instead of a full replacement, she opted to paint her existing IKEA cabinets. After thorough cleaning and sanding, she used a high-quality bonding primer followed by two coats of a durable cabinet-grade enamel in a soft gray. She used a combination of rolling and brushing, taking her time to achieve a smooth finish. The transformation was dramatic, costing her less than $500 in materials and significantly boosting her kitchen’s appeal.
Durability And Maintenance Of Painted Ikea Cabinets
The longevity of your painted IKEA cabinets depends on several factors, including the quality of your prep work, the products you used, and how you maintain them.
Curing Time Is Crucial
As previously mentioned, paint takes time to cure. Rushing the process by placing heavy items on shelves, slamming drawers, or using harsh cleaners too soon can lead to premature damage.
- Gentle Use: For the first 30 days, treat your newly painted cabinets with extra care. Avoid abrasive cleaners or scrubbing.
- Clean Spills Promptly: Wipe up spills and splatters immediately with a soft, damp cloth.
Cleaning And Maintenance
Regular cleaning will help keep your cabinets looking their best.
- Mild Soap and Water: For daily cleaning, a soft cloth dampened with mild dish soap and water is usually sufficient.
- Avoid Abrasives: Never use abrasive cleaners, scouring pads, or harsh chemicals (like ammonia or bleach-based cleaners) as they can damage the paint finish.
- Check Hardware: Periodically check that cabinet hardware is still tight. Loose hinges or handles can cause doors to rub against frames, potentially damaging the paint.
Touch-ups
Even with the most durable finish, minor chips or scratches can occur over time.
- Keep Extra Paint: It’s wise to keep a small amount of your leftover primer and paint for touch-ups.
- Small Repairs: For small chips, you can often use a fine-tipped artist’s brush to carefully apply a small amount of paint. Clean the area gently before applying the touch-up paint.
Data Point: According to a study by the National Association of Home Builders (NAHB), kitchen renovations are among the most popular home improvement projects, with cabinet updates being a significant component. Painting existing cabinets offers a substantial cost saving compared to full replacement, which can cost anywhere from $5,000 to $20,000 or more for mid-range options.
When To Consider Professional Help
While painting IKEA cabinets is a popular DIY project, there are times when hiring a professional painter might be the better option.
- Lack of Time or Skill: If you’re short on time, lack confidence in your DIY abilities, or simply don’t enjoy painting, a professional can deliver a superior finish.
- Complex Finishes: If you’re aiming for a highly specific or complex finish (e.g., a distressed look, two-tone effect, or a high-gloss lacquer), a professional painter has the experience and tools to achieve it.
- Large Projects: For very large kitchens with extensive cabinetry, the time investment for DIY can be substantial.
- Spraying Expertise: If you want a factory-smooth finish and don’t have access to a sprayer or the expertise to use one effectively, hiring a professional who offers spraying services is recommended.
Pro Tip: When hiring a professional, be sure to discuss their experience with painting laminate or thermofoil surfaces and ask for references or examples of their cabinet painting work. Ensure they use high-quality primers and paints suitable for cabinetry.
Alternatives To Painting Ikea Cabinets
While painting is a fantastic option, it’s worth noting a few alternatives if you’re looking for a different approach to updating your IKEA cabinets.
- Replacing Doors and Drawer Fronts: You can purchase new doors and drawer fronts from IKEA or third-party manufacturers (like Semihandmade) that are specifically designed to fit IKEA cabinet boxes. This allows you to change the style and color without replacing the entire cabinet structure.
- Adding New Hardware: Sometimes, simply updating the handles and knobs can make a surprising difference to the overall look of your kitchen cabinets. This is the easiest and least expensive update.
- Applying Adhesive Vinyl Wraps: For a temporary or budget-friendly change, you can apply adhesive vinyl wraps to your cabinet doors. These come in a wide variety of colors and patterns, but their durability can be questionable over the long term, especially in high-moisture areas.
Comparison Table: Cabinet Update Options
| Option | Cost | DIY Difficulty | Durability | Time Investment | Customization Level |
|---|---|---|---|---|---|
| **Painting** | Moderate | Moderate | High (with prep) | Moderate to High | High |
| **New Doors/Drawer Fronts** | High | Moderate | Very High | Moderate | Very High |
| **New Hardware Only** | Low | Low | High | Low | Moderate |
| **Adhesive Vinyl Wraps** | Low to Moderate | Moderate | Moderate to Low | Moderate | High |
Frequently Asked Questions
Can I Paint Ikea Cabinets Without Sanding?
While some might suggest skipping sanding, it’s highly recommended to sand your IKEA cabinets. The smooth, non-porous surface of laminate or thermofoil requires sanding to create a “tooth” for the primer and paint to