
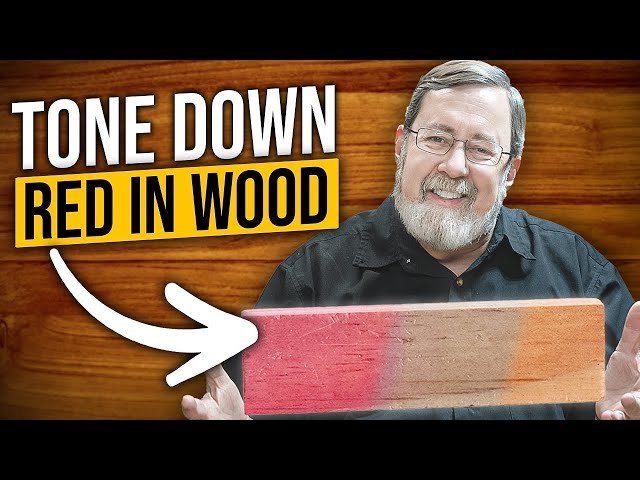
You can neutralize red tones in wood by applying a green-tinted toner or stain, which uses the color wheel’s opposite to cancel out warmth. This process requires 4 to 6 hours of active work, depending on your choice of professional or consumer-grade products. Always ensure your surface is clean and sanded before beginning to avoid obscuring the natural grain.
Tools to neutralize wood tones
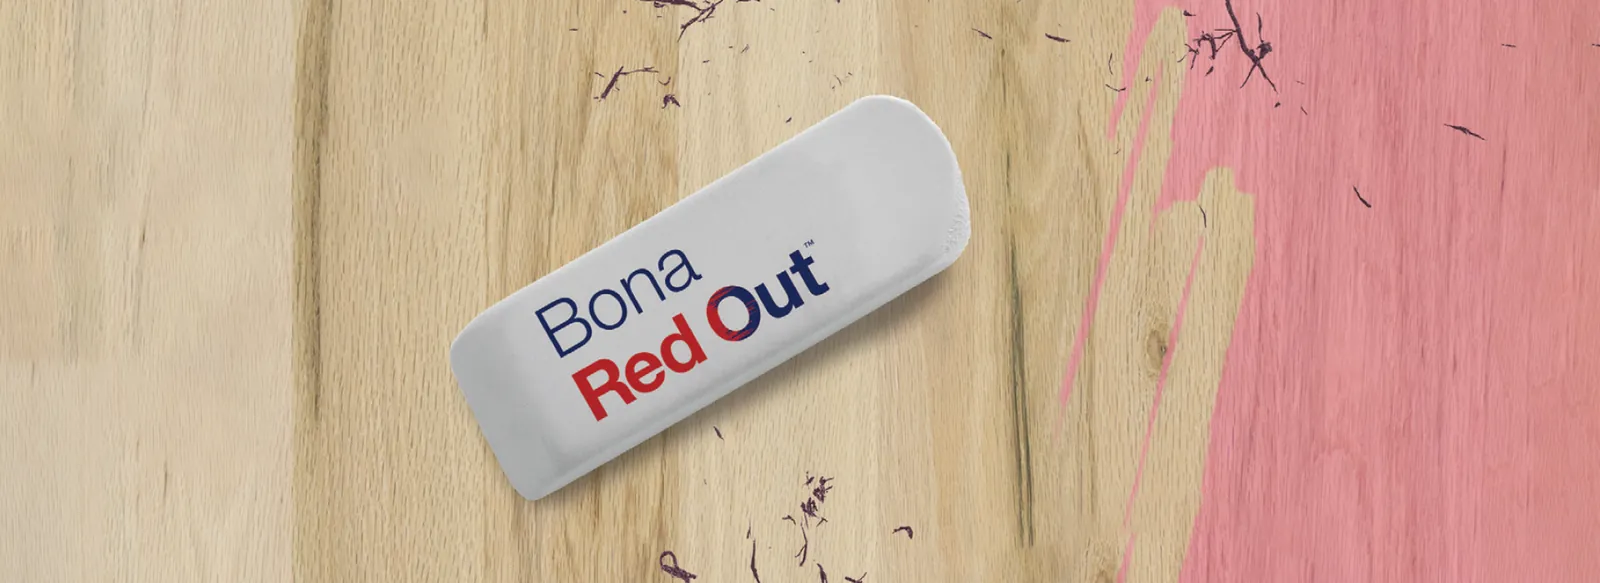
| Item | How much | Why it’s needed | A substitute |
|---|---|---|---|
| Sandpaper | 120-220 grit | Prepares the wood pores | none — don’t swap this |
| Green dye | 8-16 ounces | Cancels red pigments | none — don’t swap this |
| Rags | 3-5 cloths | Wipes away excess stain | Cotton t-shirt scraps |
| Mineral spirits | 16 fluid ounces | Cleans surface dust | Denatured alcohol |
| Foam brush | 2-3 brushes | Applies even coats | Synthetic bristle brush |
Use 120-grit paper if the wood feels rough or shows deep mill marks, but switch to 220-grit for final smoothing. Skipping the 220-grit step often leaves visible swirl marks once the stain hits the grain.
When mixing green dye, start with a light concentration. If the wood turns olive or muddy, you have added too much pigment. You can always darken the tone with a second pass, but removing excess dye requires aggressive sanding that ruins the wood texture.
Always use lint-free rags. Cheap paper towels leave tiny fibers behind that get trapped in the stain, creating a gritty, uneven finish.
If you’re working with oily woods like teak or rosewood, swap mineral spirits for denatured alcohol. Mineral spirits leave an oily residue on these specific species, which prevents the dye from penetrating the wood fibers evenly. Always test your solvent on a hidden scrap piece first.
Preparing the wood surface
Move your furniture to a well-ventilated area, as fumes from chemical strippers or stains can be harmful if inhaled in confined spaces.
Cover the surrounding floor with heavy-duty plastic drop cloths to prevent permanent drips or spills on your carpet or tile surfaces. Tape the edges of the plastic to the baseboards to ensure no liquid seeps underneath.
Switch off any nearby fans or air conditioning units to keep dust from settling onto your wet, freshly stained wood surface. If you see airborne particles, wait thirty minutes for them to settle before opening your stain can.
Empty the area of all loose items to ensure you have enough room to rotate the piece for even application. You should be able to walk a full circle around the furniture without bumping into walls or stored boxes.
Sand the wood thoroughly with 120-grit paper first, followed by 220-grit, to ensure the pores are open and ready to accept the neutralizing dye. Always sand in the direction of the grain; sanding against it creates scratches that only become visible once you apply the stain.
If you’re working with antique pieces or thin veneers, seek professional advice before sanding. You risk stripping through the finish or the wood layer entirely. If you can’t see the grain clearly, stop immediately. Older homes may contain lead-based paint, which requires specific safety protocols during any sanding or removal process.
Applying the neutralizing stain
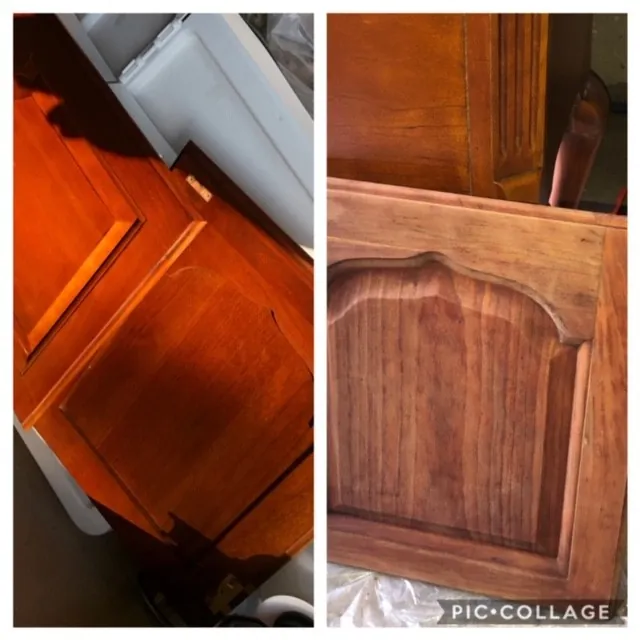
- Clean the surface using a soft cloth dampened with mineral spirits to remove all sawdust, which prevents the stain from becoming blotchy during application.
- Apply a small amount of green-tinted wood dye to a hidden area of the wood, such as the underside of a table leg, to test the color shift.
- Wipe the dye onto the surface using a lint-free rag, moving in the direction of the wood grain to ensure deep penetration into the fibers.
- Allow the dye to sit for 3 to 5 minutes, depending on the intensity of the red you want to remove, then wipe off all excess liquid immediately.
- Check the color under natural daylight to see if the red is gone, as artificial indoor lighting often distorts the true shade of the wood.
- Apply a second, lighter coat if the red remains, but wait at least 2 hours for the first layer to dry completely before adding more pigment.
- Let the wood dry for 24 hours before applying any topcoat, as trapping moisture can lead to peeling or clouding in your final protective finish.
- Seal the wood with a clear polyurethane or wax finish to lock in the color and protect the surface from future scratches or UV damage.
Signs of a successful neutralization
The primary sign of success is a shift from a warm, reddish hue to a more neutral, brown, or grayish-brown tone that looks natural under bright, indirect sunlight. If the wood appears muddy or greenish, you have likely applied too much dye.
In this case, lightly sand the surface with 220-grit paper to remove the excess pigment before reapplying a thinner coat. If the red still shows through, you need another round of application, but ensure the wood is bone-dry before you start again.
The specific shade you achieve depends on the wood species. Cherry wood holds red pigments more aggressively than oak, so you may need a higher concentration of green dye. Always keep a record of the ratio you used for your test patch. If the color remains too warm after two attempts, don’t add more dye. This mistake often results in a dark, opaque finish that hides the wood’s natural grain.
Apply this rule: if the wood grain is still visible but the red persists, add a light, second pass. If the wood surface looks flat or the grain is obscured, you have reached the saturation limit. At that point, stop immediately to avoid a painted appearance.
Troubleshooting common issues
| What happened | Why | What to do |
|---|---|---|
| Blotchy finish | Uneven sanding | Sand again evenly |
| Green tint | Too much dye | Sand lightly to remove |
| Still too red | Weak dye mix | Apply another coat |
| Tacky surface | Incomplete drying | Wait 12 more hours |
| Grain is hidden | Thick application | Wipe off excess sooner |
If your finish remains tacky after twelve hours, check the humidity in your workspace. If the level exceeds 60 percent, the solvent can’t evaporate properly. Move the piece to a climate-controlled room or use a dehumidifier to force the cure.
Stick to 220-grit for final smoothing to ensure an even finish.
When dealing with a green tint, test a small, hidden area first. If the color persists after light sanding, you have likely over-saturated the wood fibers. In this case, use a clean rag dampened with denatured alcohol to lift the excess pigment before the final clear coat seals the error permanently.
When to reapply the neutralizer
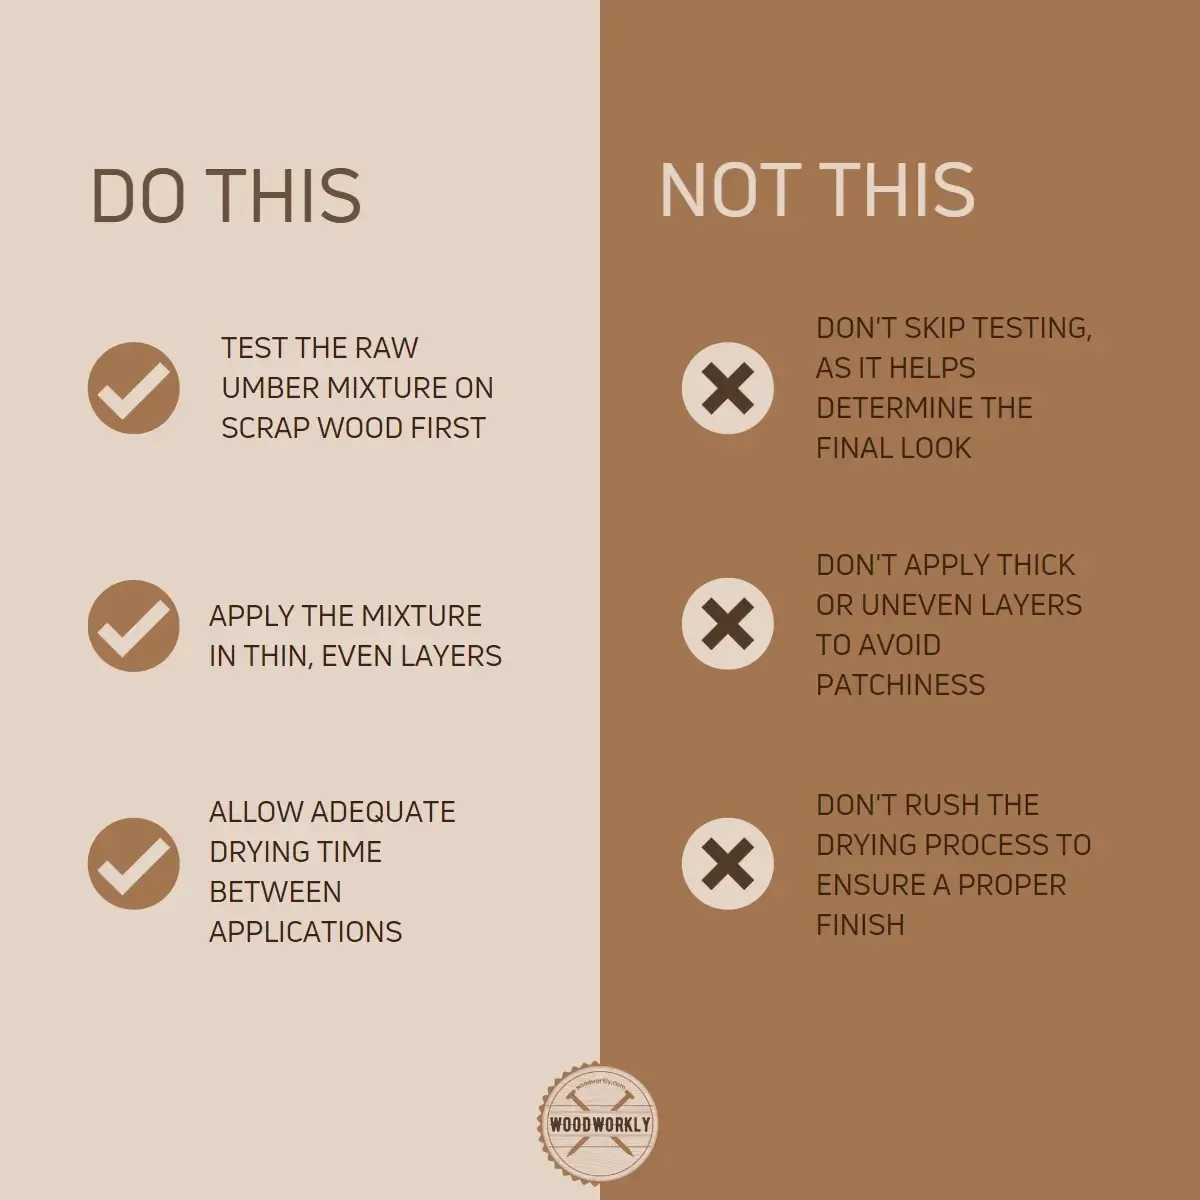
You should reapply the neutralizer only if the red tones return after the first coat has fully cured, which typically takes 24 hours. The frequency of this task depends on your environment, as direct sunlight causes wood to change color over time through a process called photo-oxidation.
If your piece sits near a window, you might notice the red tones creeping back within 6 to 12 months. If the wood stays in a dark corner, the color will remain stable for several years.
Many users mistake natural wood darkening for a failed neutralizer application. If the wood turns a deep amber rather than a vibrant red, the neutralizer is working; adding more will only cloud the finish.
Always test a small, inconspicuous area before performing a second round. The wood will have less capacity to absorb dye after the first application, so apply the second coat sparingly to avoid a sticky, uneven surface.
Related guides
- How to Get Green Off Pressure Treated Wood Using Oxygen Bleach in 2026
- How to Harden Wood Using Penetrating Epoxy Resin in 2026
- How Much Weight Can a Wood Closet Rod Hold Safely in 2026
Frequently asked questions
Can I use paint to hide the red?
You can use a solid paint, but it will cover the natural grain of the wood completely, unlike a dye or stain. If you want to keep the wood look, stick to transparent or semi-transparent stains. Paint is a better choice if the wood surface is damaged or has uneven patches that a stain can’t fix.
How long does the dye take to dry?
The dye typically takes 2 to 4 hours to dry to the touch, but you must wait 24 hours before applying any topcoat. Humidity levels above 60% will extend this drying time significantly. Always check the manufacturer’s label on your specific product for the exact drying window, as chemical compositions vary between water-based and oil-based dyes.
Is it safe to do this indoors?
It’s safe to do this indoors only if you have excellent ventilation, such as open windows and a high-capacity exhaust fan running. If you can’t maintain a steady airflow, move the work to a garage or an outdoor covered area. Chemical vapors from stains and thinners can irritate your lungs and eyes if you don’t have enough fresh air moving through the room.
What happens if I use too much green?
If you use too much green, the wood will take on an unnatural olive or muddy appearance that’s difficult to reverse. You must sand the wood back down to the raw grain to remove the excess pigment if this occurs. Always start with a very light application and build the color slowly to avoid this common mistake.
Does it matter what wood species I have?
It matters a great deal because porous woods like pine absorb dye much faster than dense woods like maple. You should always perform a test on a spare piece of the same wood species to see how it reacts to the green pigment. The natural base color of the wood dictates how much neutralizing agent you need to achieve a neutral brown.
How do I stop the red from coming back?
You stop the red from coming back by using a high-quality UV-resistant topcoat once you have achieved the correct color. Sunlight is the main driver of color change in wood, so placing the furniture away from direct windows is the most effective way to maintain your results. Check your topcoat product label to ensure it includes UV-blocking properties for the best protection.
Conclusion
The best way to ensure your wood project stays looking great is to keep it away from direct, harsh sunlight and clean it only with a dry or slightly damp microfiber cloth. Avoid using harsh chemical cleaners, as they can strip the protective topcoat and expose the wood to moisture, which may cause the color to shift over time. With proper care, your neutral wood tone should remain stable for many years.