
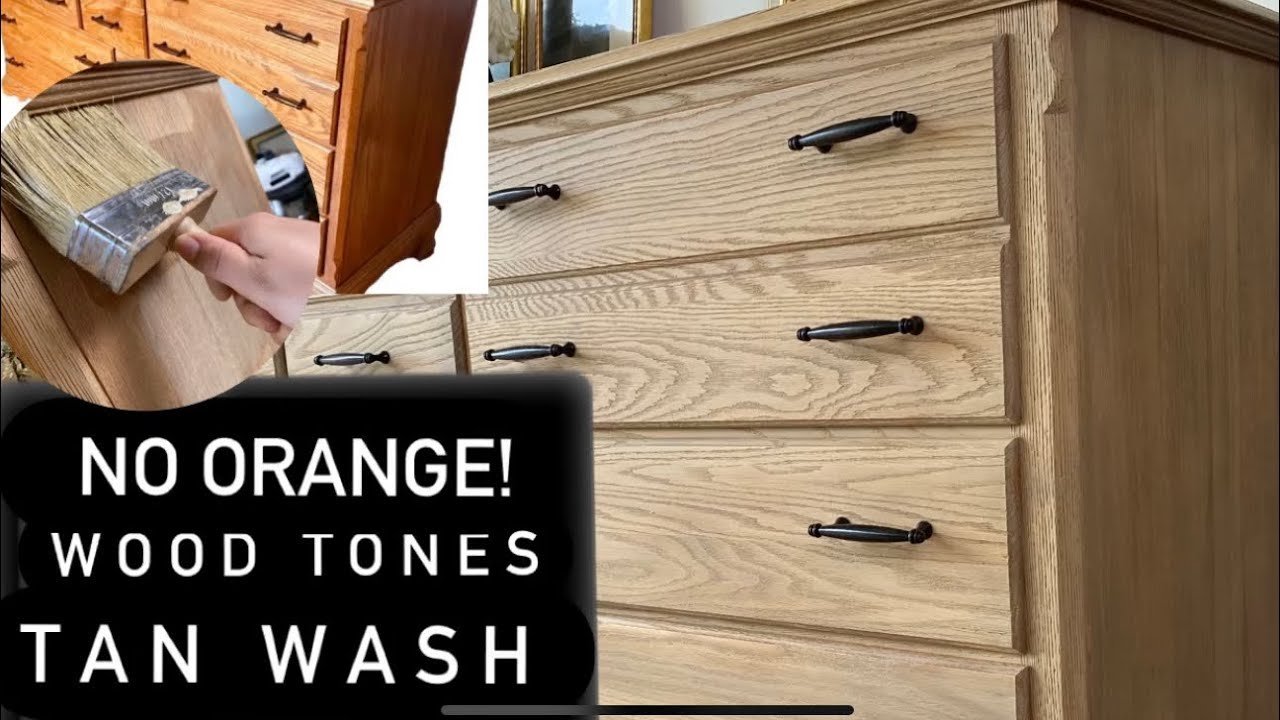
Neutralizing orange tones in wood is best achieved by applying a thin coat of blue-tinted oil stain or a specialized toner. Because blue sits opposite orange on the color wheel, it effectively cancels out warmth to create a cooler brown. This discoloration usually stems from the natural aging of oil-based finishes under ultraviolet light.
Why wood finishes shift toward orange
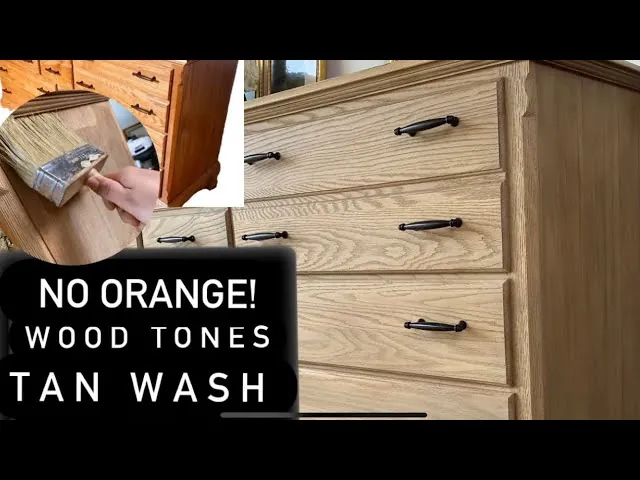
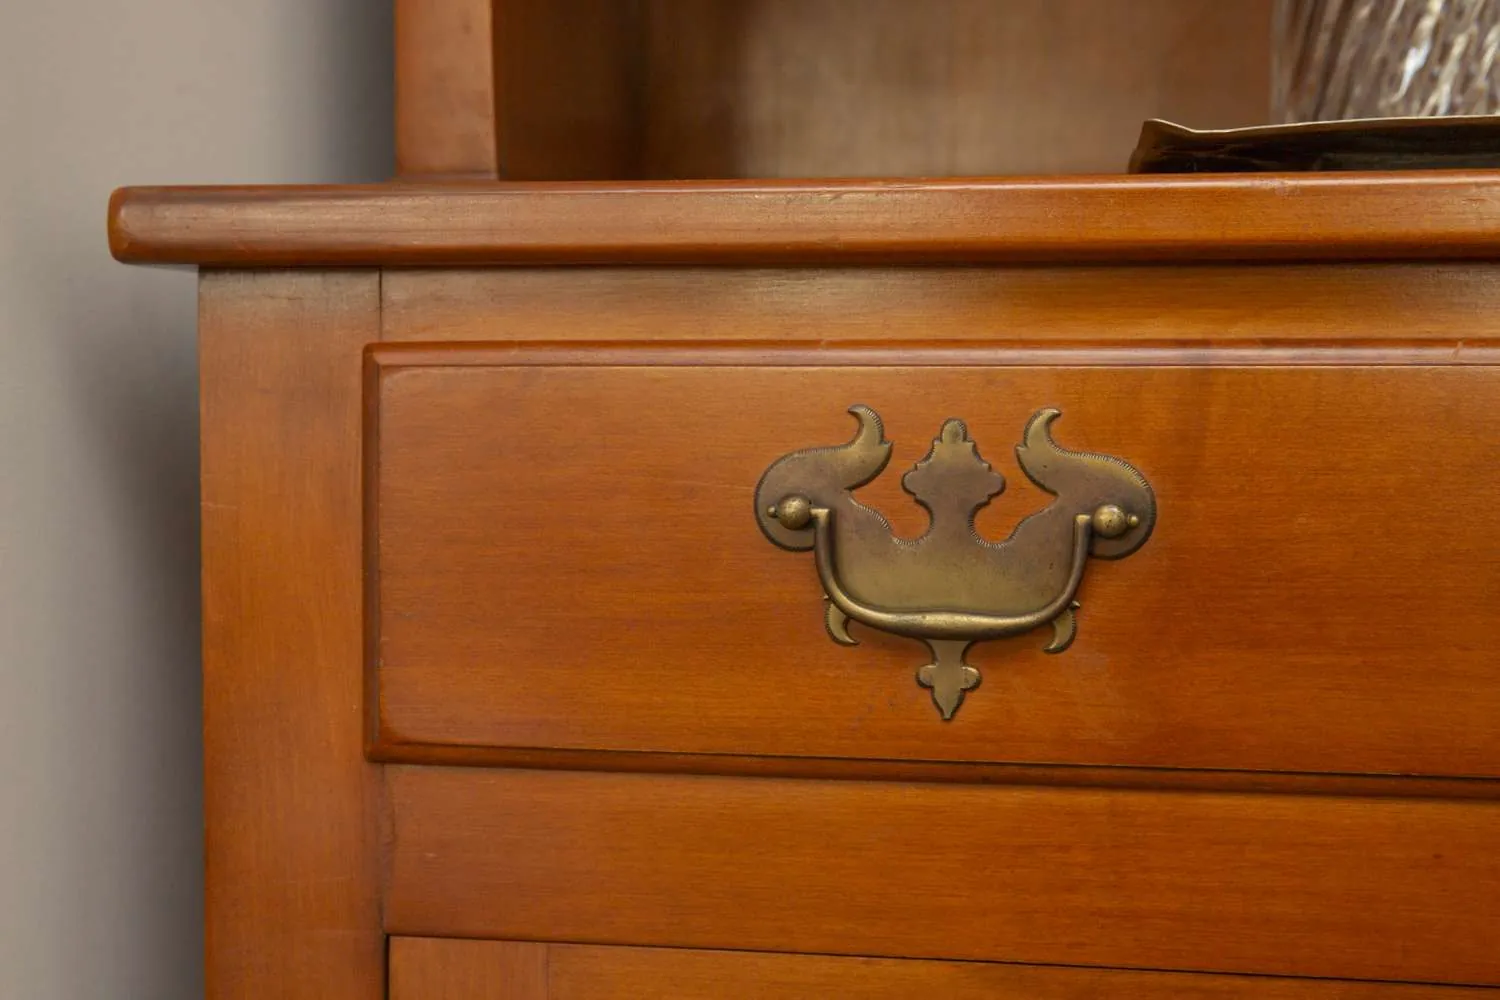
The color shift in wood occurs primarily because of the chemical composition of the finish and the wood species itself. Many traditional polyurethane and oil-based finishes contain resins that naturally turn amber or orange as they dry and age. This process accelerates when the surface is exposed to sunlight, as UV rays break down the chemical bonds in the finish, causing the yellowing to intensify.
Another factor is the wood’s own cellular structure. Woods like cherry, pine, and oak contain natural tannins and resins that interact with clear coats. When you apply a finish, these components can bleed into the top layer, tinting the surface with a warm, orange hue. This isn’t a mistake in the application but a natural reaction between the wood’s organic chemistry and the synthetic coating.
If you’re working with light-colored woods like maple or ash, avoid oil-based polyurethanes entirely. These products act like a permanent amber filter, turning a crisp white wood into a honey-colored surface within six months. Instead, use a water-borne acrylic finish. These formulas lack the heavy resins that oxidize, keeping the wood close to its raw, sanded color.
Check for a “non-yellowing” label on the can. If the finish contains solvent-based additives, it will eventually shift, regardless of the brand’s marketing. A simple test is to apply the finish to a scrap piece of the same wood and leave it in a sunny window for forty-eight hours. If the scrap shows a noticeable shift compared to a piece kept in a dark drawer, the finish isn’t truly clear.
Finally, consider the base color of the wood. If you start with a naturally reddish species, the finish will highlight those undertones rather than mask them.
Steps to neutralize orange tones in wood
A wood toner is a light, translucent stain designed to adjust the color of the wood without hiding the grain. To neutralize orange, choose a blue-based toner or a “cool” brown. This is best for someone who wants to fix an existing piece without stripping it down to the bare wood.
Start by cleaning the surface thoroughly with a mild soap and water solution to remove any wax or grease. Once dry, lightly sand the surface with 220-grit sandpaper to help the toner grip. Apply the toner using a clean, lint-free cloth or a high-quality synthetic brush, working in the direction of the wood grain. Use very thin layers; it’s much easier to add more later than to remove a dark, muddy color.
Applying too much toner creates a flat, painted look that obscures the natural beauty of the grain. Test your product on an inconspicuous area or scrap wood to ensure the color interacts well with the grain pattern. Allow at least four hours of drying time before evaluating if a second coat is needed.
Use a chemical wood bleach
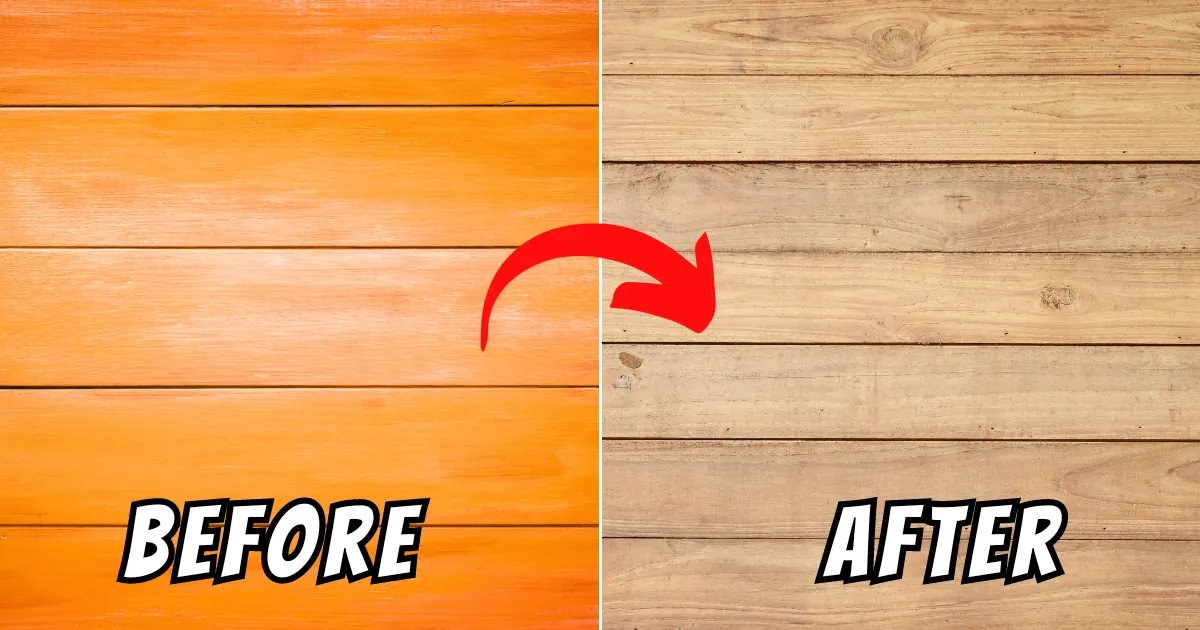
Bleaching is a more aggressive method for removing intense orange or red pigments from the wood fibers themselves. This is for users who are comfortable working with stronger chemicals and need a clean slate for a new finish. You must wear safety goggles and chemical-resistant gloves, as these agents can cause skin irritation.
For this process, you’ll need a two-part wood bleach, which consists of a caustic solution and a peroxide oxidizer. Mix the two parts according to the manufacturer’s instructions on the container. Apply the mixture evenly across the surface using a plastic brush, as metal brushes can react with the chemicals and stain the wood. Let the solution sit for the time recommended by the manufacturer, usually until the wood appears significantly lighter.
After the wood has reached the desired shade, you must neutralize the reaction by wiping the surface with a solution of water and white vinegar, or as specified by the product manufacturer. This stops the bleaching process so the wood doesn’t continue to lighten after you have finished.
Once the surface is completely dry, you may notice the wood fibers have raised slightly; lightly sand them down with 220-grit sandpaper before applying your new finish. If the wood remains orange, it’s likely that the pigment is too deep for a single treatment, and you may need to repeat the process.
Apply a water-based polyurethane topcoat
If you want to prevent future orange tones, switch to a water-based polyurethane topcoat for your final seal. Unlike oil-based versions, water-based finishes dry clear and don’t yellow as they age. This is the ideal fix if you’re applying a new finish from scratch and want to ensure the color stays true for many years.
Before applying, ensure the previous finish is fully removed or sanded down. If you apply water-based polyurethane over an old oil-based finish, the new coat may not adhere properly and could peel over time. Clean the surface of all dust with a tack cloth. Use a synthetic-bristle brush or a foam applicator to apply the first coat, moving quickly to maintain a wet edge.
Water-based finishes dry much faster than oil-based ones, often in as little as two hours. This speed is a benefit, but it also means you must be careful not to over-brush the surface, which can cause bubbles.
Apply three thin coats, sanding lightly with 320-grit paper between each coat once it has fully cured. This method isn’t for someone who wants a deep, warm glow, as it will maintain a very crisp, neutral, and modern look. If you notice the finish looks cloudy while wet, don’t worry; it will turn completely transparent once it dries.
Mistakes to avoid when neutralizing wood
Using dark stains to mask orange tones often results in a muddy, orange-brown mess rather than a refined finish. Dark pigments lack the opacity to block underlying warmth, so you must use a blue-tinted neutralizer first to cancel out the orange spectrum before applying any color.
Always test your product on a hidden underside or scrap piece. If the color shifts unexpectedly, you have likely misidentified the wood species or its previous finish, requiring a different chemical stripper.
Avoid thick layers of toner, which sit atop the grain and create a synthetic, plastic-like appearance. You should aim for thin, translucent coats that allow the natural wood texture to remain visible.
Never apply a water-based topcoat directly over an oil-based finish. Without a dewaxed shellac barrier coat, the topcoat will flake within weeks. If the surface feels oily or waxy, assume it’s oil-based and apply the shellac sealer to ensure proper adhesion.
How to manage wood color expectations
| If you’re doing this | Do this instead | Why |
|---|---|---|
| Sanding with coarse grit | Use 220-grit or higher | Finer grit prevents deep scratches |
| Using oil-based finish | Use water-based finish | Water-based resins don’t yellow |
| Applying thick coats | Apply multiple thin coats | Thin coats prevent muddy colors |
| Ignoring the wood species | Test a small hidden area | Every wood reacts differently |
Wood reacts to stain based on its natural porosity. If you’re working with softwoods like pine, apply a pre-stain conditioner first. Without this, the grain will absorb pigment unevenly and create dark, blotchy patches that no amount of sanding can fix.
Always test your finish on a scrap piece from the same board. If the test piece looks too dark, dilute your stain with mineral spirits at a ten percent ratio. This allows you to build color slowly rather than committing to a shade that’s impossible to lighten.
Most beginners make the mistake of wiping stain off too quickly. Wait at least fifteen minutes for the pigment to penetrate the fibers. If you wipe too soon, you lose the depth of the finish, leaving the wood looking thin and unfinished.
Related guides
- How to Harden Wood Using Penetrating Epoxy Resin in 2026
- How Much Weight Can a Wood Closet Rod Hold Safely in 2026
- How to Stop Sap From Coming Out of Wood: Proven Fixes in 2026
Frequently asked questions
Can I fix orange wood without stripping it?
You can shift wood tones without removing the finish by applying a tinted toner or colored glaze. These surface products use cool pigments to counteract orange hues. Always apply in thin layers to avoid a heavy, painted appearance.
How long does it take for wood to turn orange?
Most oil-based finishes begin showing amber or orange shifts within 12 to 24 months of sunlight exposure. The speed depends on UV intensity and the specific resin used. Keep wood in dark rooms to significantly slow this process.
Is it safe to bleach my own wood furniture?
Wood bleach is safe if you strictly follow the manufacturer’s instructions. You must wear protective gloves and goggles while ensuring the workspace is well-ventilated. Avoid this method if you have respiratory issues or chemical sensitivities.
What happens if I use the wrong toner color?
Using the wrong color toner can result in an unappealing, muddy, or greenish tint on your wood. Because colors mix, blue toner on a yellow-orange base often creates a dull brown or muted green. Always test on a hidden spot first.
How many coats of toner do I need?
You generally need one to two thin coats to see a visible change in wood tone. The goal is to shift the color without hiding the natural grain definition. Wait four to eight hours between coats for the best results.
Conclusion
Once you’ve achieved that balanced, cooler tone, let the wood cure completely before applying a fresh topcoat. Don’t rush this final stage, as a clear protective layer will lock in your hard work. You’ll be happy you took the extra time when you see how beautifully the grain shines through without those unwanted undertones.