
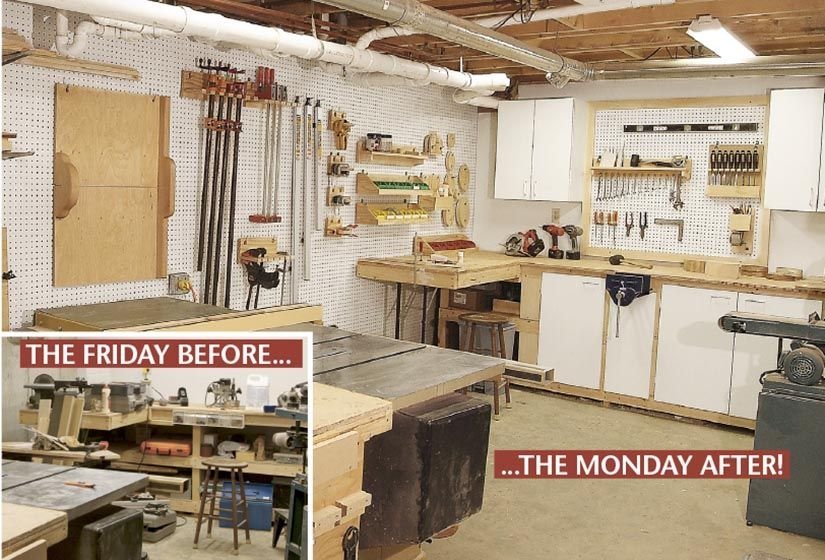
Organizing woodworking shop layouts by grouping tools based on how often you use them creates a highly efficient workspace.
Organizing Your Woodworking Shop Zones
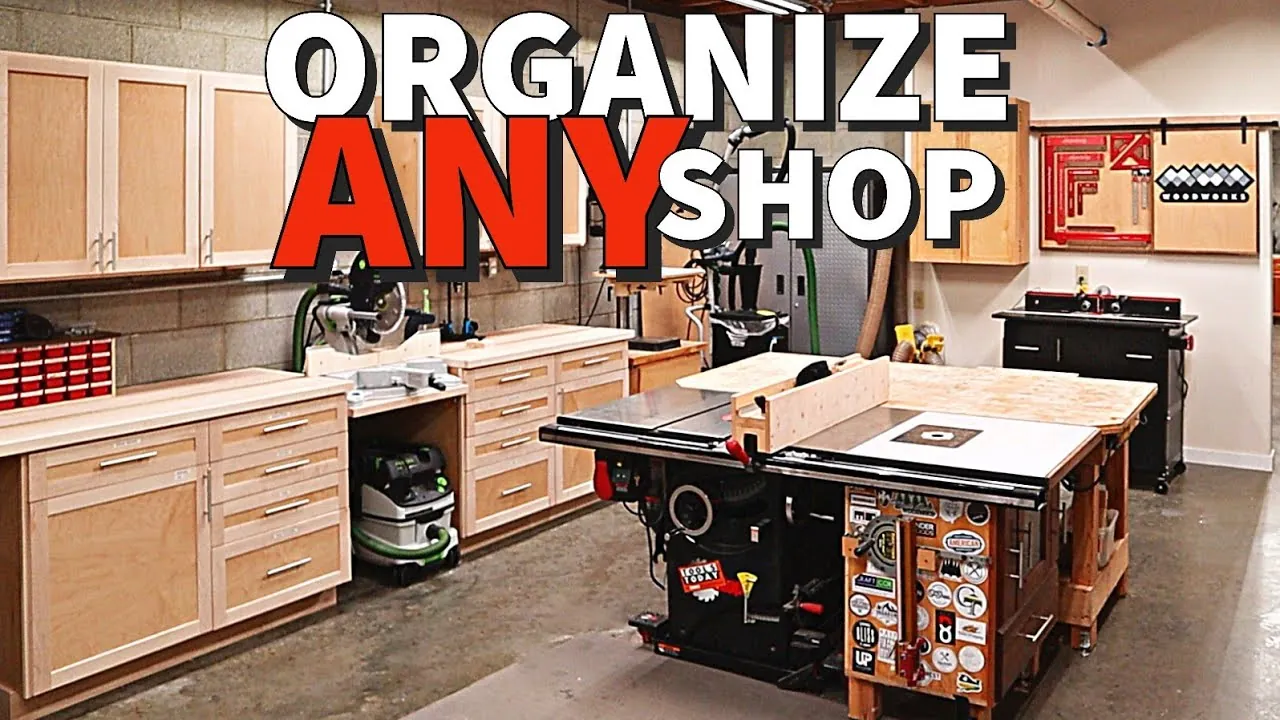
A functional workshop isn’t just about keeping things tidy; it’s about reducing the distance you walk to finish a task. Most woodworkers divide their space into four main areas: a heavy tool zone, a bench area, a storage zone, and an assembly space. By assigning a specific home to every tool, you stop wasting time searching for misplaced items.
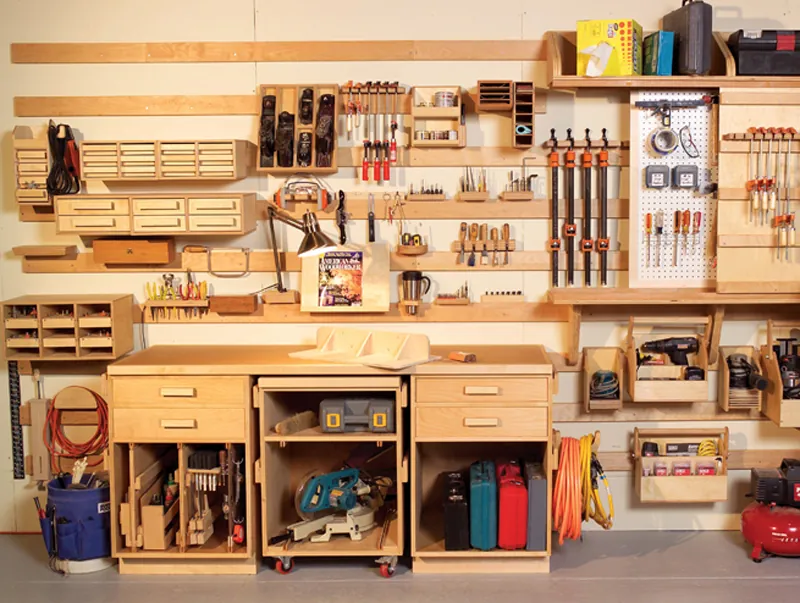
One common mistake people make is trying to store every single tool on the main workbench surface. This creates a cluttered, unsafe environment that slows down your progress. Experienced woodworkers keep the bench clear for active work, using wall-mounted cabinets or rolling carts for storage instead. If you have a small shop, prioritize vertical storage solutions like French cleats to keep your floor clear.
Logical Workflow and Tool Placement
Follow these steps to arrange your shop for better efficiency. If you’re dealing with a small space, you might need to combine zones, but the goal remains the same: a smooth path for your material.
- Place your table saw in the center of the room to allow for long board clearance.
- Position your miter saw on a bench near the wall, leaving at least 4 feet of support on each side.
- Mount your most-used hand tools on a shadow board directly above your main workbench.
- Store heavy, stationary power tools near a dedicated 220V or 120V outlet to avoid long, messy extension cords.
- Clear your assembly area in the most open part of the shop to allow movement around large projects.
- Install a central dust collection system or a dedicated vacuum hookup near your primary sanding station.
The secret to a successful shop is the “first-out, first-in” rule. If you use a tool, it must return to its designated spot before you start the next project. If you’re a beginner, don’t buy storage furniture until you have worked in your space for a few weeks to see how you actually move. For heavy equipment, consult the Occupational Safety and Health Administration guidelines to ensure your placement meets safety standards for machine clearance and electrical access.
Essential Shop Layout Figures
Use this table to decide where to put your equipment based on how often you reach for it. These settings assume a standard 200-square-foot shop; for larger spaces, you can increase these distances by 20%.
| Situation | What to use | How long | What to watch for |
|---|---|---|---|
| Daily tools | Wall hooks | Seconds | Rust buildup |
| Weekly tools | Rolling cart | 1-2 minutes | Wheel locks |
| Monthly tools | Under-bench | 5 minutes | Dust buildup |
| Seasonal tools | Overhead rack | 10 minutes | Weight limits |
| Scrap wood | Rolling bin | 2 minutes | Fire hazards |
Improving Your Shop Efficiency
Experienced woodworkers focus on the “golden triangle” of the shop: the saw, the bench, and the storage wall. They keep these three elements connected by clear paths. If you find yourself tripping over cords or walking across the room for a tape measure, your layout needs adjustment.
One major difference between a pro and a beginner is the use of mobile bases. If a tool is heavy, put it on wheels. This allows you to push machines into a corner when you need more room for assembly. If you have limited space, don’t bolt everything to the floor. Being able to move your equipment gives you flexibility as your projects change size and complexity.
If your shop floor is under 200 square feet, prioritize verticality over footprint. Mount your most-used hand tools on a French cleat system directly above your primary workbench. This reduces the time spent searching for gear by roughly 15 minutes per project.
Novices often make the mistake of grouping tools by category rather than workflow. If you frequently cut and then immediately sand, place your sander within arm’s reach of the miter saw. If your current setup forces you to turn your back on a machine to reach a tool, you’re losing momentum and increasing your risk of injury. Treat every extra step as a tax on your productivity.
Common Workshop Storage Issues
| What you notice | What it usually means | What to do first |
|---|---|---|
| Dull edges | Improper storage | Use blade guards |
| Lost drill bits | Poor labeling | Use clear bins |
| Too much dust | Poor airflow | Clean filters weekly |
| Cords everywhere | No wall clips | Add cord hangers |
Steel blades left loose in a drawer inevitably strike one another, creating microscopic nicks that ruin a sharp edge in minutes. If your bits are stored in a jumbled pile, you’re likely losing 20 percent of your time just hunting for the right size.
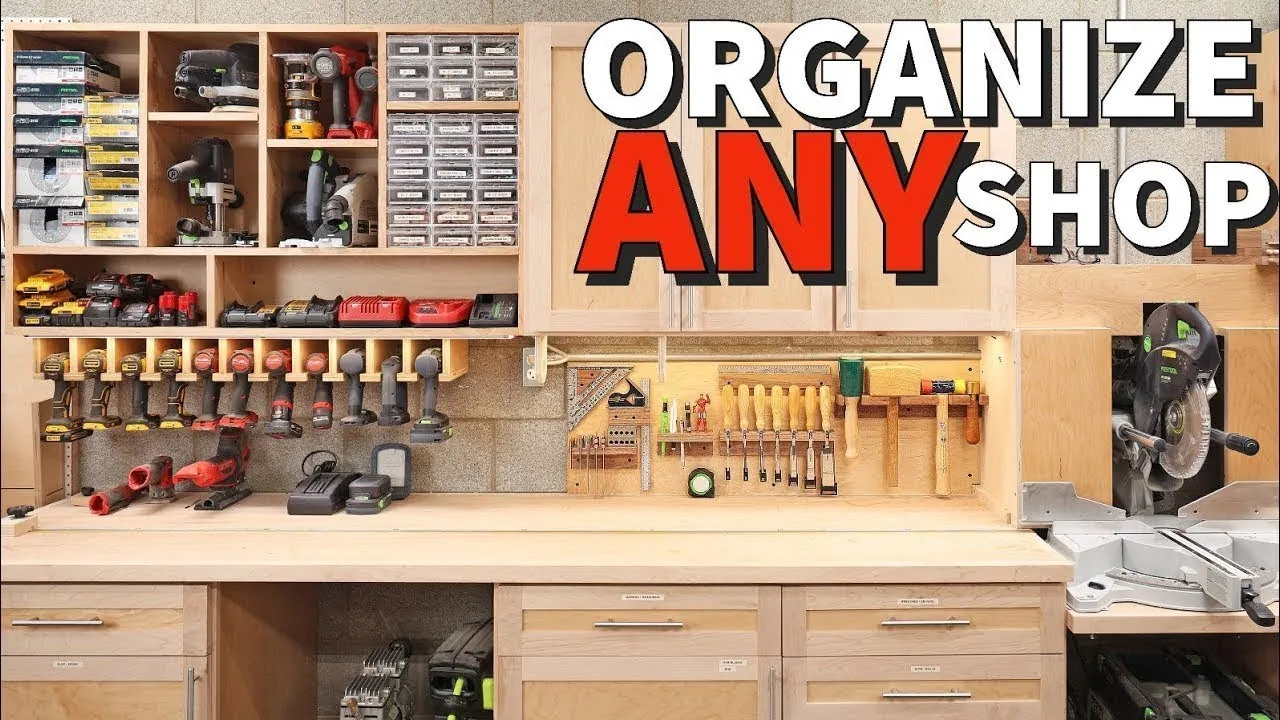
Adopt a simple rule: if you touch a tool more than twice a week, it must have a dedicated wall mount within arm’s reach. Stashing these items in deep cabinets creates a “hidden cost” where you settle for the wrong tool rather than digging for the right one.
If your floor space is cluttered with cords, install hangers at chest height to prevent tripping hazards. This small shift stops the fraying that happens when cables are stepped on or pinched under heavy equipment.
Regulatory Safety Requirements
Safety is the most important part of your shop layout. The National Fire Protection Association provides specific standards for dust control and fire prevention in workshops. You must keep your shop free of sawdust piles, as these are a significant fire risk. Accumulations of dust on surfaces can become ignitable, so use a HEPA-rated vacuum rather than compressed air to clear them.
If your shop is in a basement or garage, check your local building codes regarding electrical load and ventilation. Most residential circuits aren’t rated for the constant draw of a 3HP table saw, which often leads to tripped breakers. If you run multiple heavy tools, install a dedicated subpanel to prevent overloading.
Working with flammable finishes requires a dedicated, well-ventilated storage cabinet. If you’re ever unsure about your shop’s electrical capacity or fire safety, contact a local certified electrician or fire marshal to inspect your setup.
Maintaining Your Organized Space
Once your shop is organized, keep it that way by doing a “reset” at the end of every work day. Spend 10 minutes sweeping the floor and putting tools back in their homes. If you let clutter build up for a week, it becomes much harder to clean later.
Most people fail by leaving the final project of the week unfinished, which creates a backlog that kills your momentum on Monday. If you have less than fifteen minutes left, prioritize clearing the workbench surface over sweeping the floor. A clear bench allows you to start the next project immediately.
Check your tool performance monthly. If a machine feels stiff or starts to rust, clean the metal surfaces and apply a light coat of paste wax. This simple habit keeps your tools running smoothly for years. If you notice signs of moisture, such as dark spots on wood or pitting on steel, add a dehumidifier. Aim for 50% humidity to prevent long-term damage.
When to Change Your Layout
If you stop working on small projects and start building large furniture, your current setup might fail you. A shop designed for hand-tool carving isn’t the same as one designed for ripping large sheets of plywood. If you find you can’t fit a 4×8 sheet of material through your door or onto your saw, you need to rethink your layout.
In these cases, consider moving your secondary tools to a different room or a shed. Don’t force large machines into a tiny space, as this leads to accidents and poor project quality. Always prioritize the path of your material through the shop; if the wood can’t travel from the saw to the assembly table, your layout is the problem.
Frequently asked questions
How much space do I need for a workbench?
You need at least 6 feet by 2 feet of space for a standard woodworking bench. This size allows you to clamp large boards securely while keeping your tools within reach. If you’re building cabinets, you might need a larger surface, but 12 square feet is the minimum for most general projects.
Is it safe to store wood on the floor?
No, you should never store wood directly on a concrete floor because it will absorb moisture and warp. Use a rack or blocks to keep your lumber at least 6 inches off the ground. This allows air to circulate underneath, which prevents rot and keeps your wood stable for future builds.
How often should I clean my shop?
You should clean your shop after every single use to prevent dust from settling on your tools. A daily 5-minute cleanup prevents deep dust buildup that can damage motor bearings or create fire risks. If you’re sanding, you should clean even more often to maintain good air quality.
Can I use magnetic strips for tools?
Yes, magnetic strips are a great way to store metal hand tools like chisels and screwdrivers. Ensure the strip is screwed into a wall stud so it can handle the weight of your tools. Only store clean, dry tools on these strips to prevent rust from forming between the magnet and the metal.
How long does a shop organization project take?
You can expect to spend about 8 to 12 hours over a weekend to fully organize a standard shop. This includes sorting your tools, building simple storage, and cleaning your workspace. If you have a large collection of specialized tools, allow for an extra day to build custom racks or cabinets.
What happens if I don’t use a dust collector?
You risk breathing in fine wood dust, which can cause long-term health issues and create a fire hazard in your shop. If a full system is too expensive, start with a high-quality shop vacuum and a HEPA filter. Always wear a mask if you’re working in a space without active dust extraction.
Conclusion
Keeping your shop organized is a constant process rather than a one-time task. As your skills grow, your needs will change, and your layout should change with them. Spend time observing where you walk and what you reach for most, and let your habits guide your design.