
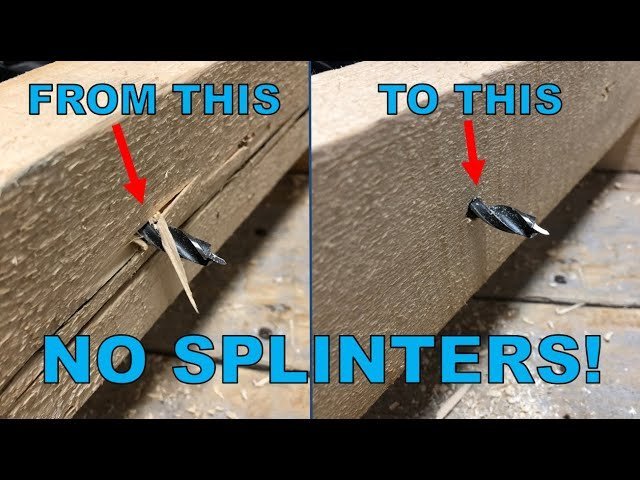
You can achieve a clean finish when you drill a hole in wood without splintering by using a sharp brad-point bit and backing the board with a scrap piece of lumber. A high drill speed combined with steady, light pressure prevents the wood fibers from tearing as the bit exits the bottom. This method works for both softwoods and hardwoods, ensuring your projects look professional. If you’re working with fragile veneers, apply masking tape over the area before you begin.
Tools for Clean Drilling
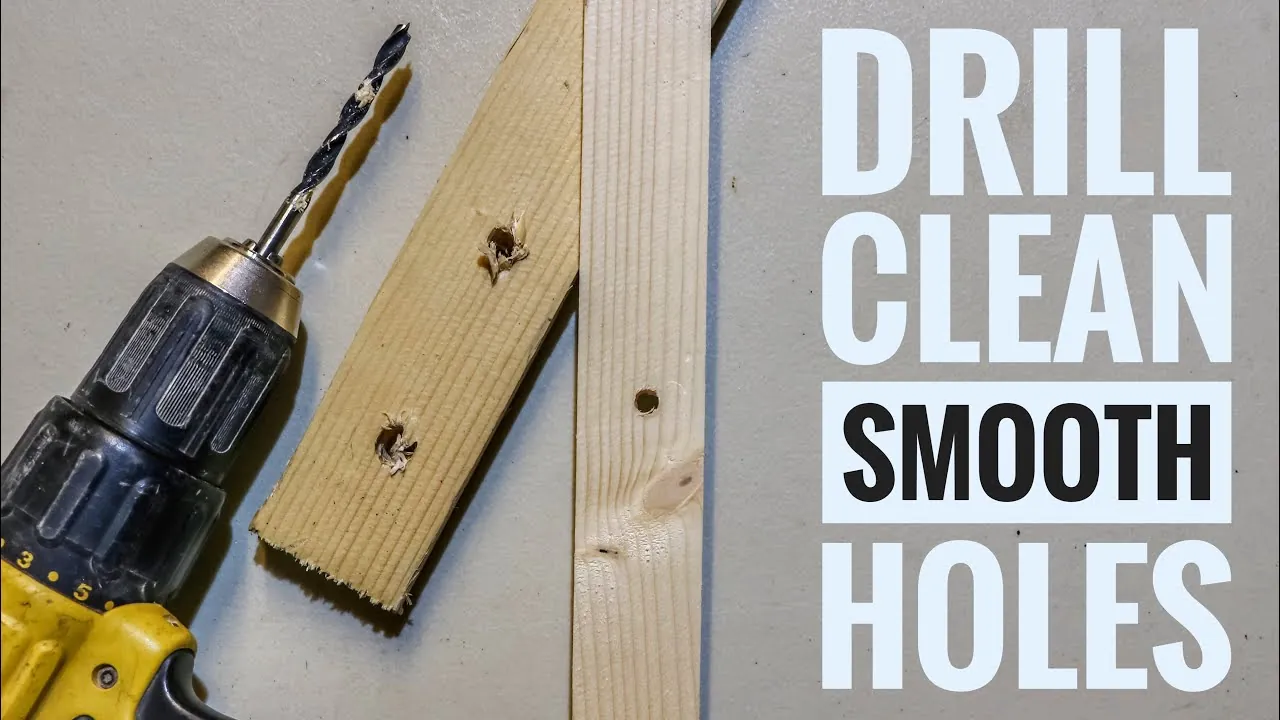
To get the best results, you need the right gear ready on your workbench before you start. Having the correct supplies prevents damage to your workpiece and keeps your tools in good shape.
Brad-point drill bits feature a sharp center spur that guides the bit precisely. This design is superior to standard twist bits for preventing “bit walk,” where the tool skates across the surface before biting.
Use a backer board, which is any flat scrap piece of wood pressed firmly against the exit side of your main workpiece. If you can slide a sheet of paper between the backer and the workpiece, the gap is too large to prevent blowout. Secure this connection with clamps to ensure the fibers have zero room to lift.
Apply low-tack painter’s tape across the entry point. The tape acts as a tension membrane, holding wood fibers in place as the cutter breaks through the surface. If you see fuzzing around the hole, your tape is either too thin or not pressed down firmly enough.
Always wear eye protection to guard against flying debris. Use a depth stop collar or a wrap of masking tape on the bit to ensure you don’t drill too deep.
If you lack a brad-point bit, a high-quality twist bit will work, provided it’s razor-sharp. A dull bit generates friction heat, which burns the wood rather than cutting it. You can identify a dull bit by the presence of dark, scorched rings around the hole. If you see smoke or smell burning wood, stop immediately and sharpen or replace the bit to avoid ruining your final finish.
Steps to Drill Wood Without Splintering
- Mark the center of your hole with a sharp pencil or an awl. The indentation from an awl helps the brad-point tip stay centered when you start the drill.
- Apply a layer of painter’s tape over the marked spot. This acts as a physical barrier that keeps the surface fibers from lifting as the bit enters the wood.
- Clamp a scrap piece of wood tightly to the back of your workpiece. The backer board must be flush against the wood to support the fibers as the bit pushes through the bottom.
- Set your drill to a high speed. For most hardwoods, a speed between 1,500 and 2,000 RPM provides the cleanest cut.
- Apply light, consistent pressure. Let the bit do the work; if you push too hard, you increase the risk of the wood tearing.
- Drill until the center spur of the bit just breaks through the back of your workpiece.
- Stop, flip the board over, and finish the hole from the other side. This “double-entry” method is the most reliable way to avoid exit splintering.
- Remove the clamps and the tape carefully.
Careful: Always unplug your drill or remove the battery before changing bits to avoid accidental starts.
Tip: If you’re drilling a very large hole, use a hole saw. Run the saw until the center bit pokes through, then stop and finish from the back.
Situations That Change Your Approach
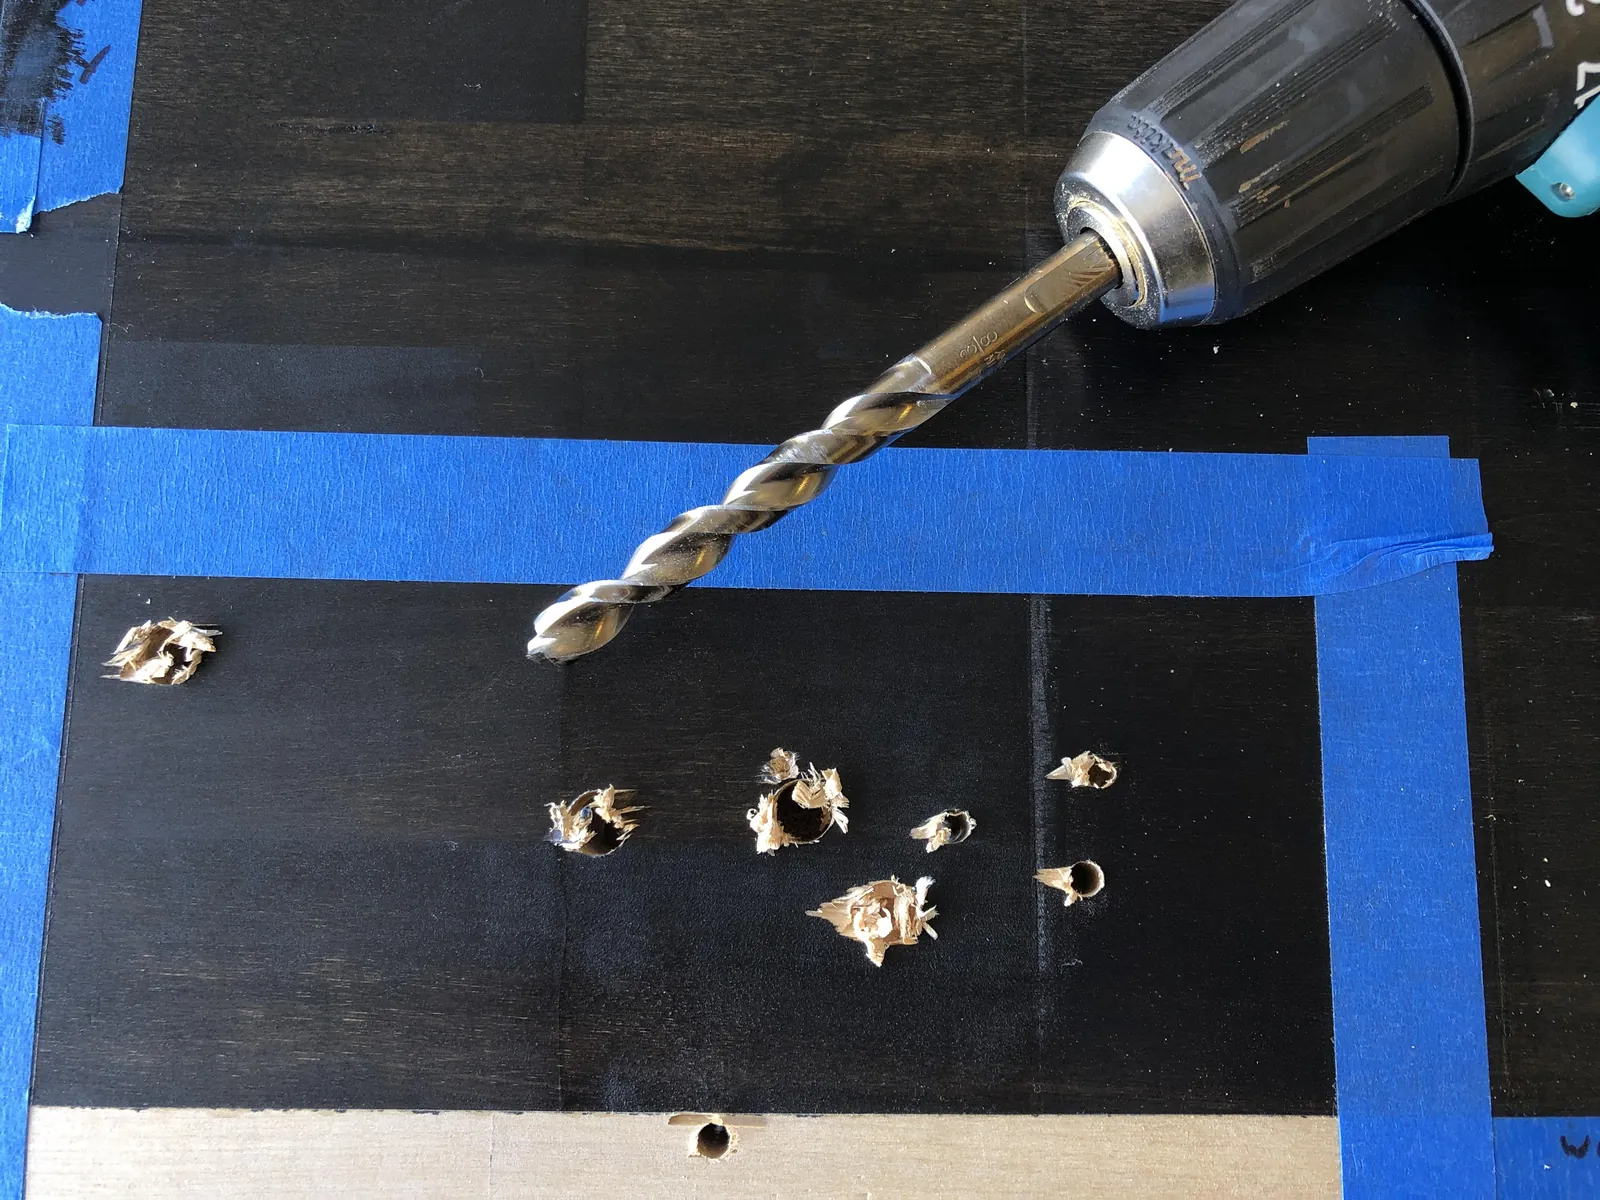
The density of the wood and the size of the hole change how much control you need. A small hole in soft pine is easier to manage than a large hole in dense oak.
| Wood Type | Speed (RPM) | Pressure | Special Note |
|---|---|---|---|
| Softwood | 2,000 | Light | Watch for sap buildup |
| Hardwood | 1,500 | Medium | Keep bit cool |
| Plywood | 1,200 | Light | Use tape on both sides |
| Thick Stock | 1,000 | Steady | Clear chips often |
Start with light pressure and increase it only if the bit stops cutting efficiently. It’s safer to start small and add more force than to overshoot on the first try.
If you’re drilling through stock thicker than two inches, retract the bit every half-inch to clear debris and prevent the bit from binding. If you smell burning wood, stop immediately. You’re likely spinning too fast for the material, which glazes the wood fibers and prevents the bit from biting.
When working with plywood, the outer veneer often splinters at the exit point. Apply masking tape over the entry and exit holes to hold those fibers in place. If the bit begins to wander, switch to a brad-point bit to anchor your start.
Judging Your Hole Quality
A good hole has smooth, crisp edges on both the top and bottom surfaces. If you see “fuzz” or torn wood fibers around the perimeter, your bit is likely dull or you were moving too fast. This happens because the wood fibers are being pushed out instead of being sliced cleanly by the cutting edges.
Test your bit by running a fingernail gently across the cutting edge. If the metal feels rounded or catches on your skin, it’s too dull to shear fibers and will only crush them.
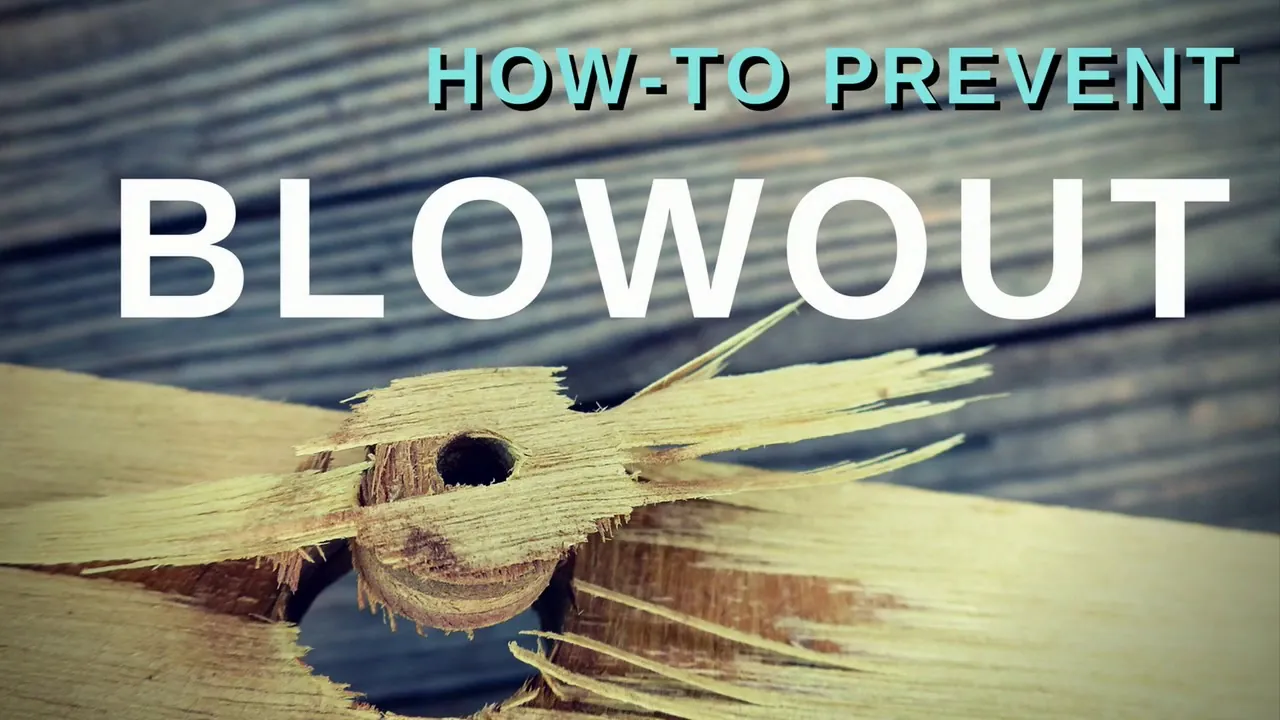
If you notice tear-out on the underside, your backer board has lost its integrity. Replace it immediately. A gap of even one millimeter between the wood and the backer allows the fibers to deflect downward. If you’re drilling through hardwood, reduce your feed rate by half to ensure a clean exit.
Rules for Safety and Maintenance
Always follow the manufacturer’s manual for your power drill regarding maximum bit sizes and torque limits. Exceeding these specifications can stall the motor or damage the drill’s internal components.
After you finish, wipe down your drill bits with a dry cloth to remove resin. Store them in a dedicated case to keep the cutting edges from dulling against other metal tools. If you use a drill press, ensure the table is locked at the correct height before turning it on. A loose table will vibrate, causing the bit to wander and potentially snap under lateral pressure.
If you’re drilling into hardened steel, use a cutting fluid to prevent the tip from overheating and losing its temper. Drilling operations involving heavy machinery or complex setups should be handled by those with proper training to avoid serious injury.
Alternative Drilling Methods
Using a Forstner Bit
Forstner bits create very clean, flat-bottomed holes. They cut the outer edges of the hole first, which slices through the wood fibers before the center is removed. This makes them the best choice for decorative work, though they require more power from your drill to operate smoothly.
The Pilot Hole Technique
Drill a very small pilot hole through the wood first. This provides a clear path for the larger bit, reducing the internal pressure that causes wood to split. This is a great choice when working near the edge of a board where the wood is most likely to crack.
Using a Drill Press
A drill press holds the bit perfectly perpendicular to the wood surface. This eliminates wobbling, which is a major cause of splintering in handheld drilling. If your project requires many holes, using a press saves time and ensures every hole is identical.
Related guides
- How to Cut a Square Hole in Wood With a Jigsaw: Pro Method in 2026
- How to Cut a Square Hole in Wood With a Router Using a Jig in 2026
- How to Harden Wood Using Penetrating Epoxy Resin in 2026
Frequently asked questions
How long does it take to drill a hole without splintering?
It usually takes about 10 to 15 seconds to drill a clean hole in standard 3/4-inch lumber when using the backer board method. This assumes you’re using a sharp bit and have already clamped your workpiece securely. If you’re drilling through very dense hardwood or using a drill press, add another 5 seconds to ensure the bit clears the wood fibers properly without overheating.
Is it safe to drill without a backer board?
No, it isn’t safe for the finish of your wood. Without a backer board, the wood fibers at the exit point have no support and will almost always tear away, causing a jagged hole. While it’s physically safe for you, the result will be poor. Always use a piece of scrap wood to support the fibers on the exit side to ensure the hole remains clean.
Why does my wood split even when I use a backer board?
Your wood is likely splitting because your drill bit is dull or you’re applying too much pressure. A dull bit tears the wood rather than cutting it, and too much pressure forces the bit through before it can cleanly sever the grain. Check that your bit is sharp and try using a lighter touch, letting the speed of the drill do the work instead of your hands.
Can I use masking tape instead of painter’s tape?
Yes, you can use standard masking tape, but be aware that it may leave a sticky residue on the wood surface. Painter’s tape is designed to be low-tack, which makes it easier to remove without pulling up the wood grain or leaving glue behind. If you only have masking tape, test it on a scrap piece first to see if it damages the finish of your specific wood type.
How often should I sharpen my drill bits?
You should sharpen your bits whenever you notice they require more effort to push through the wood. A sharp bit will pull itself into the material, while a dull one will slide or burn. There’s no set time frame, as it depends entirely on how many holes you drill and the hardness of the wood. If the bit leaves scorched marks, it’s time to sharpen or replace it.
What happens if I drill too fast?
Drilling too fast with a high-speed setting and heavy pressure will burn the wood and dull your drill bit. The friction creates heat that chars the edges of the hole, leaving dark marks that are difficult to sand away. Always maintain a steady, light pressure and keep the drill moving through the material at a controlled pace to avoid overheating the bit and damaging your project.
Conclusion
Proper technique is about patience and preparation. By using a sharp bit, a firm backer board, and taking the time to drill from both sides, you’ll see a massive improvement in the quality of your work. Keep your tools clean and always prioritize your safety by using the right protective gear every time you pick up the drill.